
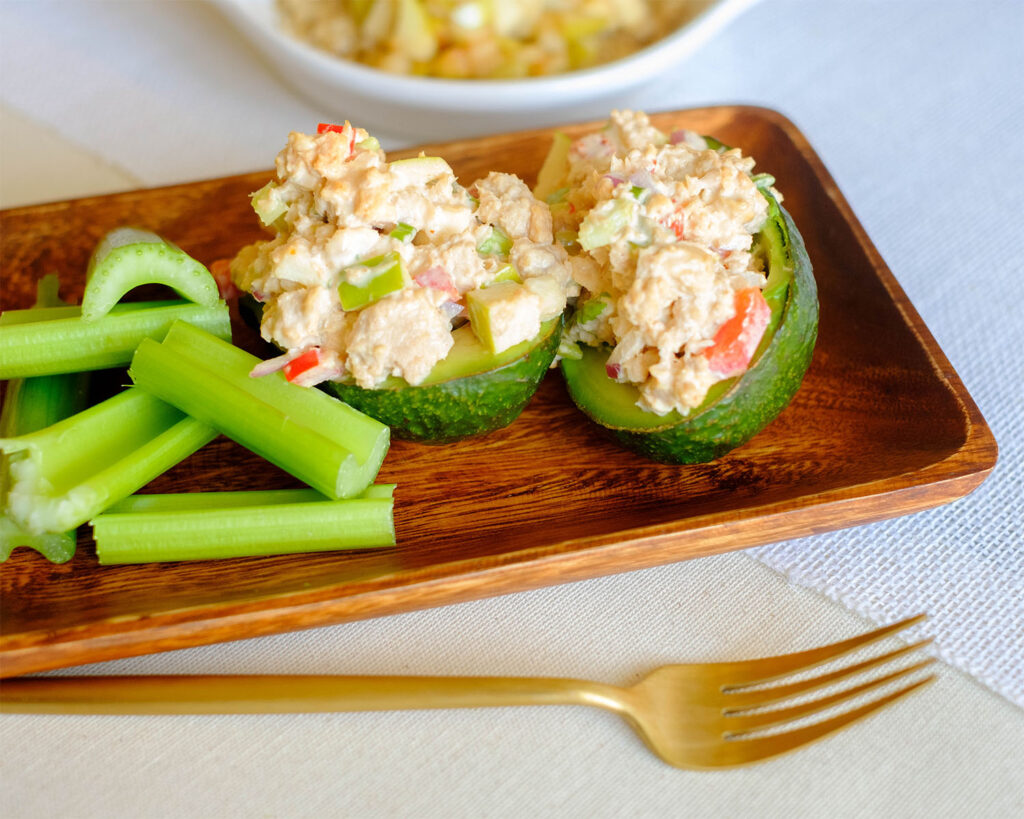
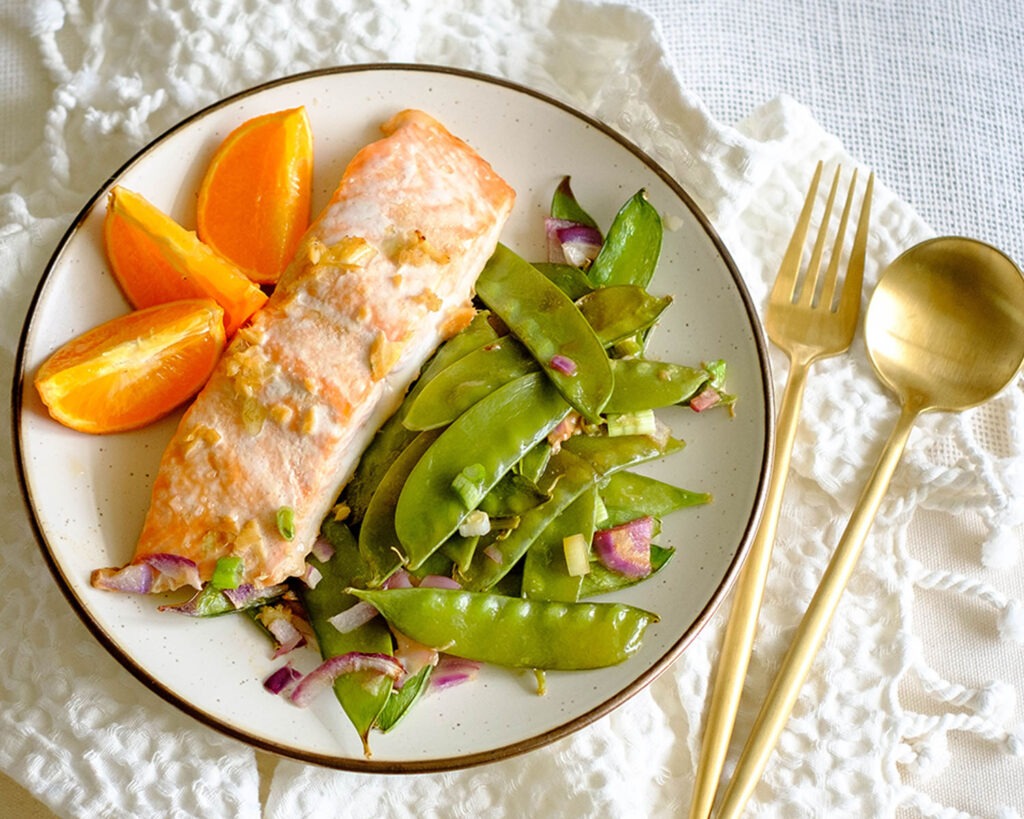
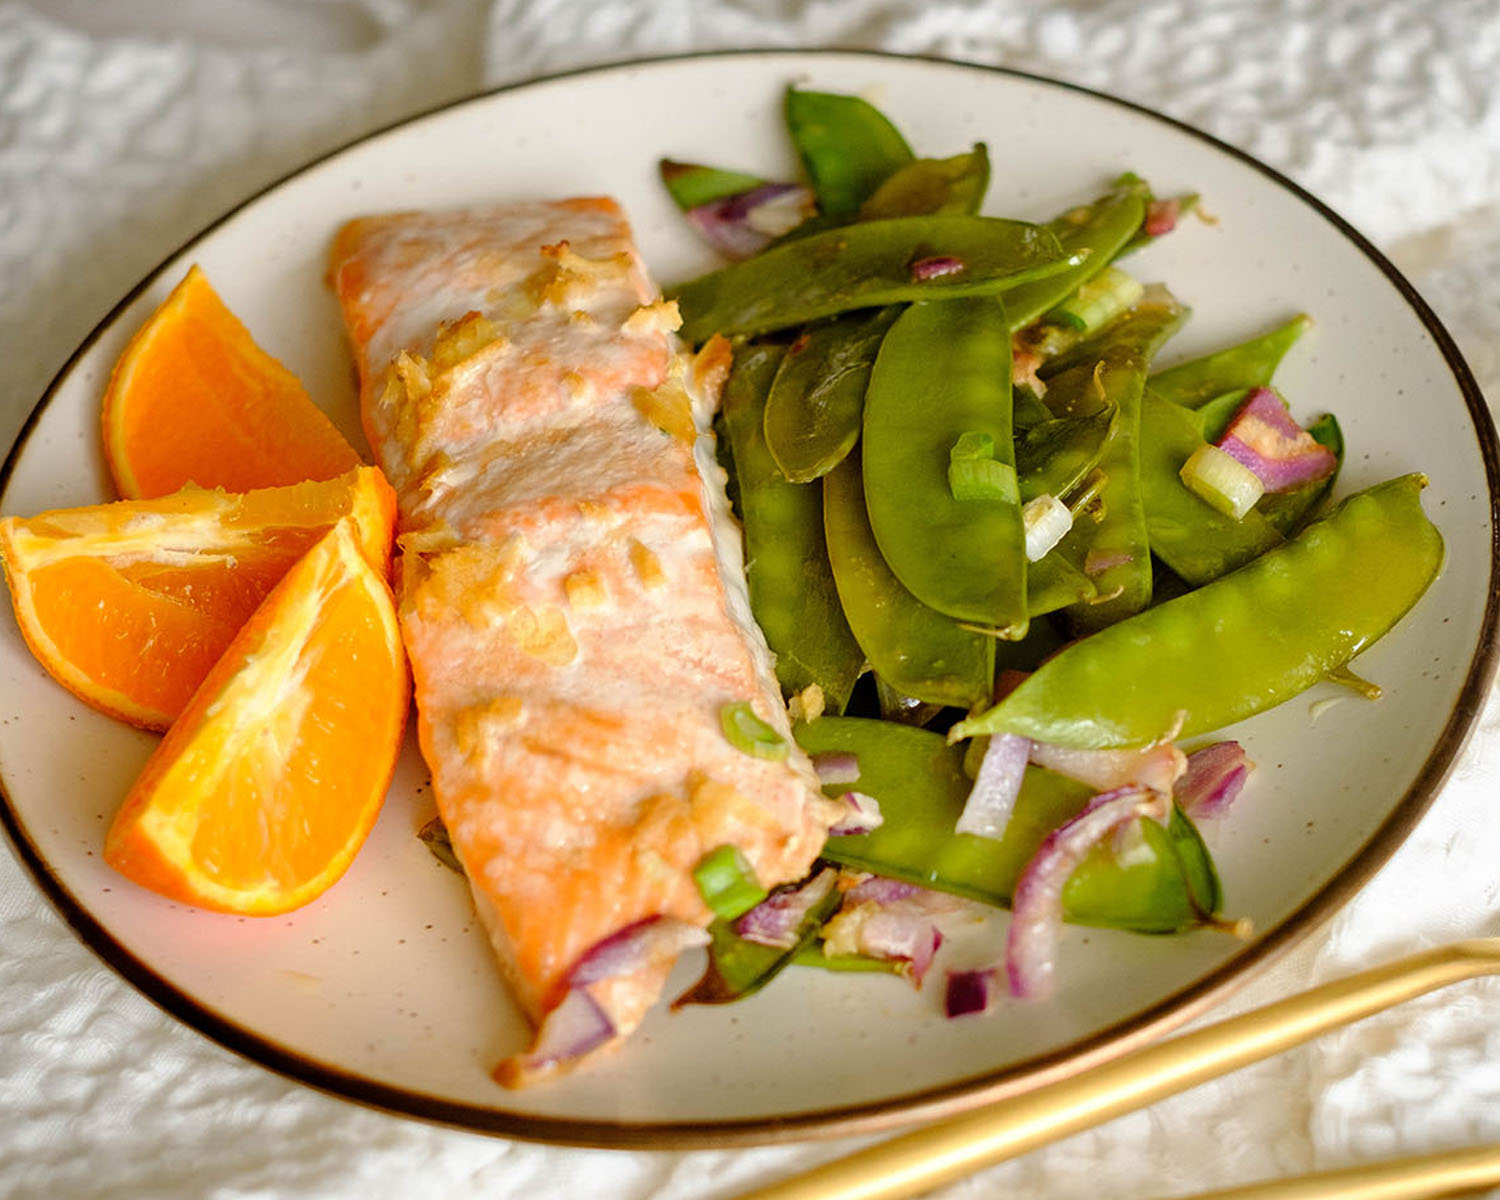
Here’s an easy recipe, no-cook meal using canned salmon and avocados. This is a great low-carb meal that will keep you full and fill you with many nutrients you need to get you through the day.
This post may contain affiliate links. Please see our privacy policy for details.
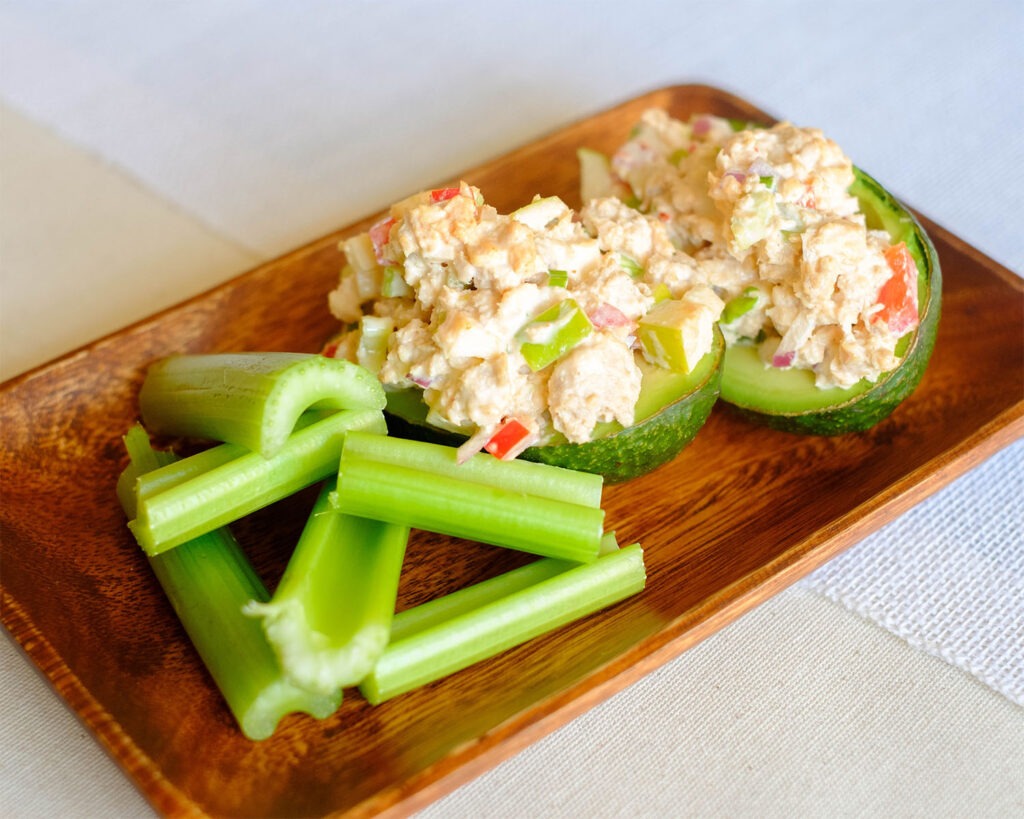
Canned salmon is one of the most valuable pantry staples anyone should have on hand. This meal is full of omega-3 fatty acids from both avocado and salmon. It’s mixed with fresh apples and crispy veggies in a spicy sriracha mayo sauce.

To Make this Easy Recipe For Salmon Stuffed Avocado, You’ll Need
- Canned Salmon: If you can’t find canned salmon, you can also use canned tuna
- Red Onions: You can also use yellow onions, white onions, or shallots
- Red Bell Pepper: Feel free to use any color of bell peppers
- Green Onions: You can use any fresh herbs such as chives or basil
- Green Apple: You can also use red apples and even pears for this recipe
- Dijon Mustard: Use regular yellow mustard if that is all that you have or spicy brown mustard
- Mayonnaise: If you want to increase your protein intake you can also use greek yogurt
- Sriracha: This is optional if you don’t prefer spicy food
- Avocados: If you don’t have any avocados, you can stuff bell pepper halves or use this salmon filling in lettuce wraps or just on top of salads
- Celery sticks: You can use any fresh vegetables to enjoy this dish such as baby carrots or sliced zucchini or squash
- Spring mix: Pick any salad mix of your choice
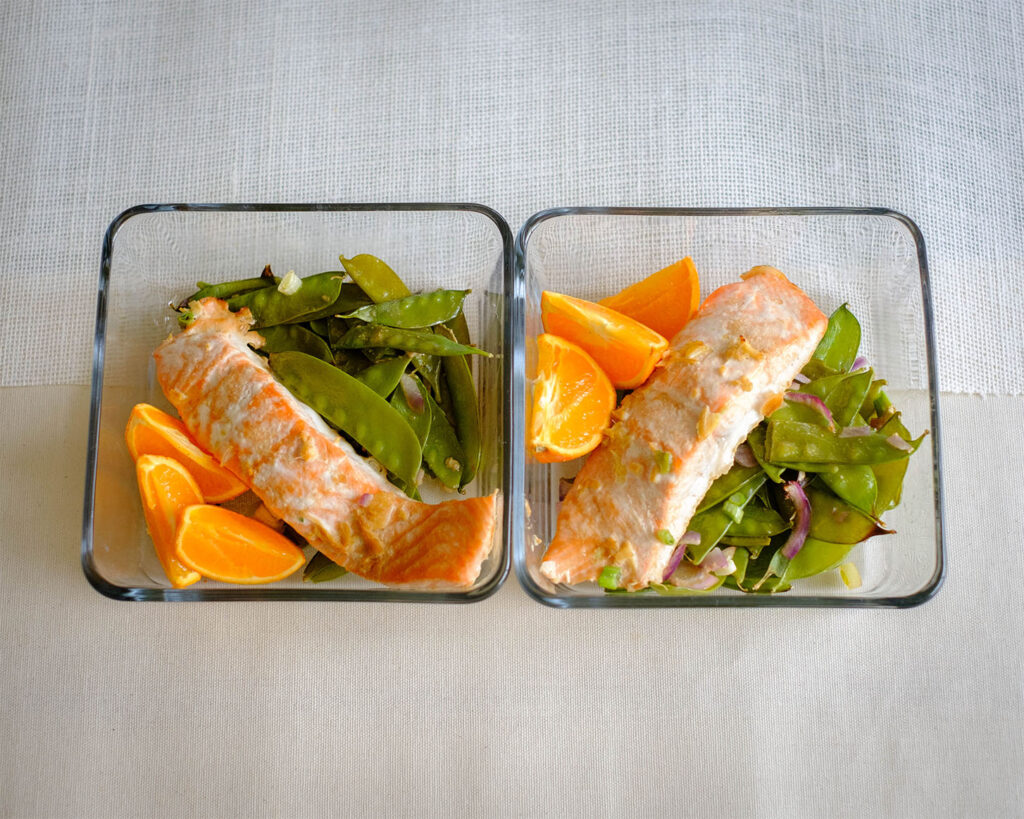
How to Assemble Stuffed Salmon Salad
- Dice up all of your vegetables into small squares.
- In a mixing bowl, add the canned salmon and diced veggies.
- Mix in the dijon mustard, mayo, and sriracha.
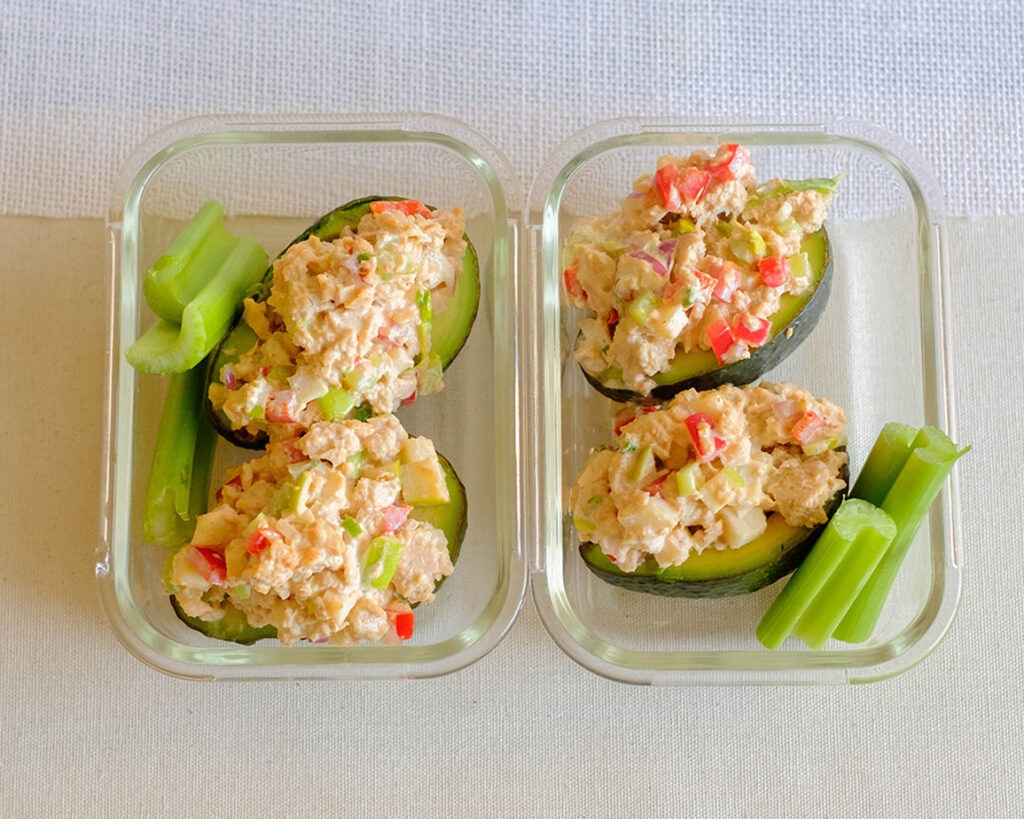
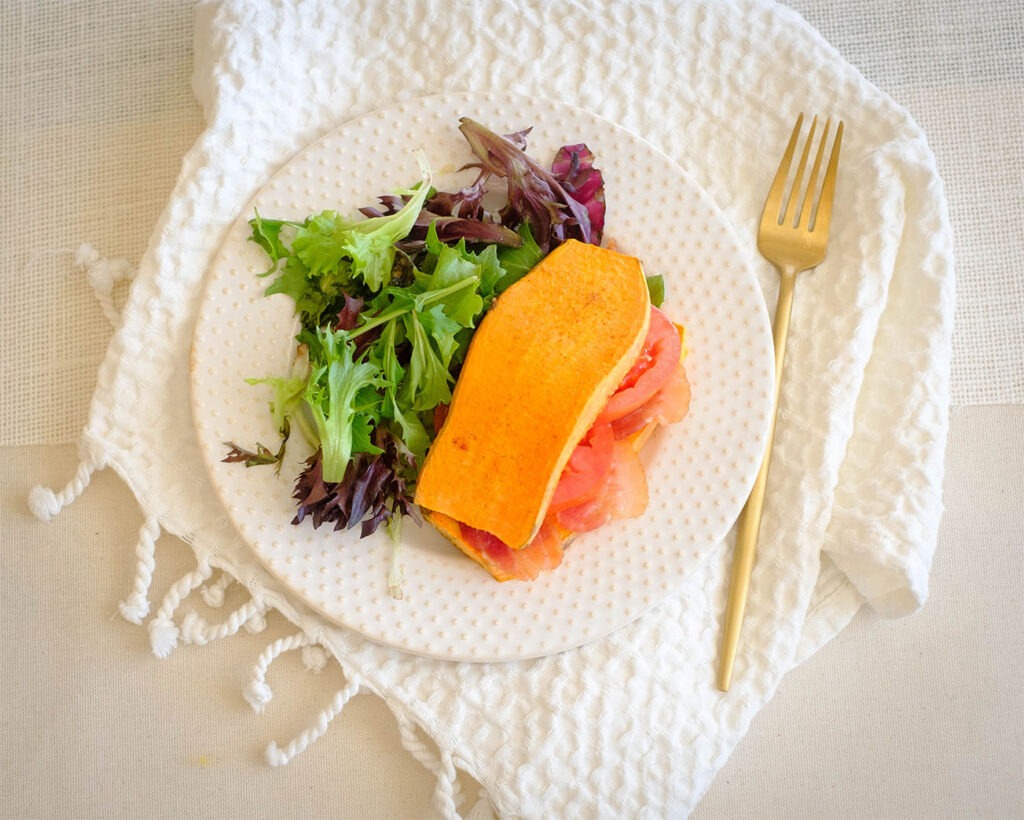
- Cut the avocado in half and remove the seed. Then, top it off with the salmon mixture.
- Serve with a side salad and celery sticks.
Reference the recipe card below for detailed instructions.
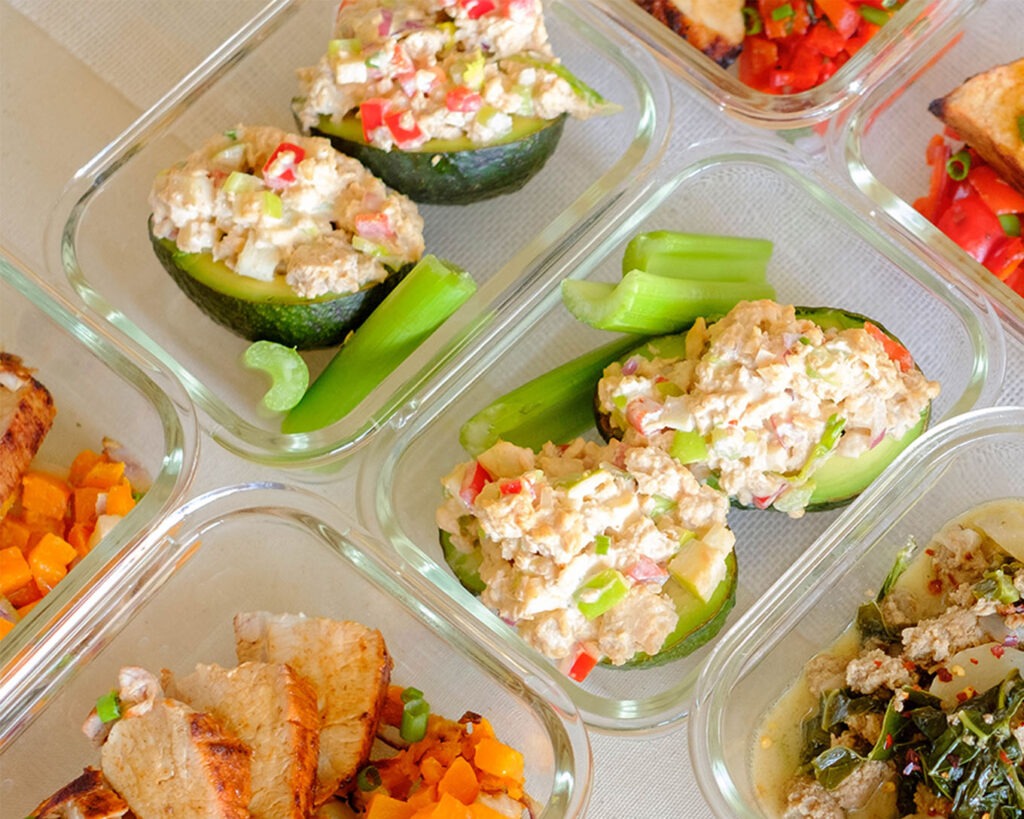
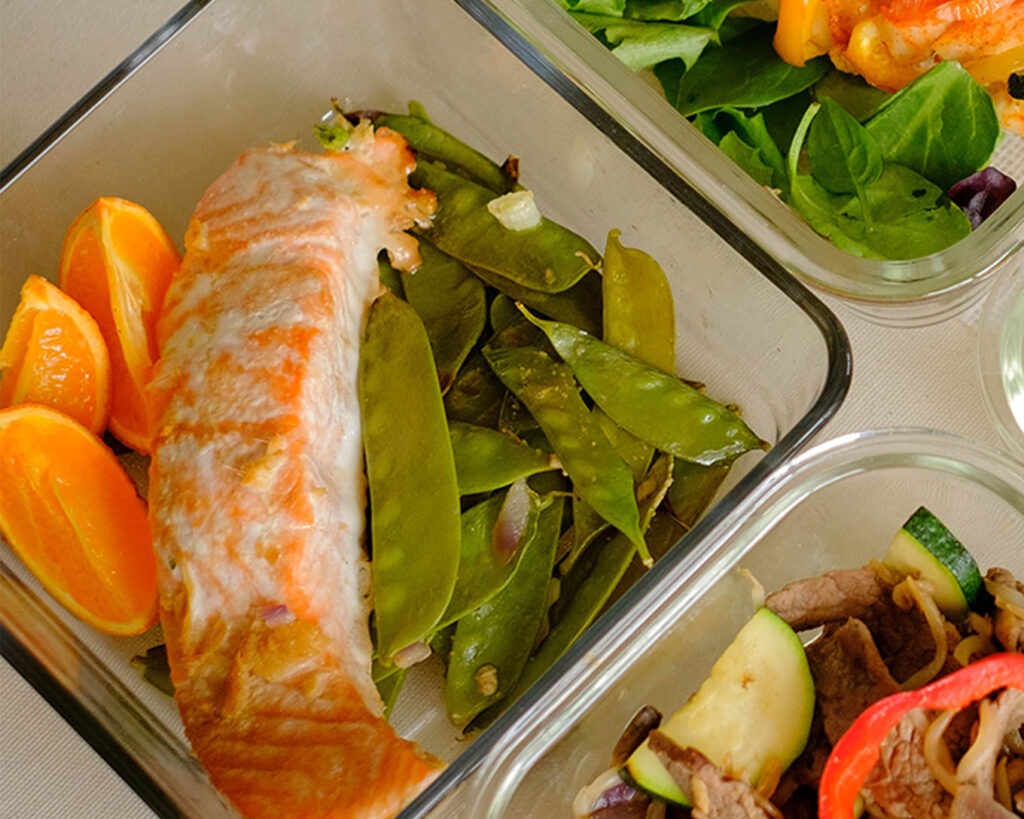
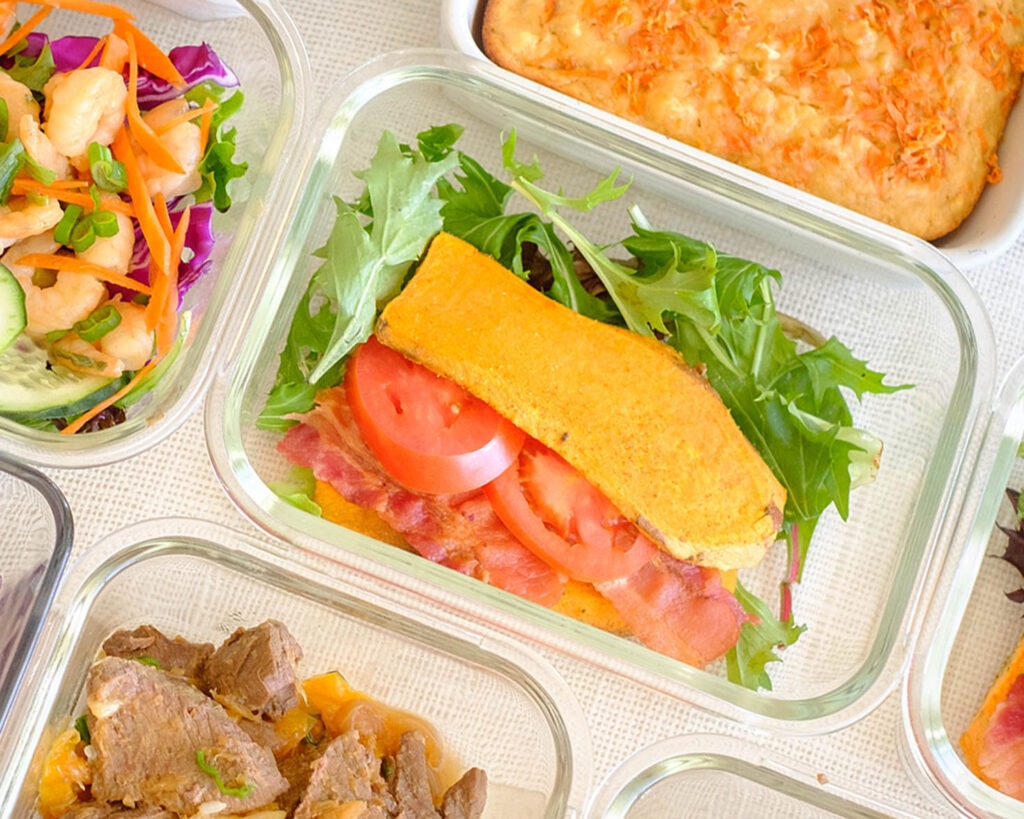
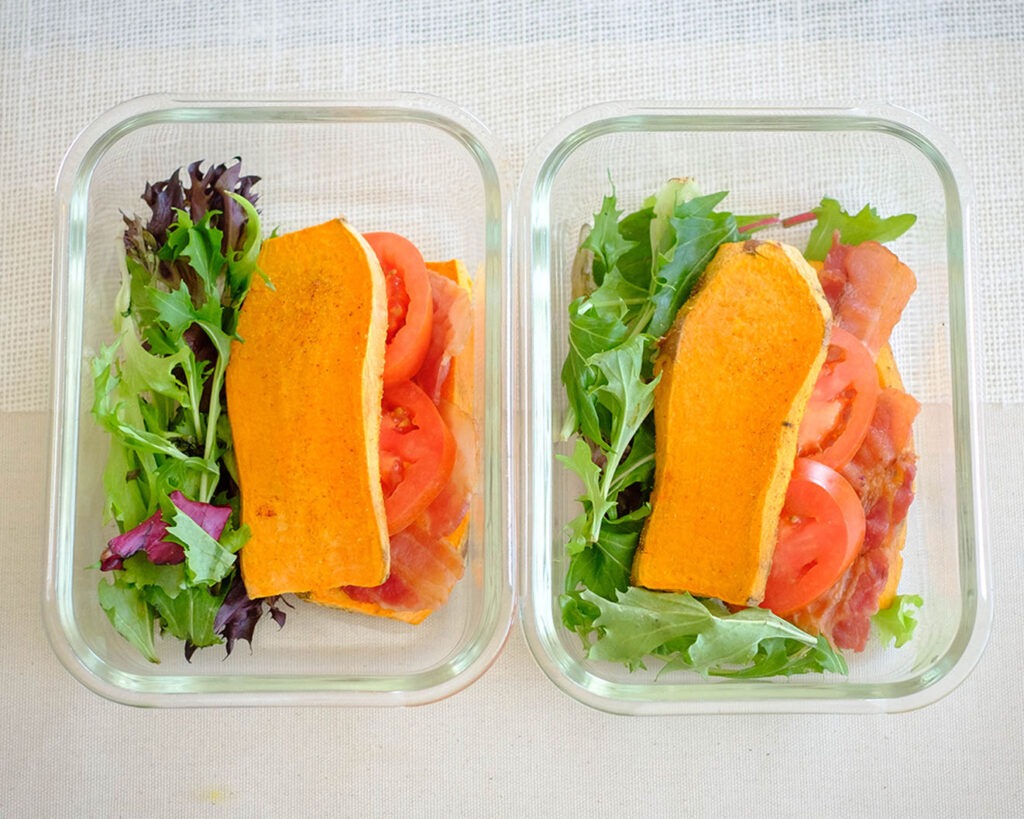
Meal Prep Tips for Stuffed Salmon Salad
- Protein Option: You can also use boiled eggs or shredded rotisserie chicken with this recipe
- Ingredient Swaps: You can also use sour cream instead of mayonnaise or creme fraiche
- Additional Ingredients: For added crunch, add nuts such as chopped walnuts, pecans, or almonds. You can also add sliced grapes


Frequently Asked Questions
Can you eat canned salmon out of the can?
Yes, canned salmon is already cooked. Just be sure to drain the liquid.
How long can you keep canned salmon?
An unopened can of salmon can keep for about 3 to 5 years, but be sure to check the packaged expiration date. Once opened, it can be stored in an airtight container for up to 3 to 4 days.
Can you eat the bones in the canned salmon?
Yes, the canning process actually makes the salmon bones soft and digestible and can be a source of bone-building calcium.


Salmon Salad Stuffed Avocado
Equipment
Ingredients
Instructions