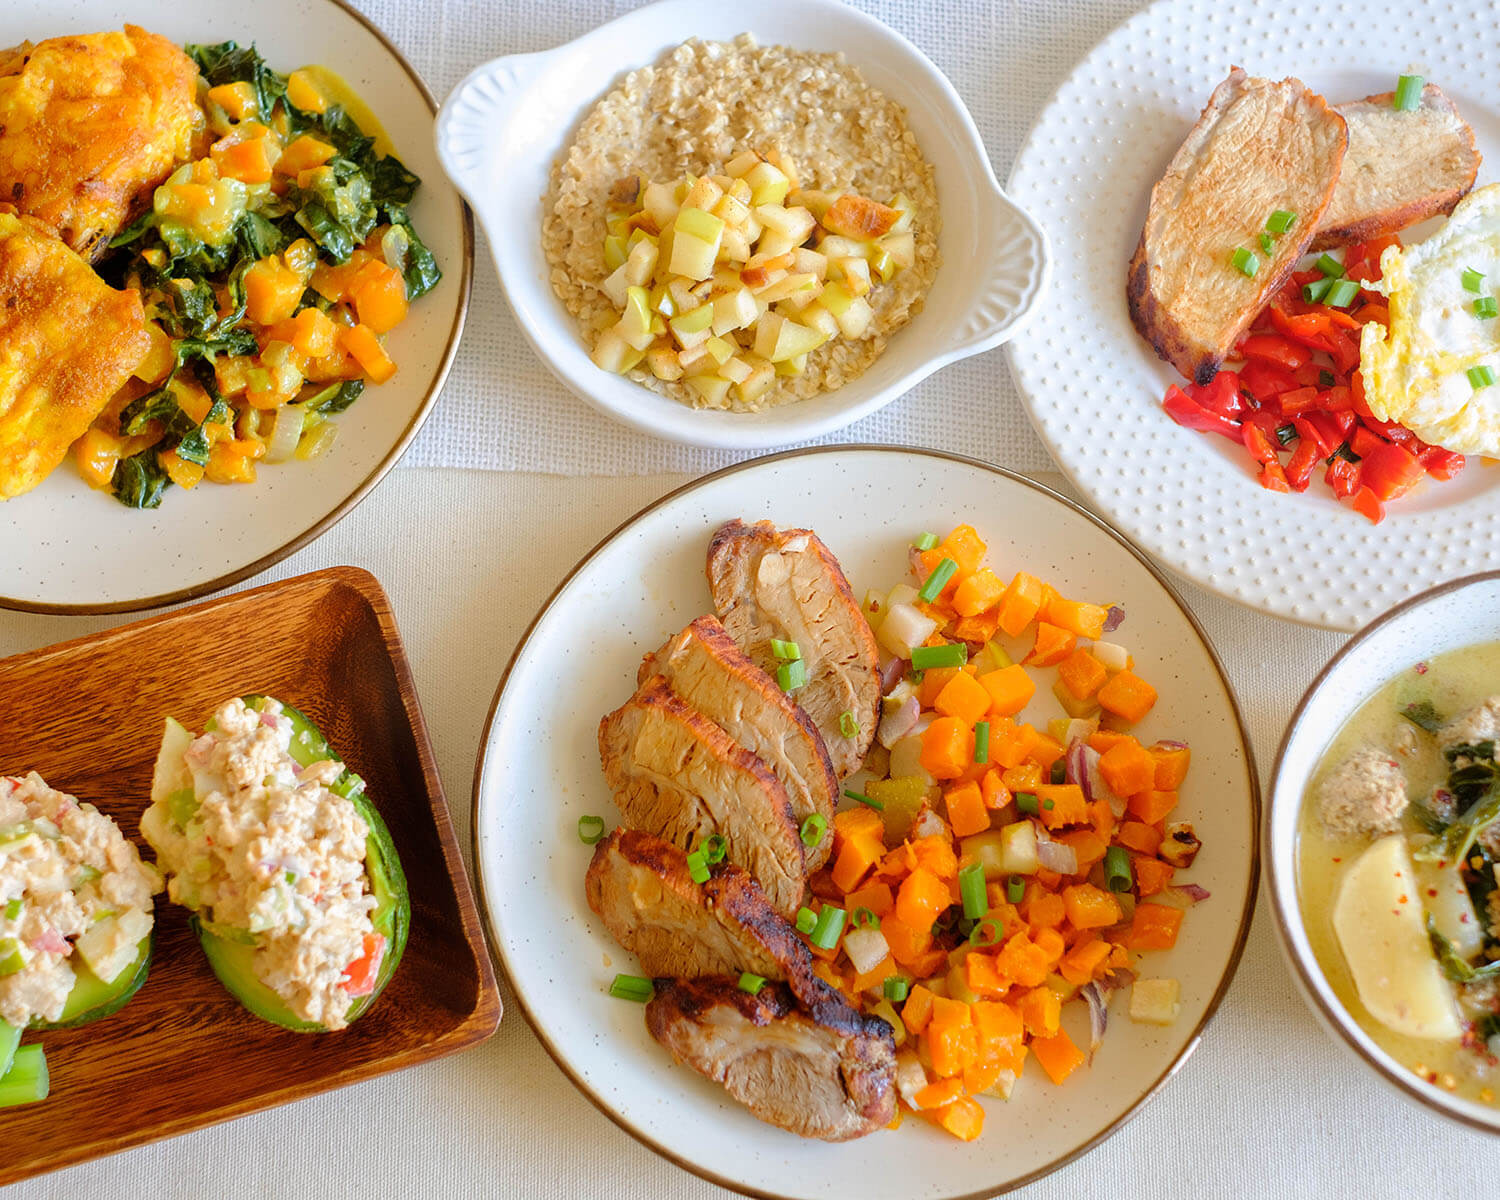
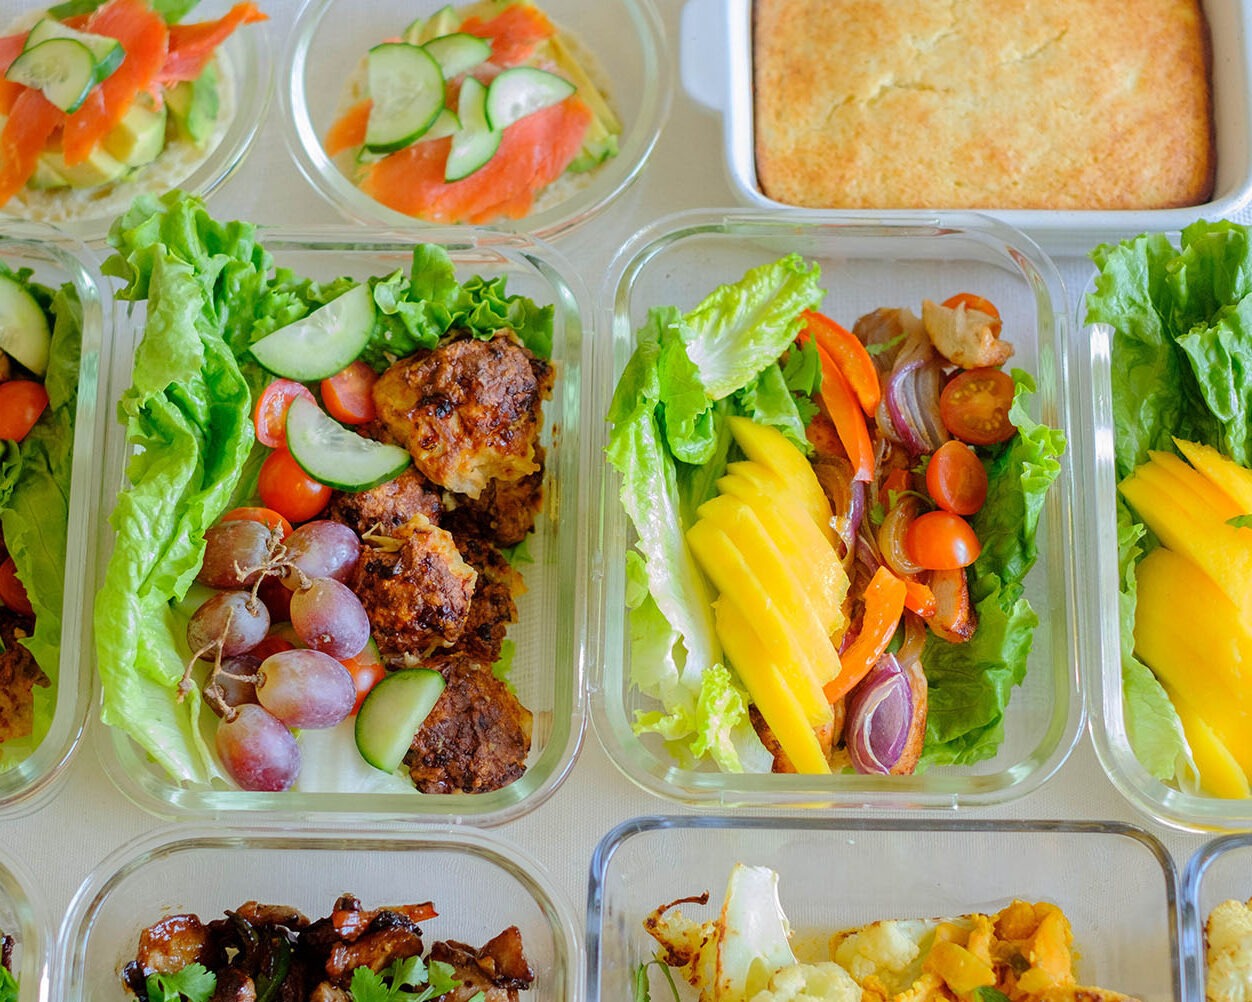
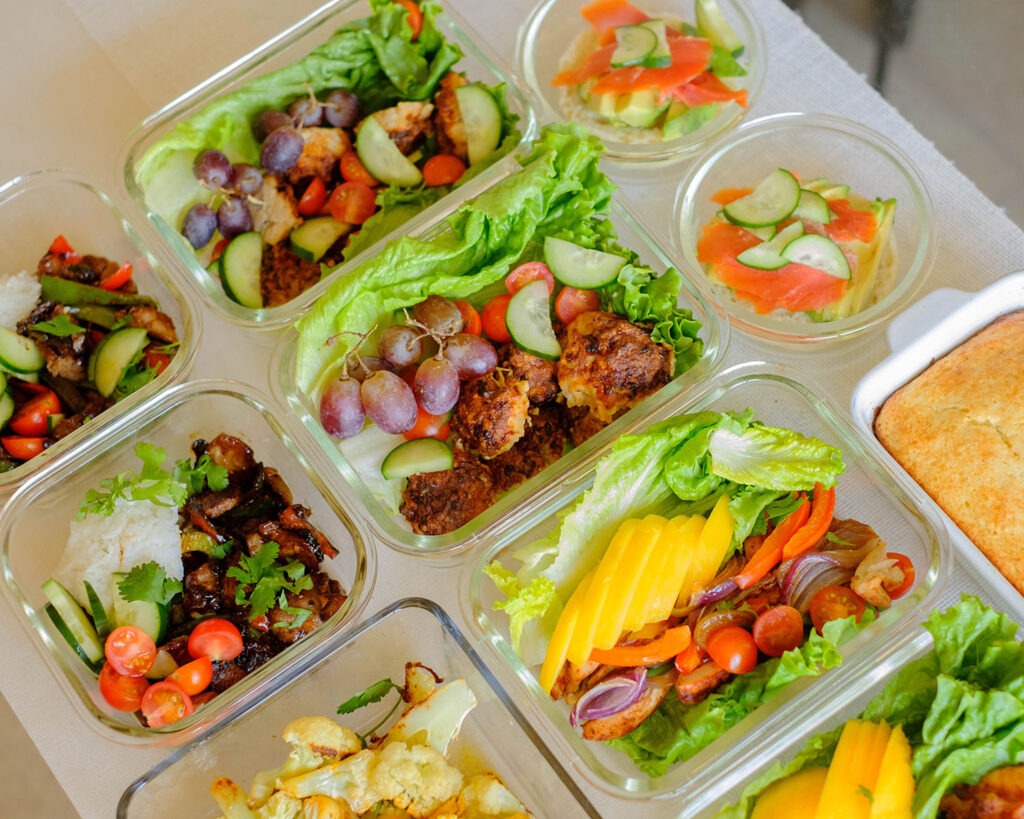
Cooking for one person can be affordable if you plan ahead and choose recipes that use simple and inexpensive ingredients. In addition, eating healthy does not have to be expensive. There are many affordable ingredients that are also healthy. Here are some affordable cooking options and ingredients that can make the cheapest meals for one person.
Canned and Frozen Foods
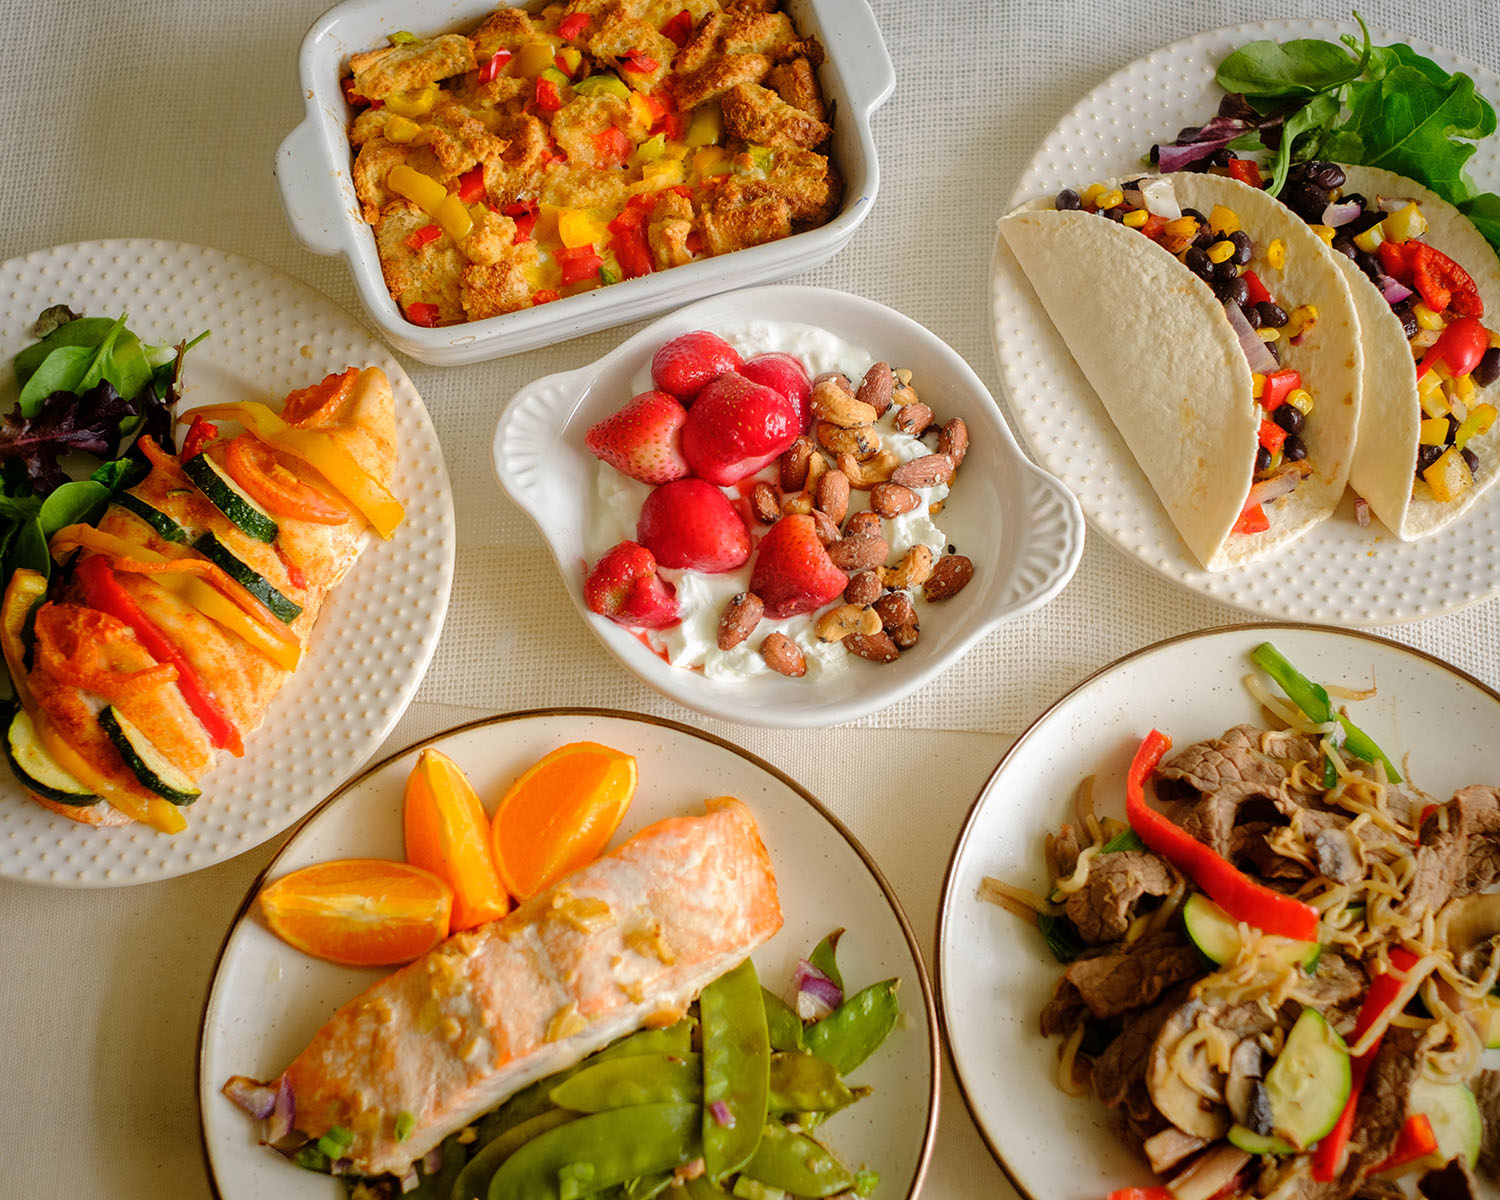
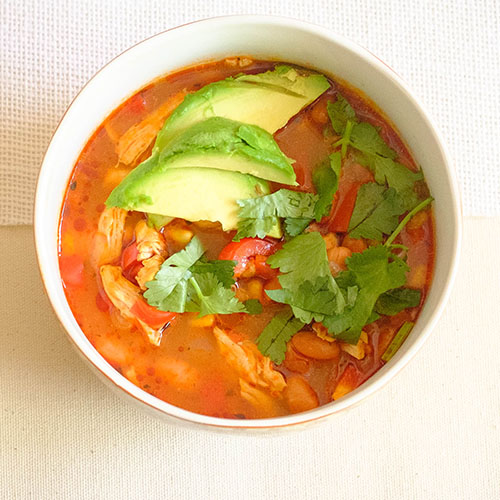
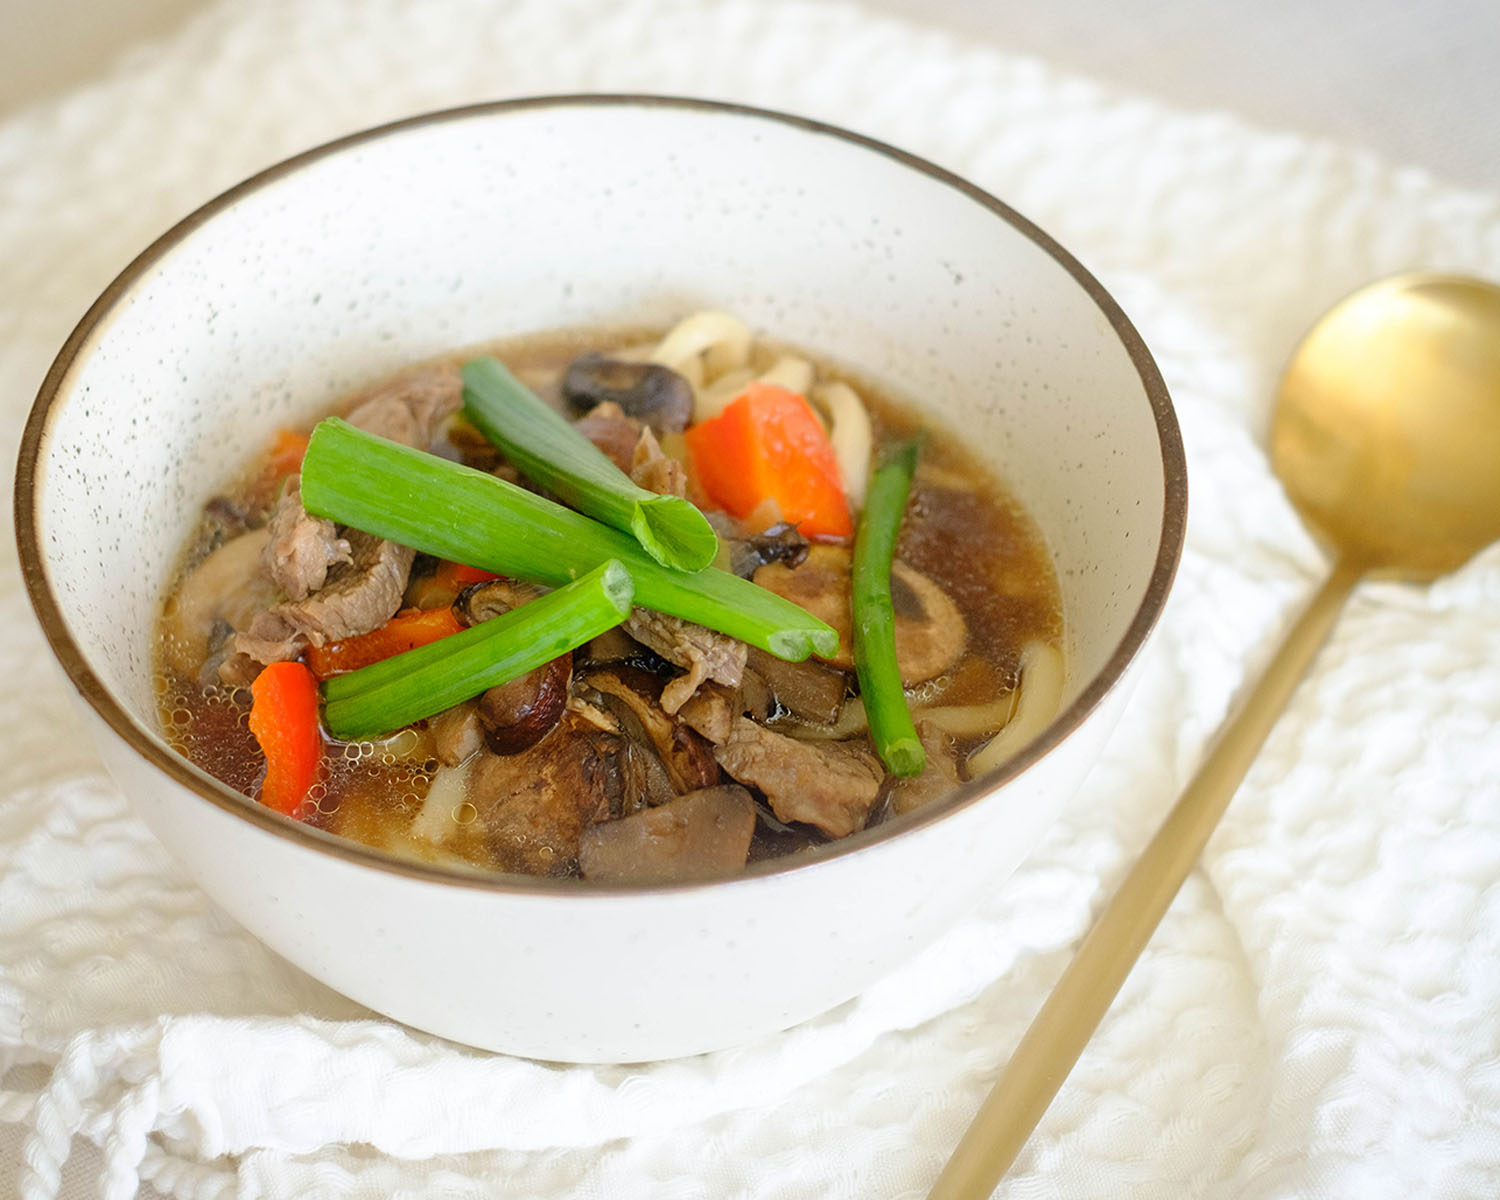
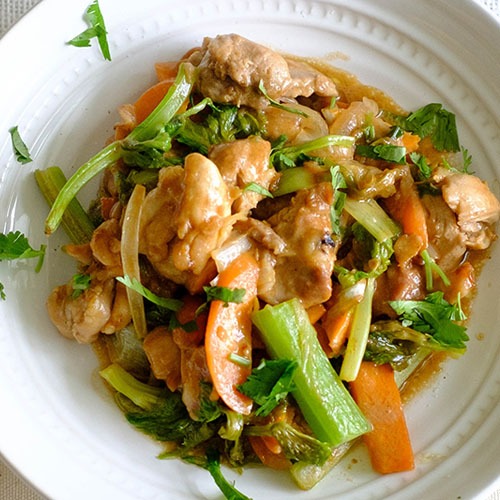
Canned and frozen foods are often less expensive than fresh produce and can be just as nutritious. You can use canned beans, frozen vegetables, and fruits to make quick and easy meals. They can be used in soups, stews, stir-fries, and casseroles.


Get these recipes:
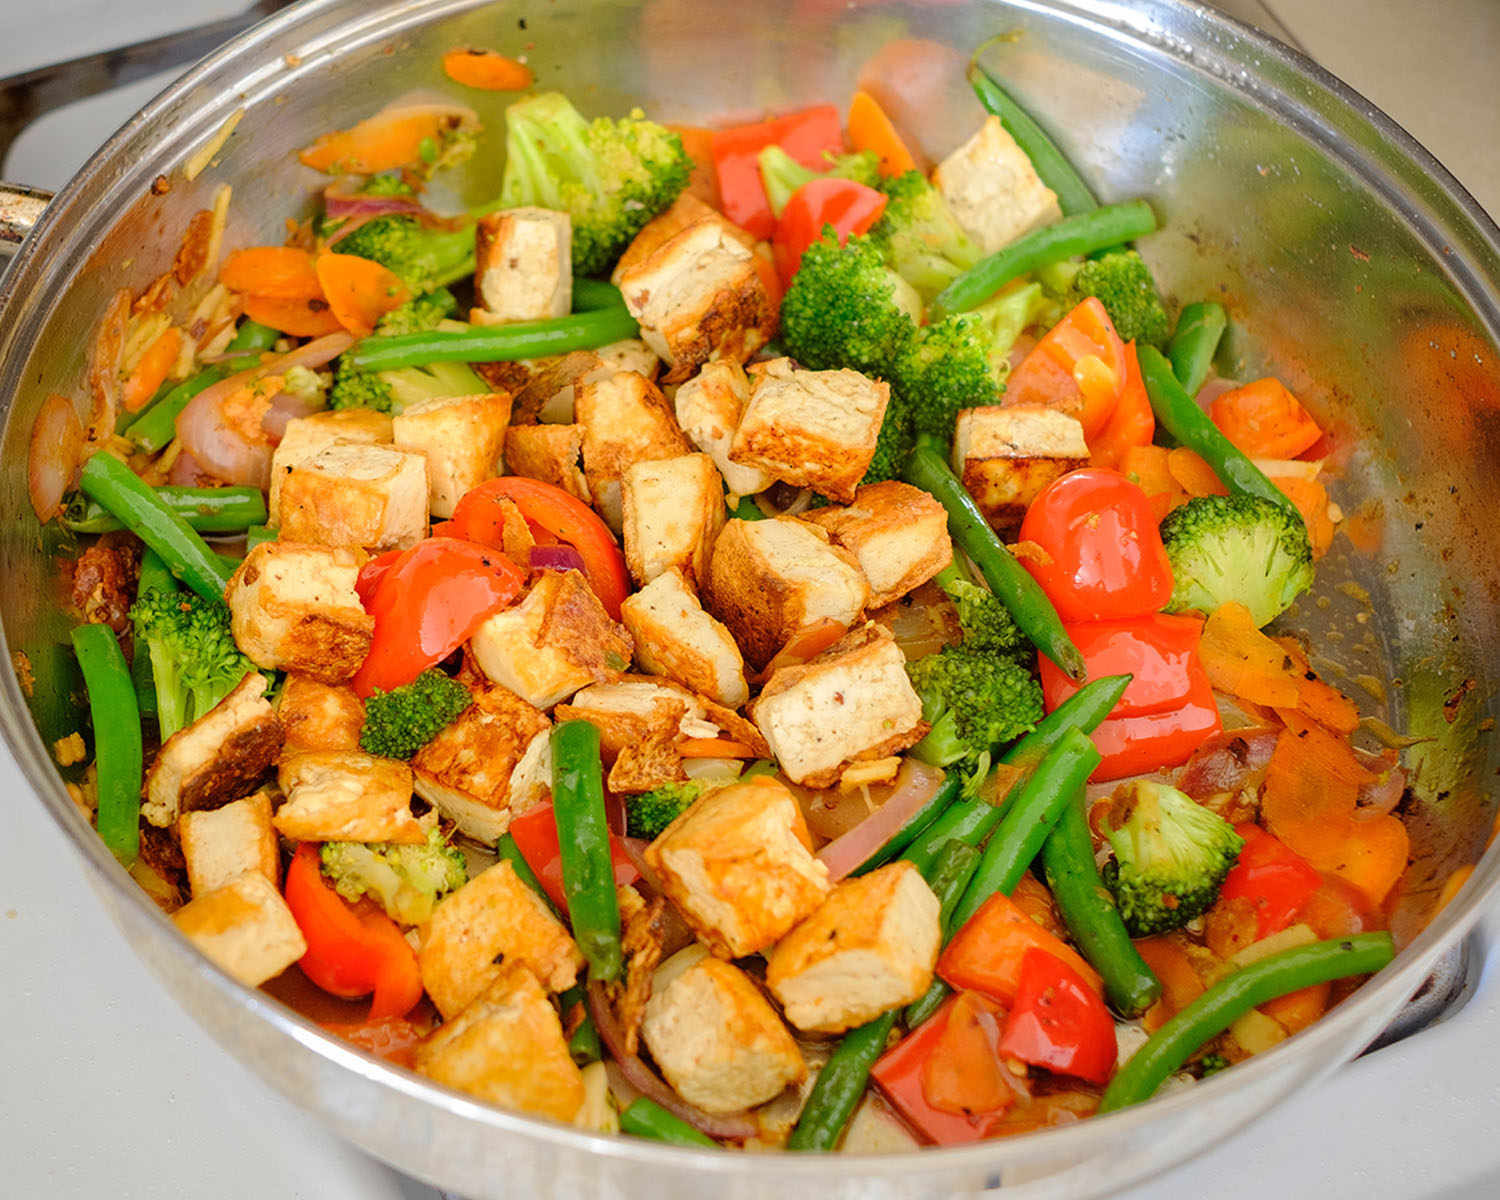
Beans and Lentils
These are a great source of protein and high in fiber and can be used in soups, stews, salads, and dips. They are also inexpensive and can be bought canned or dried.


Get these recipes:
Oats
Oats are a healthy and affordable ingredient that can be used in many dishes, such as oatmeal, granola bars, and cookies. They are high in fiber and can help lower cholesterol.


Get the Recipes:
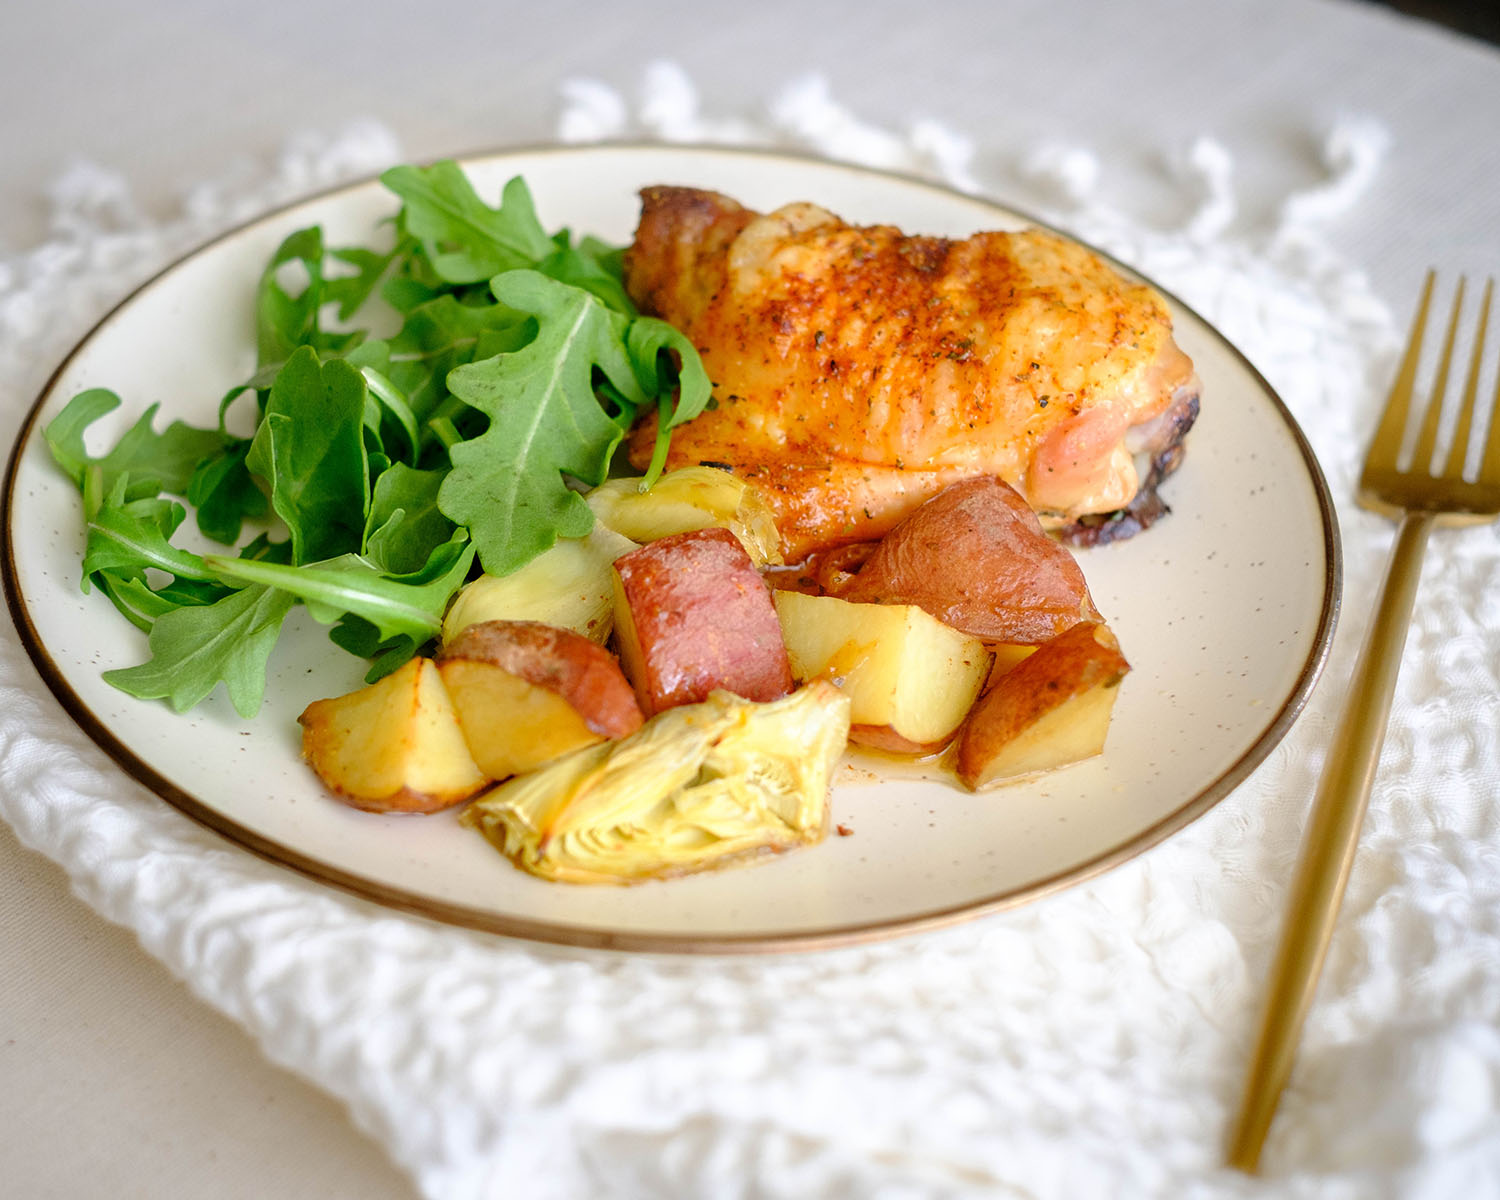
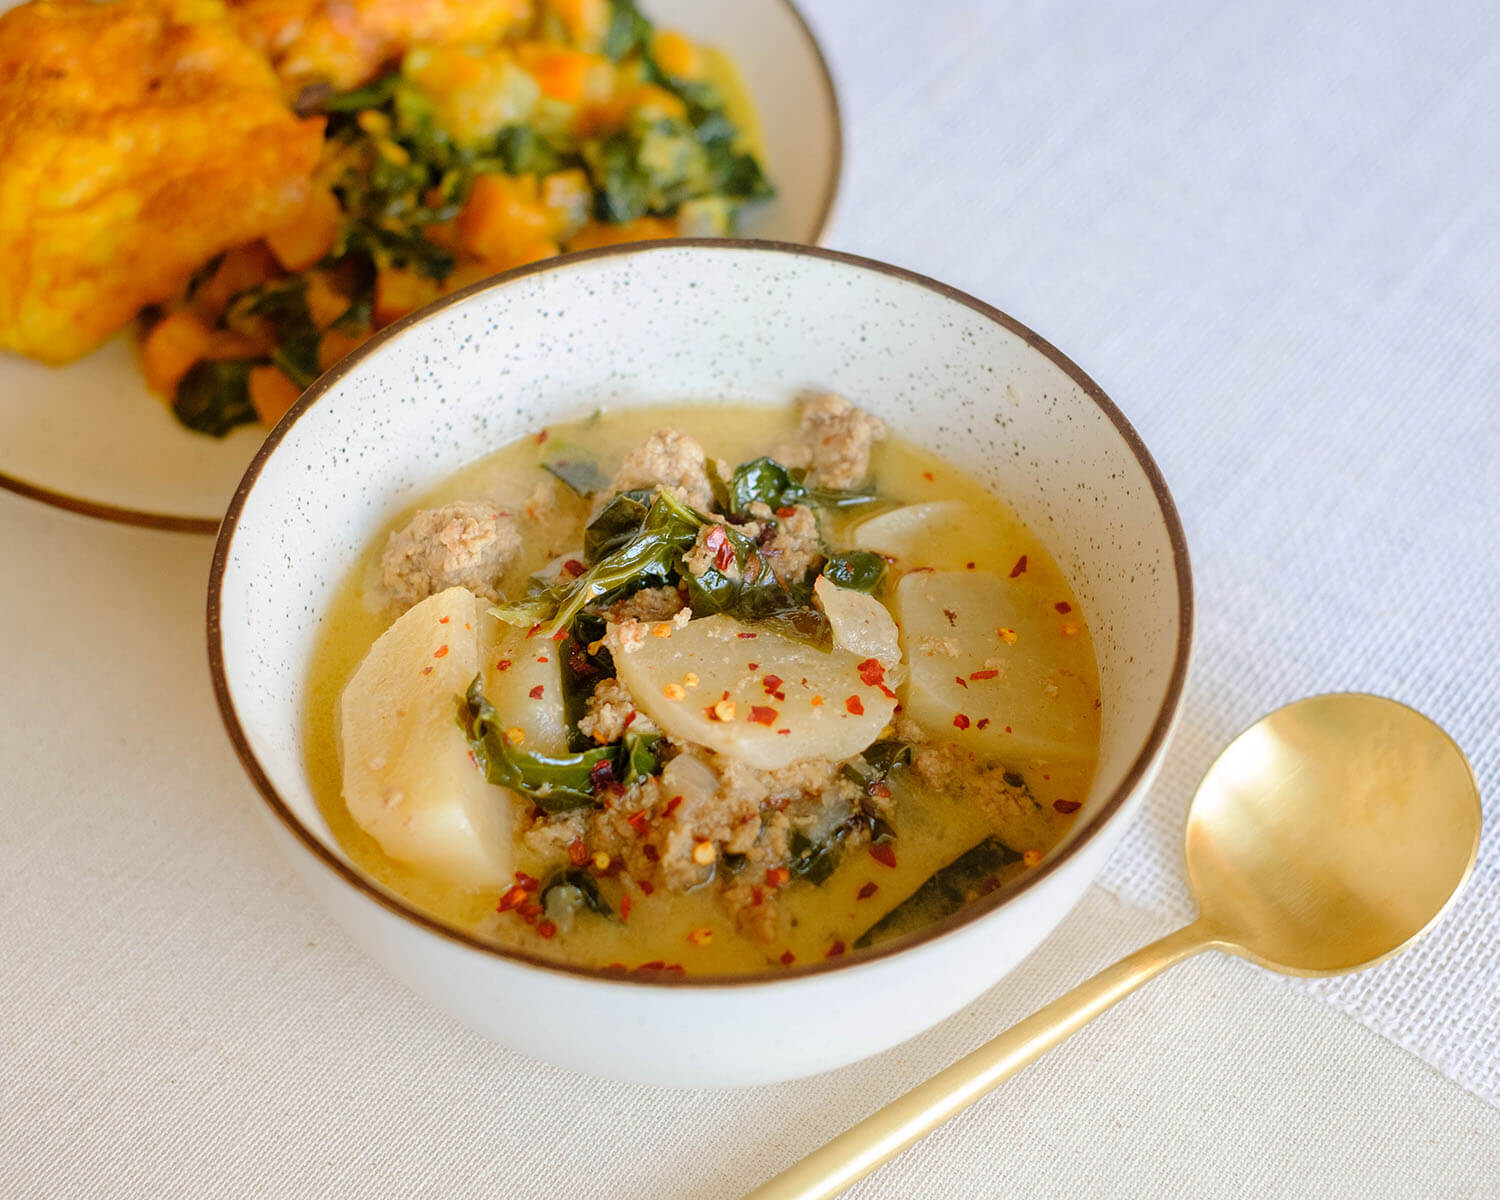
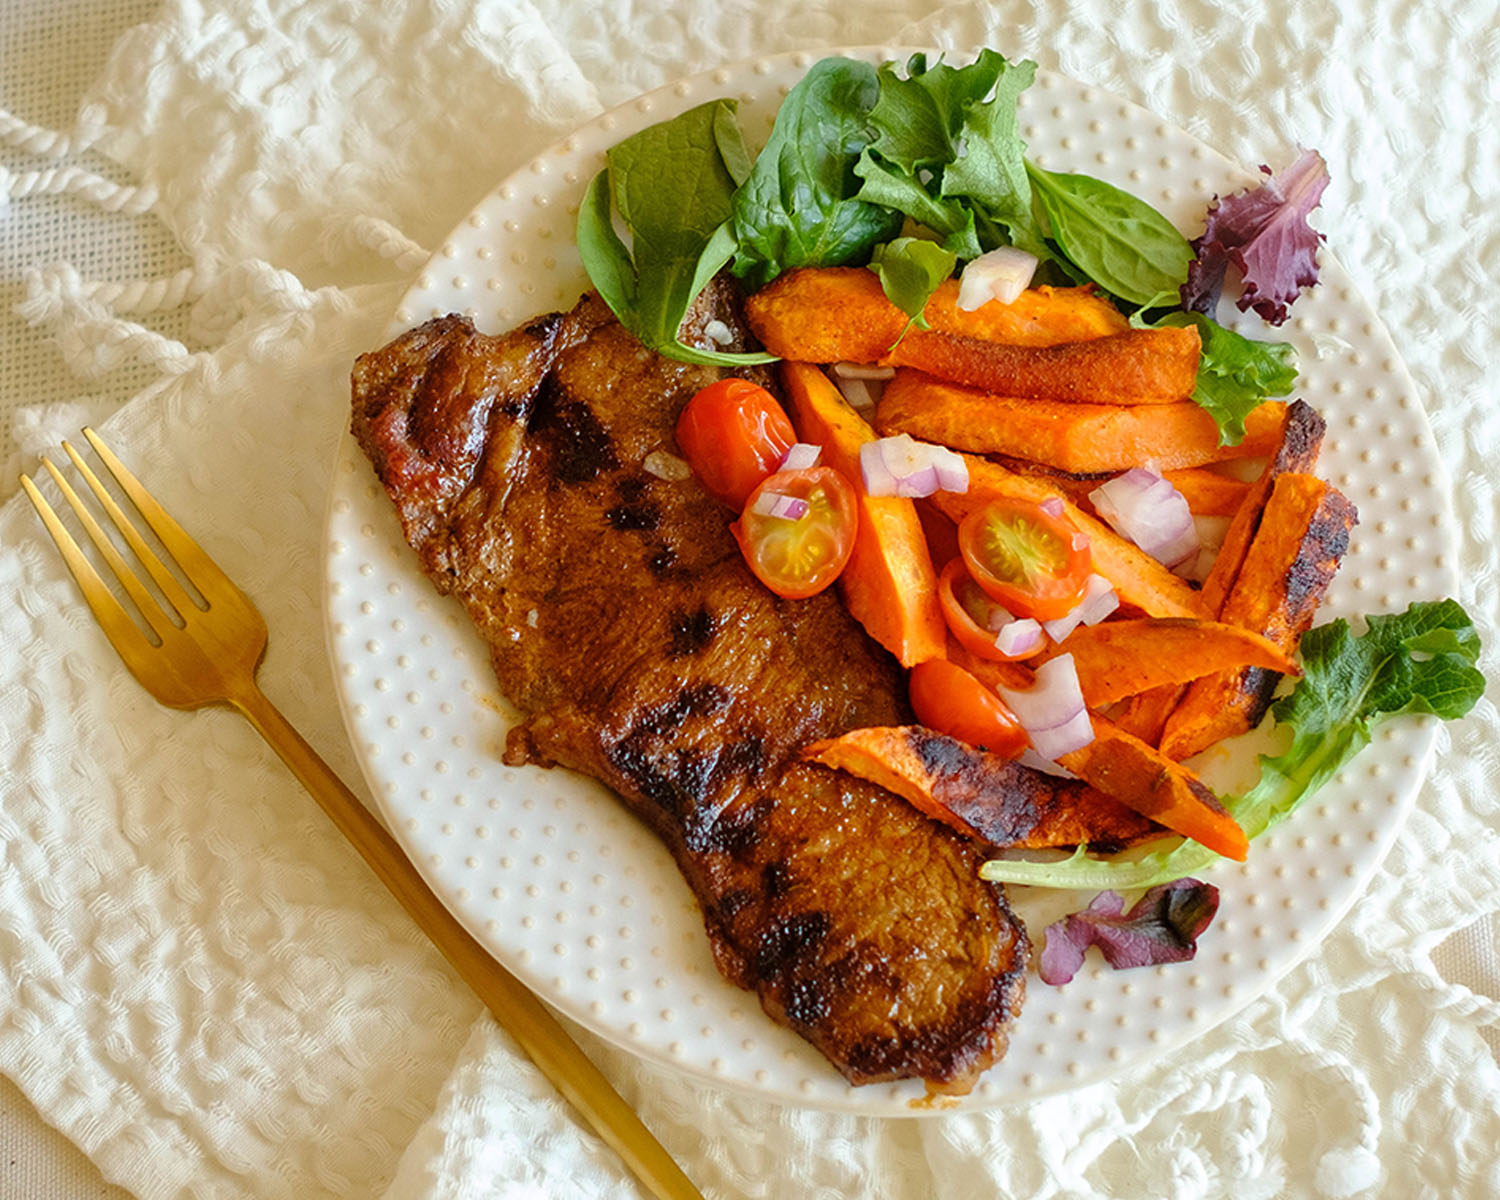
Potatoes
Potatoes, or sweet potatoes, are a filling and nutritious ingredient that are perfect for the cheapest meals for one. They can be used in many dishes, such as baked potatoes, mashed potatoes, and potato soup.

Get the Recipes:
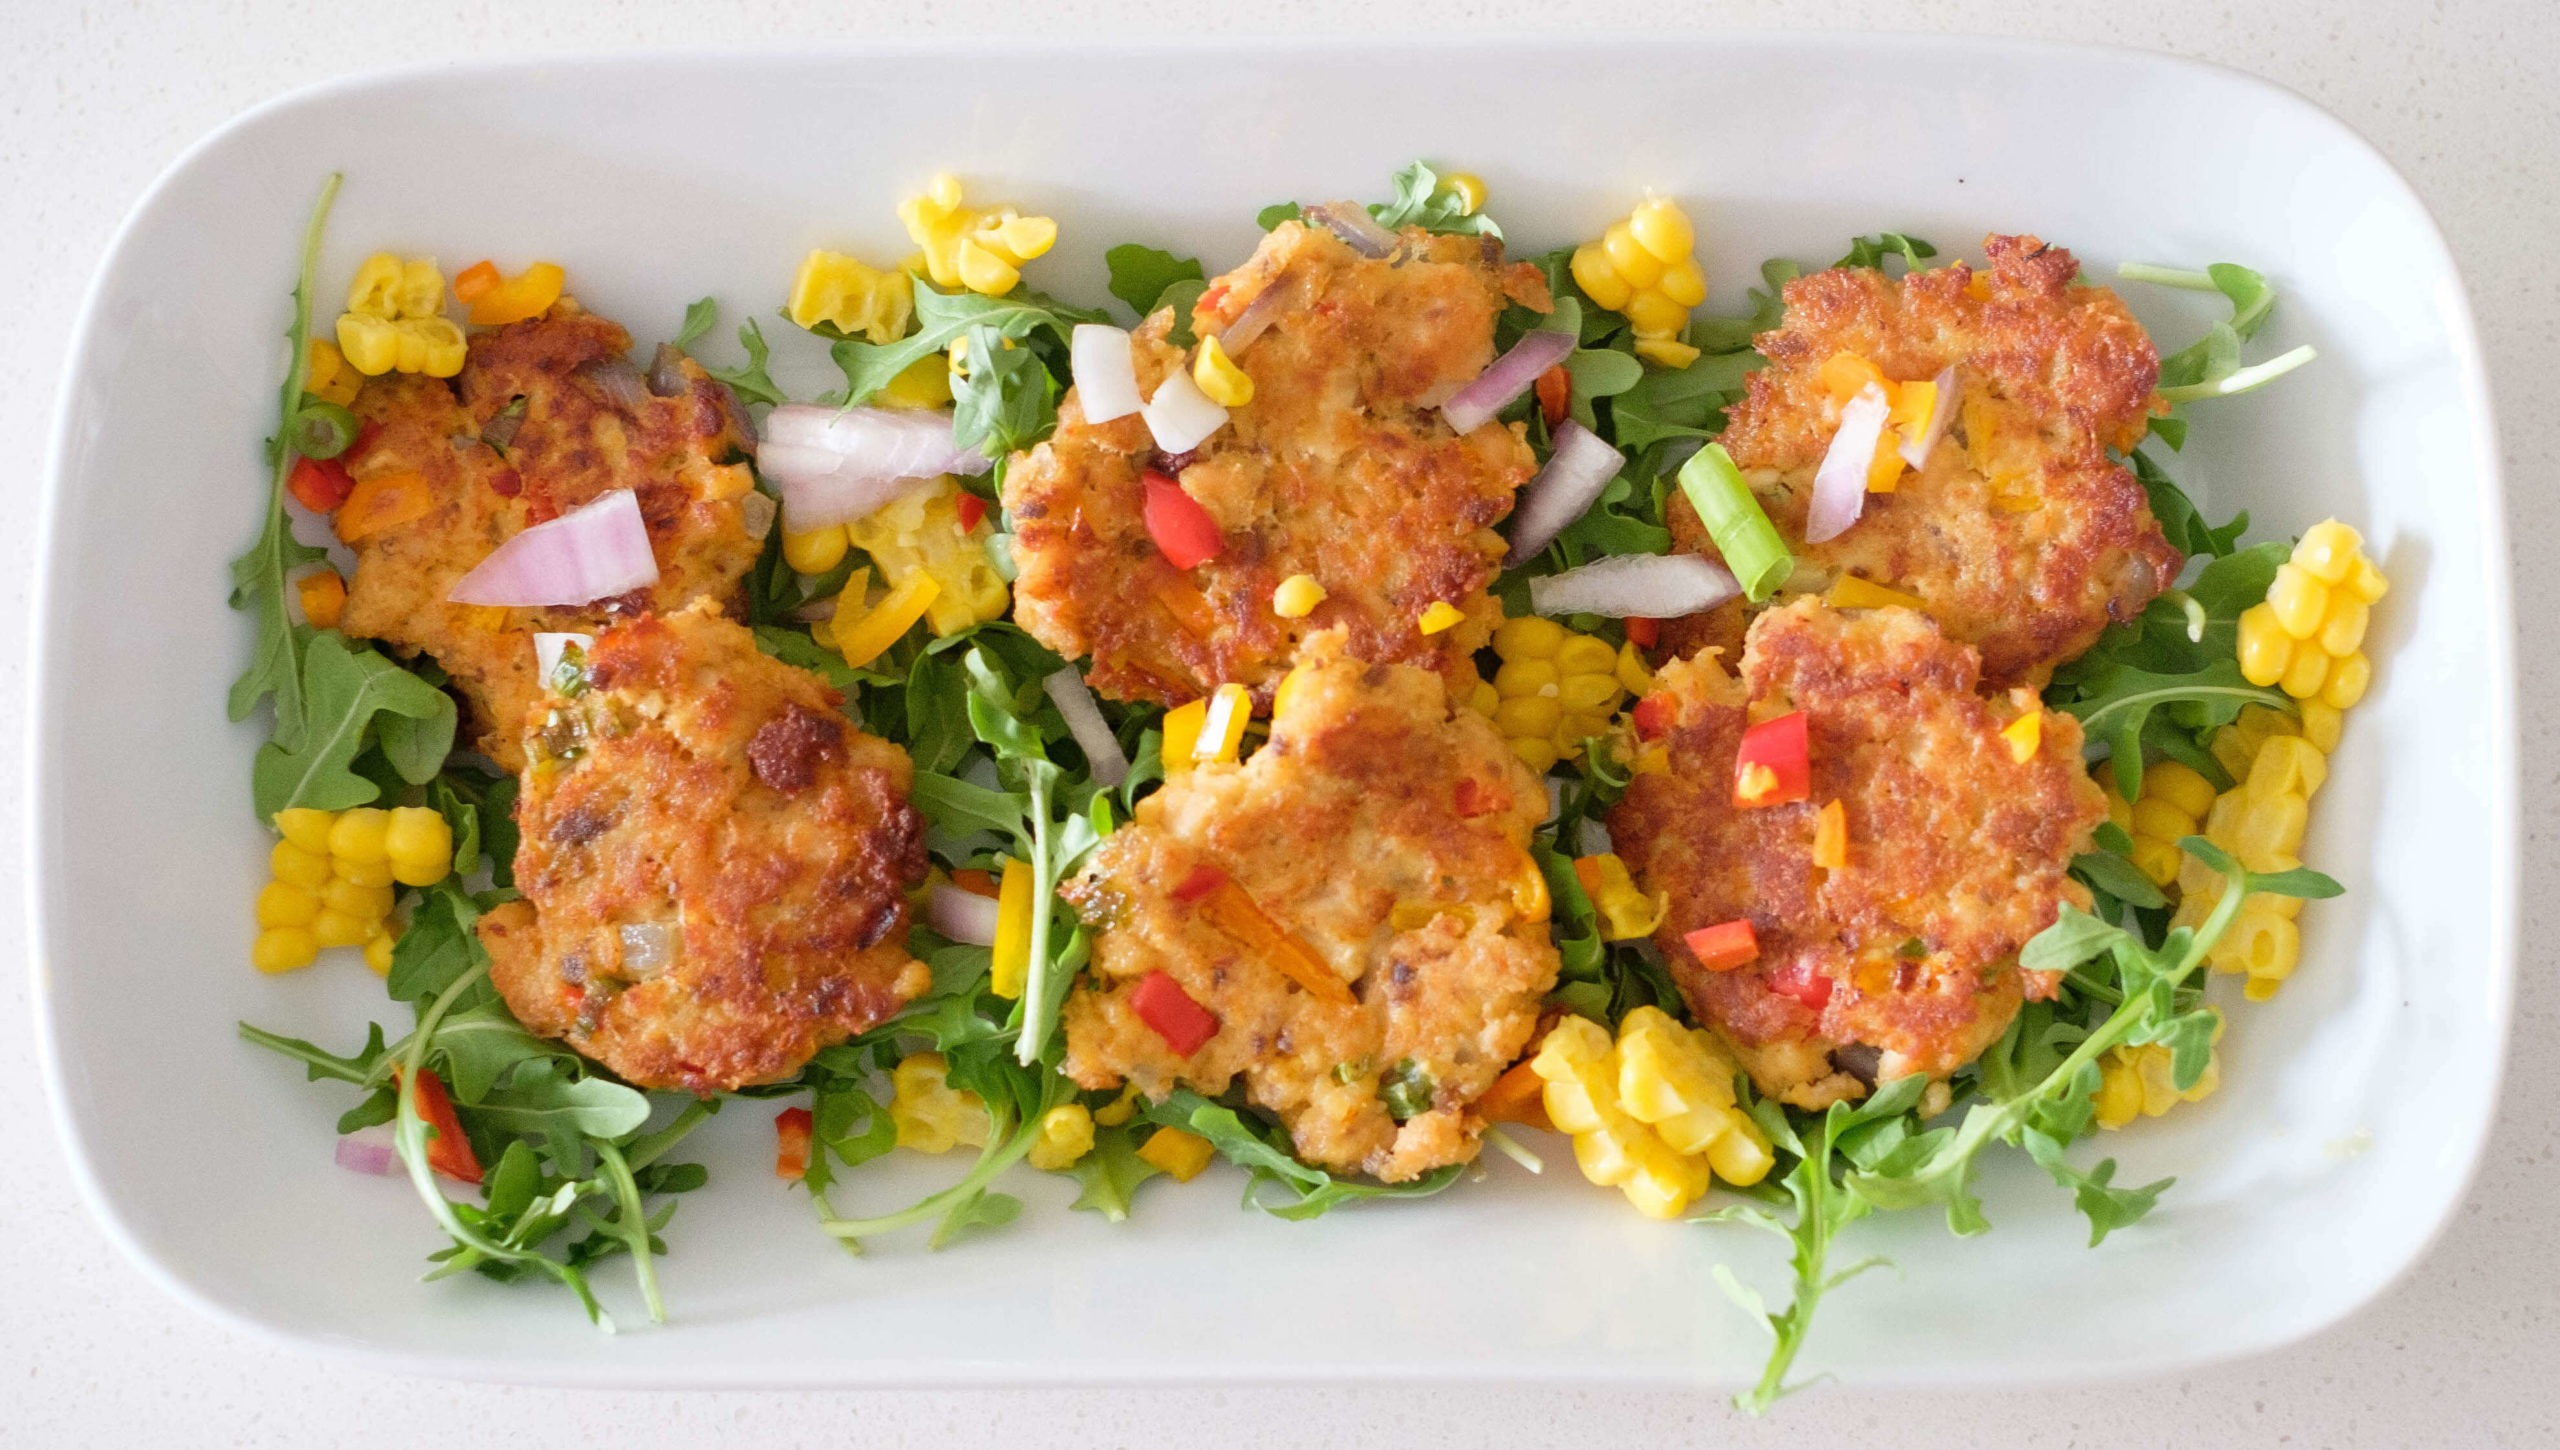
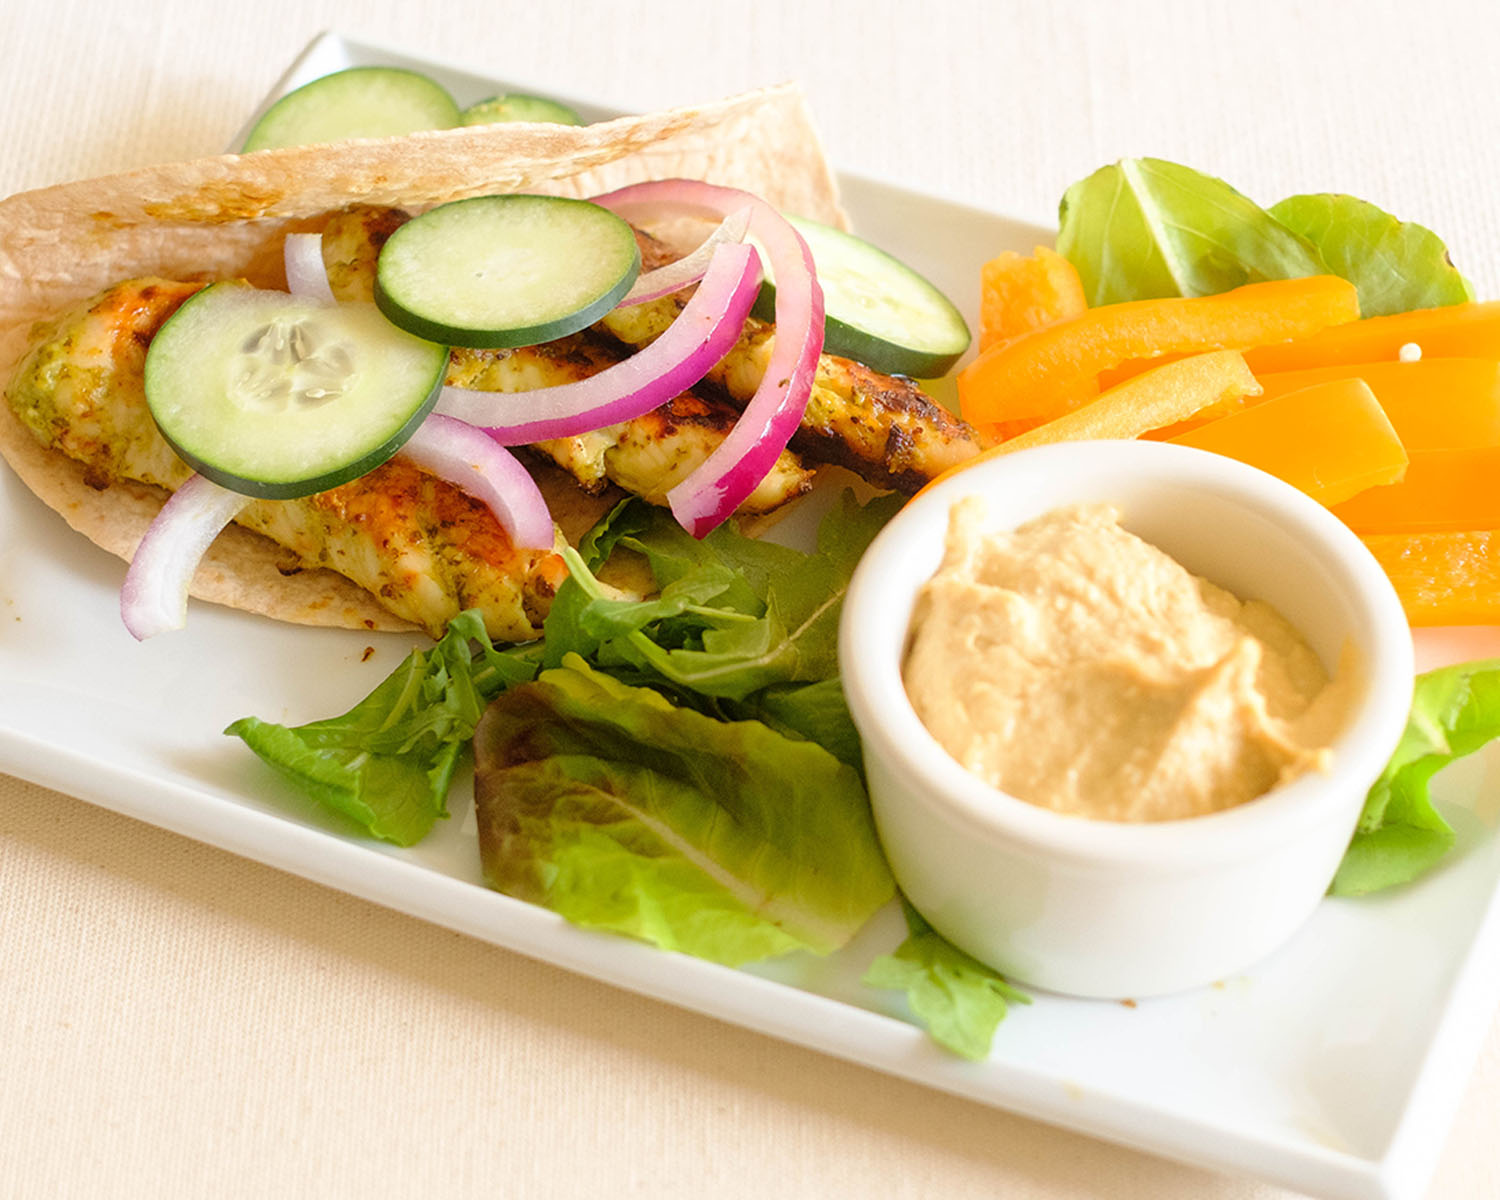
Canned Salmon
Canned salmon is an affordable and healthy source of protein that can be used in salads, sandwiches, and pasta dishes. It is also high in omega-3 fatty acids, which can help lower the risk of heart disease.

Get the recipes:
By using these affordable and healthy ingredients, you can cook delicious and nutritious meals without breaking the bank.


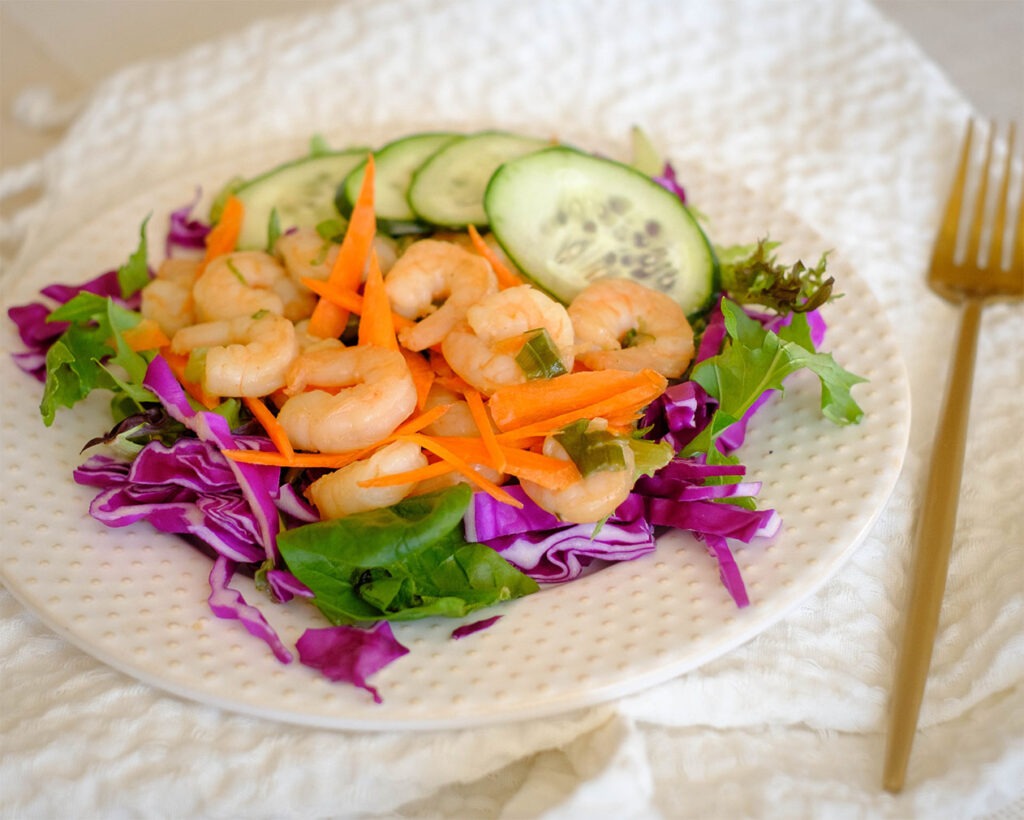
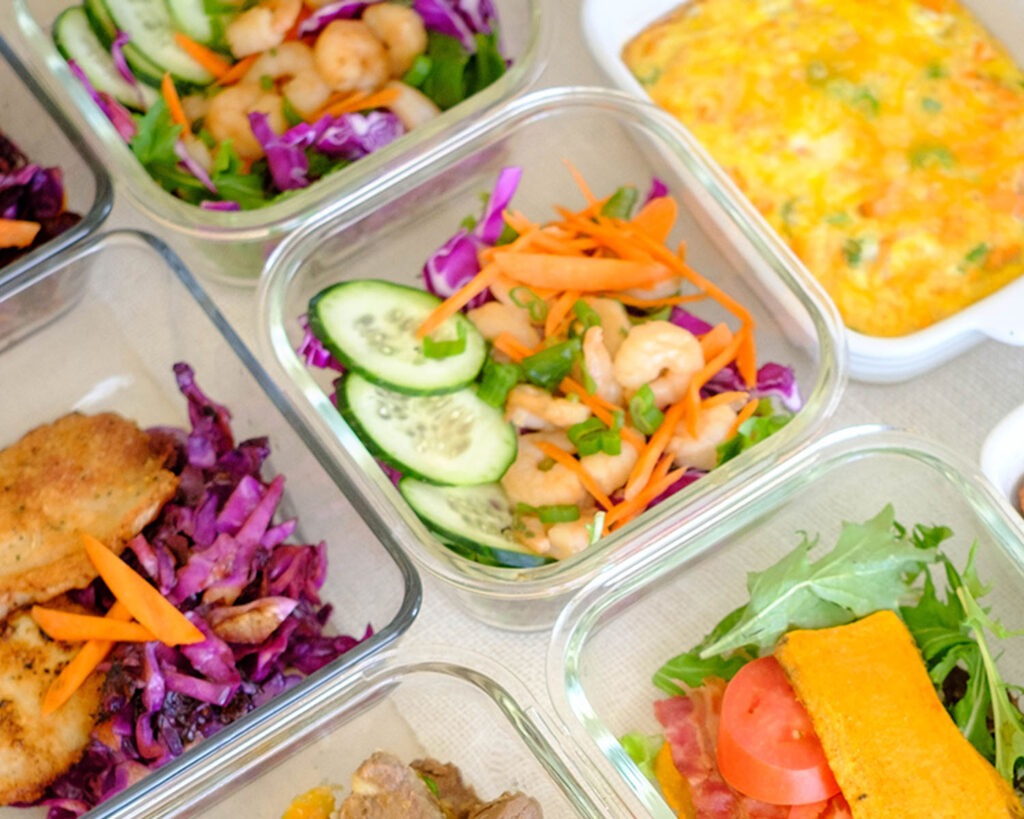
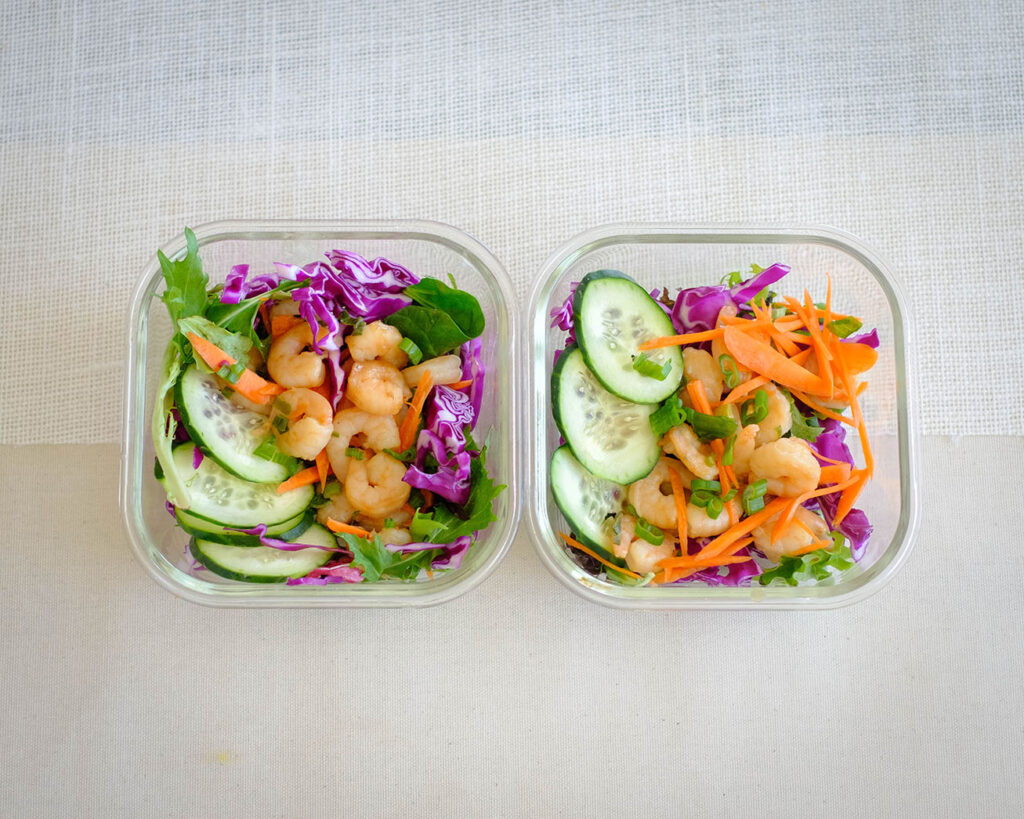


Shrimp Salad with Peanut Dressing
Equipment
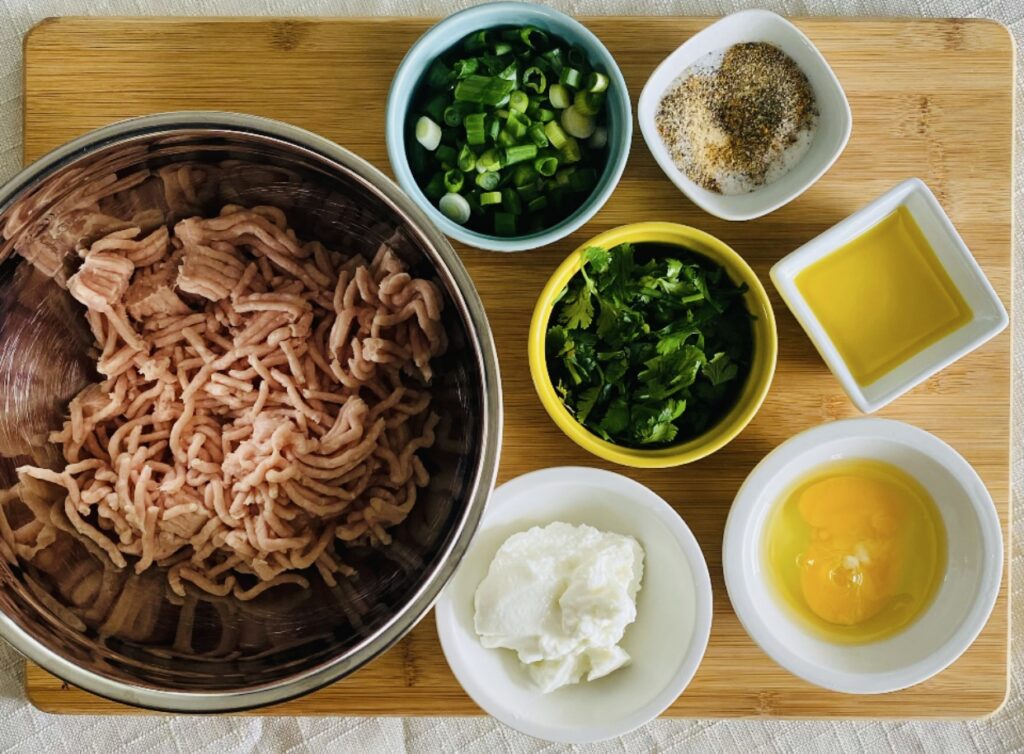
Ingredients
Peanut Dressing
Instructions