
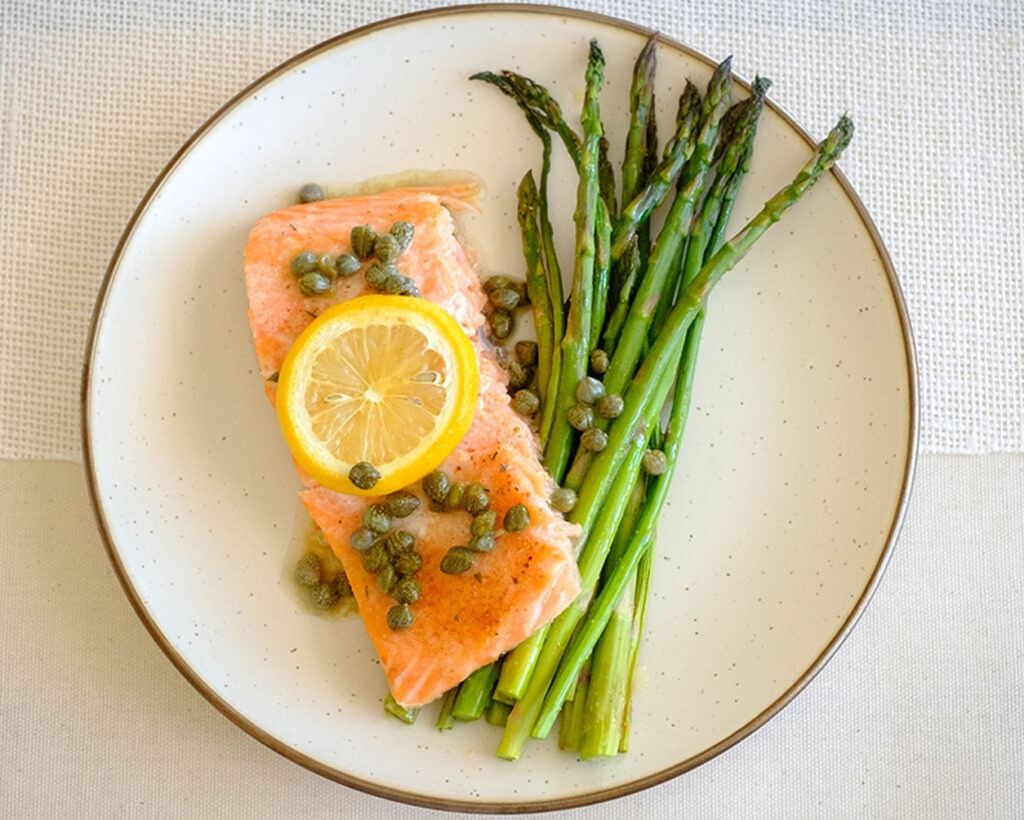
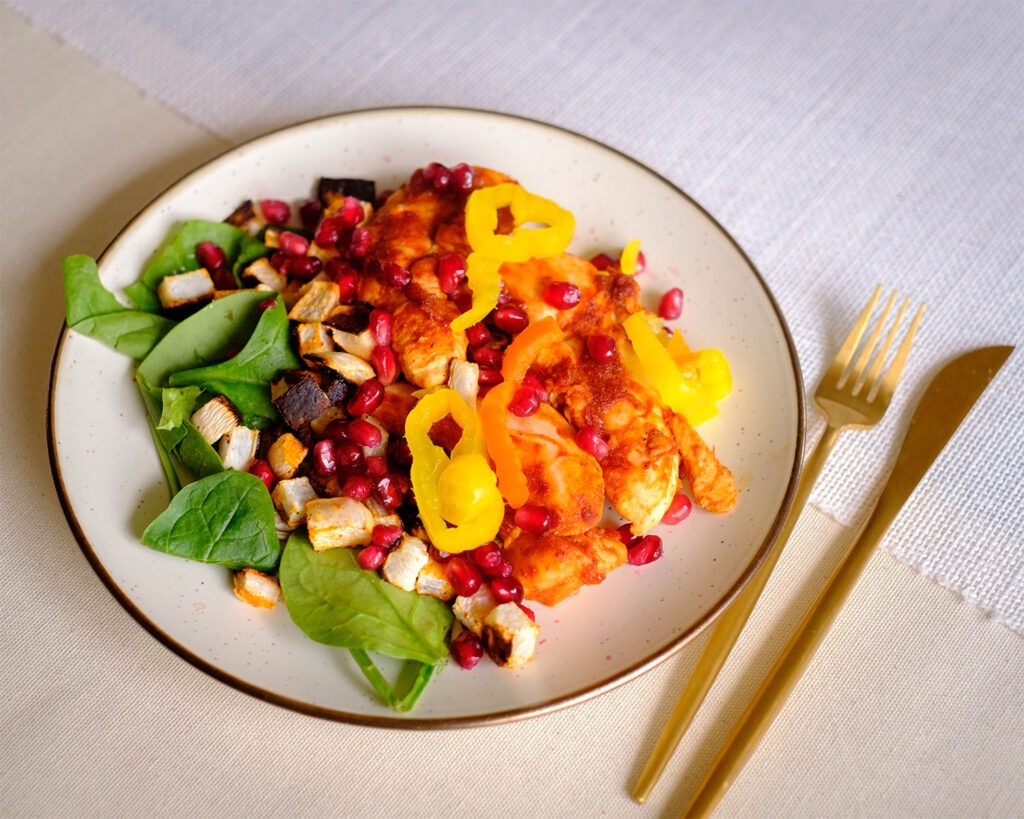
Welcome to your new go-to meal prep solution that’s as delicious as it is convenient: Salmon Piccata Meal Prep! If you’re a busy individual looking to stay on track with your healthy eating goals without sacrificing flavor or breaking the bank, then you’ve come to the right place. This recipe combines tender salmon fillets, crisp asparagus, and a tangy lemon caper sauce for a gourmet experience that’s ready in a flash. With just a handful of ingredients and minimal prep time, you’ll have a week’s worth of nutritious and satisfying meals at your fingertips. Get ready to impress your taste buds and streamline your meal prep routine with this flavor-packed dish. So, let’s roll up our sleeves and dive into the kitchen – your taste buds will thank you!
This post may contain affiliate links. Please see our privacy policy for details.
Why This Recipe is Great for Meal Prep
- Quick and Easy: With just a few simple steps and minimal prep time, this recipe fits perfectly into your busy schedule. No need to spend hours in the kitchen – you’ll have delicious meals ready to go in no time!
- Healthy and Nutritious: Salmon is packed with omega-3 fatty acids, protein, and essential vitamins, making it a nutritious choice for fueling your body. Paired with nutrient-rich asparagus, this meal provides a wholesome balance of nutrients to keep you energized throughout the day.
- Budget-Friendly: Eating healthy doesn’t have to break the bank! This recipe utilizes affordable ingredients like salmon and asparagus, allowing you to enjoy a gourmet meal without overspending.
- Flavor Explosion: The tangy lemon sauce infused with butter, garlic, and capers adds a burst of flavor to every bite. It’s a deliciously satisfying meal that will leave your taste buds dancing with joy.
- Versatile: While this recipe is designed for meal prep, it’s also versatile enough to be enjoyed for dinner parties or weeknight meals. Impress your guests or treat yourself to a gourmet dinner without the hassle.

To Meal Prep This Salmon Recipe You’ll Need
- Salmon: Salmon is the star of this dish for a good reason. Not only is it rich in omega-3 fatty acids, which are beneficial for heart health and brain function, but it’s also an excellent source of protein. Protein helps to keep you feeling full and satisfied, making it an essential component of any meal. Additionally, salmon has a naturally rich and buttery flavor that pairs beautifully with the tangy lemon sauce, creating a harmonious balance of flavors.
- Asparagus: Asparagus not only adds vibrant color to the dish but also contributes a host of nutrients. It’s packed with vitamins, minerals, and antioxidants, including vitamins A, C, E, and K. Asparagus is also high in fiber, which aids in digestion and promotes gut health. Its slightly bitter flavor complements the richness of the salmon and adds a delightful crunch to each bite.
- Lemon Juice: Lemon juice serves as the primary acidic component in the sauce, lending a bright and tangy flavor to the dish. It adds a refreshing zing that cuts through the richness of the butter and enhances the natural flavors of the salmon and asparagus. Additionally, lemon juice is a great source of vitamin C, which boosts the immune system and aids in iron absorption.
- Butter: Melted butter adds a luxurious richness to the sauce, creating a velvety texture that coats the salmon and asparagus. While butter is often associated with indulgence, using it in moderation adds depth of flavor without compromising on health. Opting for unsalted butter allows you to control the sodium content of the dish.
- Capers: Capers are small, briny buds that pack a punch of flavor. They add a unique, slightly tangy taste to the sauce, balancing out the richness of the butter and adding depth to the overall flavor profile. Capers are also low in calories and high in antioxidants, making them a healthy and flavorful addition to the dish.
- Minced Garlic: Garlic is a kitchen staple known for its pungent flavor and numerous health benefits. It adds a savory depth to the sauce, enhancing the overall complexity of flavors. Garlic is also rich in sulfur compounds that have been shown to have anti-inflammatory and immune-boosting properties, making it a nutritious addition to any meal.
Easy Recipe Steps to Meal Prep Oven Roasted Salmon
- First things first, preheat your oven to 400F. We’re getting ready to create some magic!
- Rinse the baby bok choy halves thoroughly to ensure they’re dirt-free. No one wants extra crunch from the soil!
- While the oven is heating up, let’s whip together that amazing sauce. In a small bowl, mix together the lemon juice, melted butter, capers, minced garlic, and a pinch of salt. Give it a good stir until everything is nicely combined. This sauce is going to be the star of the show!
- Now, grab a sheet pan and lay out your salmon fillets and asparagus. It’s like creating a canvas for a masterpiece!
- Next, pour that delectable sauce you just made all over the salmon and asparagus. Be generous! We want every bite to be bursting with flavor.
- Once your oven is nice and toasty, pop the sheet pan in and let the magic happen. Bake for 10-12 minutes, or until the salmon is cooked to perfection and the asparagus is tender. Trust me, your kitchen is going to smell amazing!
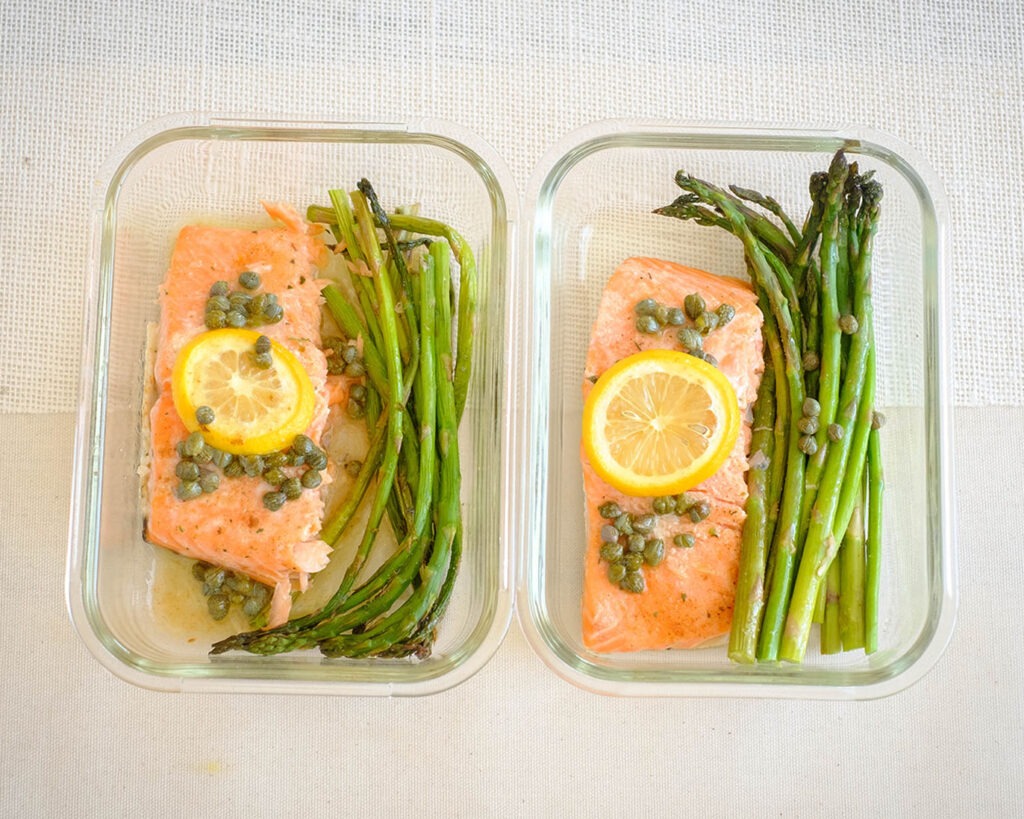
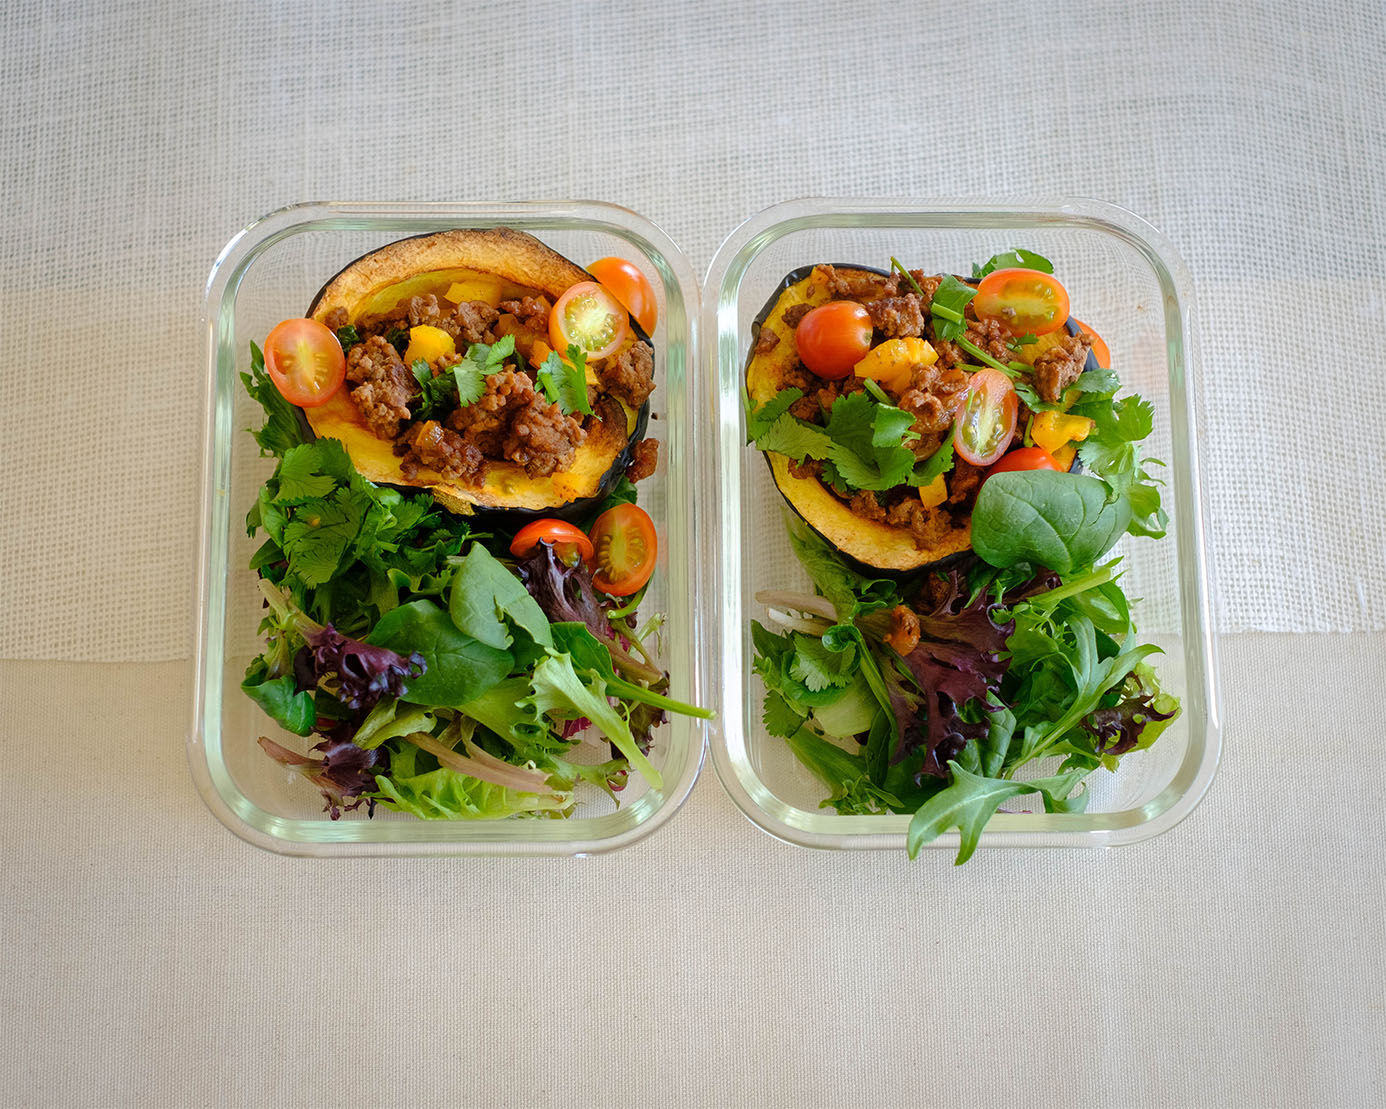
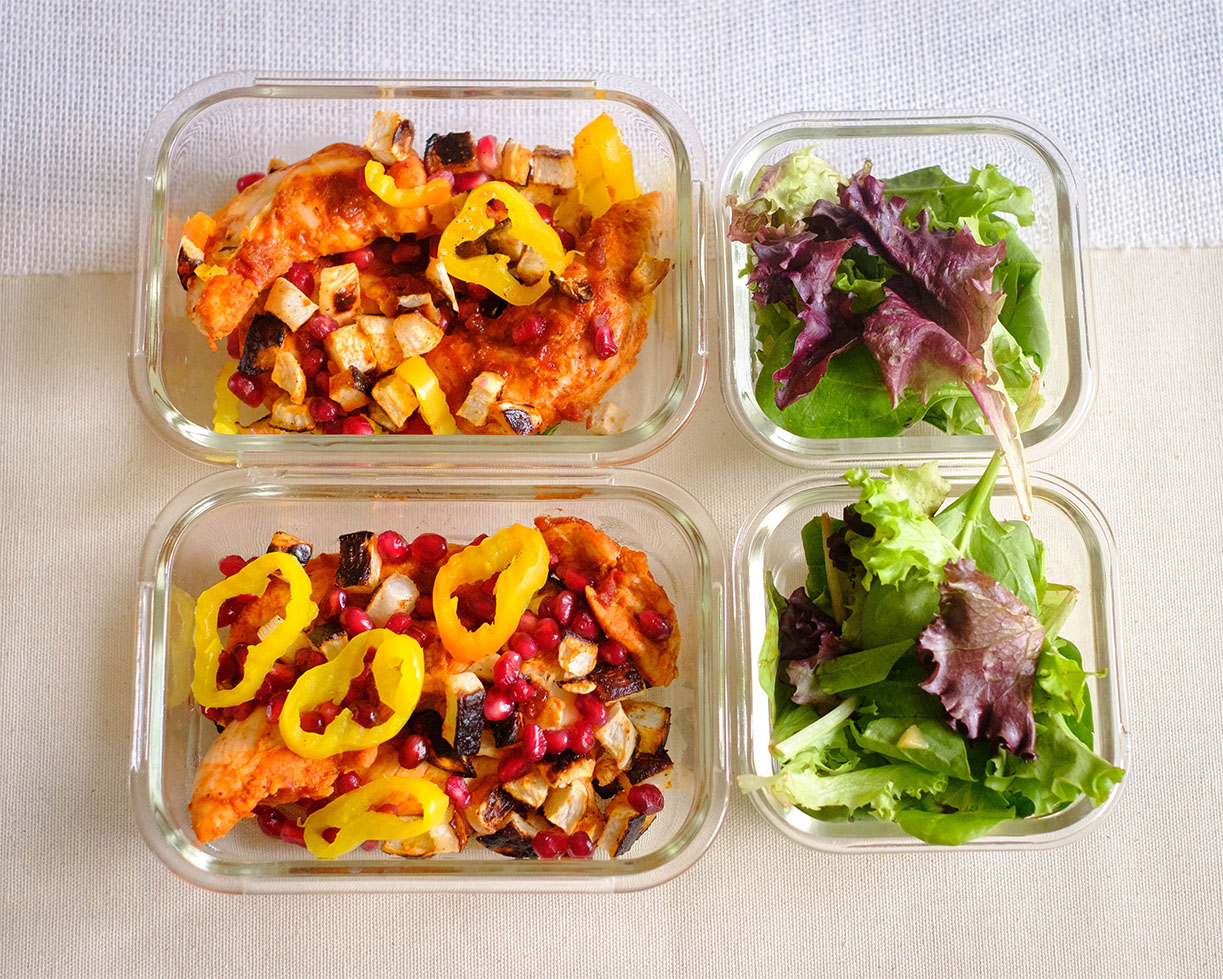
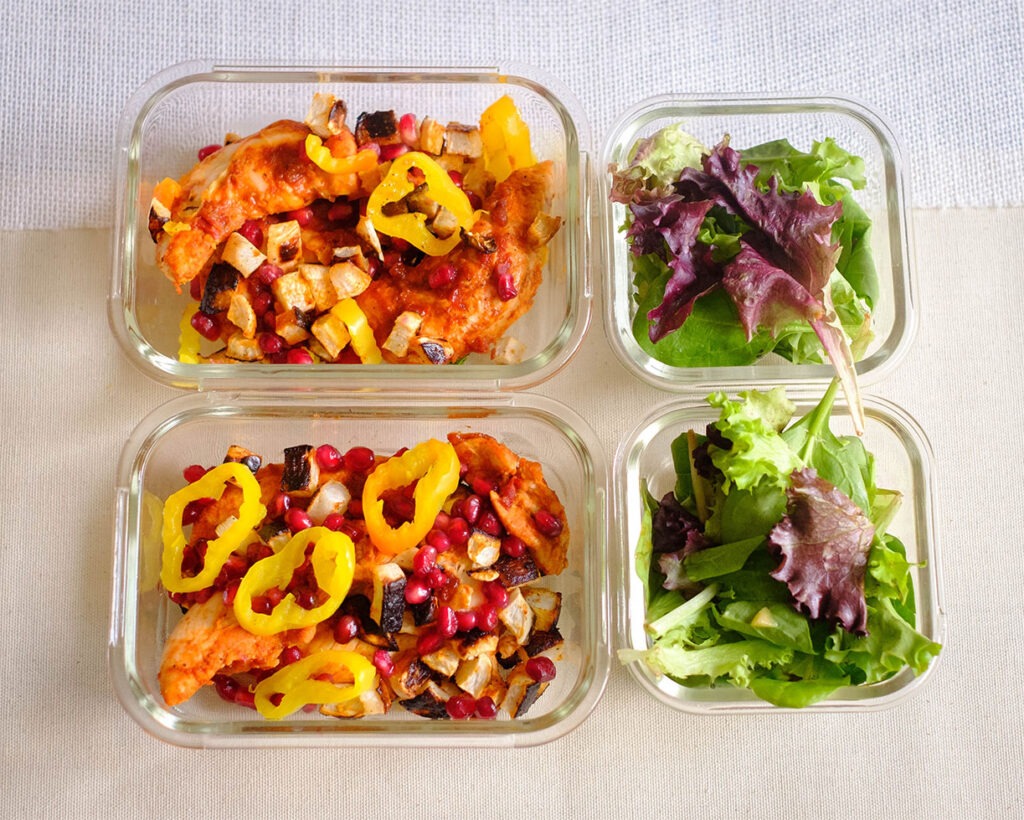
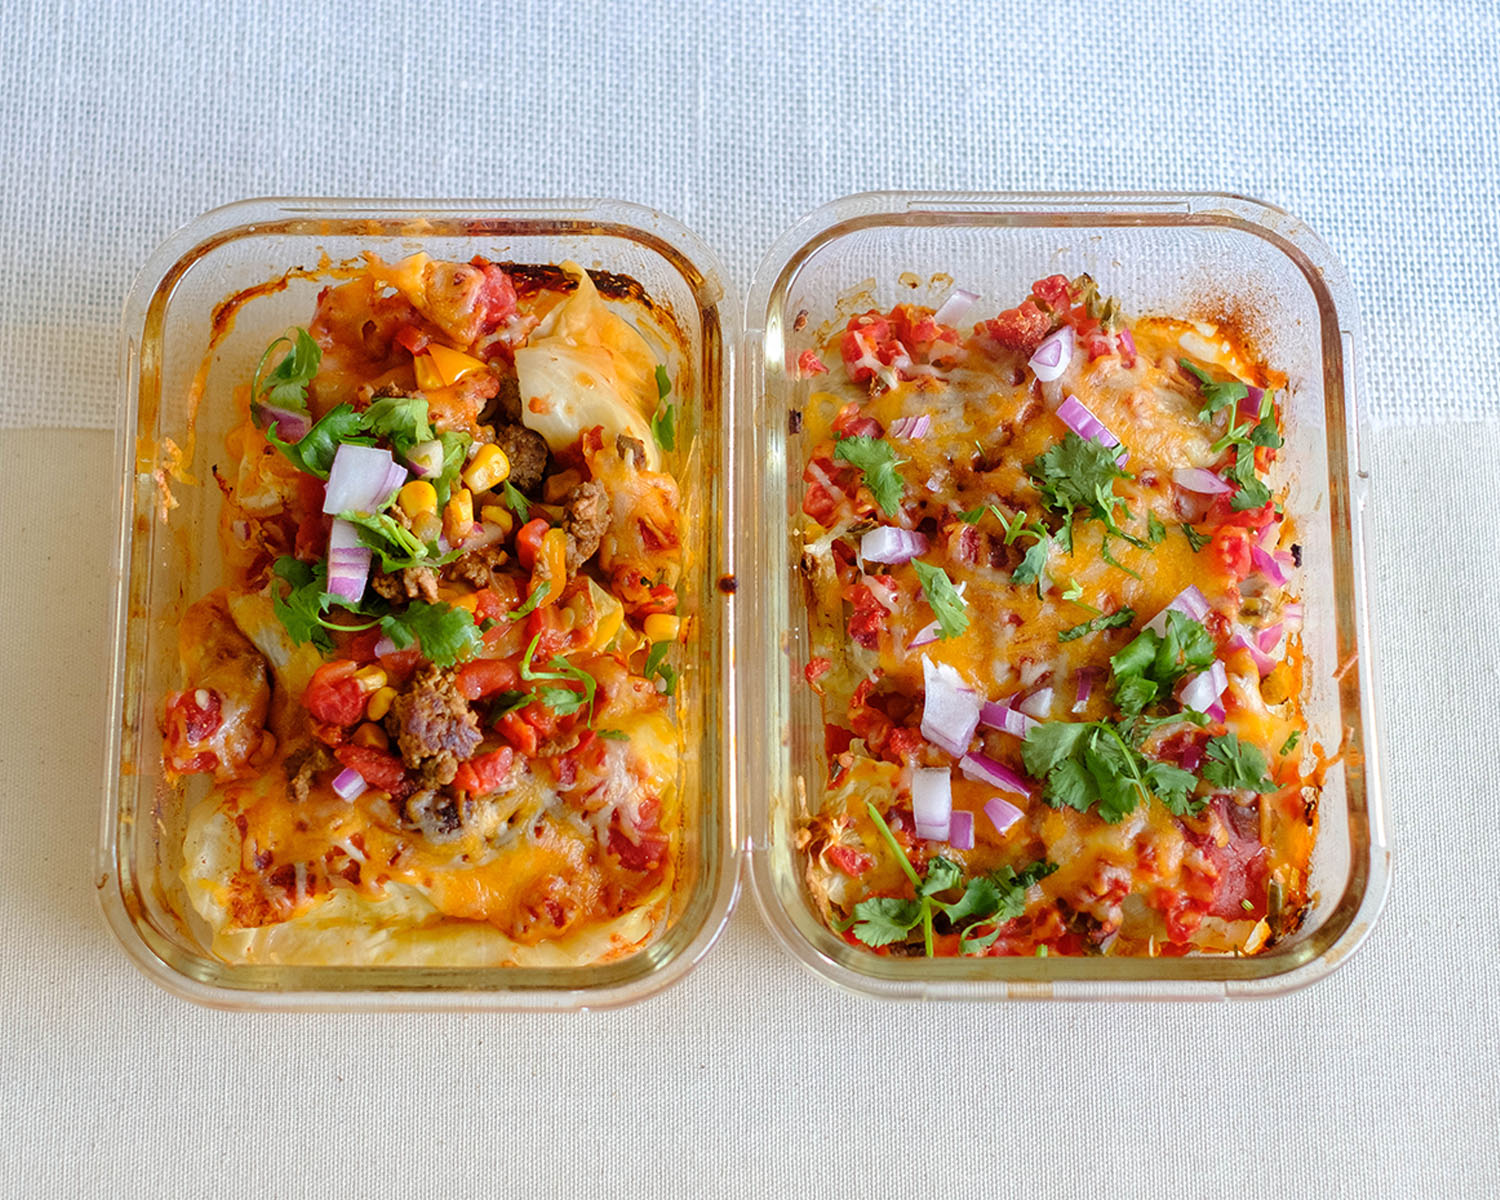
- Once the timer goes off, carefully remove the sheet pan from the oven. Let it cool for a moment before portioning out your servings into containers.
Reference the recipe card below for detailed instructions.

Meal Prep and Pairing Tips
- Grains: Pairing this dish with a whole grain such as quinoa, brown rice, or farro can add texture, substance, and extra nutrients to your meal. Cook a batch of grains during your meal prep session and portion them into containers alongside the salmon and asparagus.
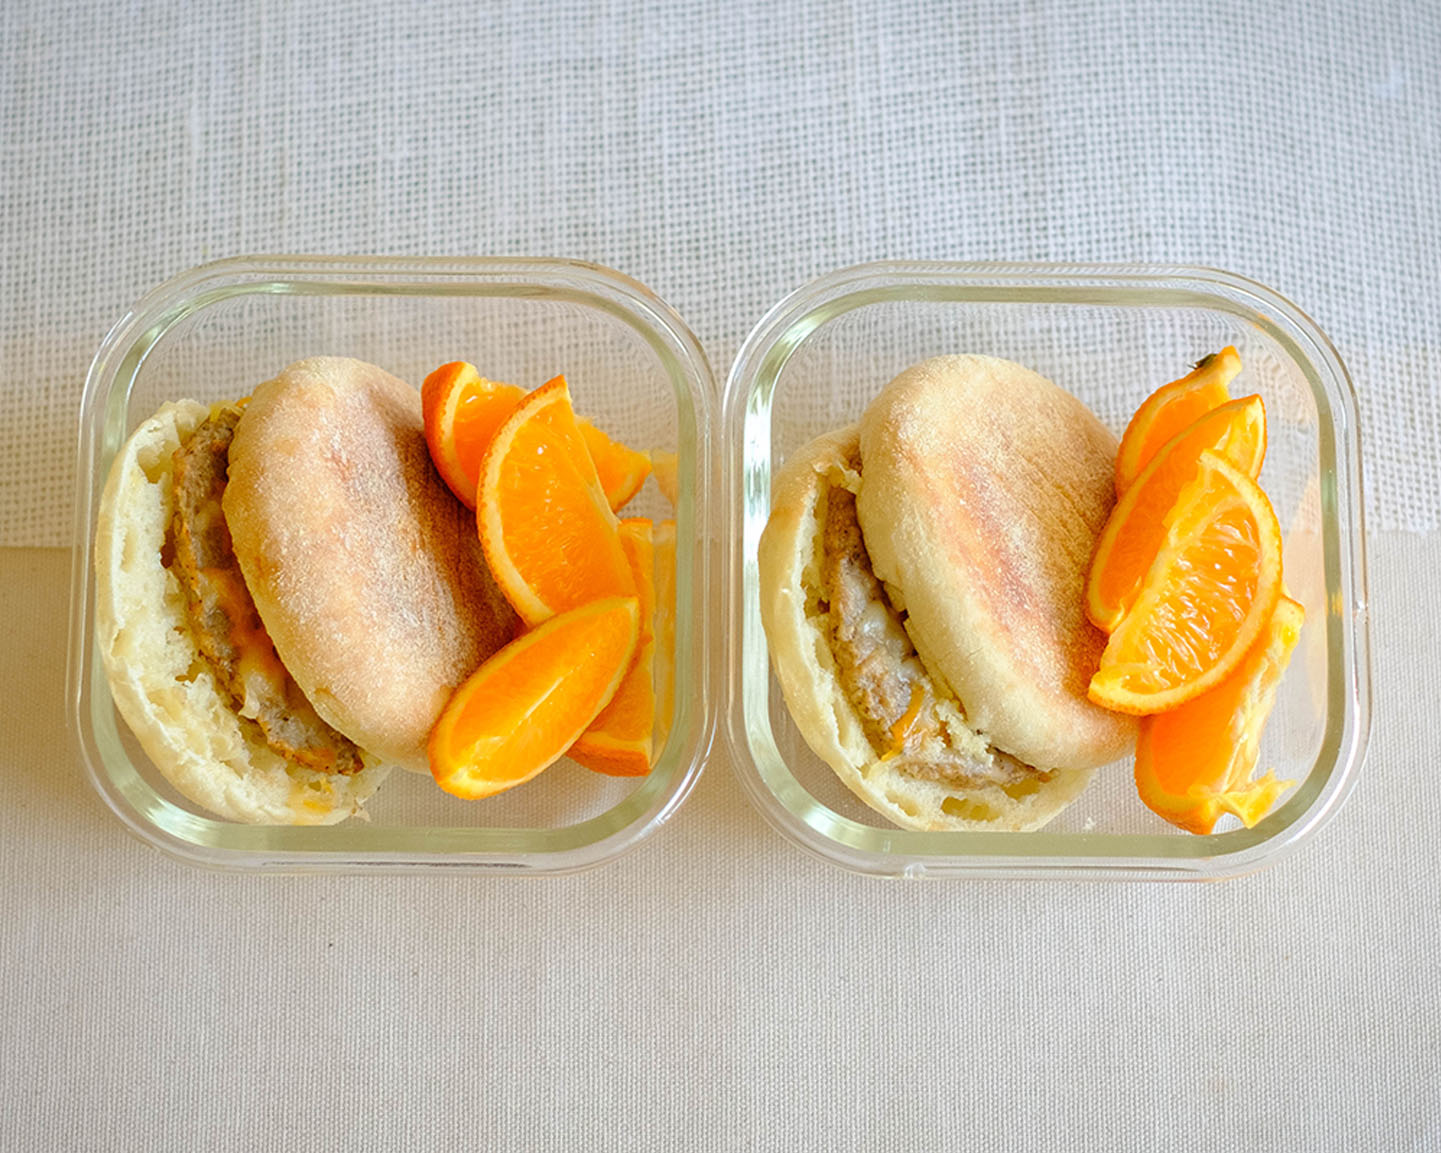
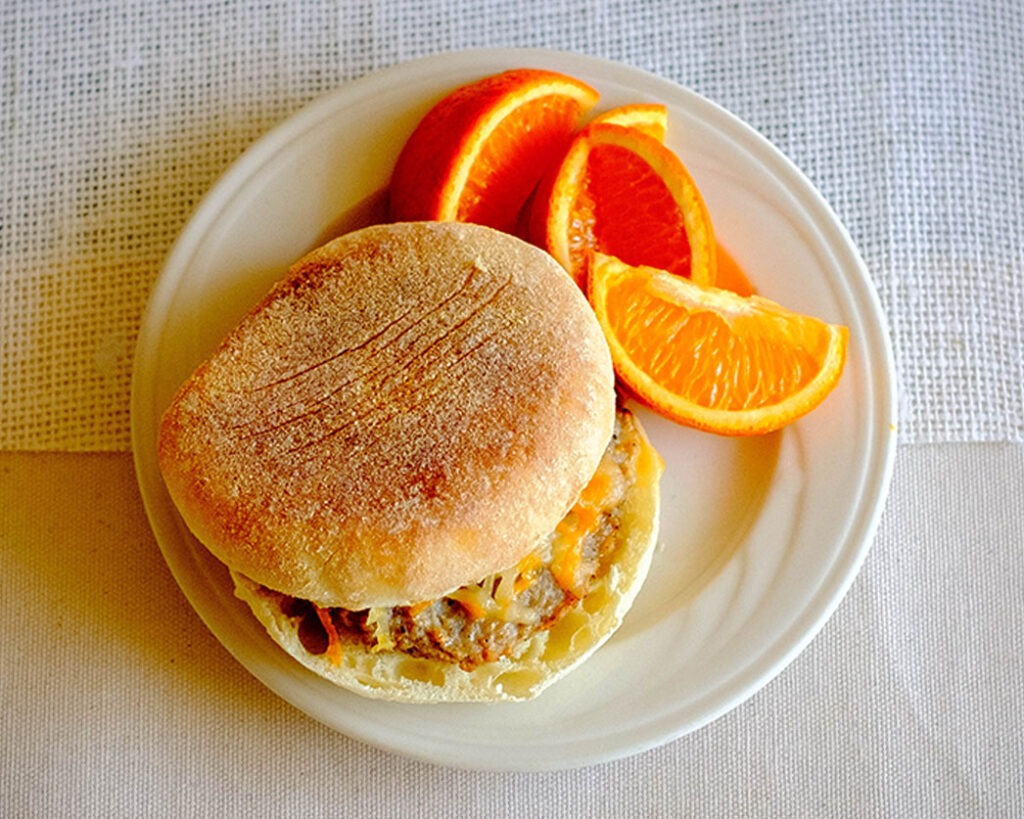
- Fresh Fruit: Adding fresh fruit like berries, sliced apples, or grapes to your meal prep containers provides a refreshing and sweet contrast to the savory flavors of the salmon piccata. It’s a simple and nutritious way to round out your meal.
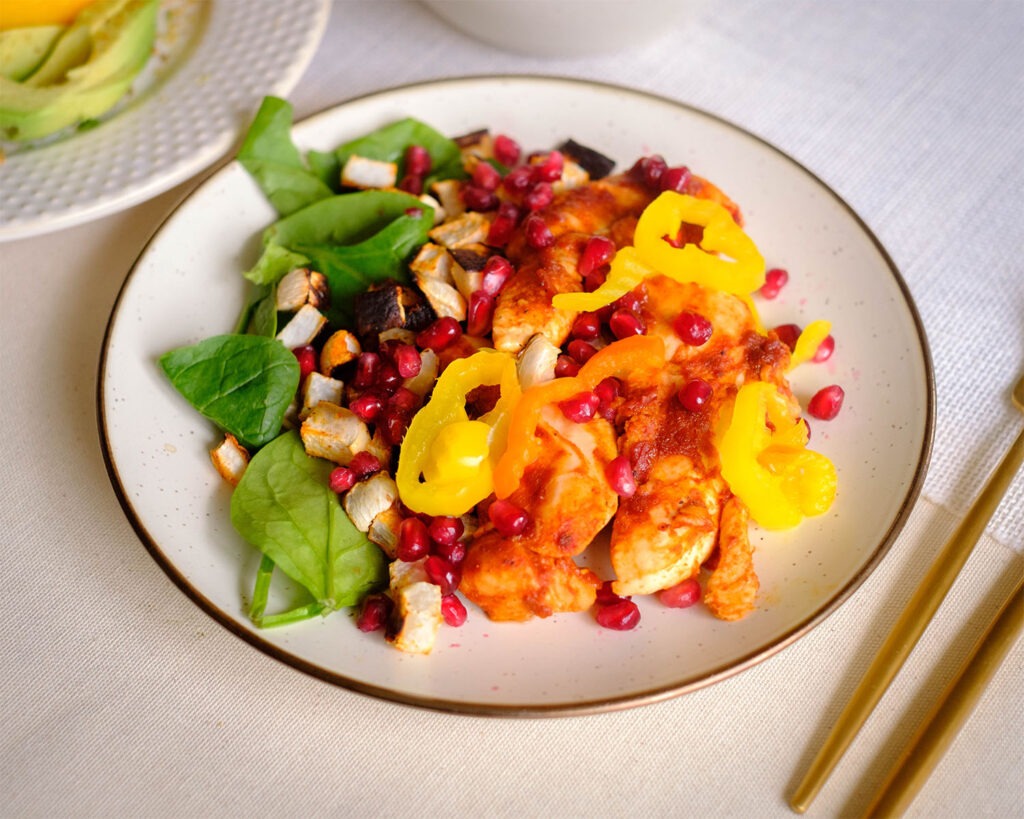
- Healthy Fat Sources: Consider adding sources of healthy fats such as avocado slices, nuts, or seeds to your meal prep containers. These ingredients not only add flavor and texture but also help to keep you feeling full and satisfied.
- Herbs: Garnishing your meal prep containers with fresh herbs like parsley, dill, or basil adds a pop of color and freshness.
- Sauce Options: While the lemon caper sauce is delicious on its own, you can also consider pairing the salmon piccata with additional sauce options such as pesto, tzatziki, or salsa verde for variety. Portion the sauce into small containers or drizzle it directly over the meal prep containers before serving.


Frequently Asked Questions
Can I use frozen salmon instead of fresh?
Yes, frozen salmon can be used in this recipe. Just make sure to thaw it completely before cooking. You may need to adjust the cooking time slightly depending on the thickness of the fillets
Can I substitute a different type of fish for the salmon?
While salmon works beautifully in this recipe, you can certainly experiment with other types of fish such as trout, cod, or tilapia. Just be mindful of variations in cooking times and adjust accordingly.
I’m not a fan of asparagus. Can I use a different vegetable?
Absolutely! Feel free to swap out the asparagus for your favorite vegetable or a medley of veggies. Broccoli, green beans, or Brussels sprouts would all be delicious alternatives.


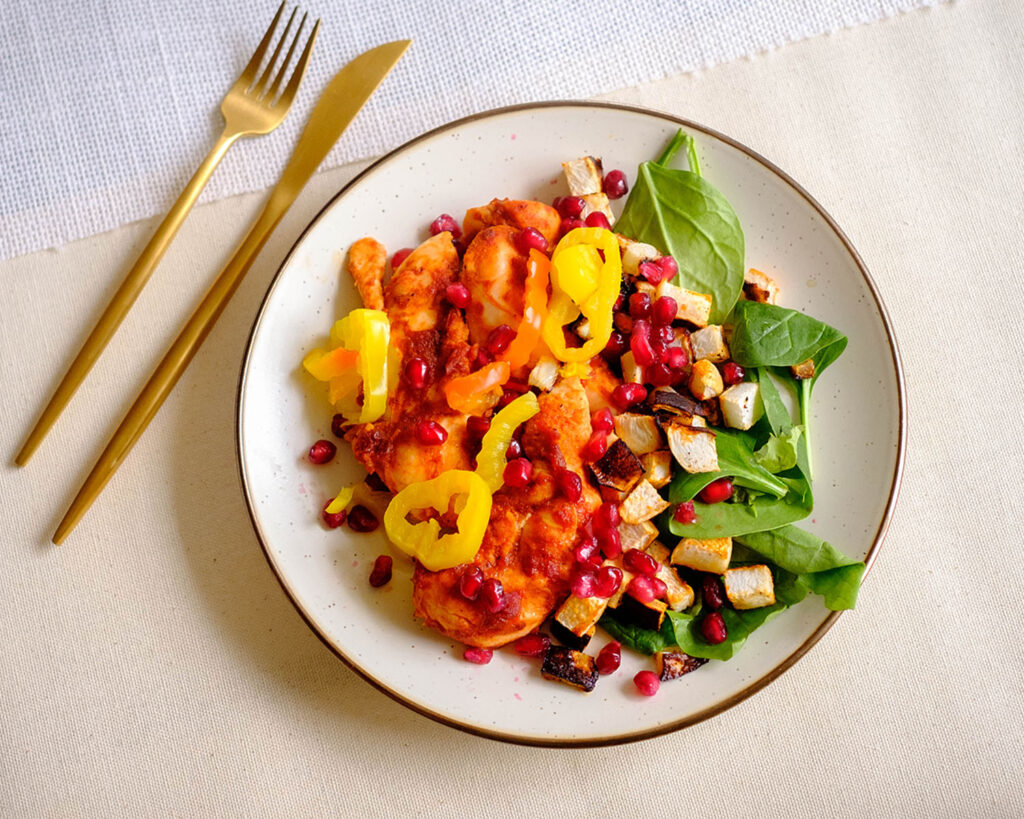


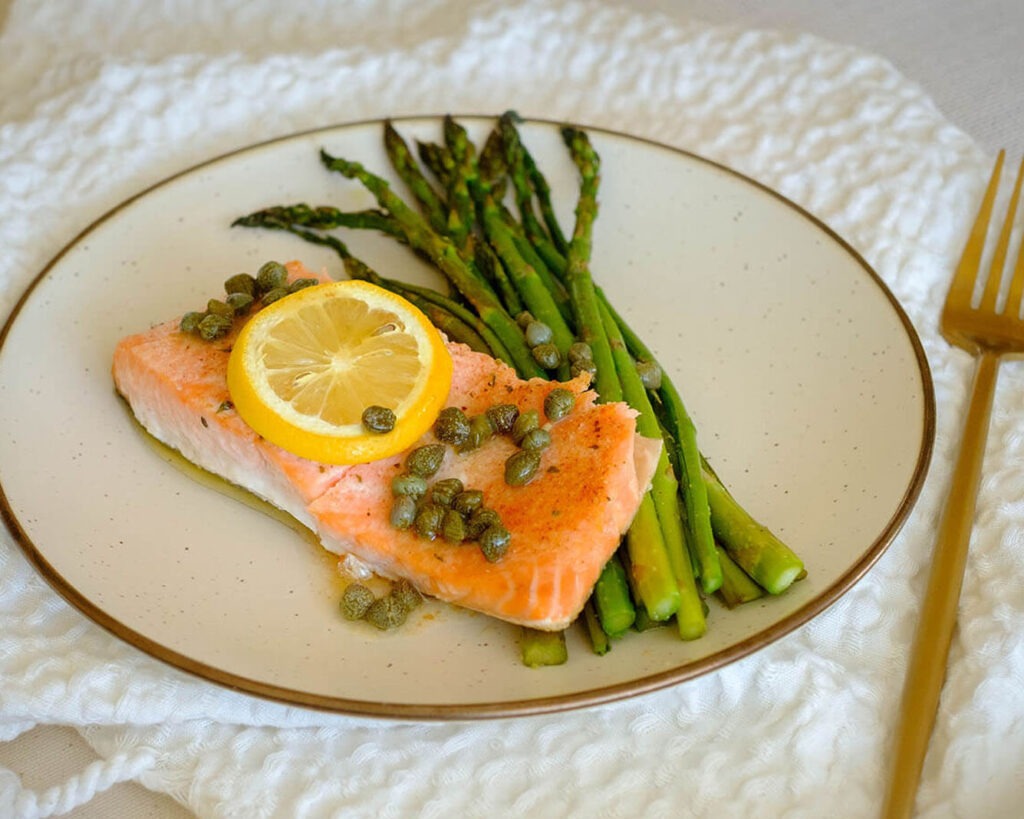
Oven Baked Salmon Piccata with Roasted Asparagus
Equipment
Ingredients
Salmon and Asparagus
Sauce
Instructions
Notes
Nutrition