
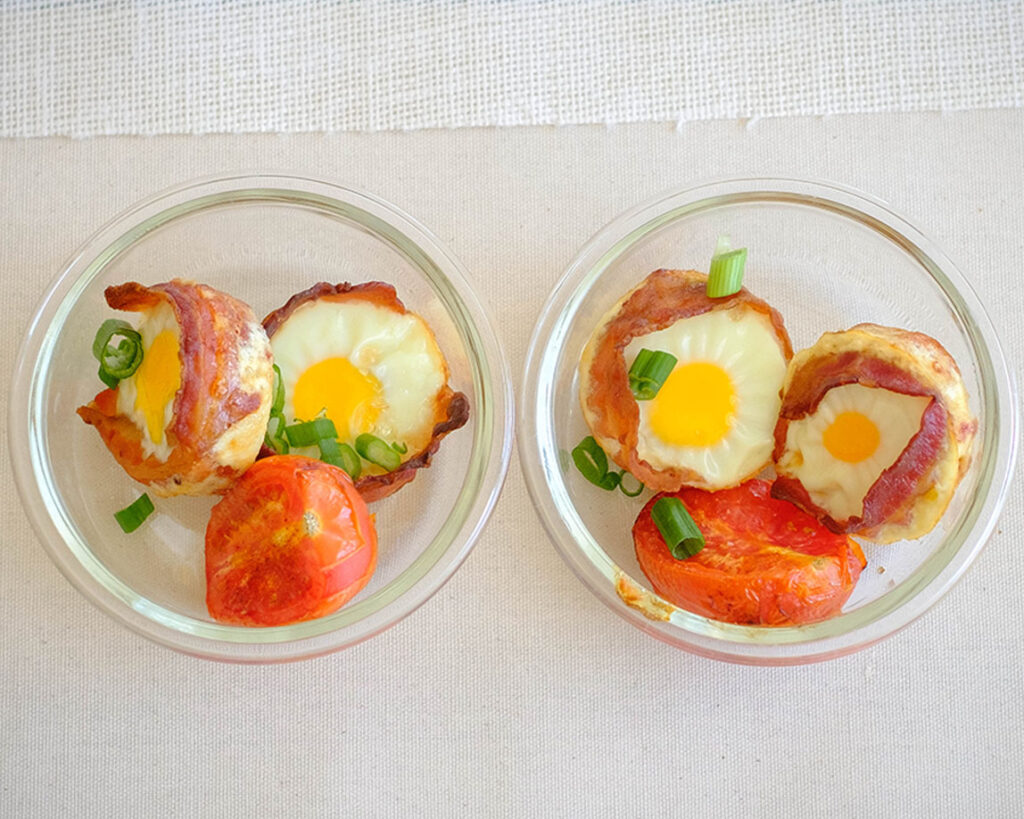
Here’s a breakfast recipe that’s not only delicious but also ridiculously easy to whip up – Bacon Egg Cups with Roasted Tomato. These little cups of joy are the perfect way to start your day with a protein-packed punch and a burst of flavor. Let’s dive into the kitchen and get these eggs baking!
This post may contain affiliate links. Please see our privacy policy for details.


Here’s why you need to make this:
These Bacon Egg Cups with Roasted Tomato are not just a tasty treat but also a healthy indulgence that is perfect for meal prep, especially for busy individuals aiming to stay on track with their nutrition:
- Excitement in Every Bite: Sticking to a meal plan can sometimes feel monotonous, but not with these bacon egg cups. The variety of textures – the crispy bacon, creamy eggs, and juicy tomatoes – along with the interplay of sweet and savory flavors, ensures that each bite is exciting. Meal prep shouldn’t be a chore; it should be an anticipation of delicious moments, and these cups deliver just that.
- Flavor Harmony: The flavor combinations in these cups create a delightful symphony for your taste buds. The savory, smoky notes from the bacon perfectly complement the richness of the eggs. The roasted tomatoes add a burst of sweetness and acidity, balancing the dish. Topped with fresh green onions, you get a pop of brightness and a hint of freshness that ties everything together into a harmonious and satisfying flavor experience.
- Portion Control and Satiety: Meal prepping these cups allows for easy portion control. Each cup is a perfectly sized, balanced serving, helping you manage your calorie intake.
- Time-Efficient Meal Prep: For busy individuals, time is of the essence. These bacon egg cups are a brilliant solution. With just a few simple ingredients and minimal prep time, you can have a batch ready to go. Pop them in the oven, and while they bake, you can focus on other tasks, making it a time-efficient and hassle-free meal prep option.
Simple Ingredients You’ll Need
- Eggs: We used whole eggs, but you can also swap this with egg whites.
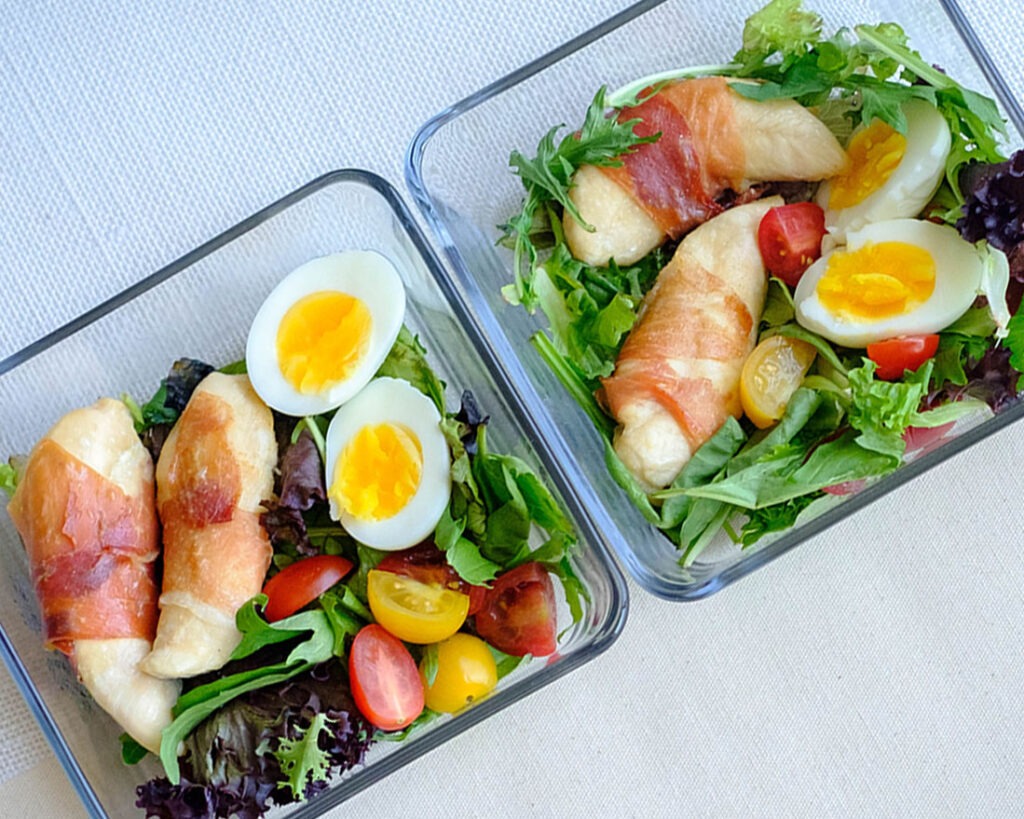
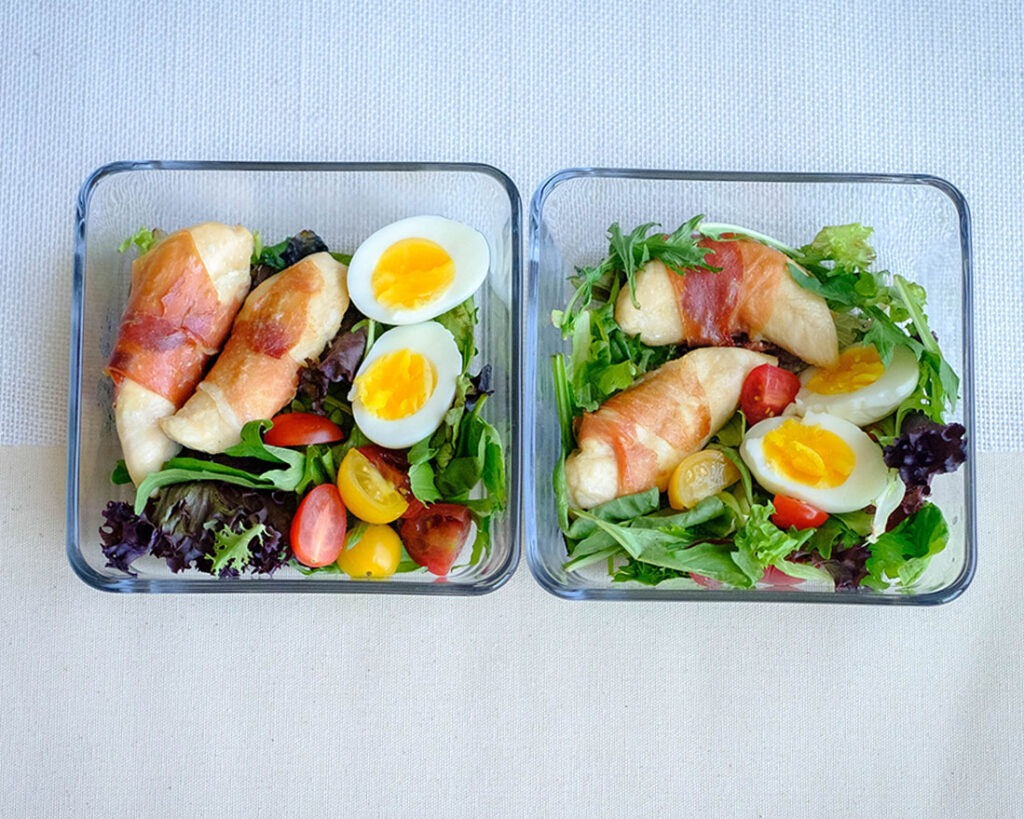
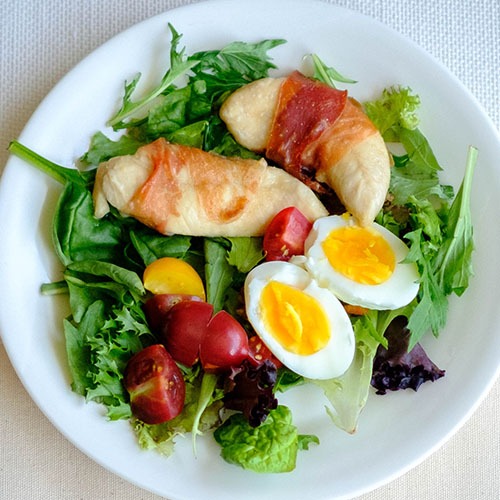
- Bacon: Who can resist the allure of bacon? Those savory, crispy slices not only wrap our eggs like a cozy blanket but also infuse every bite with a smoky, salty goodness. Bacon adds that irresistible crunch and umami flavor that takes these cups to the next level. You can swap it with turkey bacon or even prosciutto.
- Roma Tomato: Enter the burst of freshness! The roma tomato brings a juicy, sweet element to the dish. Roasting them intensifies their natural flavors, creating a delightful contrast to the savory bacon and creamy eggs. It’s the touch of brightness that makes each bite a flavor symphony.
- Olive Oil: Olive oil plays a crucial role in roasting our tomatoes, adding a subtle earthiness and enhancing their natural sweetness. It also helps achieve that perfect golden crispiness in both the bacon and the edges of the eggs.
- Green Onions: The vibrant finish! Chopped green onions are not just a garnish; they’re the final touch that brings a burst of freshness and a mild oniony kick. Their bright green color adds visual appeal, and their crisp texture provides a satisfying contrast to the softer components of the dish.
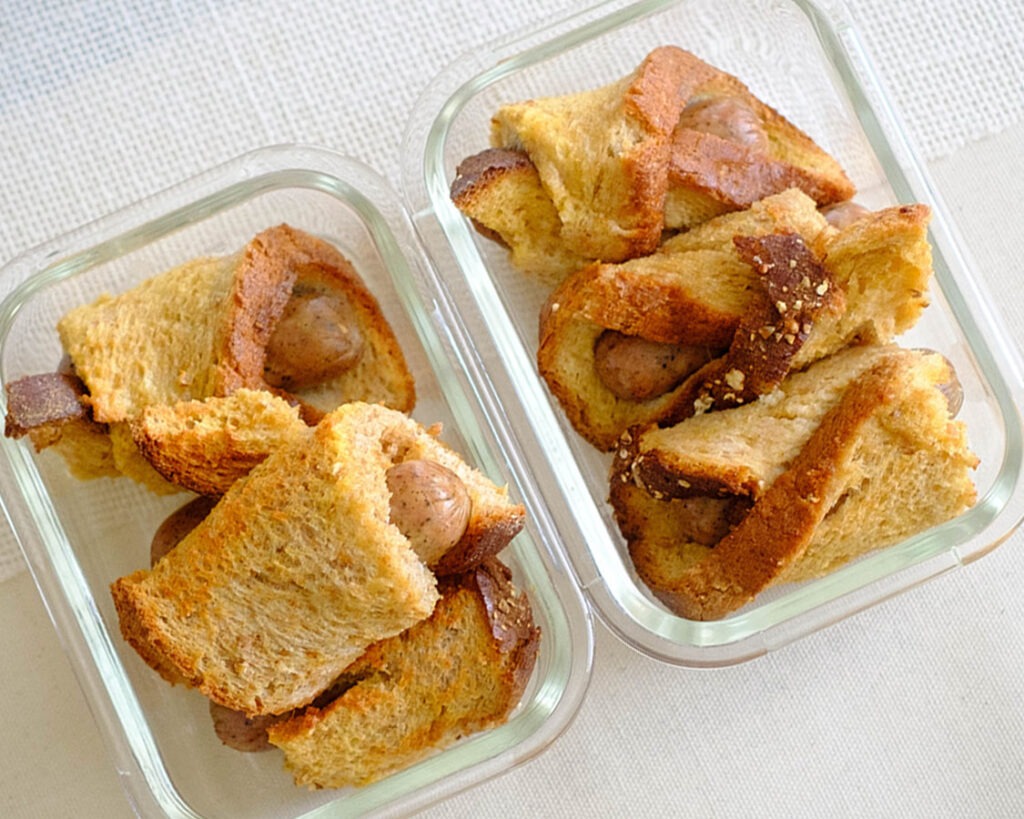
How to Meal Prep Bacon Egg Cups
- First things first, let’s get that oven preheated to a toasty 400°F (or approximately 200°C). This ensures that our bacon egg cups and roasted tomatoes get that perfect golden crispiness.
- Now, grab your muffin tin and let’s give these eggs a cozy bacon blanket. Take each bacon slice and wrap it in a circle inside the muffin tin cups. This not only adds a savory touch but also forms the perfect vessel for our eggs.
- Time to introduce the stars of the show – crack one large egg into each bacon-wrapped cup. Sprinkle a pinch of salt on top for that extra flavor kick.
- Let’s not forget about our roasted tomato companions! Cut that roma tomato in half and place each half in a muffin tin cup. Drizzle them with a teaspoon of olive oil and sprinkle a bit of salt to taste. These roasted tomatoes add a burst of juicy sweetness that pairs perfectly with the savory bacon and eggs.
- Pop your muffin tin into the preheated oven and let the magic happen. Bake for approximately 15 minutes or until the egg whites are set. You’ll know they’re ready when the bacon is crispy, and the eggs are cooked to your liking.
- Once the bacon egg cups and tomatoes are out of the oven, use a knife to gently loosen the edges of each cup.
- Now, let’s add a pop of color and freshness – sprinkle those bacon egg cups with a generous amount of chopped green onions. Not only do they look Instagram-worthy, but they also add a delightful crunch and a burst of oniony goodness.
Reference the recipe card below for detailed instructions.

Meal Prep Pairing Tips:
These bacon egg cups are not just limited to breakfast. They make a fantastic addition to brunch, lunch, or even a light dinner. Pair them with quinoa, couscous, or a simple green salad for a more substantial meal.
- Fresh Greens: Serve these cups with a side of fresh greens or a simple salad to add a crunchy and refreshing element to your meal.
- Avocado Slices: Creamy avocado slices are a perfect accompaniment. The richness of avocado complements the bacon and eggs beautifully.
- Whole Grain Toast: Enjoy these cups with a side of whole grain toast for a satisfying crunch and additional fiber. It’s a great way to make the meal more filling.
- Greek Yogurt with Berries: Balance the savory goodness with a sweet touch. A bowl of Greek yogurt topped with fresh berries adds a delightful contrast.
- Salsa or Hot Sauce: Spice things up! A dollop of salsa or a dash of hot sauce can add a kick of flavor that enhances the overall experience.


Frequently Asked Questions
Can I add cheese to these egg cups?
Definitely! Feel free to sprinkle some shredded cheese on top of the eggs before baking. Cheddar, feta, or mozzarella would all be delicious choices.
What other vegetables can I add to these bacon egg cups?
Get creative! Spinach, bell peppers, mushrooms, or even diced zucchini would be fantastic additions. Just make sure to adjust the cooking time if adding more veggies.
Can I use a different type of tomato?
While Roma tomatoes work well, you can experiment with cherry tomatoes or grape tomatoes for a sweeter twist. Just adjust the baking time accordingly.


Bacon Egg Cups with Roasted Tomato
Equipment
Ingredients
Instructions
Notes
Nutrition