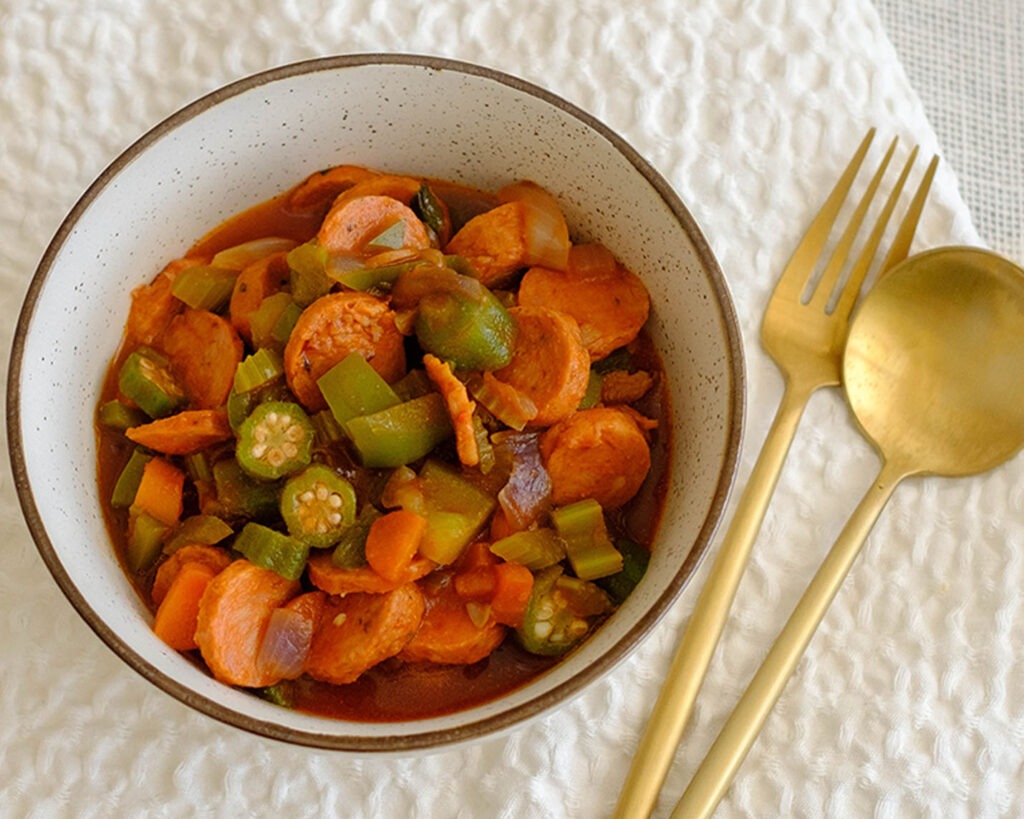
Get ready to elevate your meal prep game with these irresistible Air Fryer Chicken Wings in a delectable red pepper sauce! Bursting with flavor and goodness, this recipe is perfect for busy individuals who crave restaurant-quality taste without compromising on health or budget. With just a handful of simple ingredients, you can whip up a batch of crispy, juicy wings that are sure to impress. The combination of smoky roasted red peppers, tangy Tabasco sauce, and savory Parmesan is guaranteed to steal the show!
This post may contain affiliate links. Please see our privacy policy for details.

Why We Love These Air Fryer Chicken Wings
- Flavor Explosion: These wings are coated in a mouthwatering red pepper sauce that’s packed with flavor. With a perfect balance of smokiness from the roasted red peppers and a kick of heat from the Tabasco sauce, every bite is a flavor explosion that rivals your favorite takeout joint.
- Crispy Perfection: Thanks to the magic of the air fryer, these wings come out perfectly crispy on the outside while remaining juicy and tender on the inside. That irresistible crunch is on par with the best wings you’ve ever ordered – no deep frying required!
- Healthier Option: Unlike traditional deep-fried wings, which can be loaded with unhealthy fats and calories, these air-fried beauties are much healthier. By using minimal oil and lean chicken, you can indulge in the deliciousness without any guilt. It’s a win-win for your taste buds and your waistline!
- Convenience Factor: Let’s face it – sometimes, the thought of ordering takeout can be tempting simply because it’s easy. But with this recipe, you can enjoy restaurant-quality wings in the comfort of your own home, and it’s just as convenient! Plus, with a little bit of meal prep, you can have these wings ready to go whenever hunger strikes.
- Customizable and Budget-Friendly: One of the best things about making your own wings at home is that you can customize them to your heart’s content. Whether you want to adjust the level of spiciness, swap out the cheese for your favorite variety, or experiment with different dipping sauces, the possibilities are endless! Plus, buying ingredients in bulk and meal prepping saves you money in the long run, making this homemade meal a budget-friendly option compared to constantly ordering takeout.

Ingredients You’ll Need
- Chicken Wings: These are the star of the show! Chicken wings are not only delicious but also an affordable protein option. They’re juicy, flavorful, and perfect for soaking up all the delicious sauce. Plus, they’re a great source of lean protein, making them a healthy choice for satisfying your hunger.
- Roasted Red Pepper: The roasted red pepper serves as the base for our flavorful sauce. It brings a rich, smoky sweetness to the dish that complements the savory chicken perfectly. Using jarred roasted red peppers is not only convenient but also budget-friendly compared to buying fresh peppers and roasting them yourself. Plus, red peppers are loaded with vitamins and antioxidants, adding a healthy boost to your meal.
- Tabasco Sauce: Tabasco sauce adds a kick of heat and tanginess to the red pepper sauce. It’s a pantry staple that packs a punch of flavor without adding extra calories or fat. A little goes a long way, so it’s a cost-effective way to add bold flavor to your dish.
- Shredded Parmesan Cheese: Parmesan cheese adds a creamy, cheesy richness to the sauce while also providing a hint of saltiness. Using shredded Parmesan is a budget-friendly alternative to other cheeses, and a little goes a long way in terms of flavor. Plus, Parmesan cheese is lower in fat compared to other cheeses, making it a healthier choice.
- Paprika, Garlic Powder, Salt, and Pepper: These seasonings are the backbone of flavor for the chicken wings. Paprika adds a subtle smokiness, garlic powder brings aromatic depth, and salt and pepper enhance the overall taste. Using a combination of spices allows you to create a complex flavor profile without relying on excessive amounts of salt or fat, keeping the dish both delicious and healthy.
- Olive Oil: Olive oil is used to coat the chicken wings before air frying, helping to crisp them up and lock in moisture. It’s a heart-healthy fat that adds richness to the dish without weighing it down. Using a small amount of olive oil keeps the dish light and healthy while still achieving that crave-worthy crispy texture.
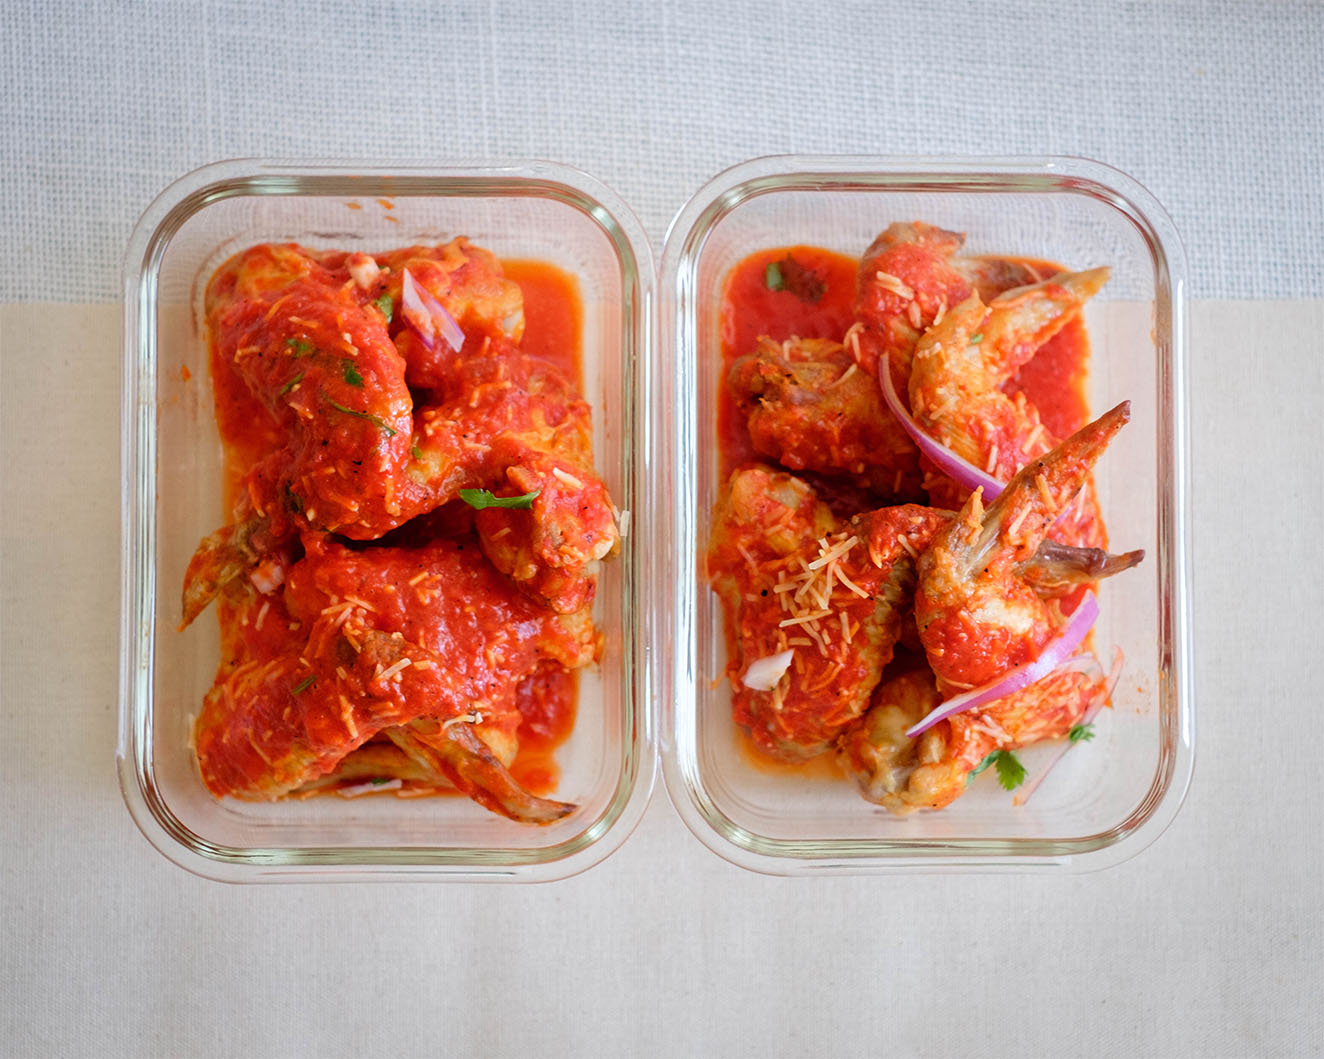
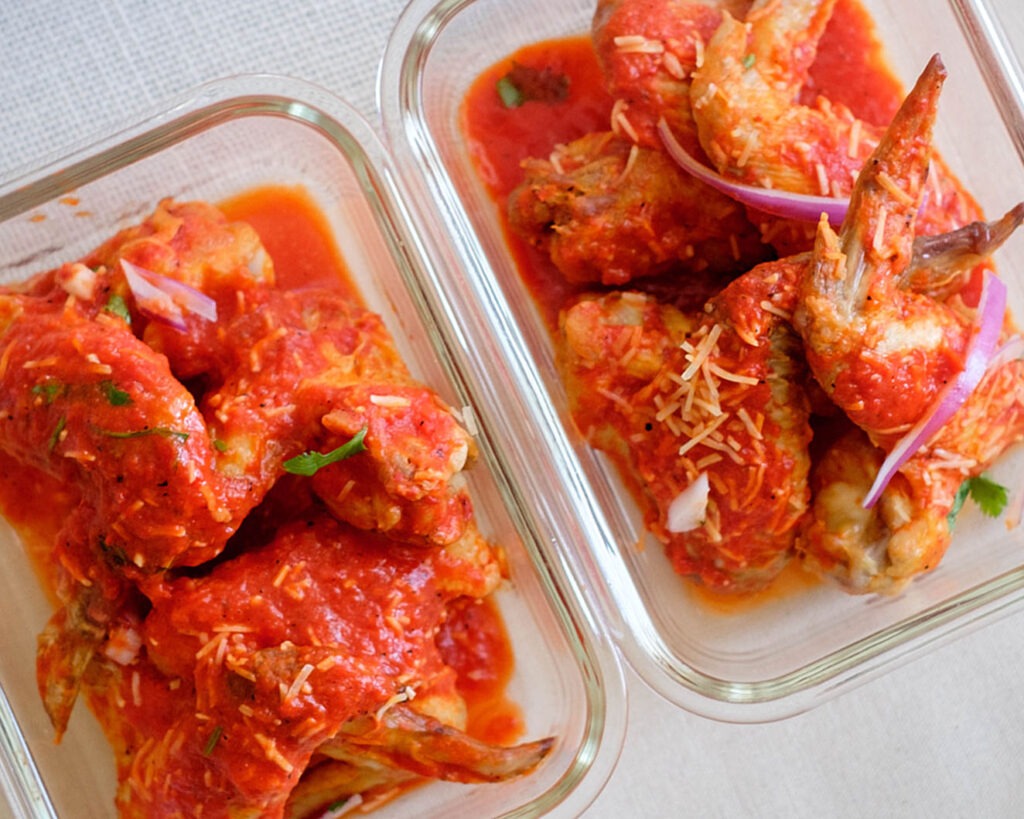
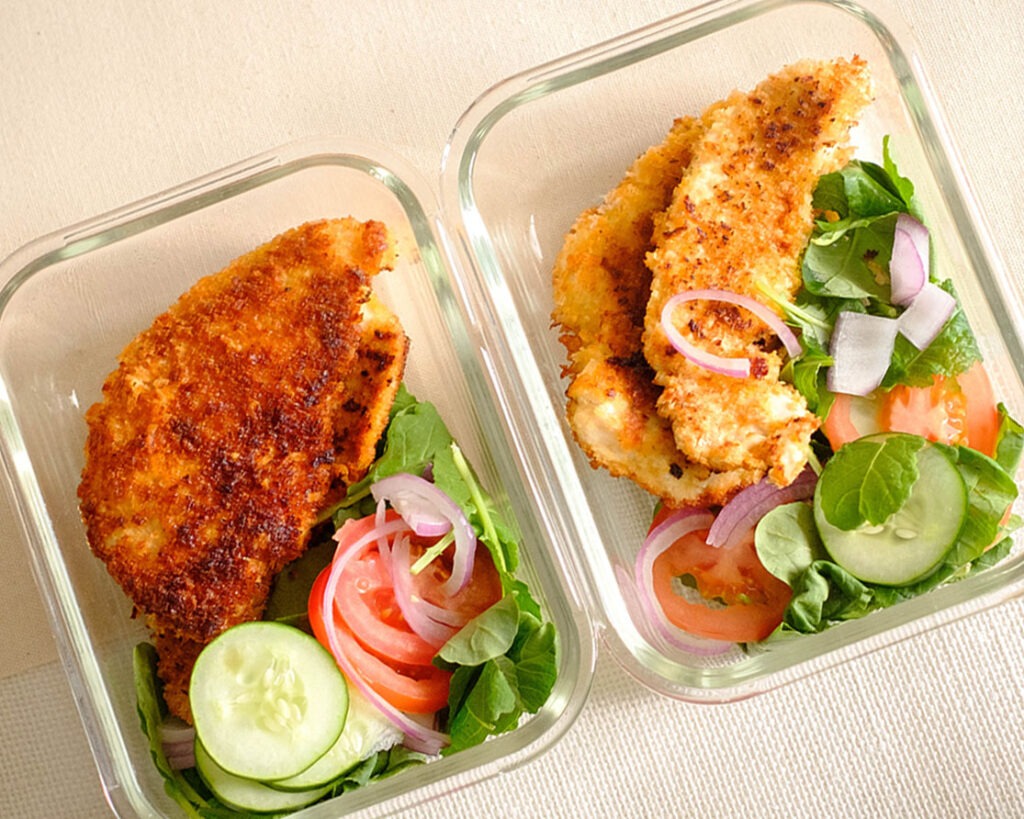
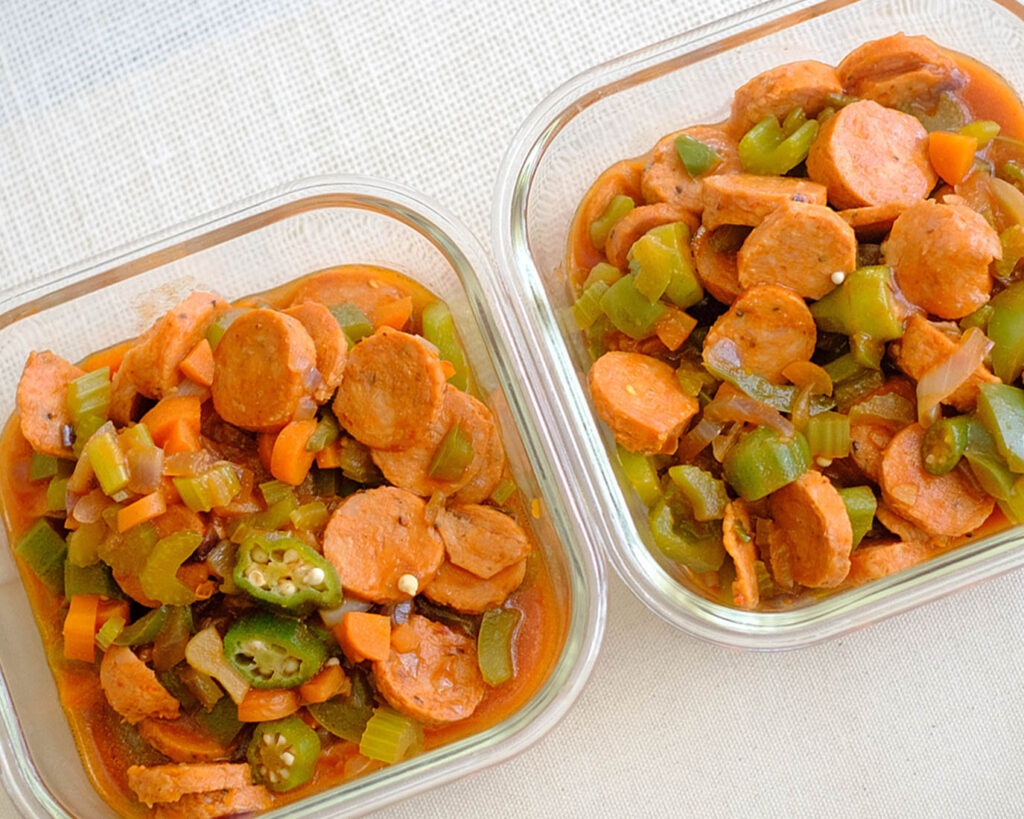
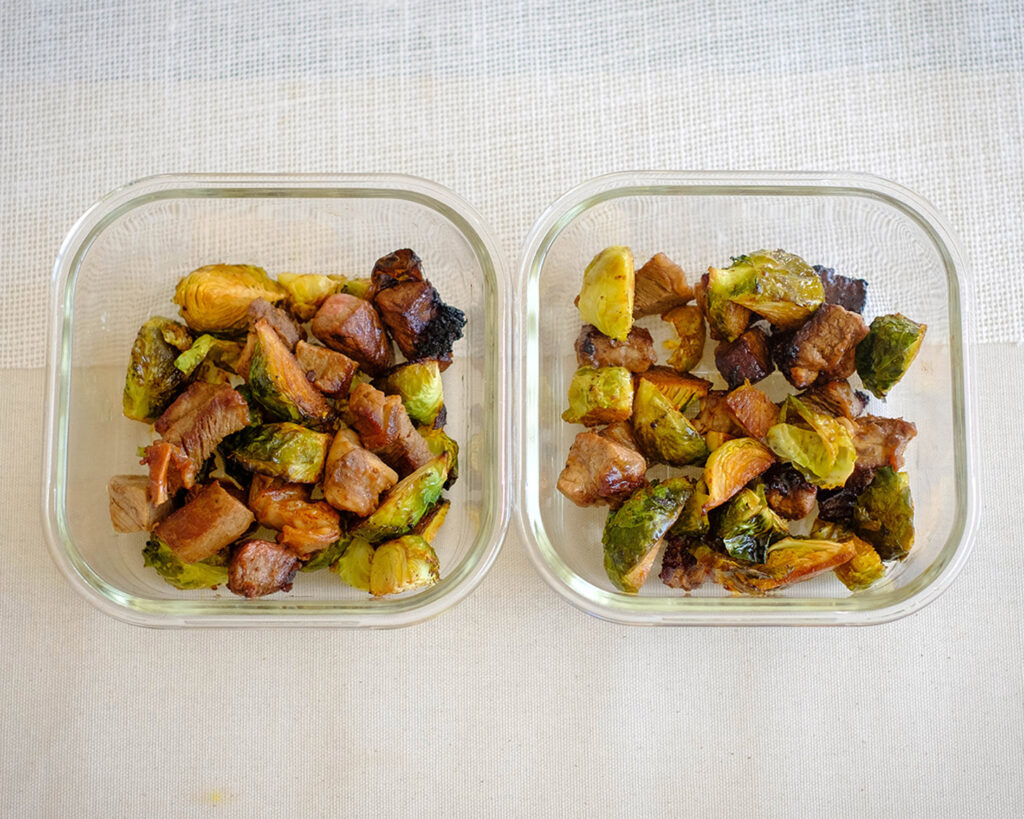
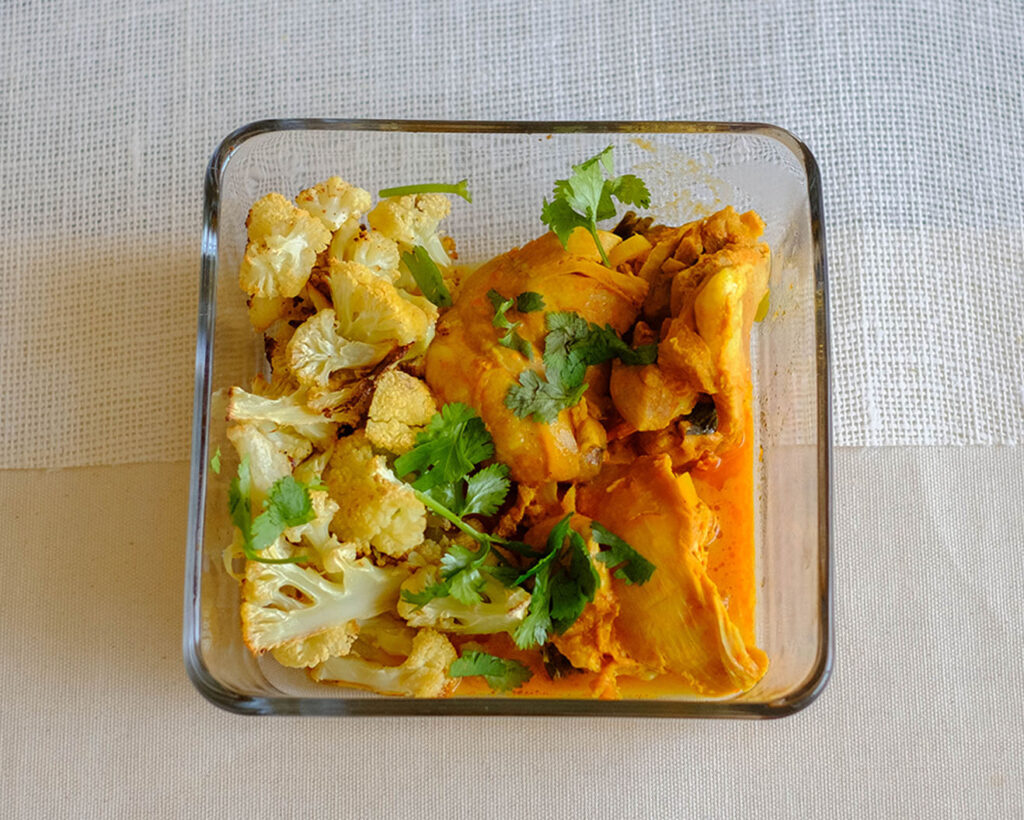
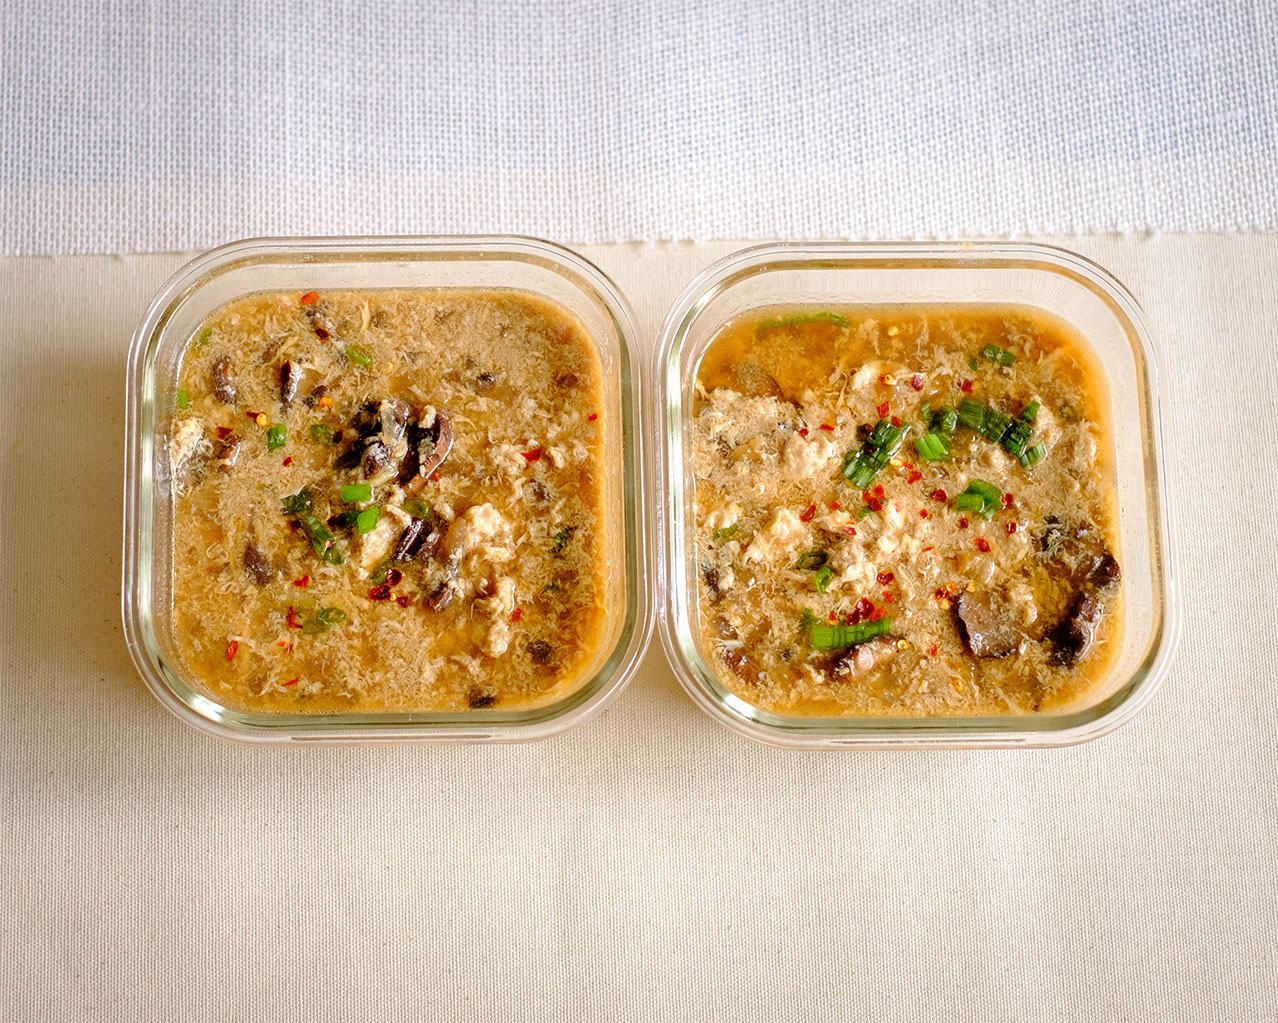
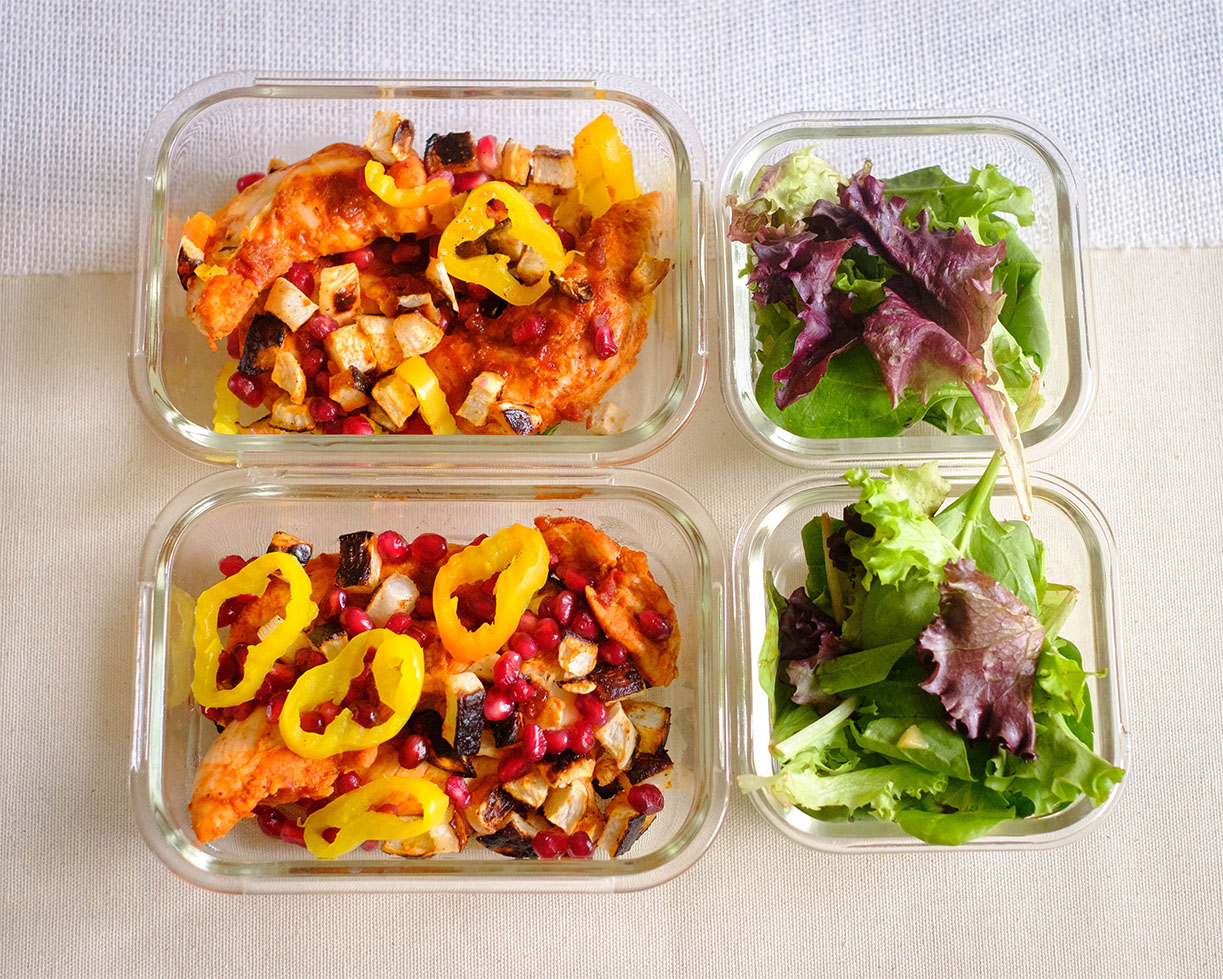
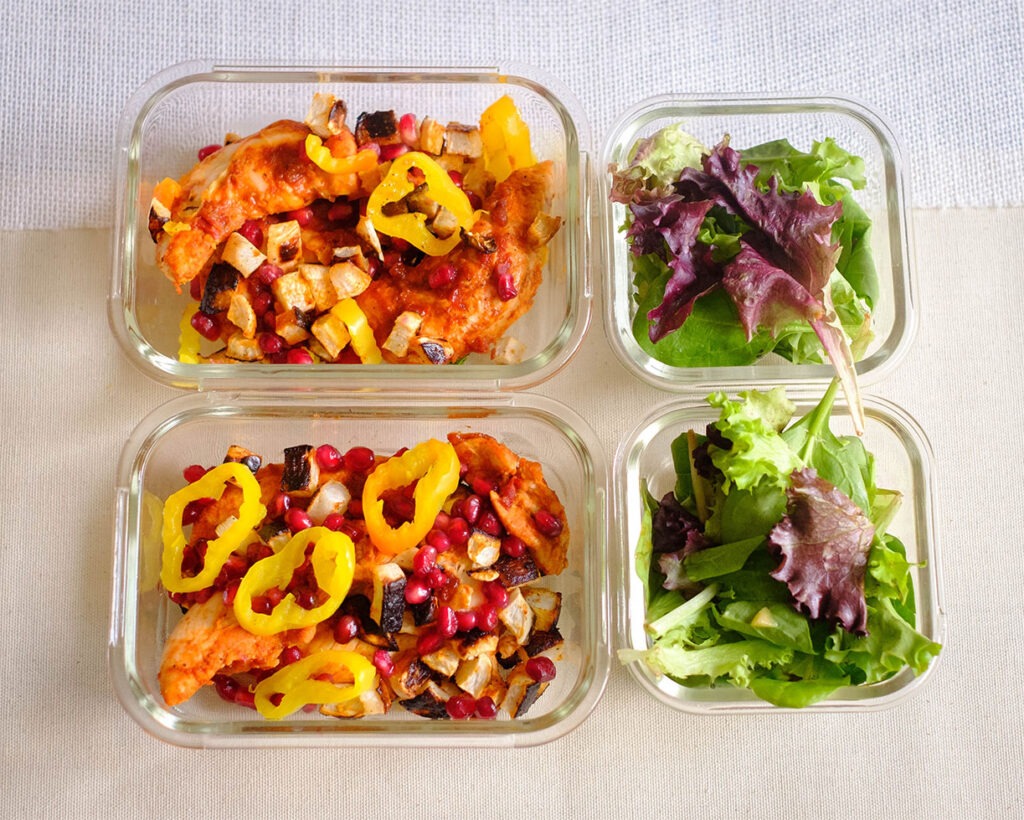
How to Meal Prep Air Fryer Chicken Wings
- First up, let’s get that flavorful red pepper sauce ready. In your trusty blender, combine the roasted red pepper (including the oil from the jar) and Tabasco sauce. Blend it up until it’s beautifully smooth. Set this tasty sauce aside for later.
- Now, onto the star of the show – the chicken wings! In a mixing bowl, toss your chicken wings with paprika, garlic powder, salt, pepper, and a drizzle of olive oil. Make sure those wings get coated in all those delicious seasonings.
- Pop those seasoned wings into your air fryer basket and cook them at 360°F for about 22-23 minutes. We’re aiming for that perfect golden crispiness, so keep an eye on them!
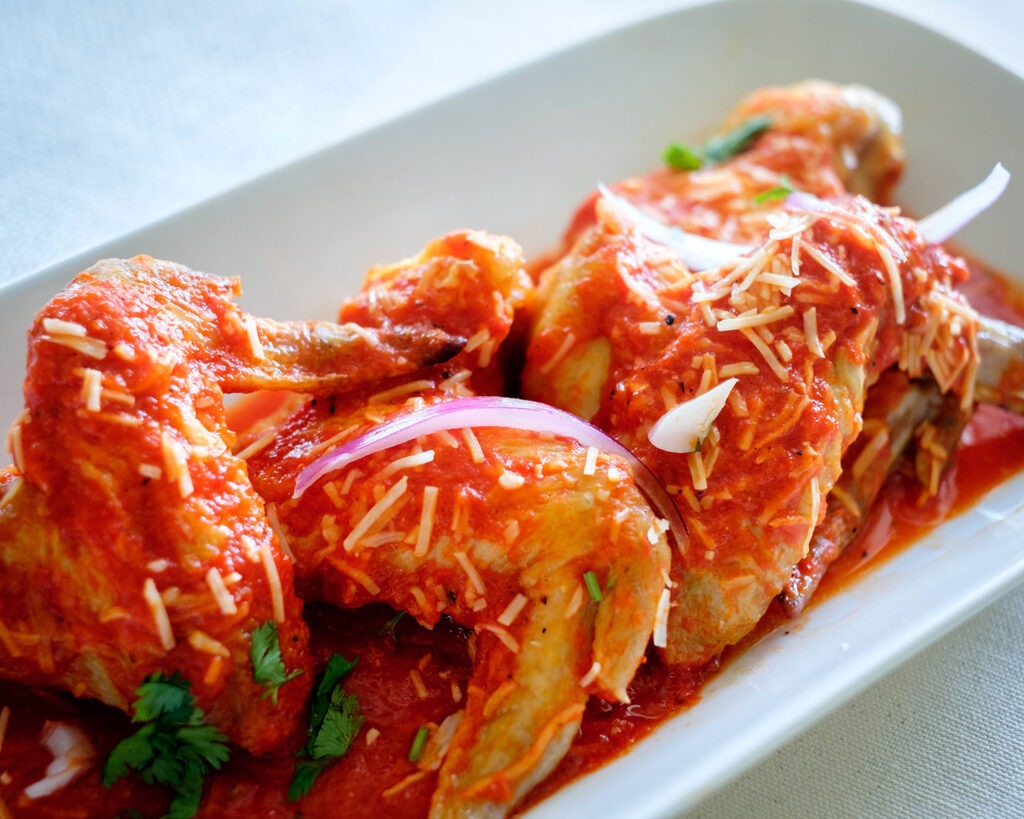
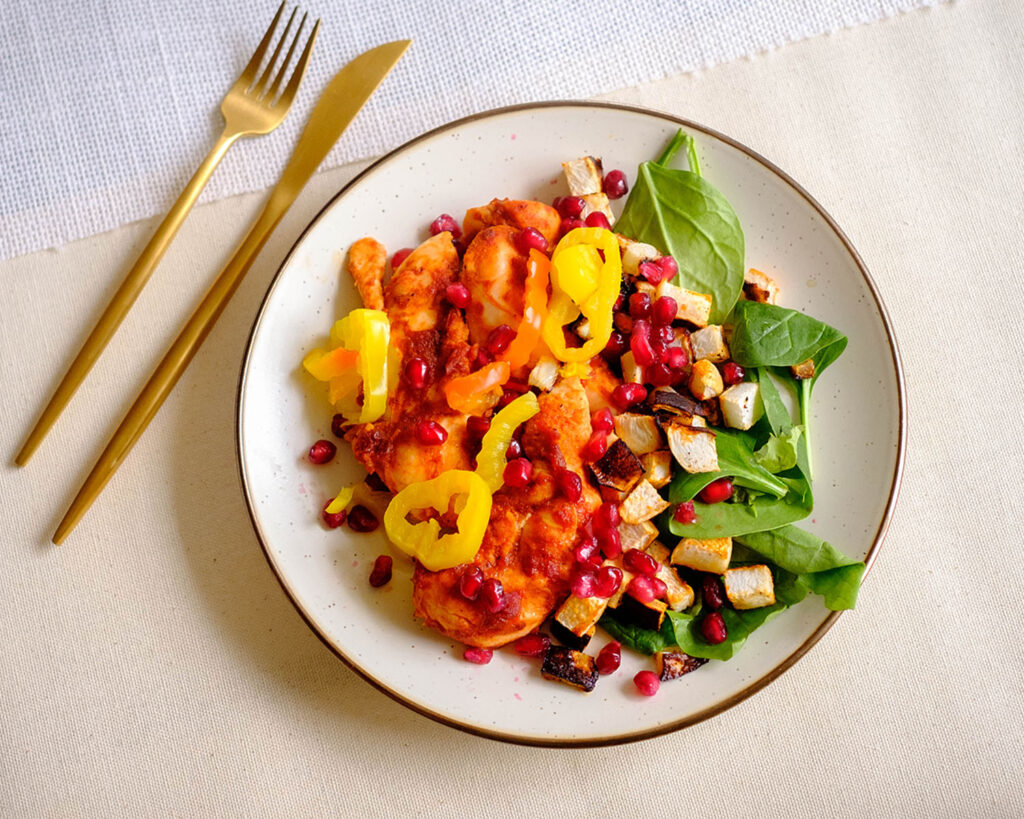
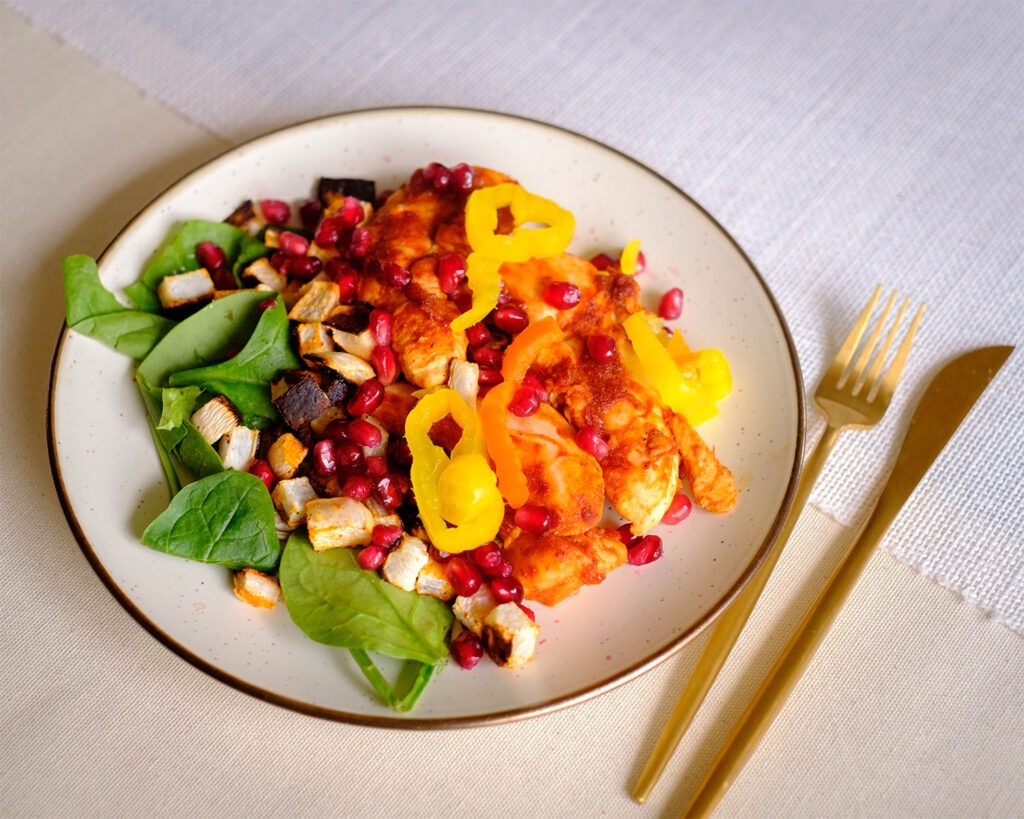
- Once your wings are cooked to crispy perfection, transfer them to a mixing bowl. Now, here’s where the magic happens – toss those wings in the red pepper sauce you made earlier, along with a generous sprinkle of shredded parmesan cheese. Coat those wings until they’re glistening with flavor.
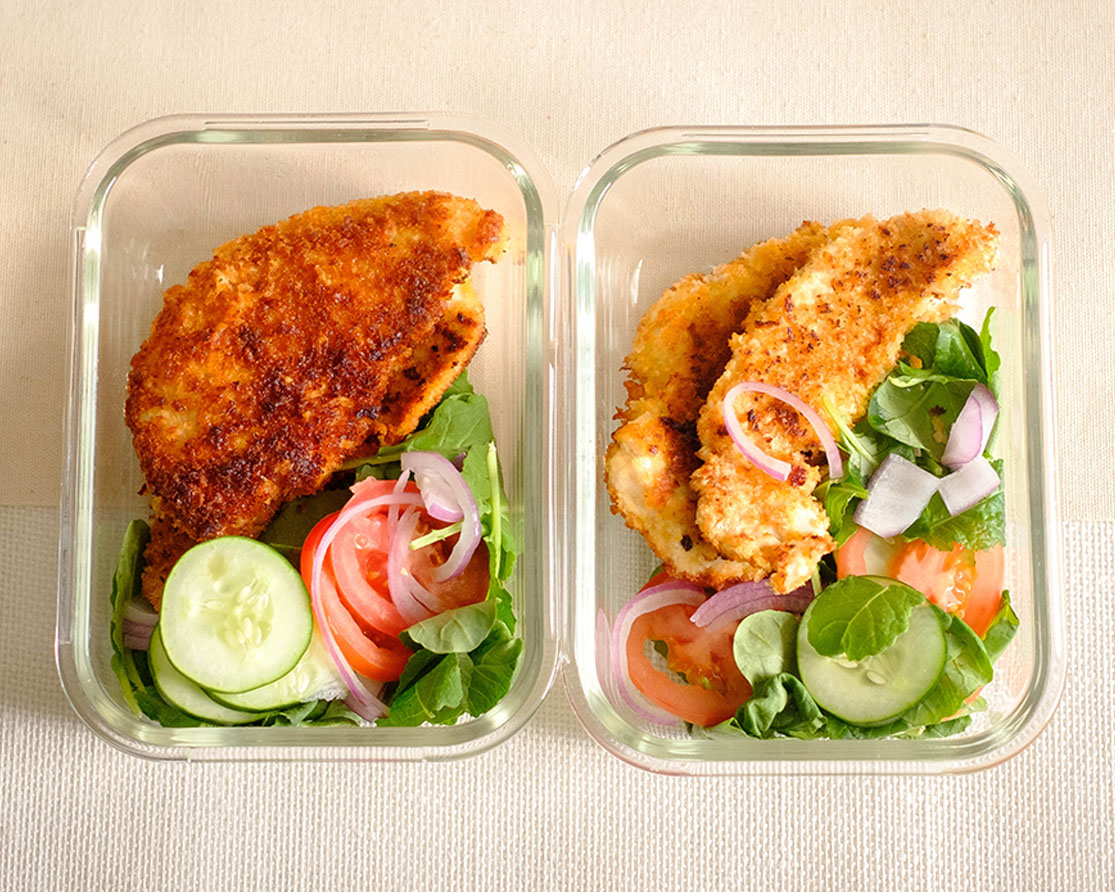
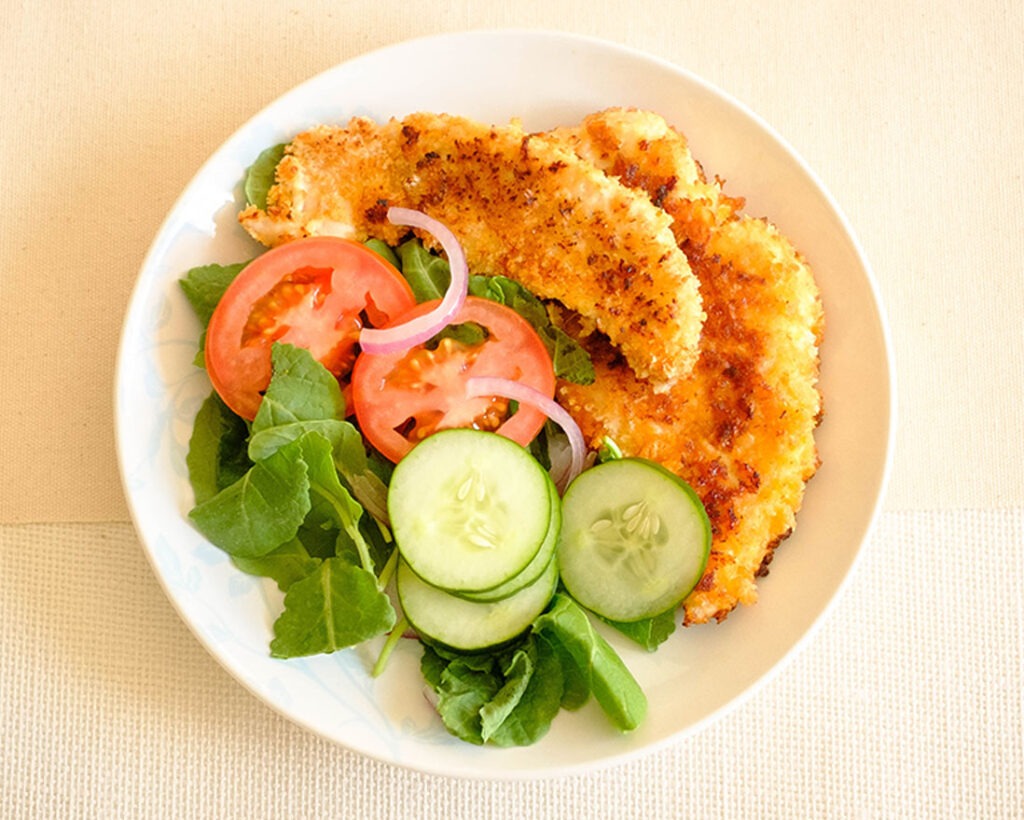
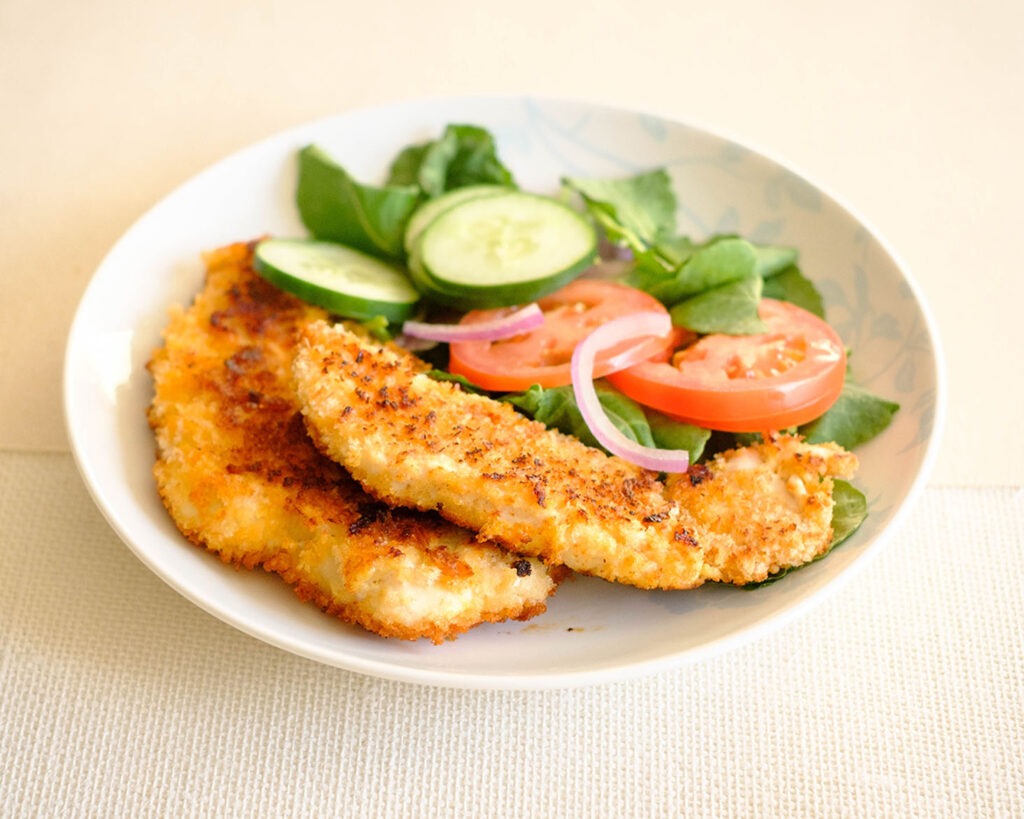
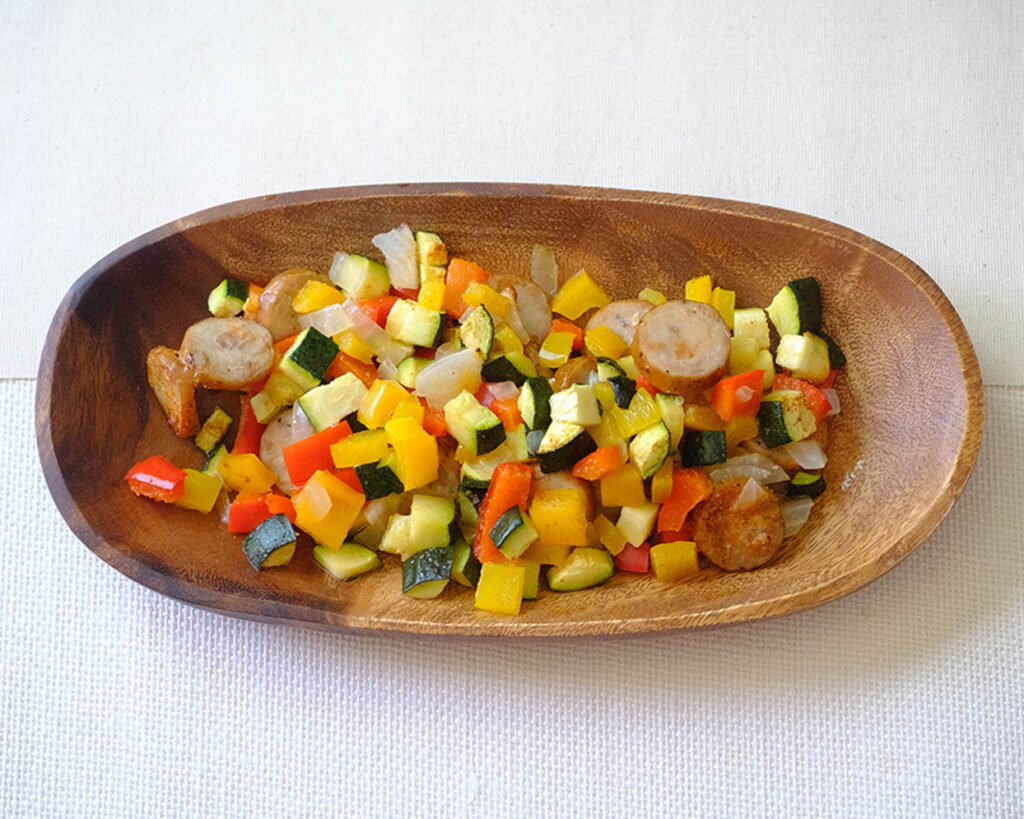
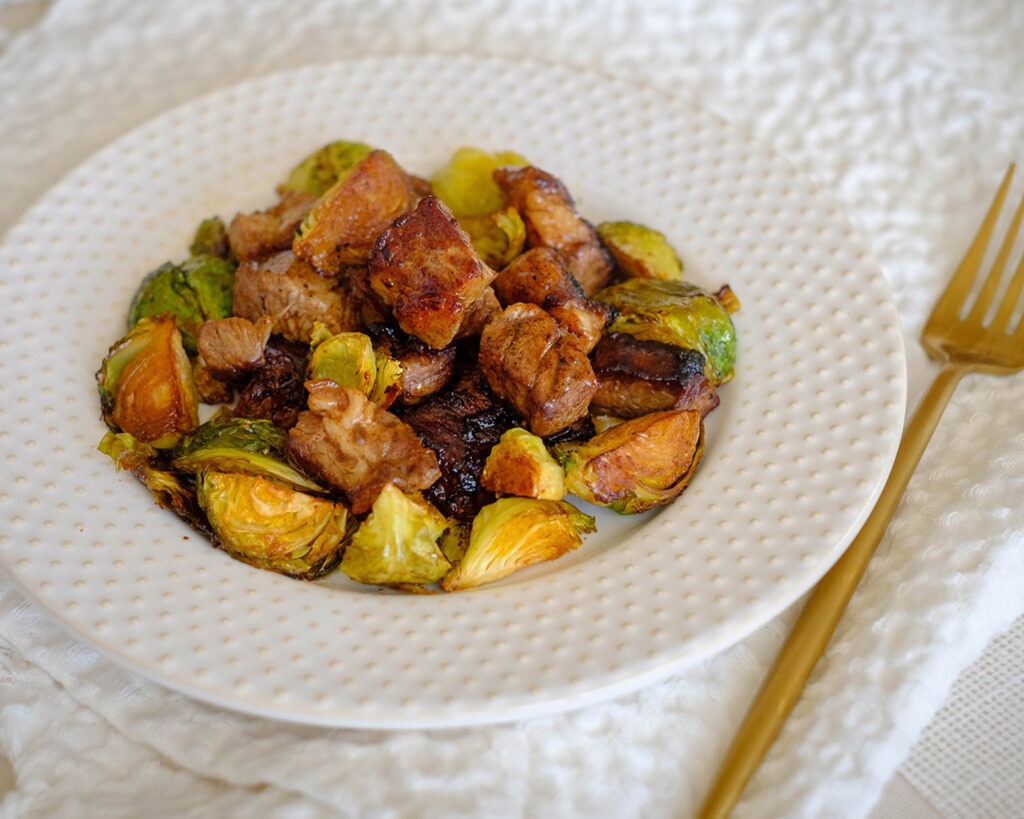
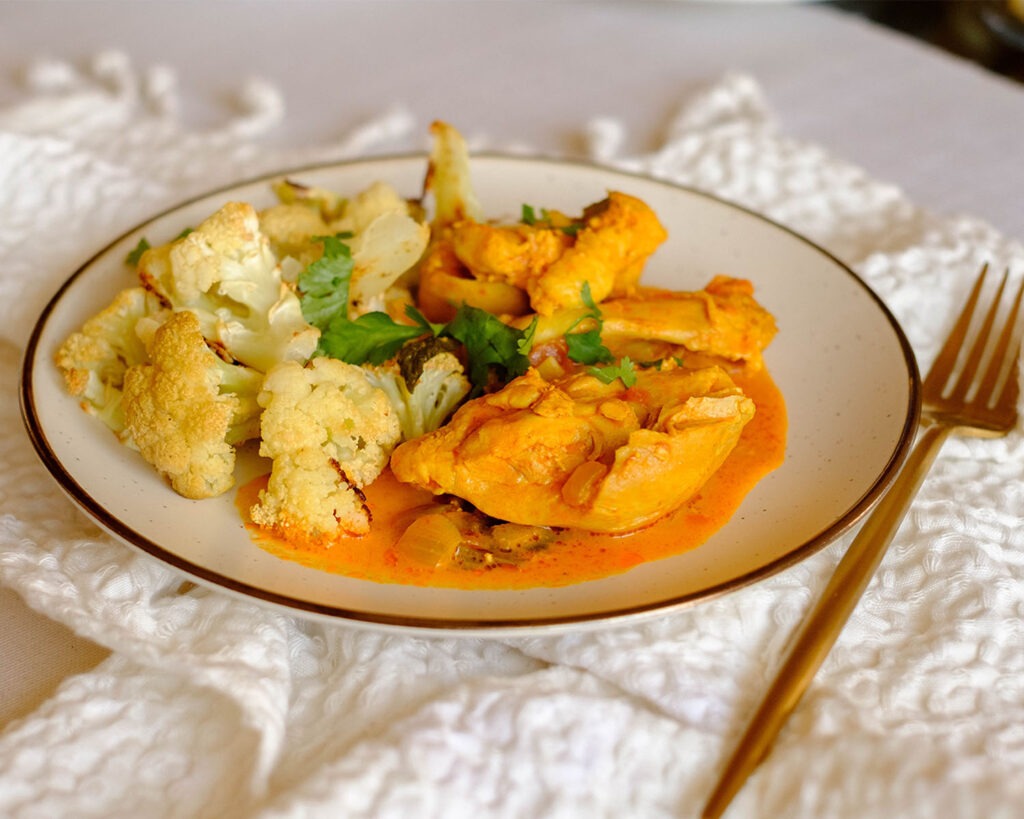
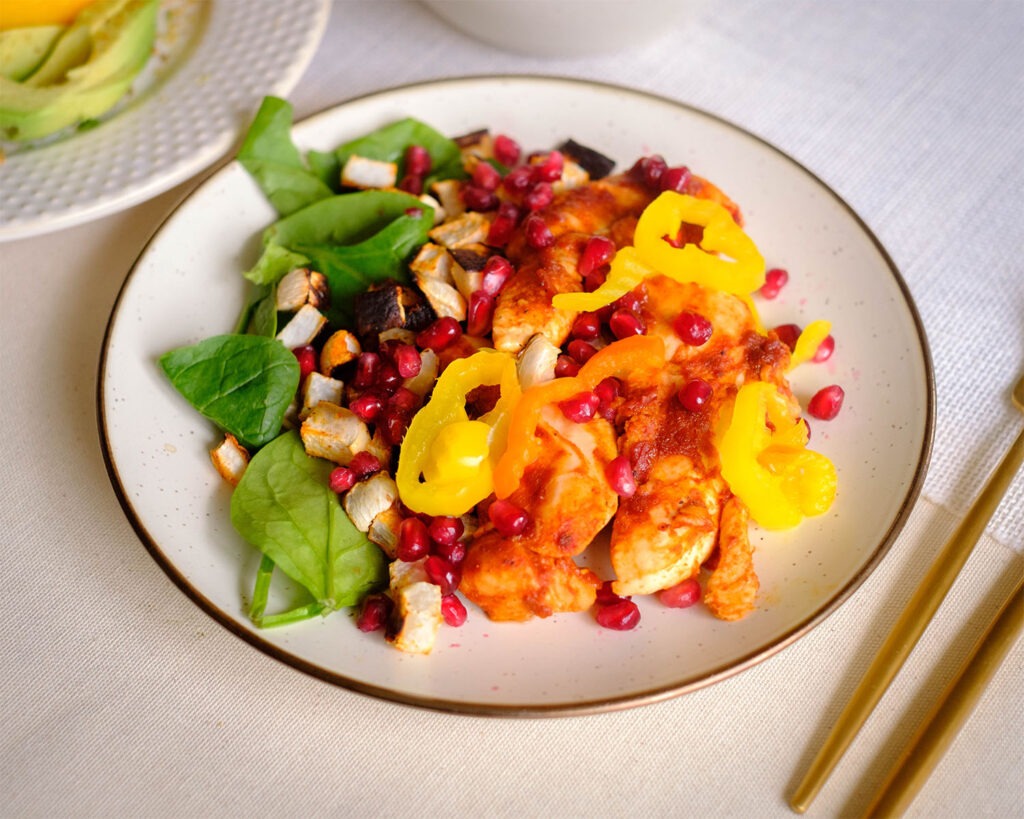
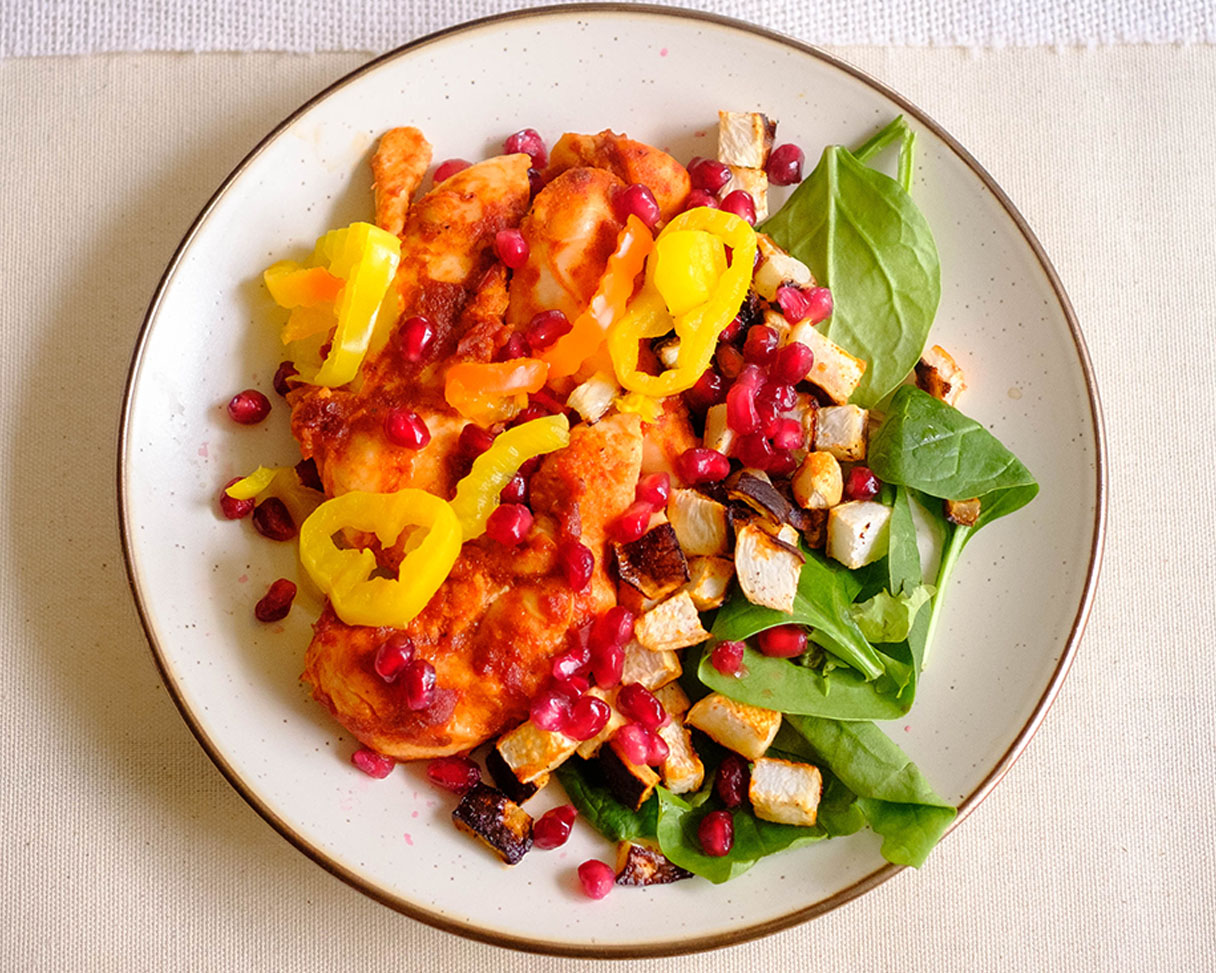
- Want to add a fresh, crunchy element to your meal? Serve up your saucy wings with a side of veggie sticks like celery or carrots, or even a crisp side salad. It’s the perfect complement to these savory delights!
Reference the recipe card below for detailed instructions.
Meal Prep Tips for Air Fryer Chicken Wings
- Corn on the Cob: Roast or grill some corn on the cob as a tasty and seasonal side dish. The sweetness of the corn pairs beautifully with the savory flavors of the wings.
- Crispy Potato Wedges: Whip up some crispy potato wedges seasoned with herbs and spices for a delicious and satisfying accompaniment to your wings. They’re sure to be a crowd-pleaser!
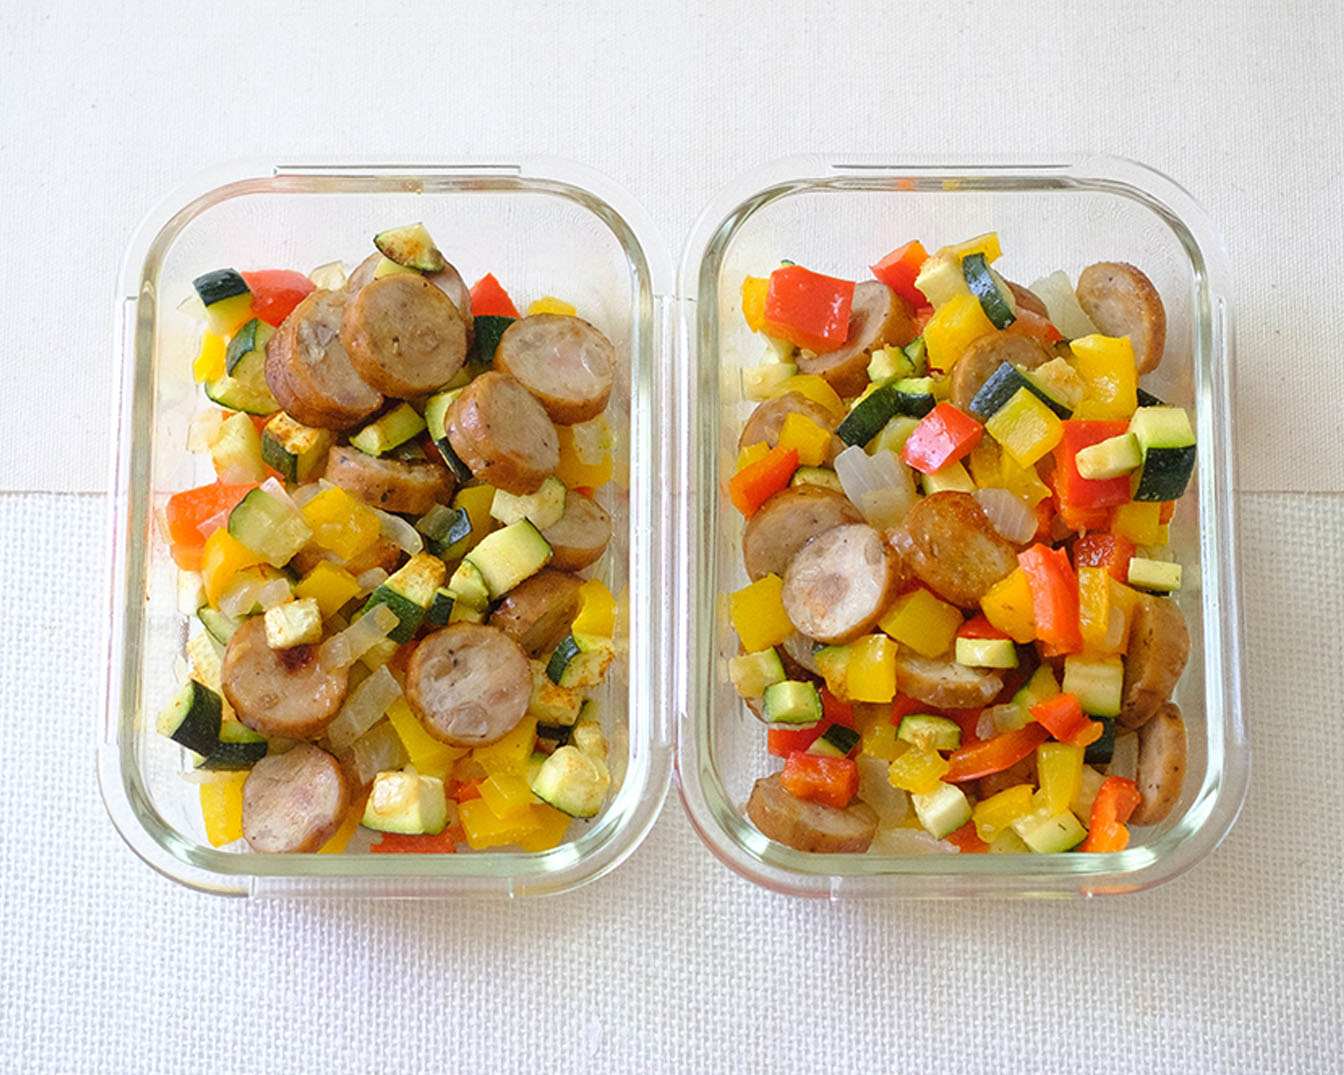
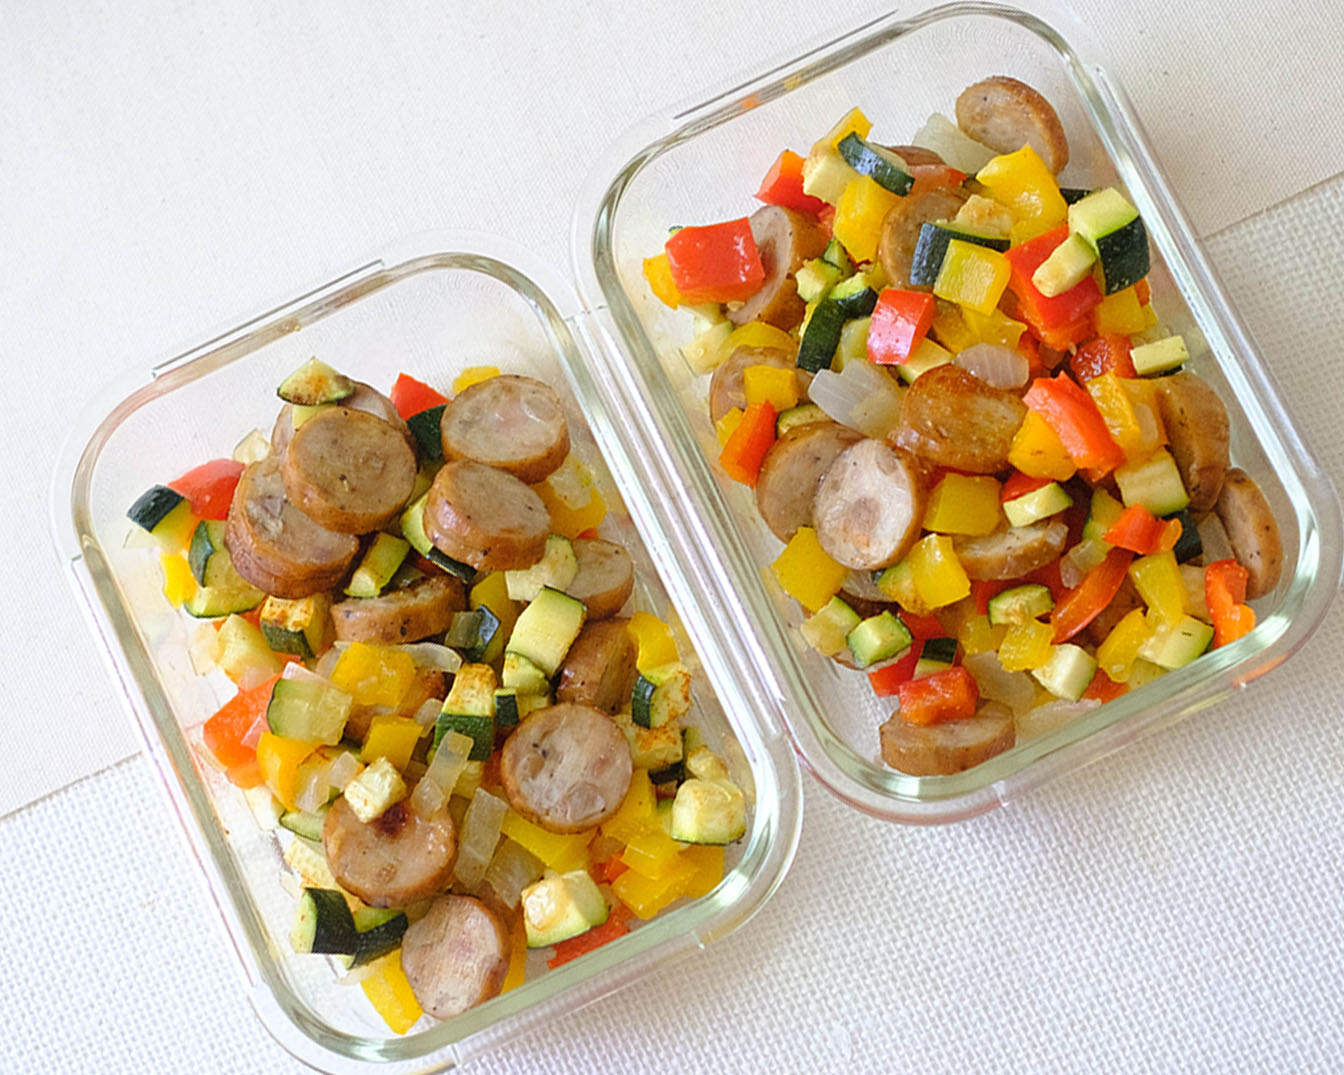
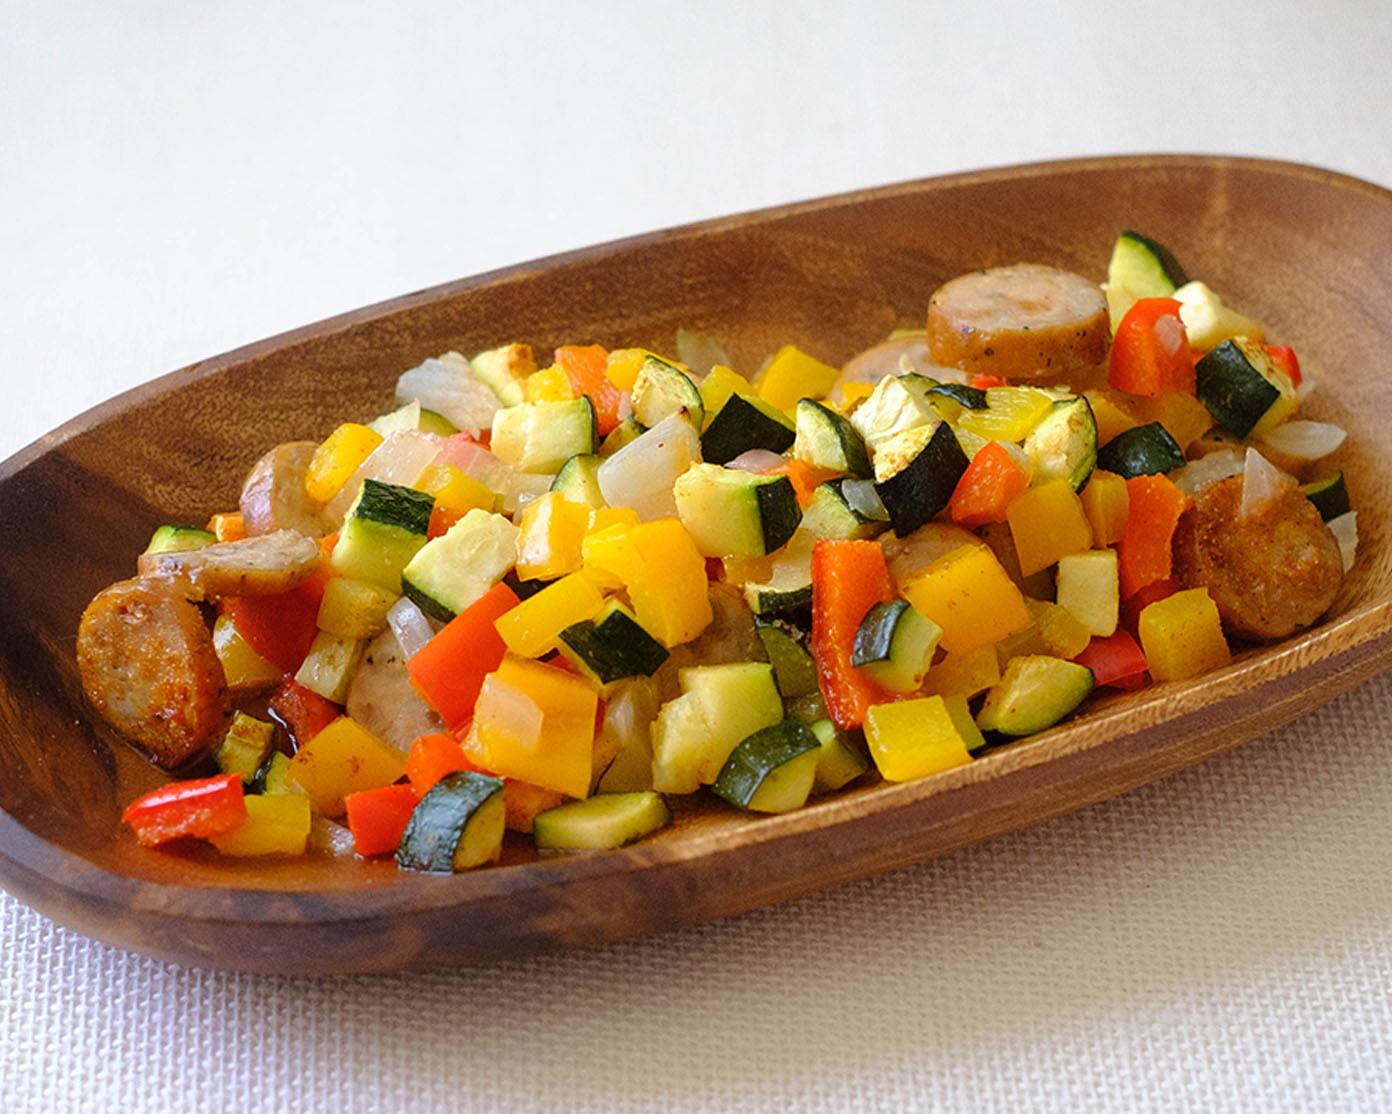
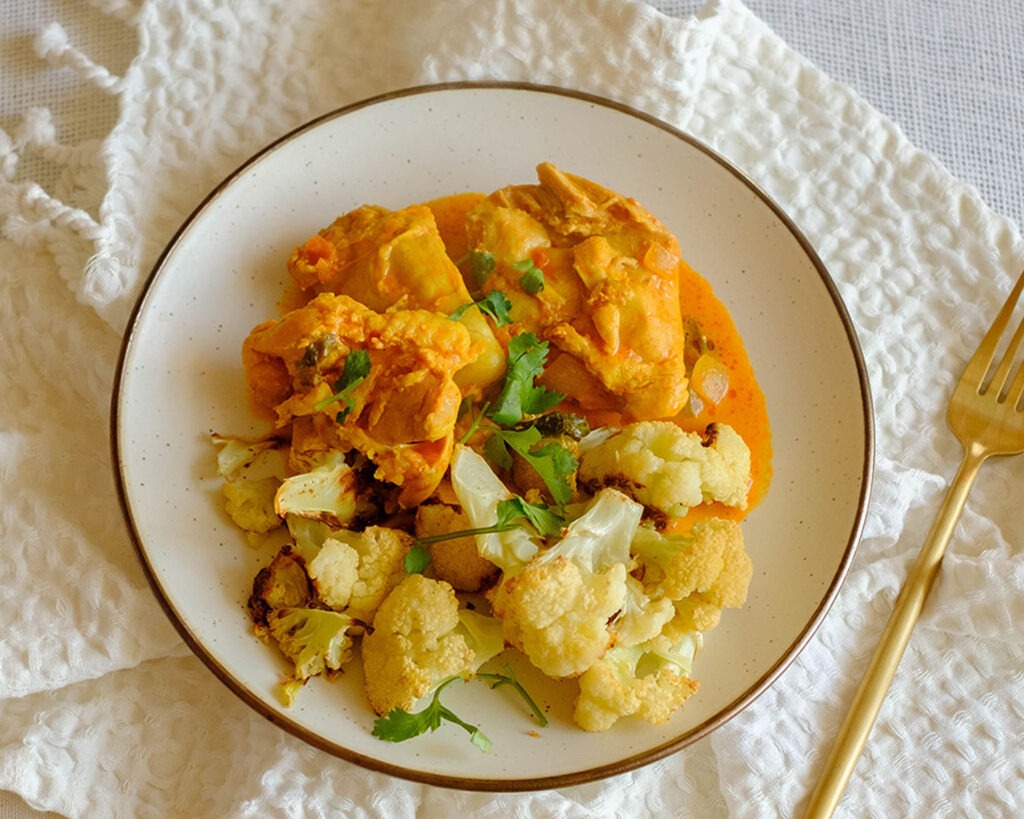
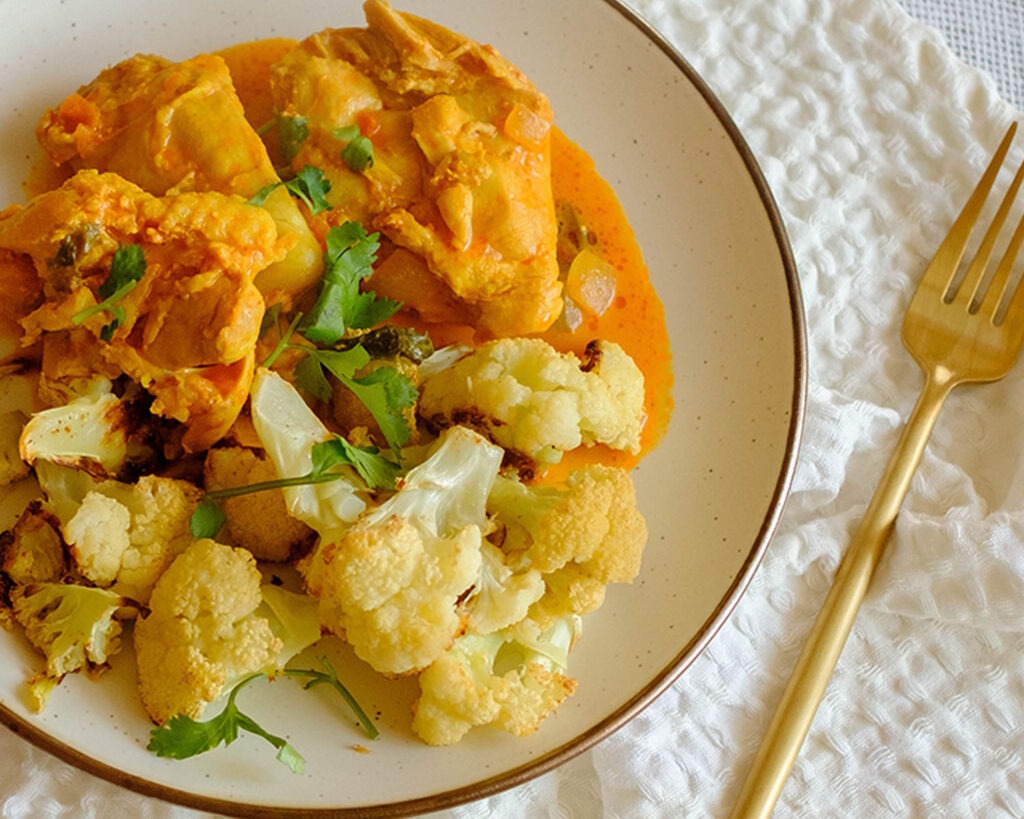
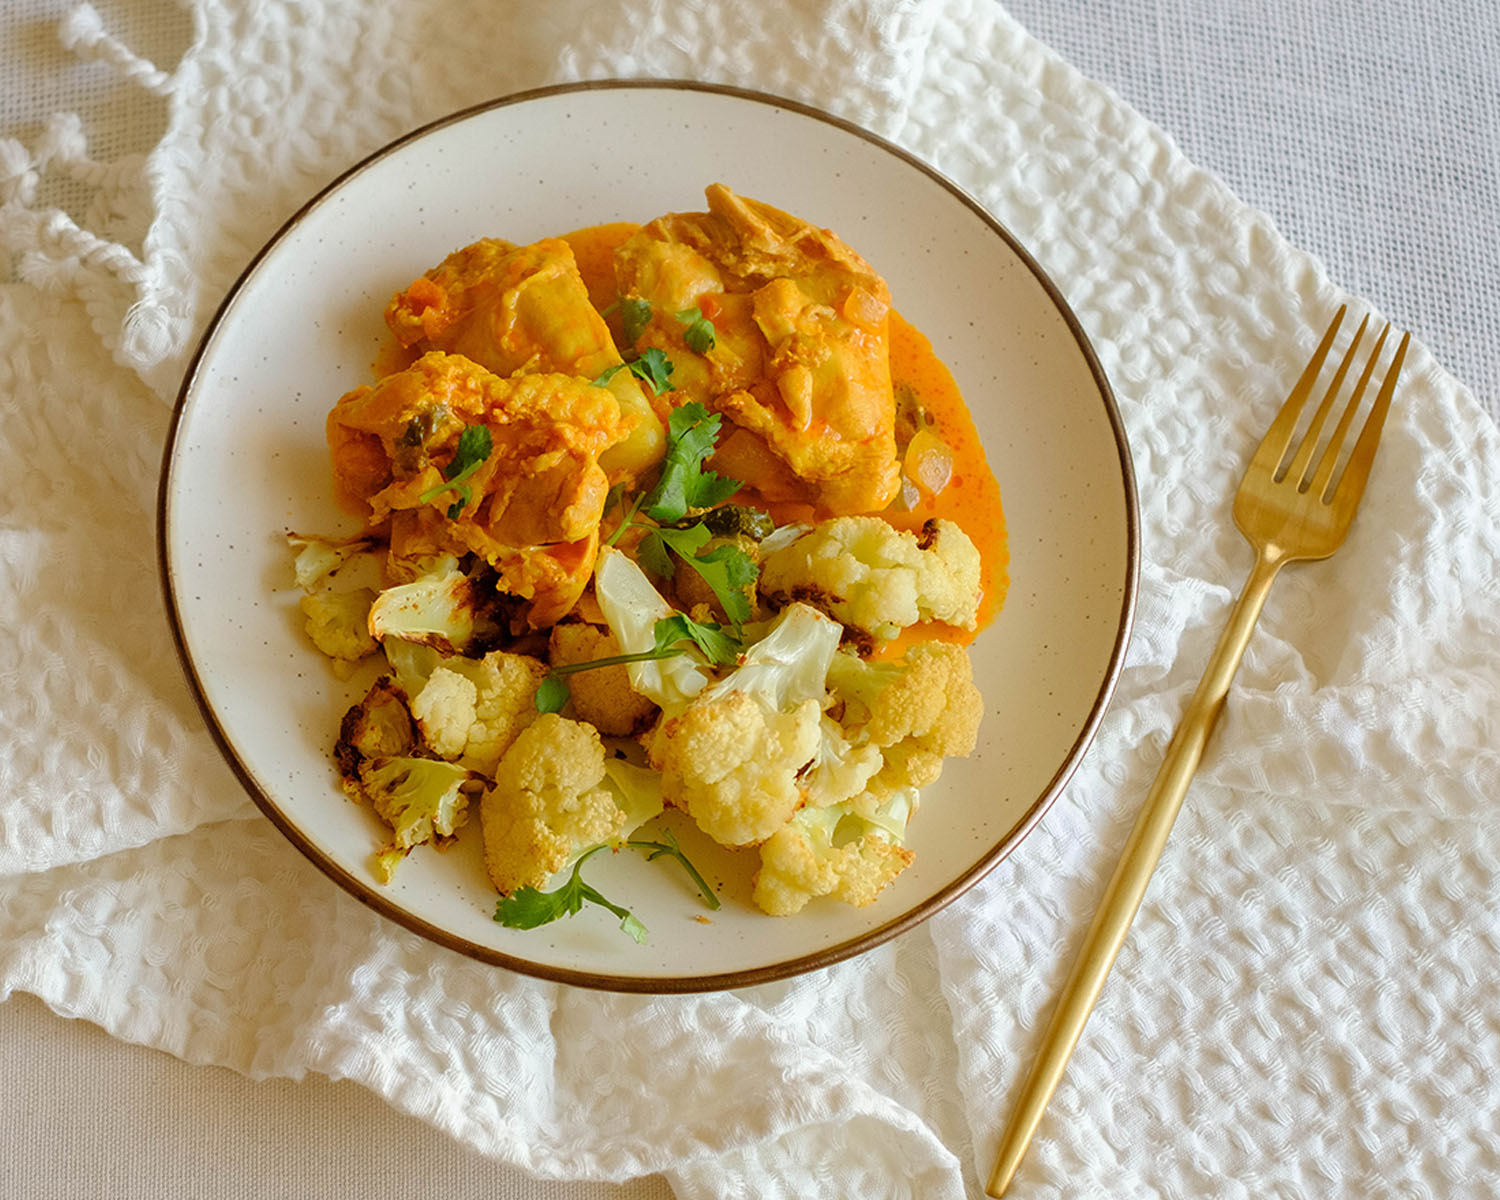
- Roasted Vegetables: Opt for budget-friendly seasonal vegetables like broccoli, cauliflower, zucchini, and bell peppers. Simply toss them with olive oil, salt, and pepper, then roast them in the oven alongside your chicken wings for a nutritious and flavorful side dish.
- Mixed Bean Salad: Create a colorful mixed bean salad using affordable canned beans such as black beans, chickpeas, and kidney beans. Toss them with diced bell peppers, onions, cilantro, and a simple vinaigrette for a protein-packed side dish that’s both nutritious and budget-friendly.
- Greek Yogurt Dip: Whip up a quick and creamy Greek yogurt dip seasoned with garlic, lemon juice, and herbs like dill or parsley. Greek yogurt is high in protein and low in fat, making it a healthier alternative to traditional sour cream-based dips. Serve it alongside your wings for a refreshing contrast to the spicy sauce.
- Quinoa Salad: Prepare a simple quinoa salad by combining cooked quinoa with diced cucumbers, cherry tomatoes, red onion, and fresh herbs like parsley or mint. Dress it with a squeeze of lemon juice and a drizzle of olive oil for a light and refreshing side dish that’s packed with protein and fiber.


Frequently Asked Questions
Can I use fresh red peppers instead of roasted red peppers?
Yes, you can roast fresh red peppers yourself or use them raw, but the flavor profile may vary slightly.
How can I make this recipe spicier?
Increase the amount of Tabasco sauce or add a pinch of cayenne pepper to the sauce for an extra kick.
Can I bake the wings instead of using an air fryer?
Yes, you can bake the wings in a preheated oven at 400°F (200°C) for approximately 30-35 minutes or until crispy and cooked through.


Air Fryer Wings with Red Pepper Sauce
Equipment
Ingredients
Instructions
Notes
Nutrition