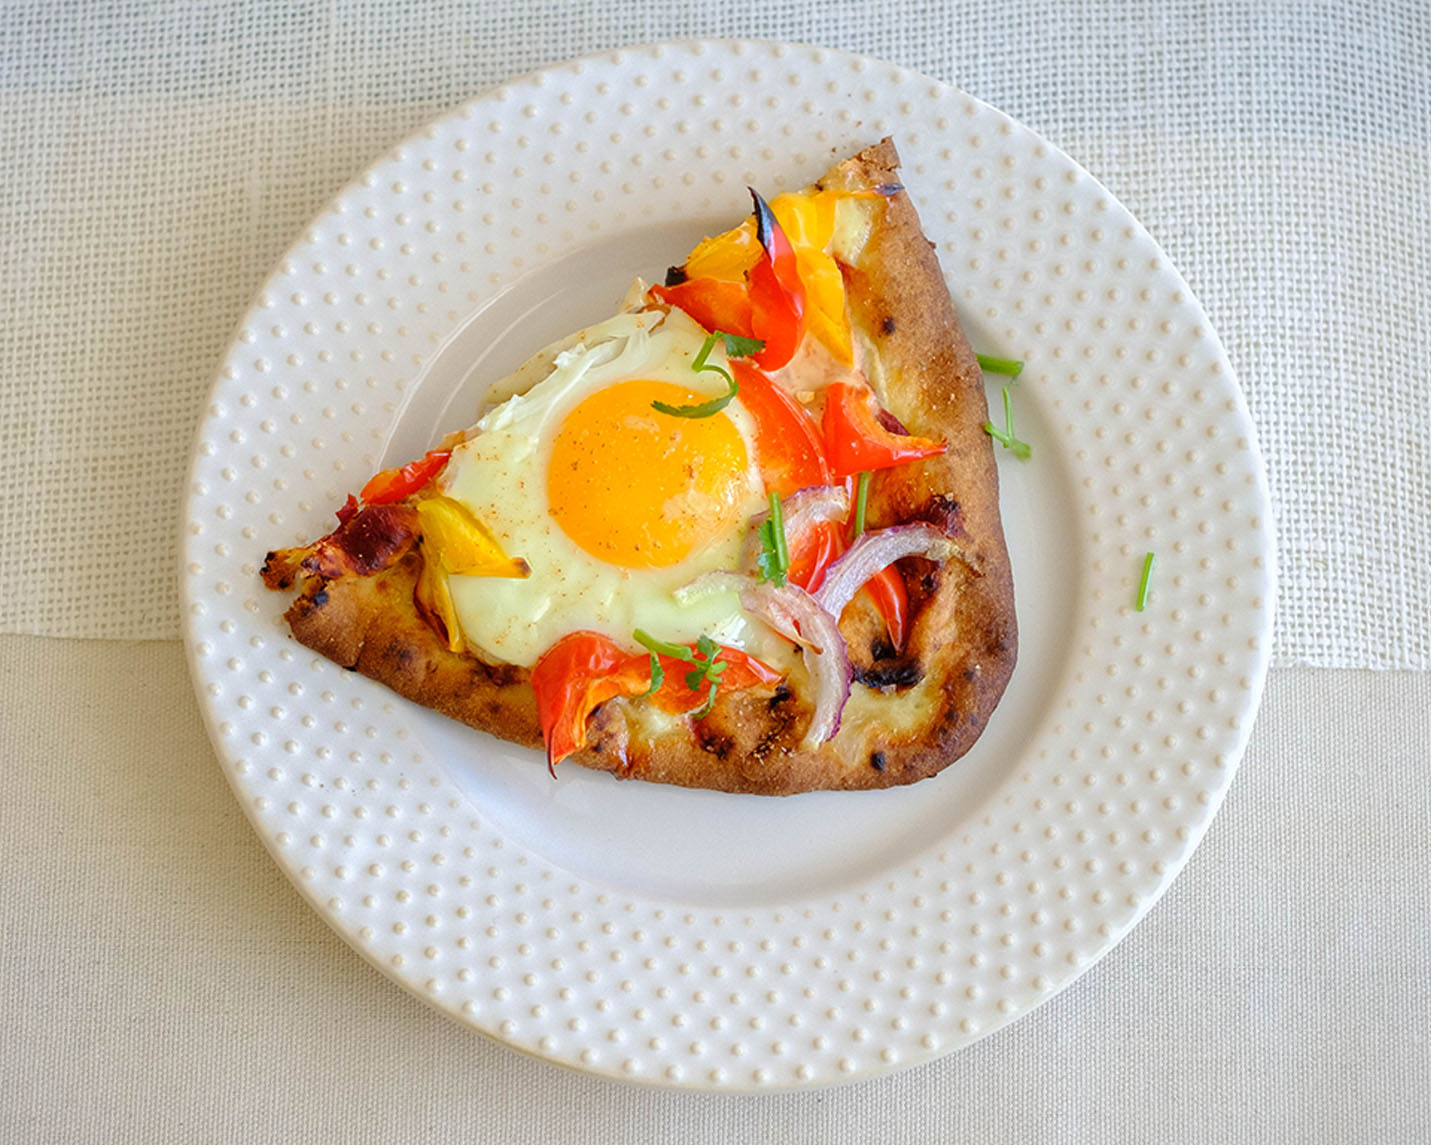
This breakfast pizza is a delicious and satisfying way to start your day. You’ll feel energized and ready to tackle whatever comes your way. And let’s face it, breakfast pizza is just plain fun to eat and it’s a healthy pizza!
This post may contain affiliate links. Please see our privacy policy for details.
Why We Love Breakfast Pizza
- Breakfast pizza can be a healthy pizza, if you choose nutritious ingredients. Start with a whole grain crust and lots of vegetables to boost the nutrients in your pizza.
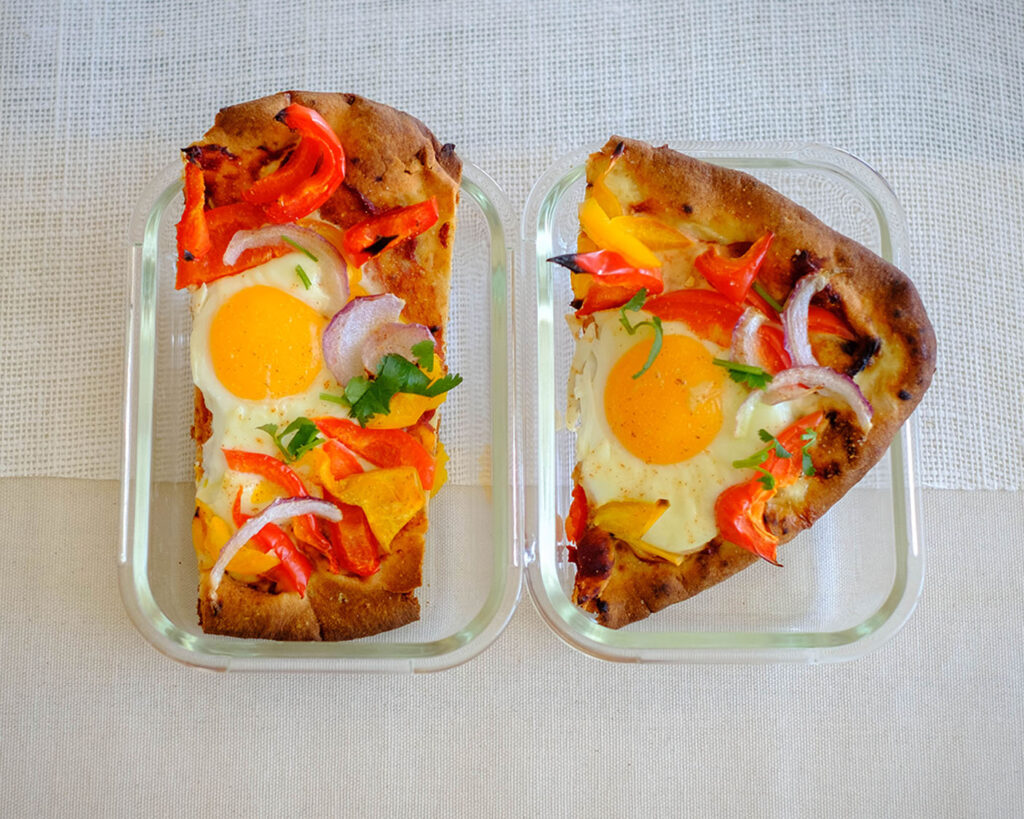
- Prepping it in advance makes it convenient for you to have a healthy option readily available for the mornings. You can store it in the refrigerator or freezer and just heat it up quickly for busy mornings when you don’t have time to prepare breakfast in the mornings.
- Making it ahead of time also allows you to control the portion size especially if you’re trying to manage your calorie intake and maintain a balanced diet.
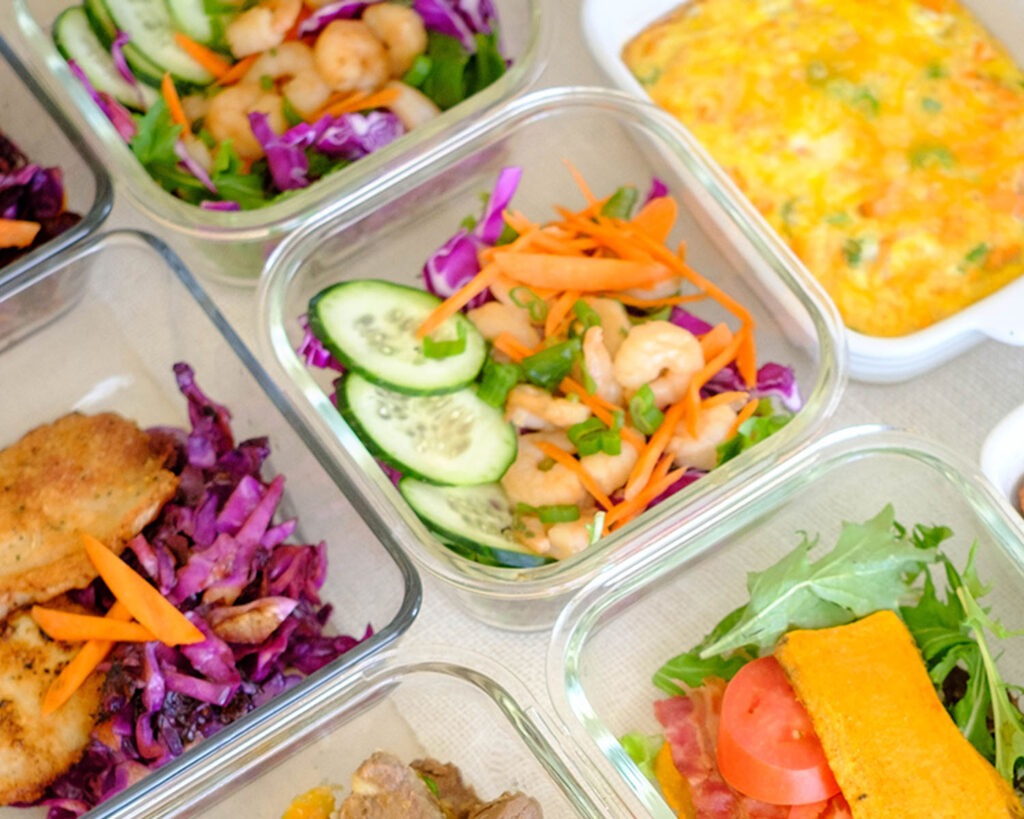
- You also have the flexibility to add a variety of toppings such as eggs, sausage, cheese, vegetables, and herbs you have on hand.

Simple Ingredients You’ll Need
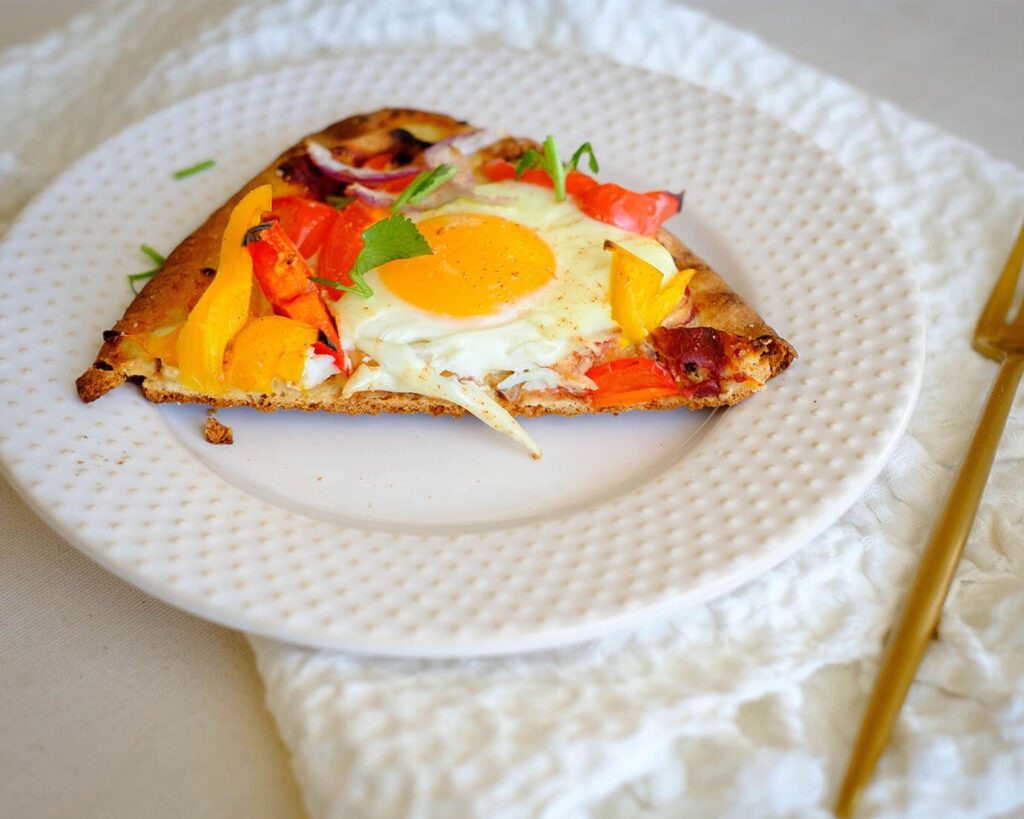
- Crust: We used a pre-made crust such as naan bread to help with portion control. You can also use pita bread or flatbreads as an option. It just depends on how thick you want your crust
- Sauce: For the base of your toppings, you can spread tomato sauce. Other options you can use are pesto sauce or just even leave it bare with no sauce
- Vegetables: We used bell peppers, red onions, and sliced tomatoes because of their nutrients and bright colors. However, feel free to spinach, sliced mushrooms, and even sliced zucchini.
- Protein toppings: Since it’s breakfast pizza, we had to top it off with an egg, but you can easily add chopped breakfast sausage, bacon pieces, or even slices of prosciutto would be a delicious option
- Cheese: opt for low-fat cheese or just make sure you only use a balanced portion of cheese to keep the fat and calorie content of your pizza in check. Mozzarella, feta cheese, and gruyere are great options
- Herbs and spices: To add more flavor, sprinkle in some herbs and spices such as garlic powder, basil, oregano, or red pepper flakes. These ingredients add a layer of extra flavor without adding extra calories

How to Make Breakfast Pizza
- Preheat the oven to 400F. Slice up your toppings as needed.
- Spread the base of the crust with tomato sauce.
- Crack the egg in the middle of each crust. Assemble the sliced veggies around the egg.
- Place the crust on a sheet pan and bake it in the oven for 15-20 minutes until the eggs are firmly set.
Reference the recipe card below for detailed instructions.

Meal Prep Tips for Breakfast Pizza
- Use a good quality crust as it is the foundation of any great pizza. We used a pre-made crust to help with the time of prep.
- Consider how you want your eggs cooked. If you like it runny, you can crack them directly into the pizza before you bake them. However, if you prefer firmer eggs, you can cook the eggs separately and then add them as a topping after the pizza cooks.
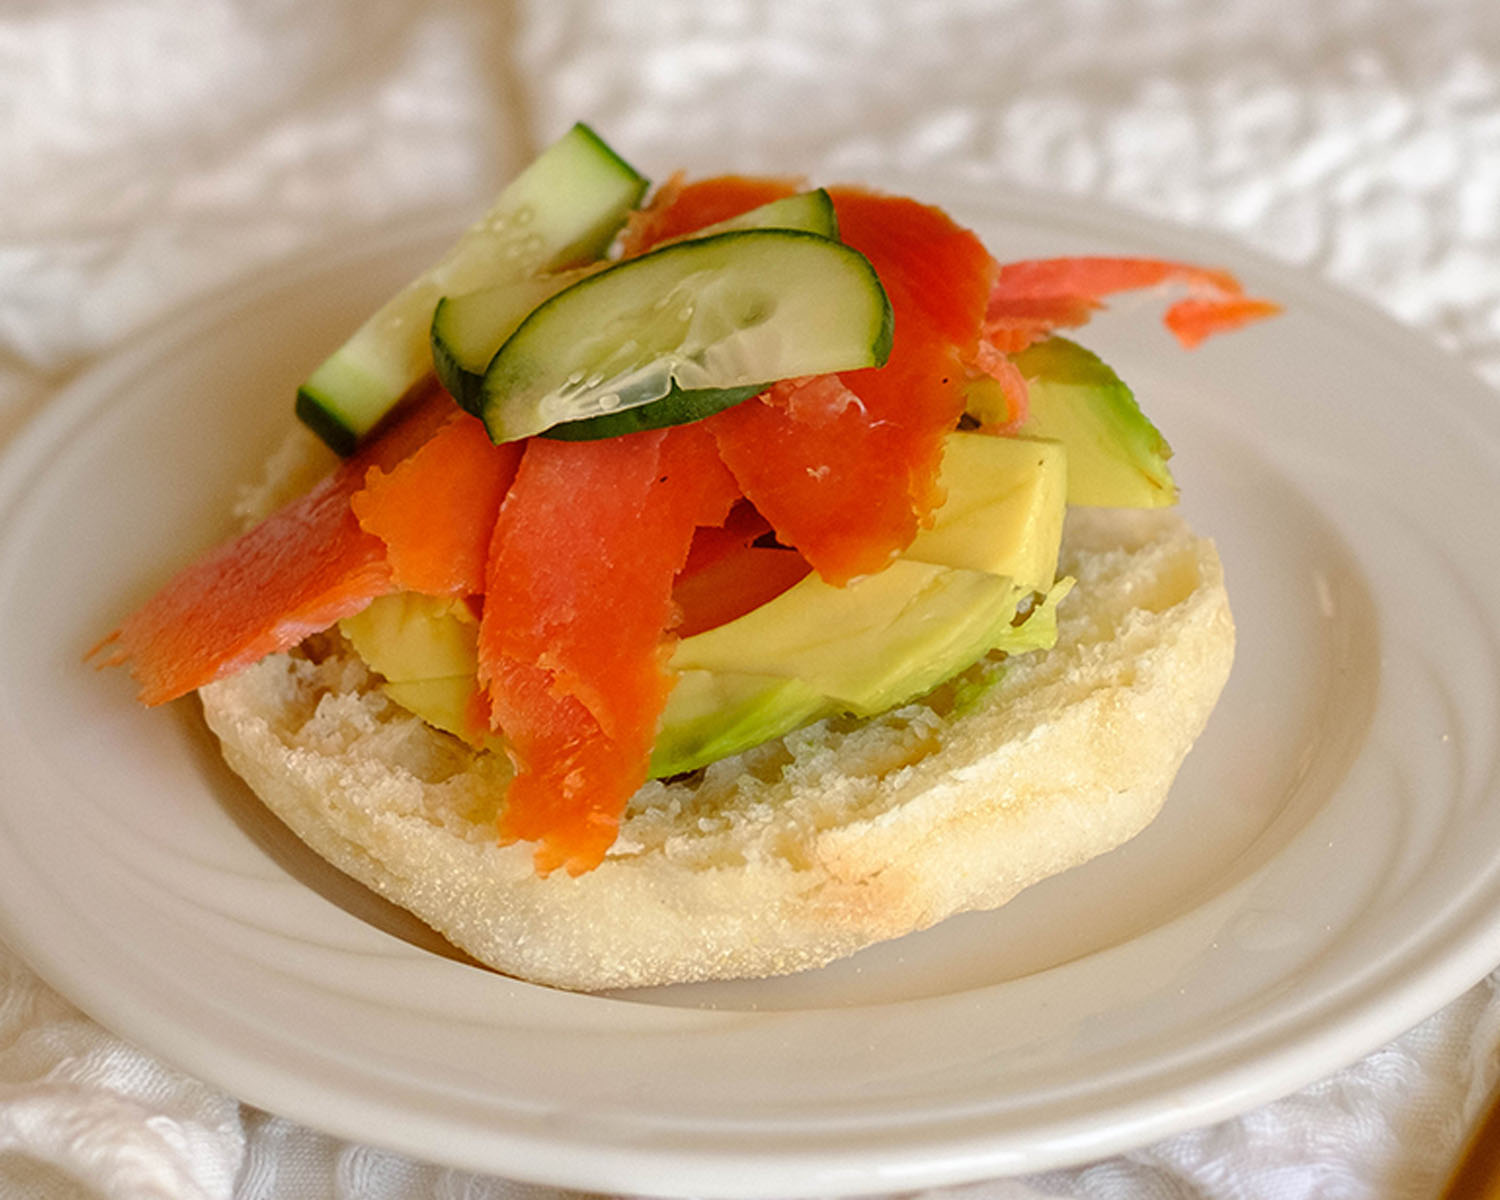
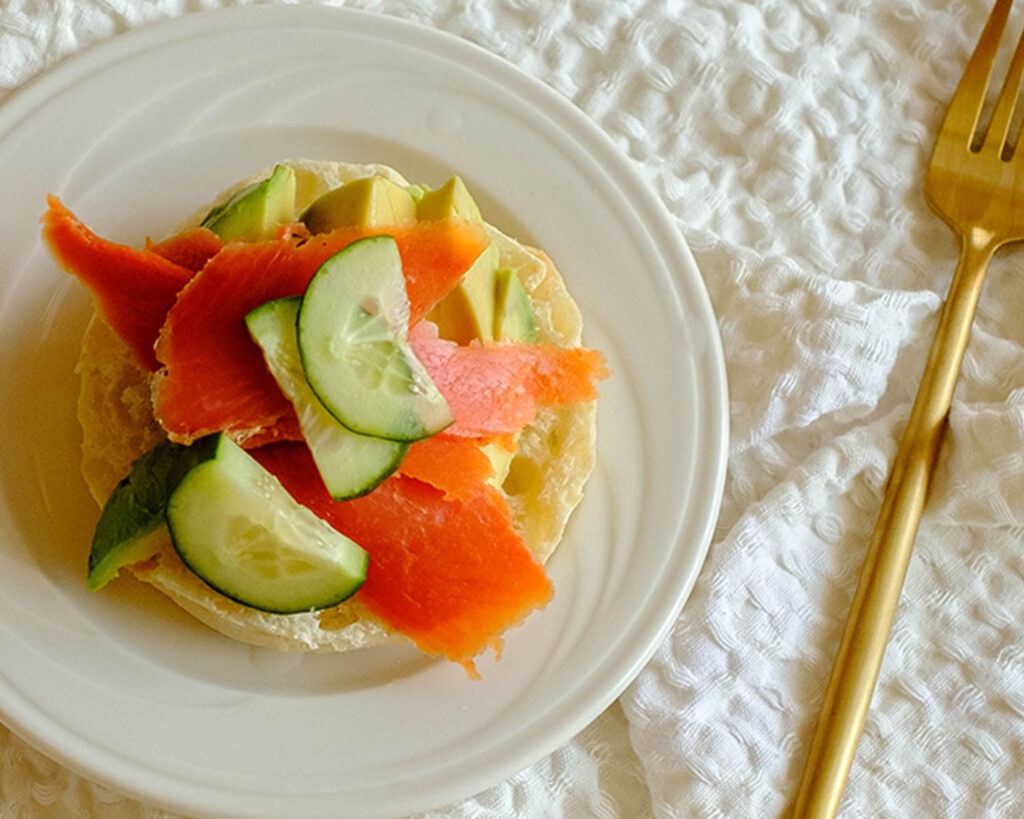
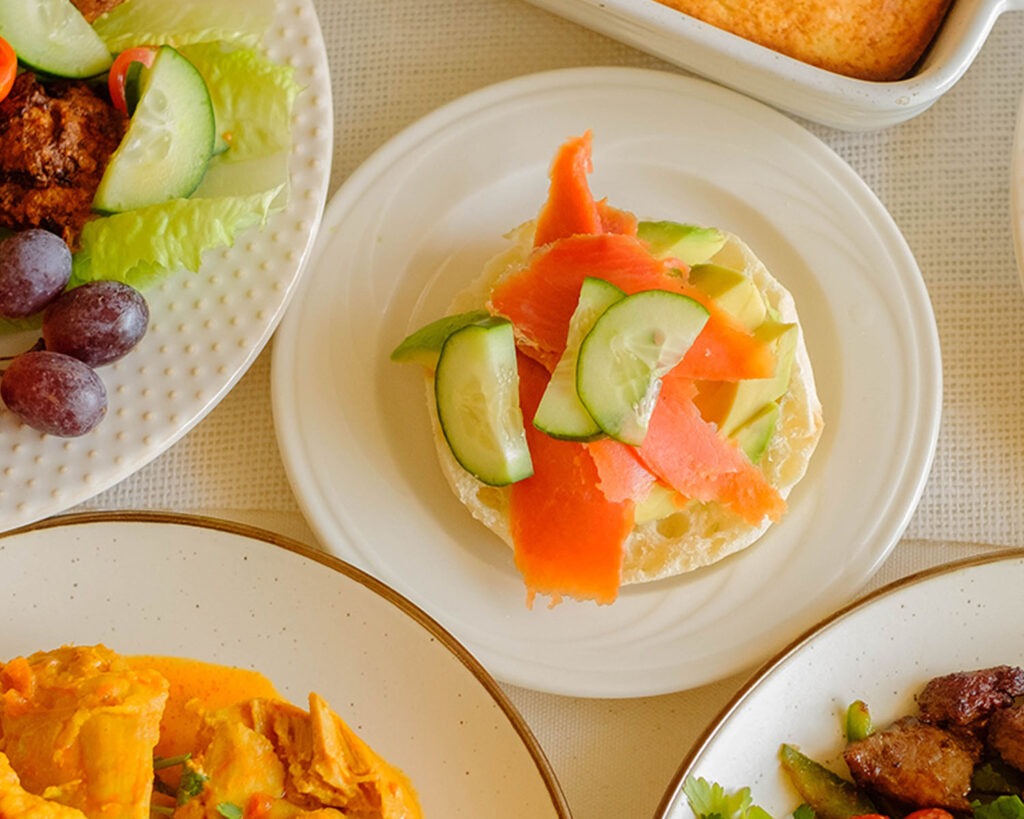
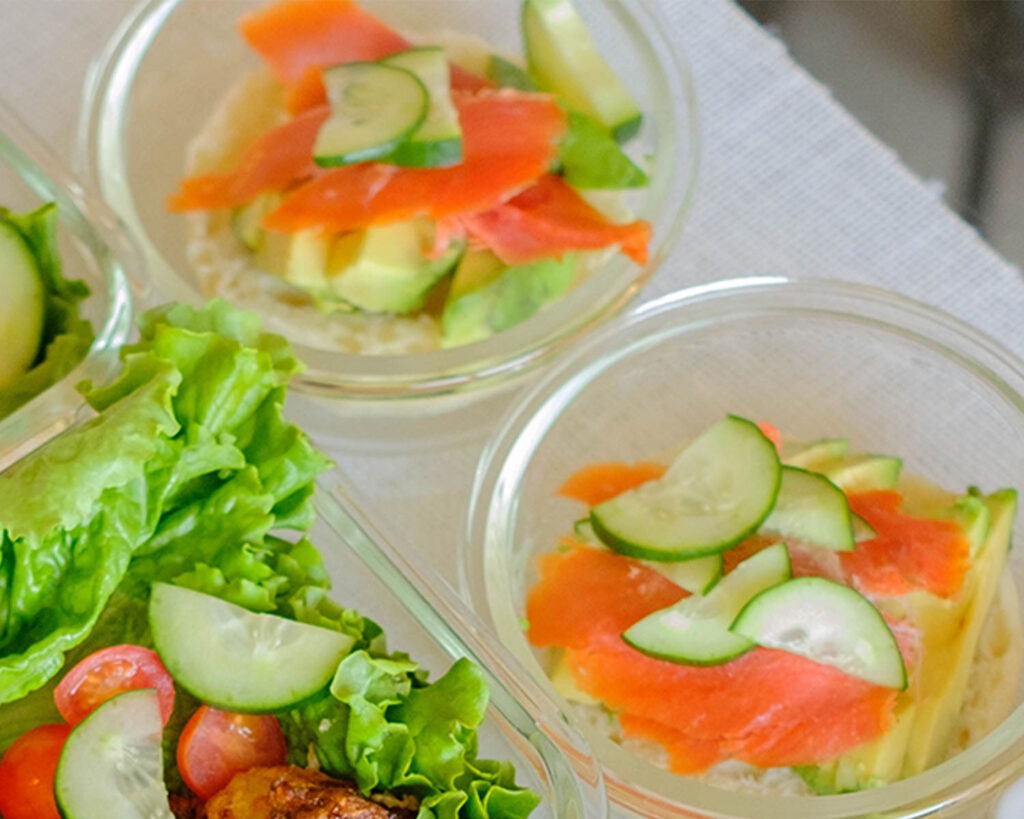
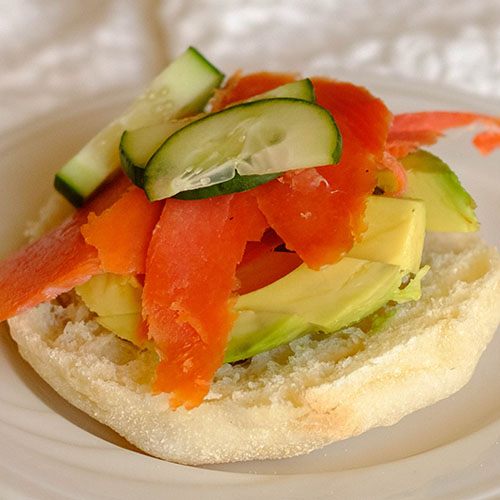
- Experiment with different toppings. Instead of eggs, you can use smoked salmon and use cream cheese as your sauce base. Instead of a savory breakfast pizza, you can also make a sweet version such as a fruit breakfast pizza by using fruit and nut toppings, and maple syrup.


Frequently Asked Questions
Is breakfast pizza healthy?
It can be healthy if made with nutritious ingredients. The key to keeping it healthy is limiting high fat, high fat, and high sodium ingredients and portion control.
Can breakfast pizza be frozen?
Yes, you can freeze breakfast pizza. Just make sure it is stored in tight plastic wrap in an airtight container. It’s best to use it up within 3 months for the best quality.
How do you reheat breakfast pizza?
You can place it in the oven at 350F for 5 to 7 minutes or you can just microwave it for 1-2 minutes


Breakfast Pizza
Equipment
Ingredients
Instructions