
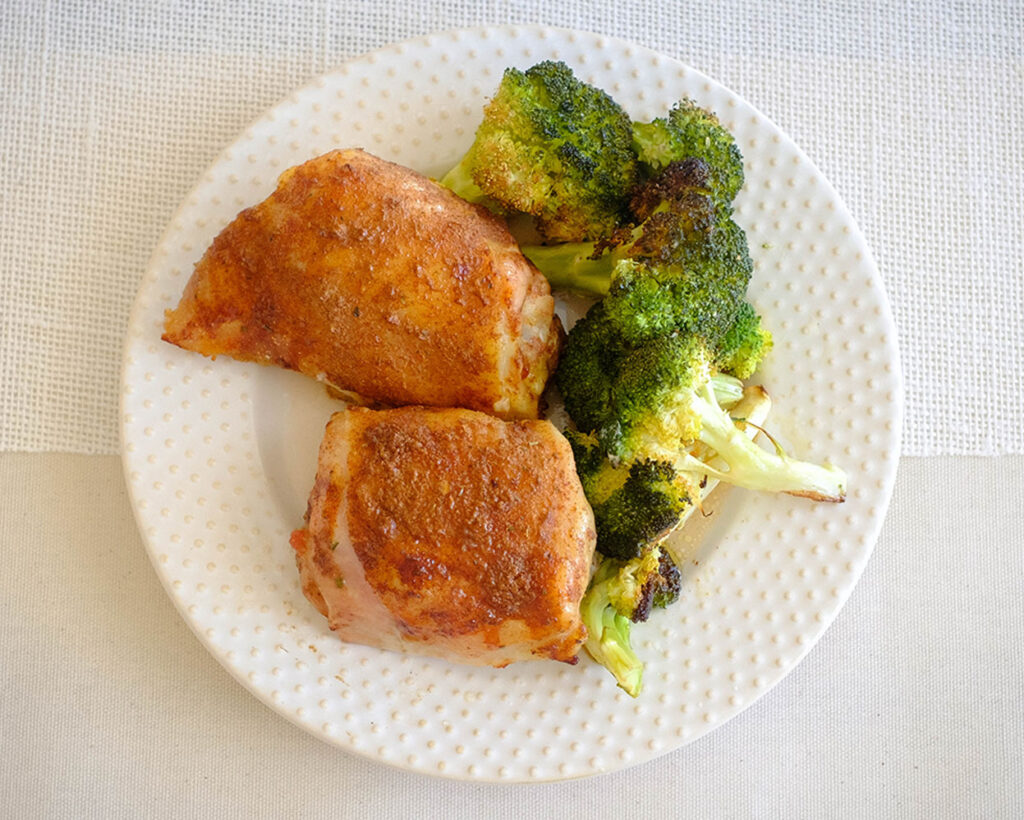
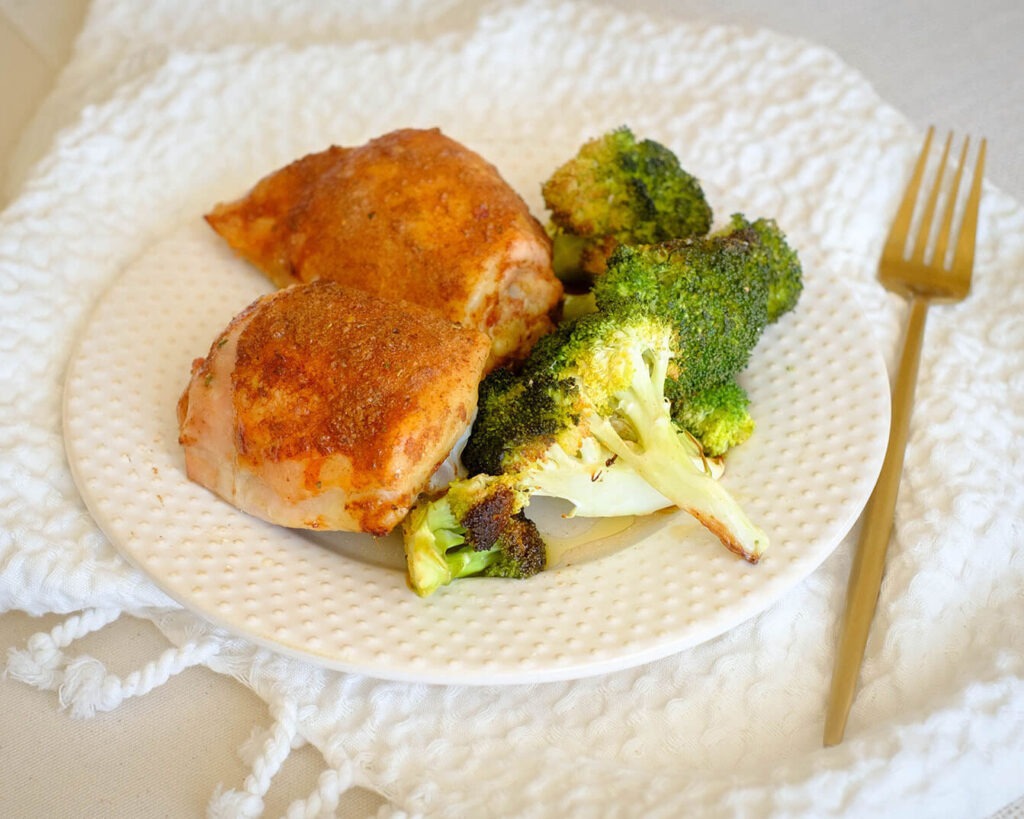
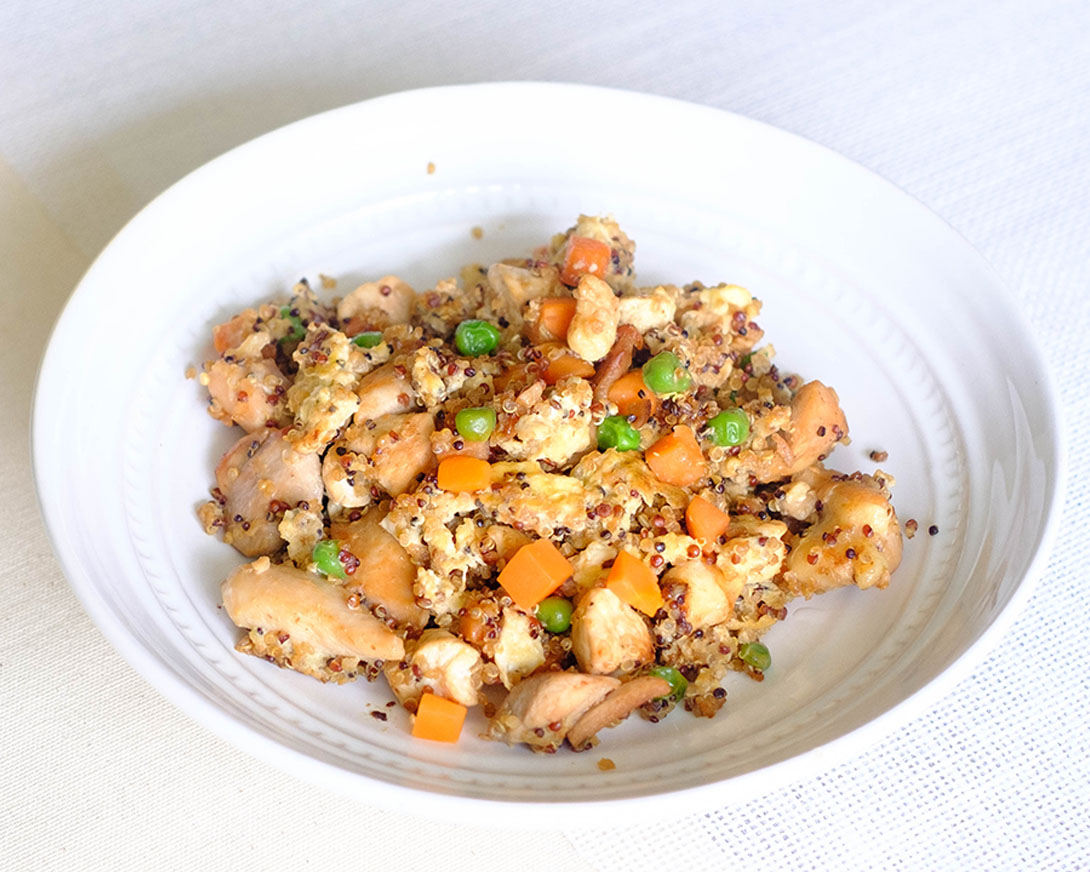
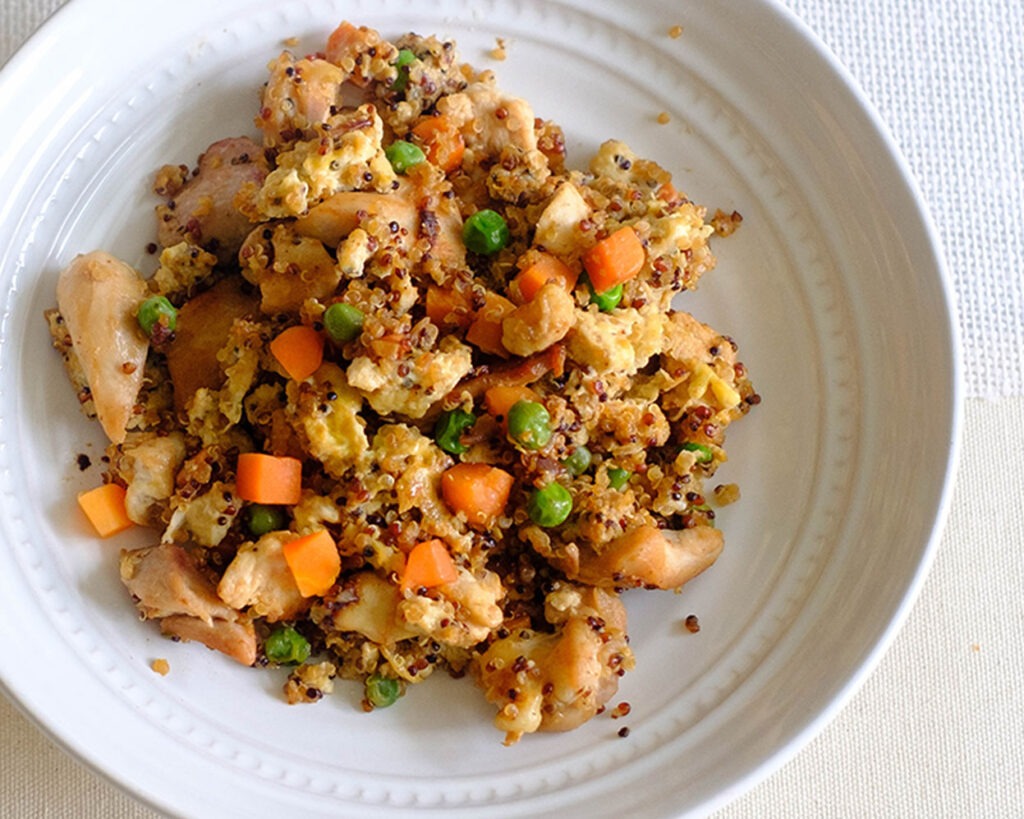
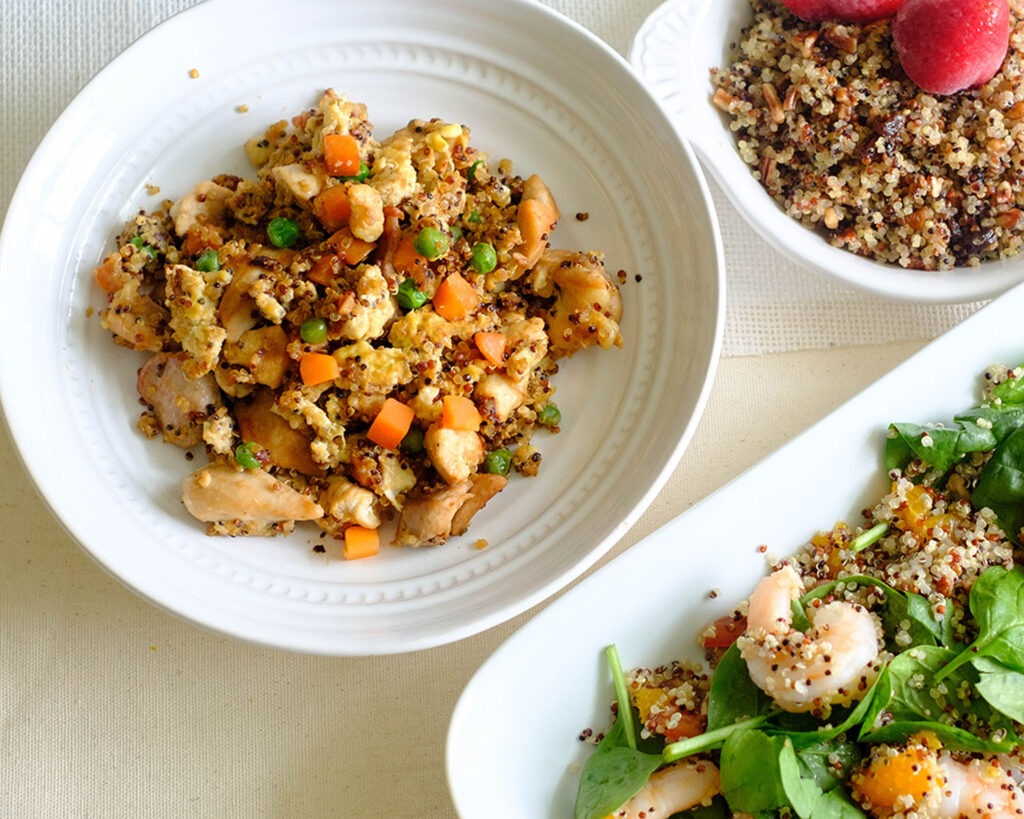
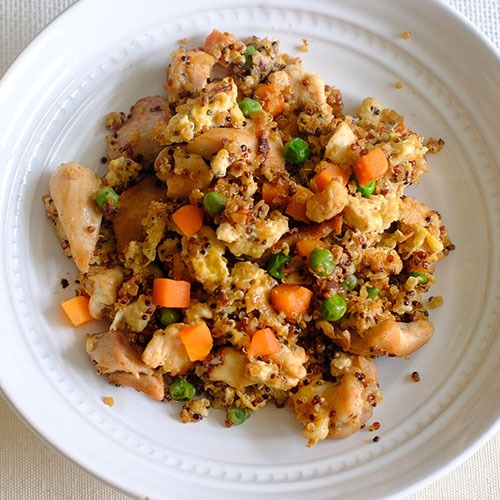
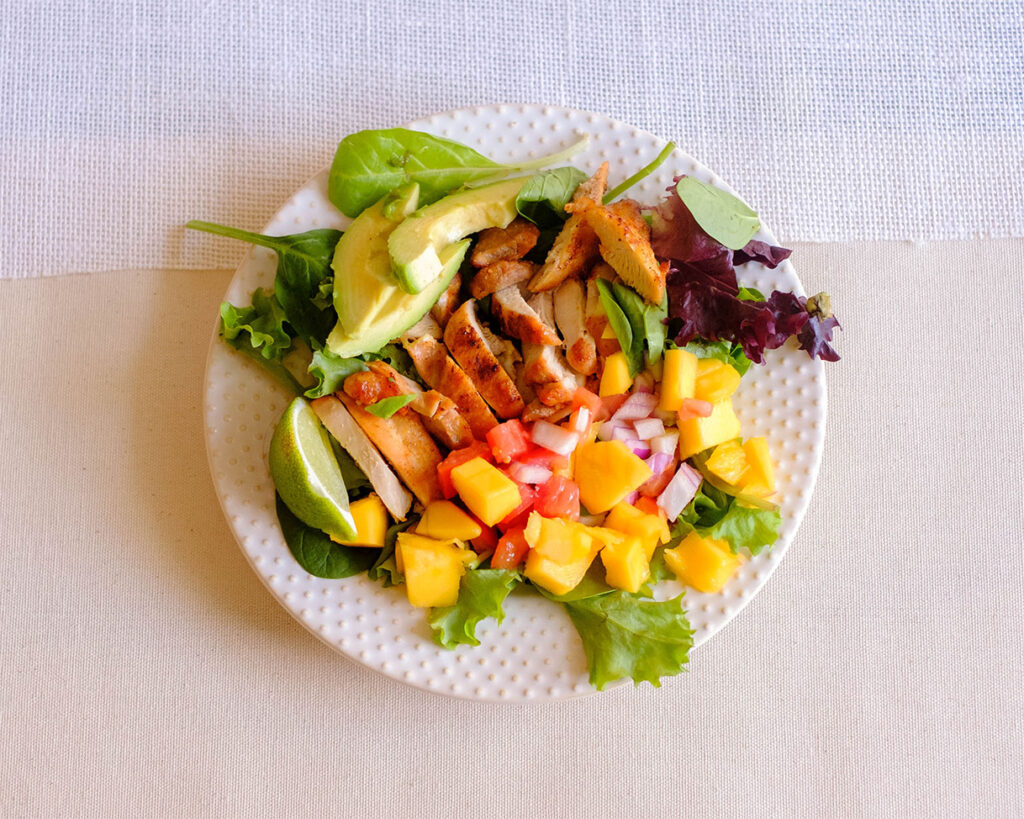
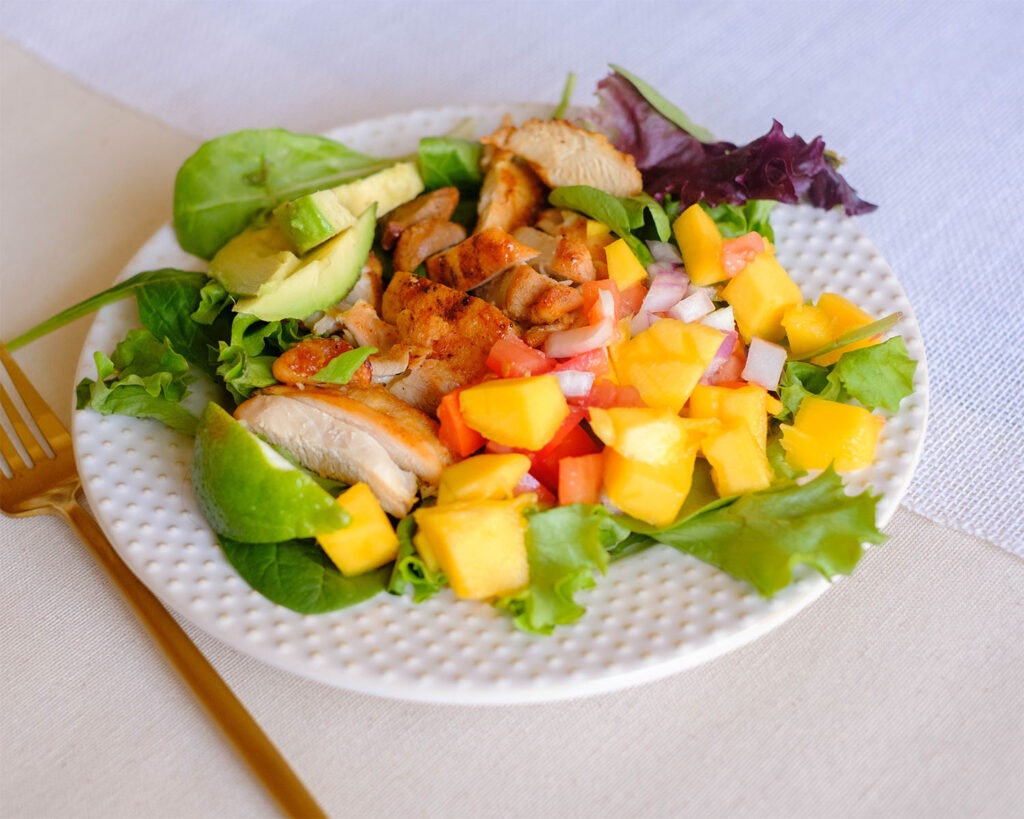
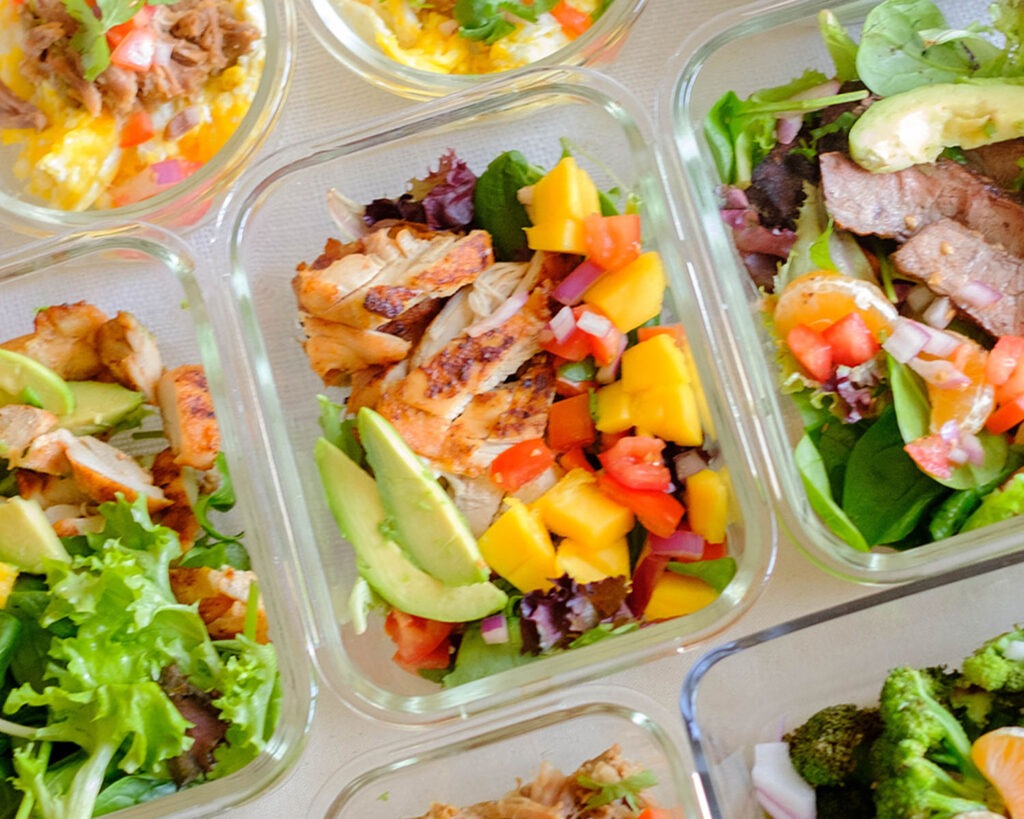
Air Fryer Apricot Glazed Chicken with Broccoli is a scrumptious, budget-friendly meal prep option designed for busy individuals seeking convenience without sacrificing flavor. This recipe features succulent chicken thighs marinated in a savory-sweet glaze made from a blend of soy sauce, apricot, honey, and aromatic spices. The magic of the air fryer ensures quick and crispy chicken perfection. Paired with air-fried broccoli seasoned with sesame oil, this dish delivers a delightful blend of flavors and textures that will satisfy your taste buds and simplify your meal prep routine.
This post may contain affiliate links. Please see our privacy policy for details.
Why Choose Air Fryer Glazed Chicken with Broccoli for Meal Prep?
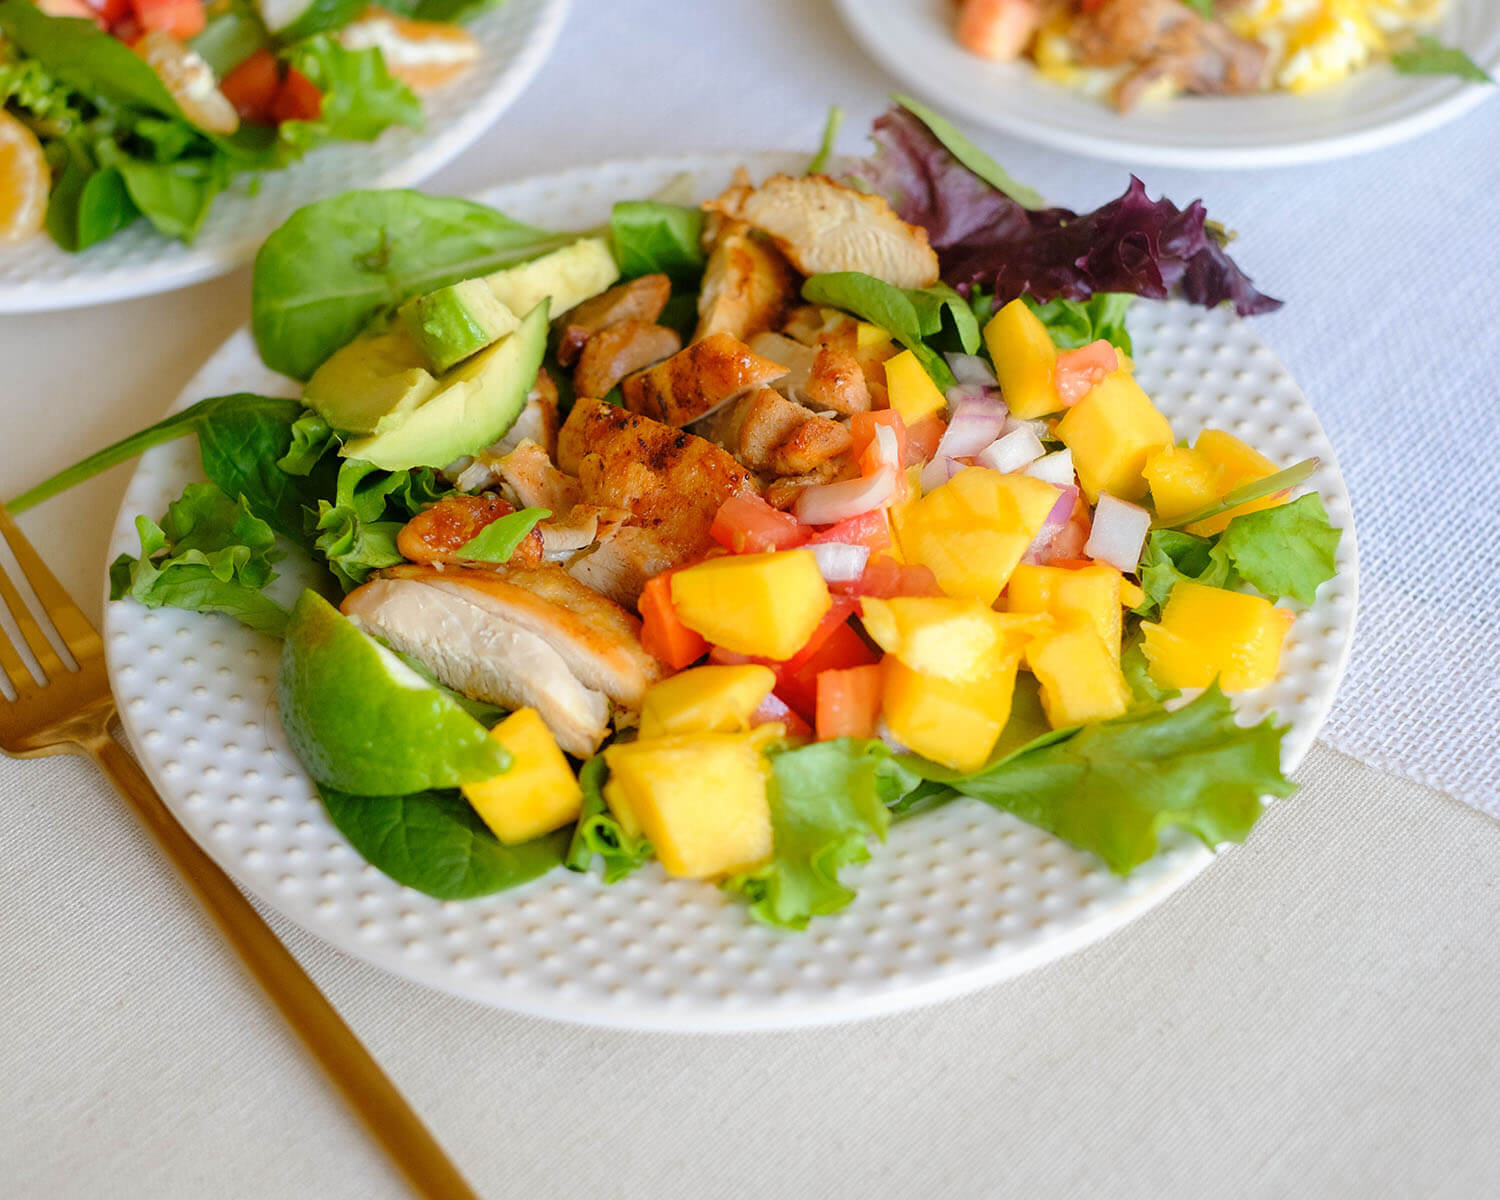
- The succulent chicken thighs in this recipe are bathed in a delectable glaze made from soy sauce, apricot, honey, garlic powder, and ginger powder. This combination delivers a burst of sweet and savory flavors that will leave your taste buds dancing with delight.
- Meal prepping with chicken thighs and broccoli is not only scrumptious but also gentle on your wallet. Chicken thighs are an economical choice, and with a little creativity, you can turn them into a gourmet meal. Plus, using simple ingredients like soy sauce, honey, and spices means you won’t break the bank.
- With the magic of the air fryer, you’ll have your meals prepped in a breeze. The air fryer’s speedy cooking time and minimal cleanup make it a kitchen superhero for busy individuals who need to meal prep in a flash.

To Make this Healthy Air Fryer Apricot Glazed Chicken, You’ll Need
- Chicken Thighs: Chicken thighs are the star of this dish, and they’re a fantastic choice for meal prep. They’re more flavorful and juicier than chicken breasts, making them a preferred option for many. The dark meat of thighs is known for its tenderness and rich taste. Plus, they are typically more budget-friendly than chicken breasts.
- Soy sauce: A staple in Asian cuisine and adds a depth of savory umami flavor to the dish. It’s made from fermented soybeans and wheat, which are brewed with salt and water. In this recipe, it not only enhances the chicken’s taste but also serves as a base for the glaze.
- Apricots: This fruit provides a natural sweetness to balance out the savory components of the dish. They are also a great source of vitamins A and C, which can add a hint of fruity brightness to your glaze. When diced and blended, apricots create a smooth, luscious consistency.
- Honey: It adds sweetness and a hint of floral flavor to the glaze. It’s not only a natural sweetener but also acts as a binding agent, helping the glaze stick to the chicken. Opt for local or raw honey if possible for a more complex flavor profile.
- Ginger powder: This seasoning offers a warm, spicy, and slightly sweet taste to the glaze. Ginger is famous for its anti-inflammatory properties and distinctive flavor. In powdered form, it blends seamlessly into the glaze.
- Sesame oil: This staple in Asian cooking and imparts a nutty, toasty flavor to the dish. Just a small amount goes a long way in adding depth and richness to both the glaze and the broccoli. Toasted sesame oil is particularly flavorful.
- Broccoli: These florets are a versatile and nutritious vegetable. It’s rich in vitamins, minerals, and dietary fiber. When air-fried, broccoli becomes tender on the inside while developing a delightful crispy texture on the outside. It’s a perfect complement to the glazed chicken.
How to Prepare Easy Air Fryer Apricot Glazed Chicken
- Remove the seed from the apricot and dice it into pieces. Add it to a blender with the soy sauce, honey, garlic powder, and ginger powder. Blend until the sauce is smooth and set it aside.
- Preheat your air fryer to 360°F (182°C). Once it’s hot, place the marinated chicken thighs in the air fryer basket. Cook for approximately 23 minutes, flipping them halfway through. Check the internal temperature with a thermometer to ensure it reaches 165°F
- While the chicken is cooking, prepare your broccoli. Place the broccoli florets in a bowl and drizzle with sesame oil. Sprinkle on your favorite seasonings for added flavor. Once the chicken is done, remove it from the air fryer and place the broccoli in. Cook at 360°F for about 5 minutes until it’s tender and slightly crispy.
Reference the recipe card below for detailed instructions.
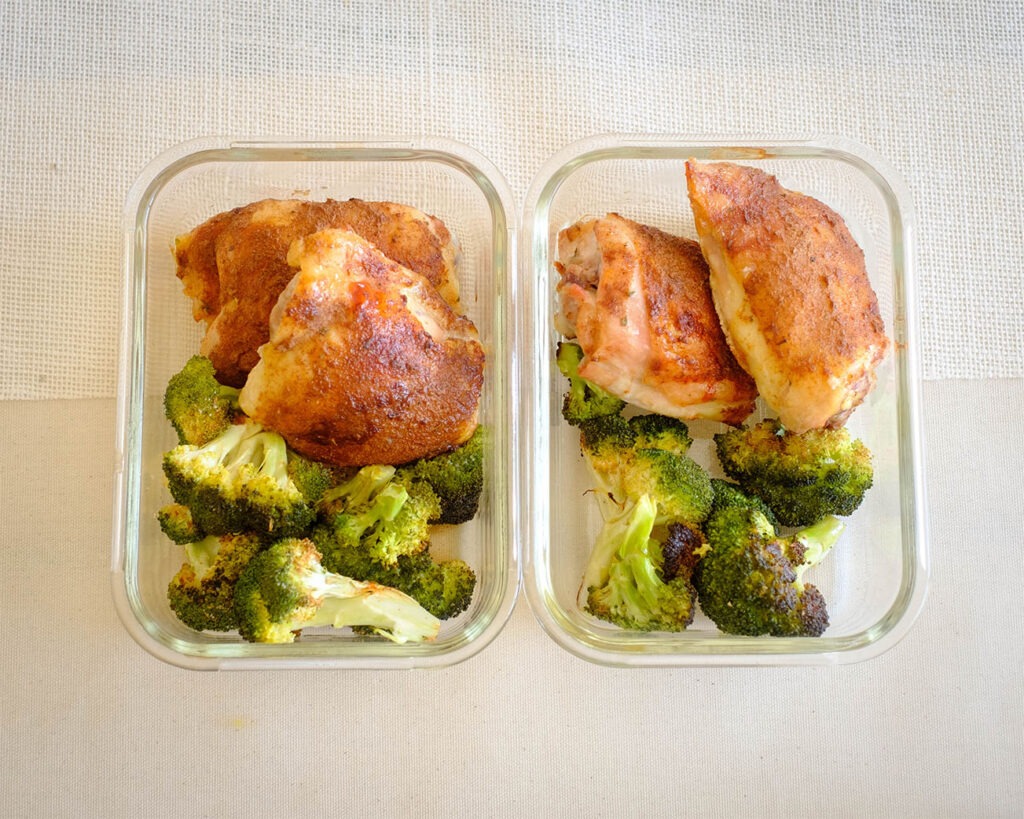
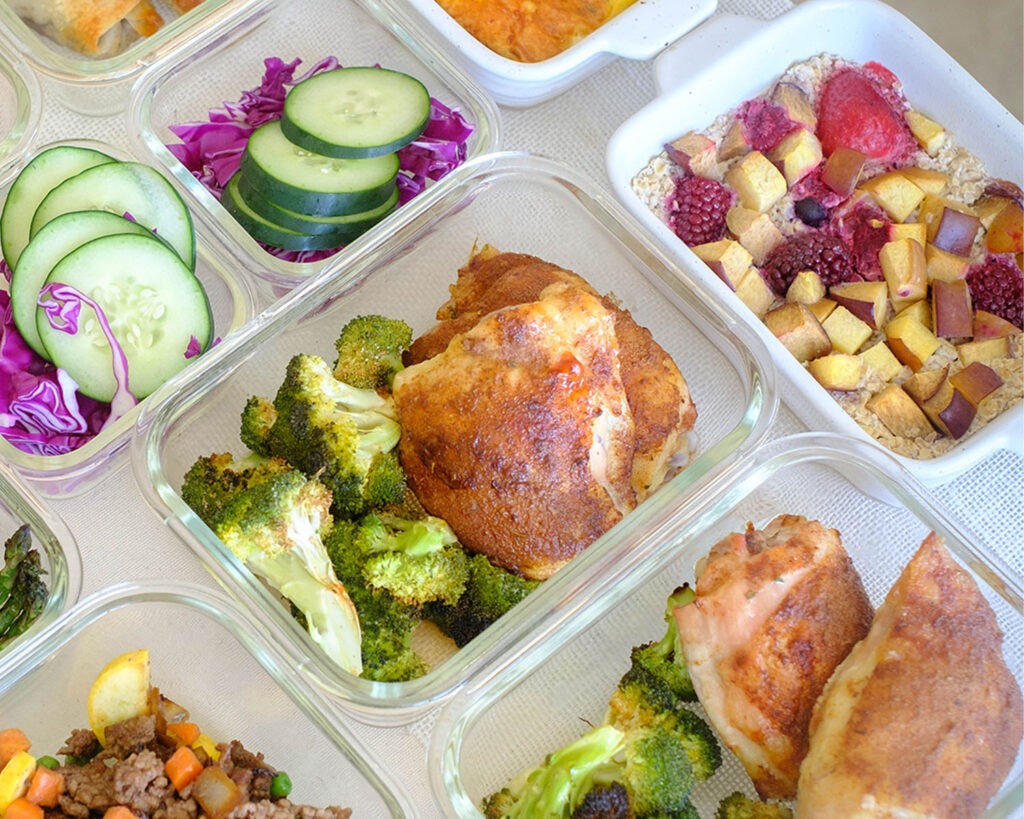
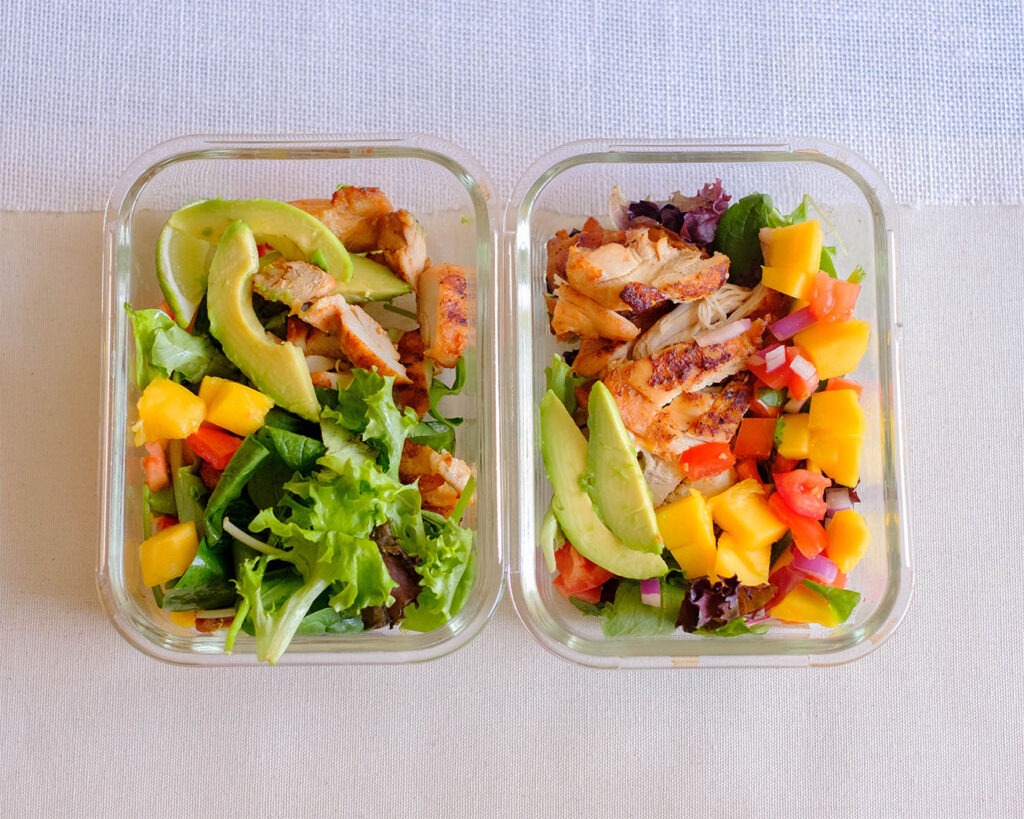
Meal Prep Tips for Air Fryer Chicken
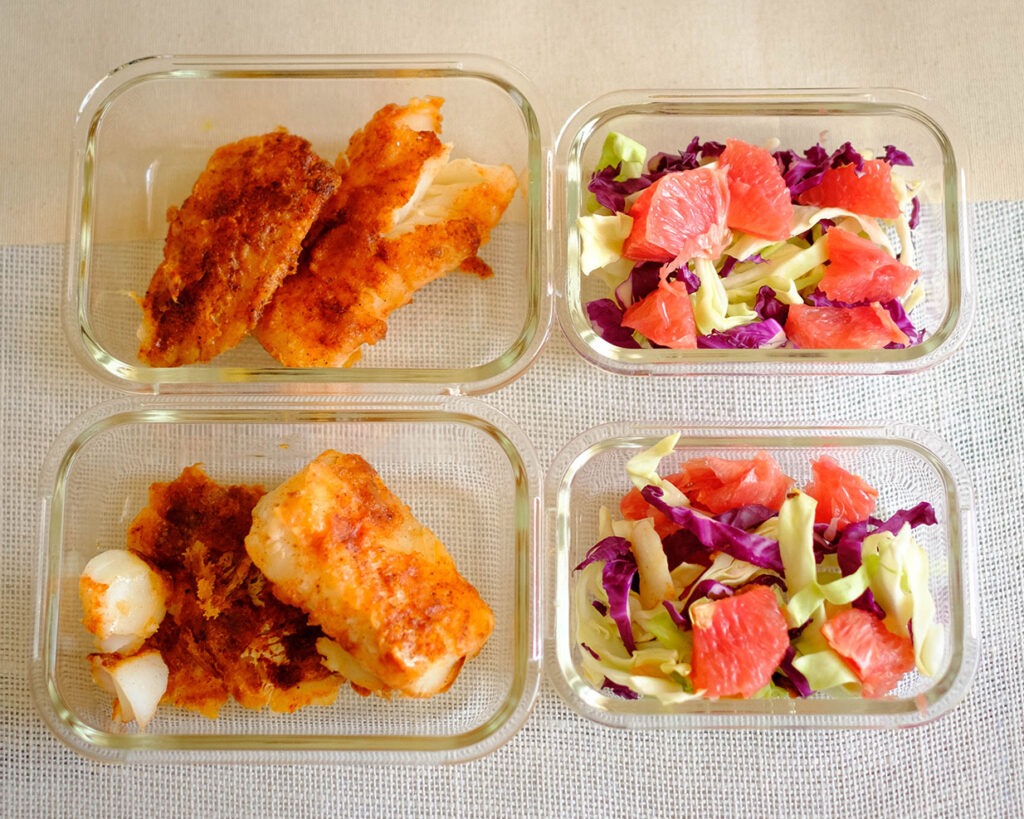
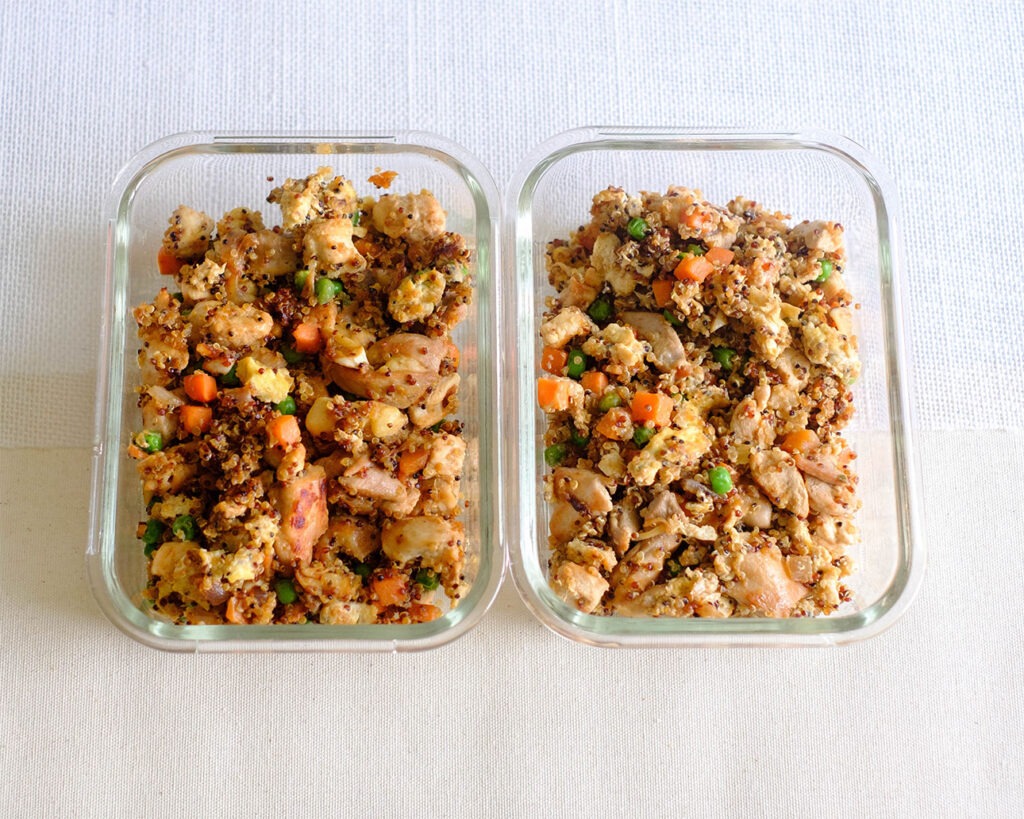
- Storage: Store your prepared meals in airtight containers in the refrigerator for up to 4 days.
- Reheating: To reheat, simply pop your meal in the microwave for 2-3 minutes, or you can use the air fryer at a lower temperature for a quick crisp-up.
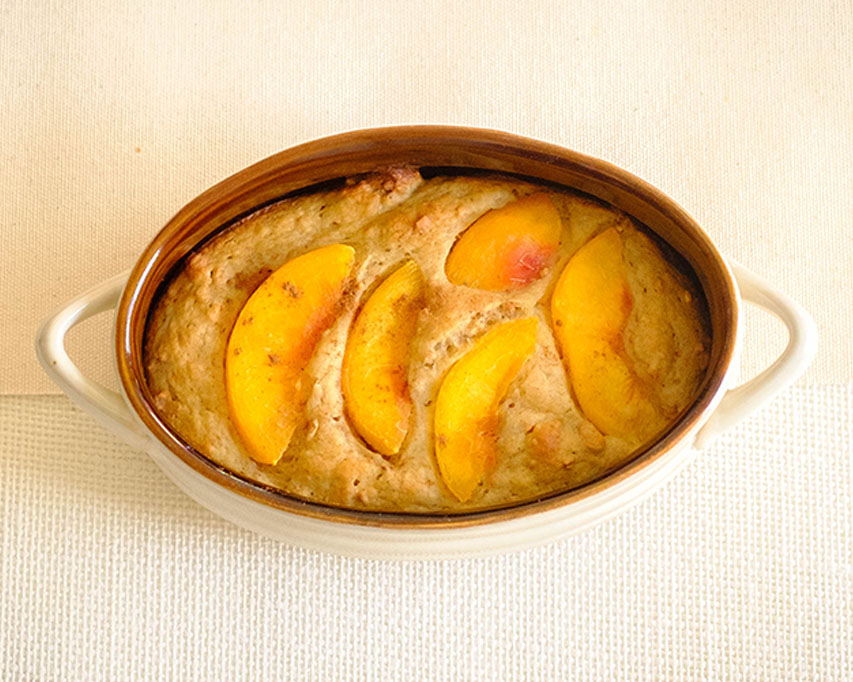
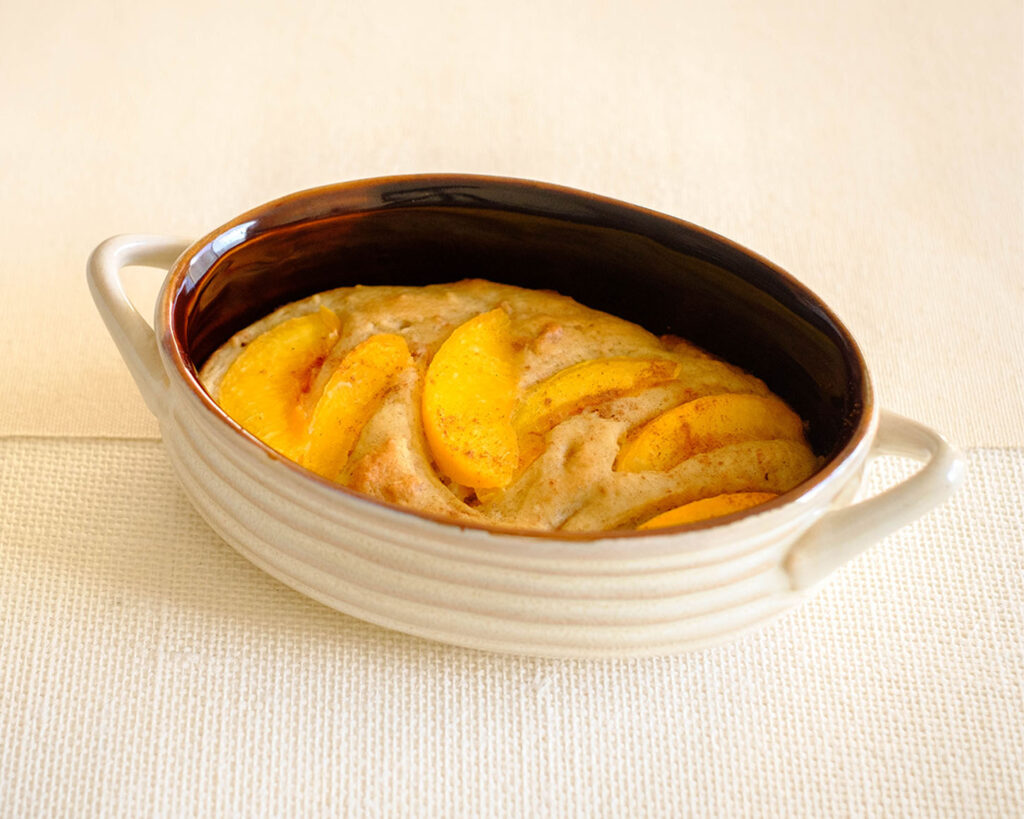
- Ingredient Swaps: Get creative with your glaze! Swap out the apricot for peach, pineapple, or even orange for a different twist of flavors. Don’t forget to adjust the honey accordingly for sweetness.


Frequently Asked Questions
Can I use chicken breasts instead of chicken thighs?
Absolutely! While chicken thighs are our preferred choice for their tenderness and flavor, you can substitute chicken breasts if you prefer them. Just be mindful that chicken breasts may cook a bit faster in the air fryer, so adjust the cooking time accordingly to avoid overcooking.
Can I make this recipe without an air fryer?
Yes, you can! If you don’t have an air fryer, you can bake the chicken and broccoli in a conventional oven. Bake the chicken at 400°F for about 25-30 minutes, and the broccoli at the same temperature for 10-15 minutes. Ensure the chicken reaches an internal temperature of 165°F.
Are there any other vegetable options besides broccoli?
Of course! While broccoli pairs wonderfully with the glaze, you can experiment with other vegetables like asparagus, green beans, or bell peppers. Just adjust the cooking time to ensure they are cooked to your preferred level of tenderness.


Air Fryer Apricot Glazed Chicken with Broccoli
Equipment
Ingredients
Chicken and Marinade
Broccoli and Seasonings
Instructions
Notes