
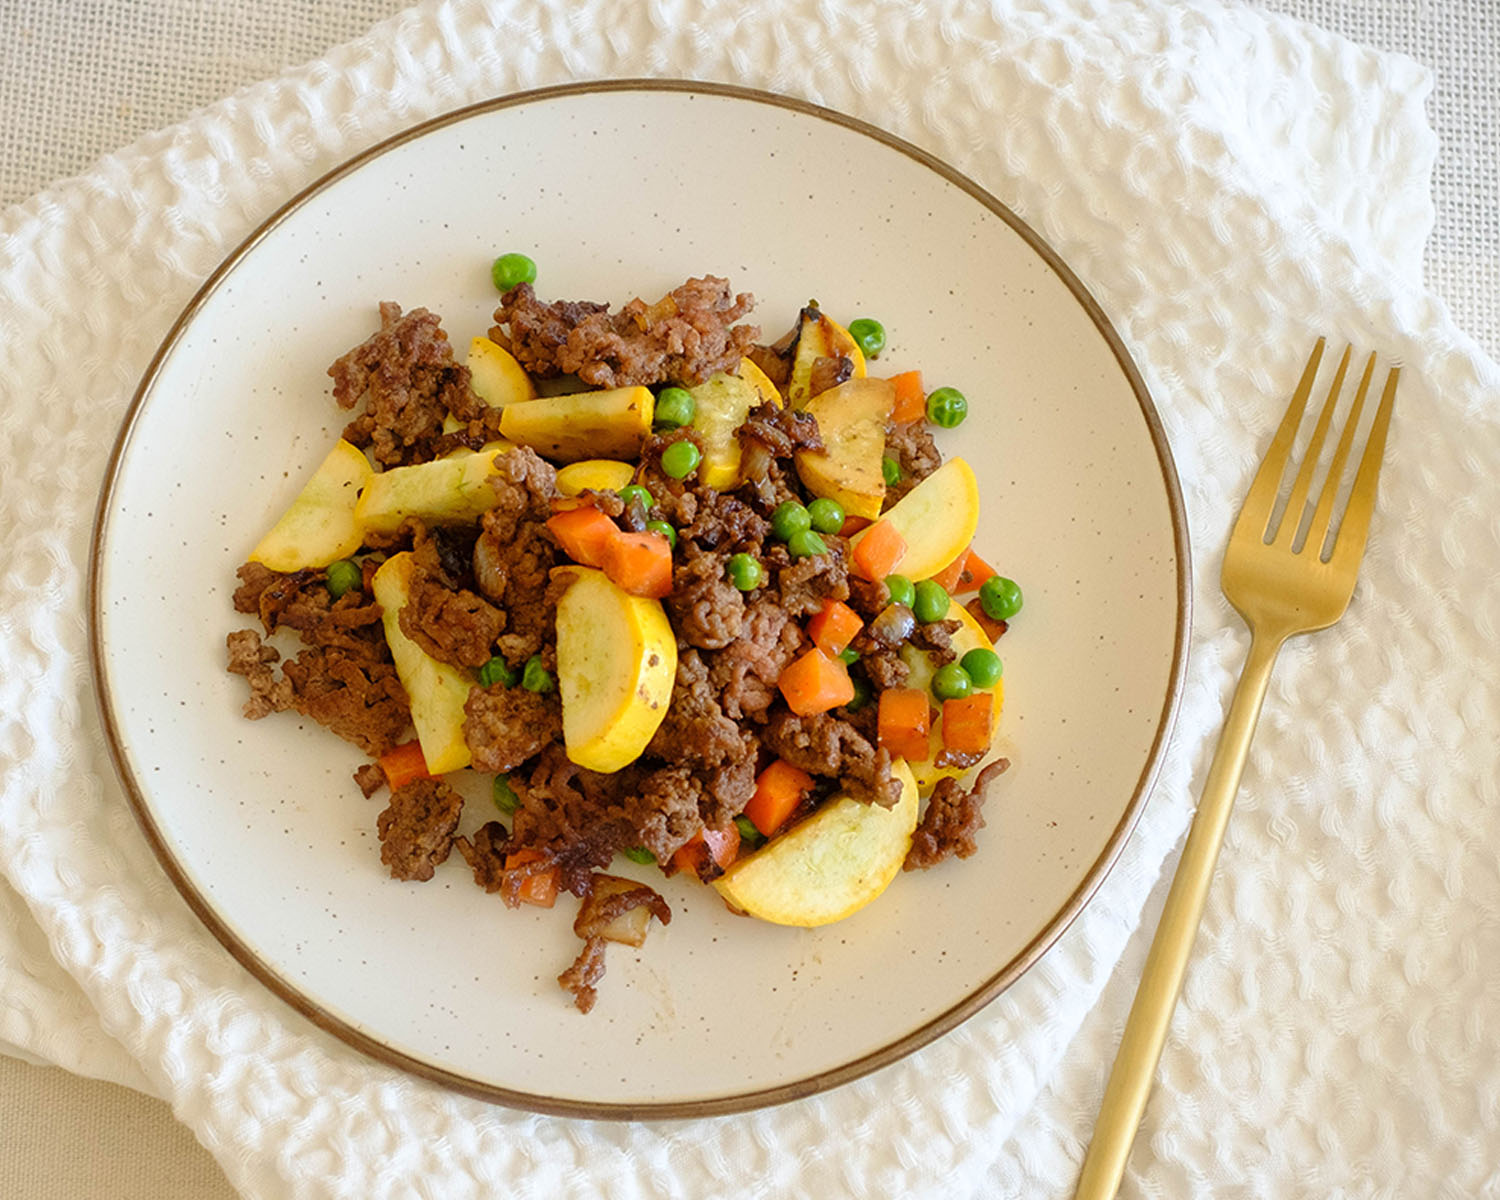
Love the comfort of meatloaf, but don’t want to wait too long for the prep? Here’s a twist on a meatloaf-recipe family favorite using burger patties.
This post may contain affiliate links. Please see our privacy policy for details.

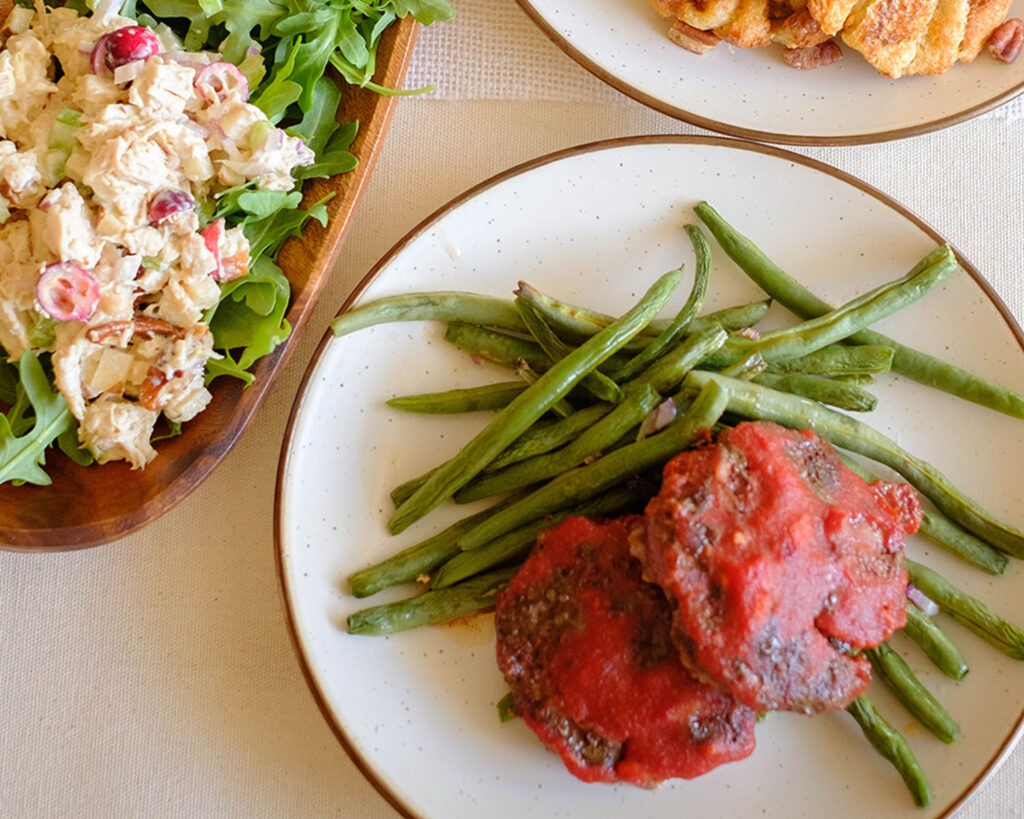
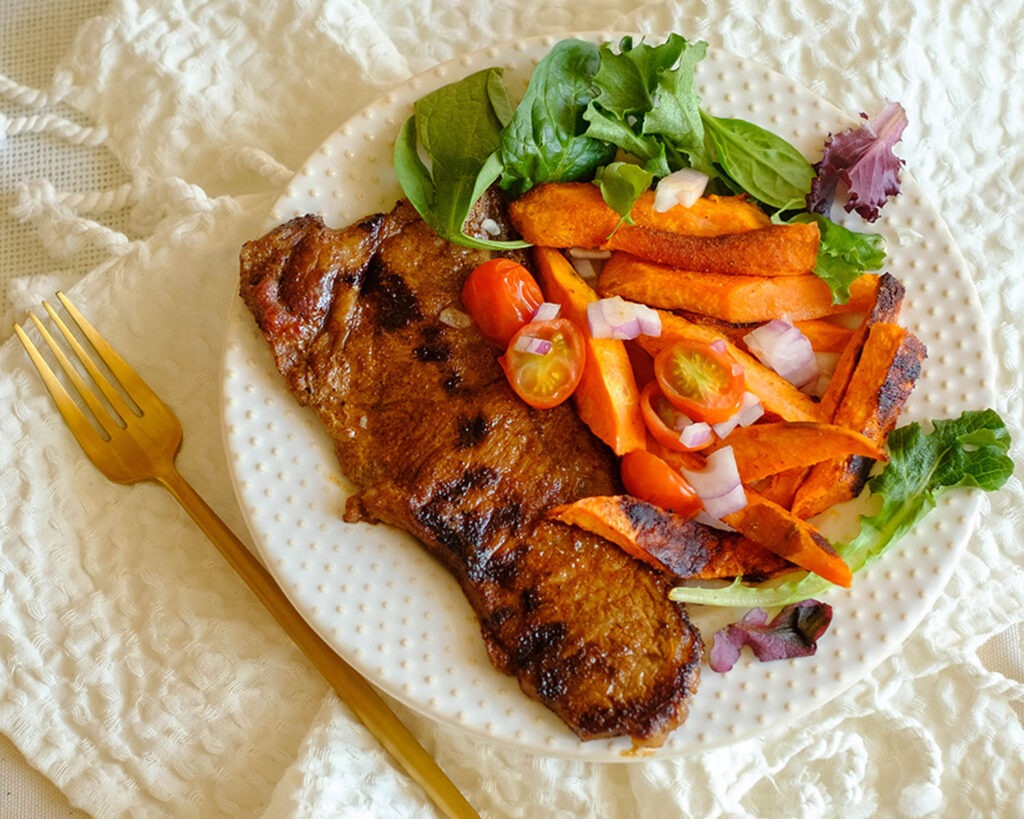
While classic meatloaf recipes are normally baked in a loaf pan, we opted for using hamburger patties and baking them flat on a sheet pan. This definitely took less time than traditional meatloaf and was a huge time saver, and you still get the classic flavors of meatloaf that we all find comfort in.

Why These Meatloaf Patties are Great for Meal Prep
- The recipe uses budget-friendly ingredients
- Everything can be cooked on one sheet pan
- It’s a healthier version of meatloaf that still satisfies your tastebud
Easy to Find Ingredients for Baked Meatloaf Recipe
- Lean Ground Beef Burger Patties: We used pre-made beef burger patties to save time on meal prep. However, you can definitely use any kind of ground meat and form your own burger patties
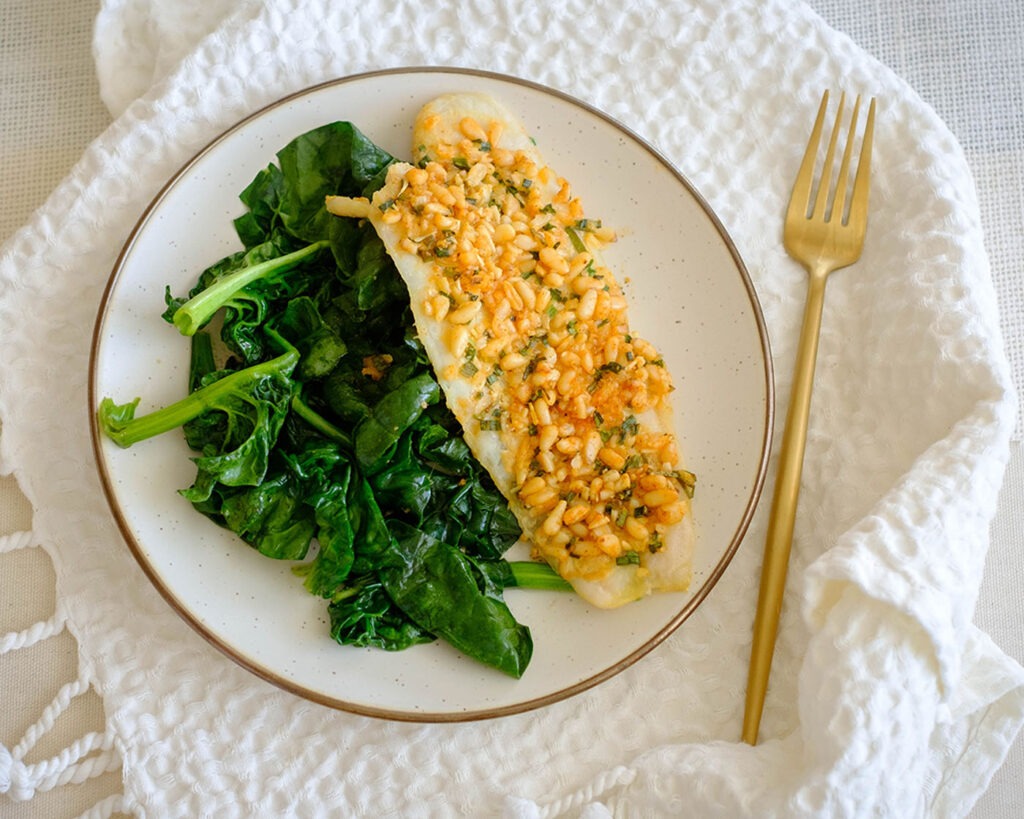
- Green Beans: You can pair your patties with any kind of roasted veggies such as asparagus, broccoli, or even with mashed potatoes
- Red Onions: Adding aromatics to anything always adds more flavor. You can also use sliced shallots or minced garlic
- Tomato Sauce: You can even use leftover spaghetti sauce
- Sugar: If you don’t want to use sugar, you can substitute it with honey. Adding a little bit of sweetness helps balance out the tartness of the tomato sauce
- Olive Oil: Keep it heart-healthy with oil, and you can also use avocado oil
Easy Instructions to Make Meatloaf Patties
- Preheat the oven to 400F.
- Mix together the tomato sauce with the sugar, seasonings, and red onions.
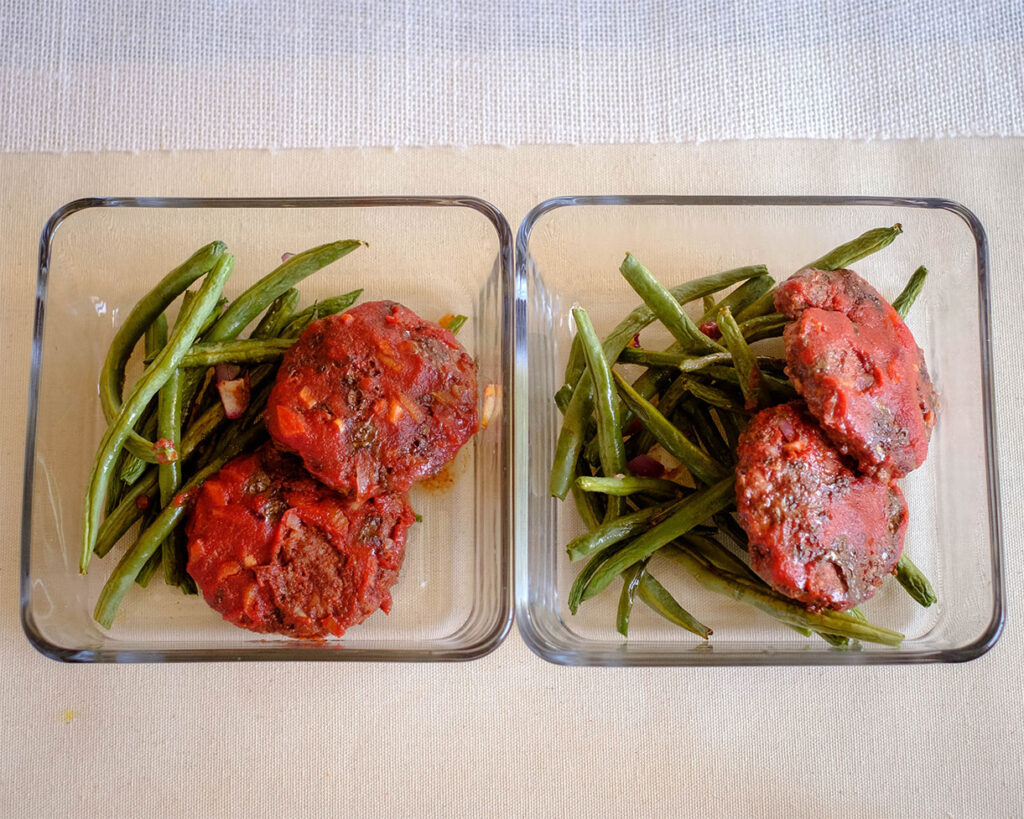
- Layer the beef patties on a lined sheet pan and top each patty with the tomato sauce.
- Place the seasoned green beans on another sheet pan since they will cook faster.
- Bake in the oven until the beef patties are fully cooked.
Reference the recipe card below for detailed instructions.
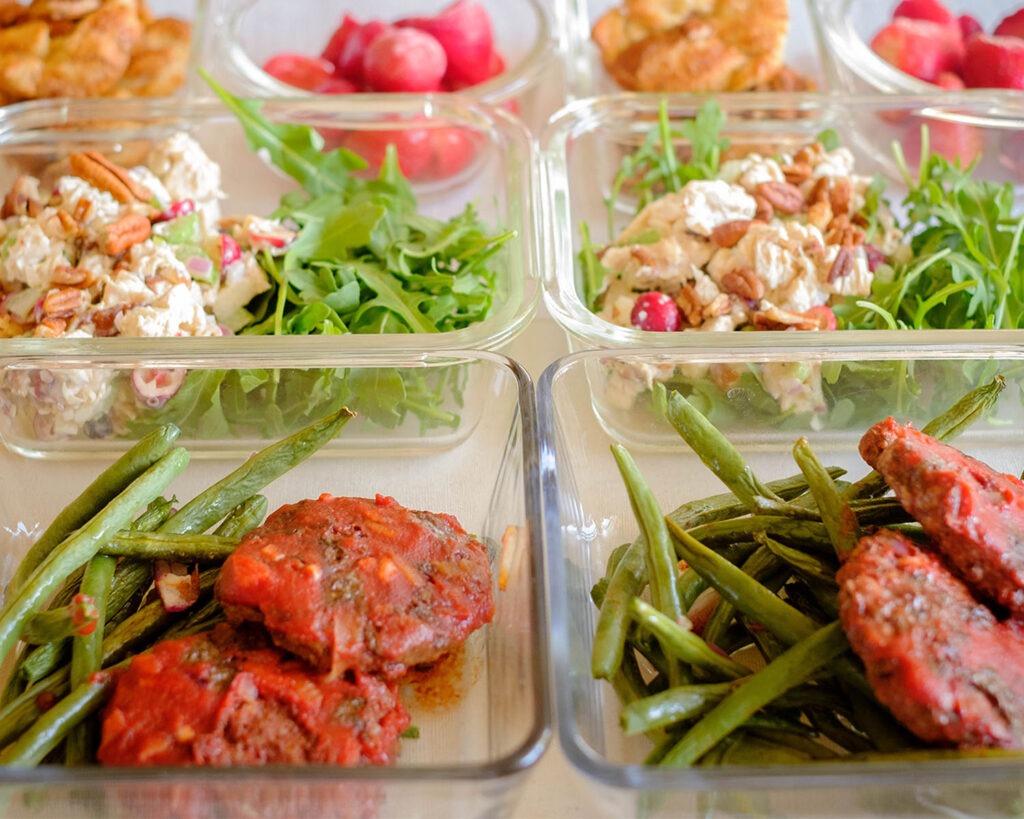
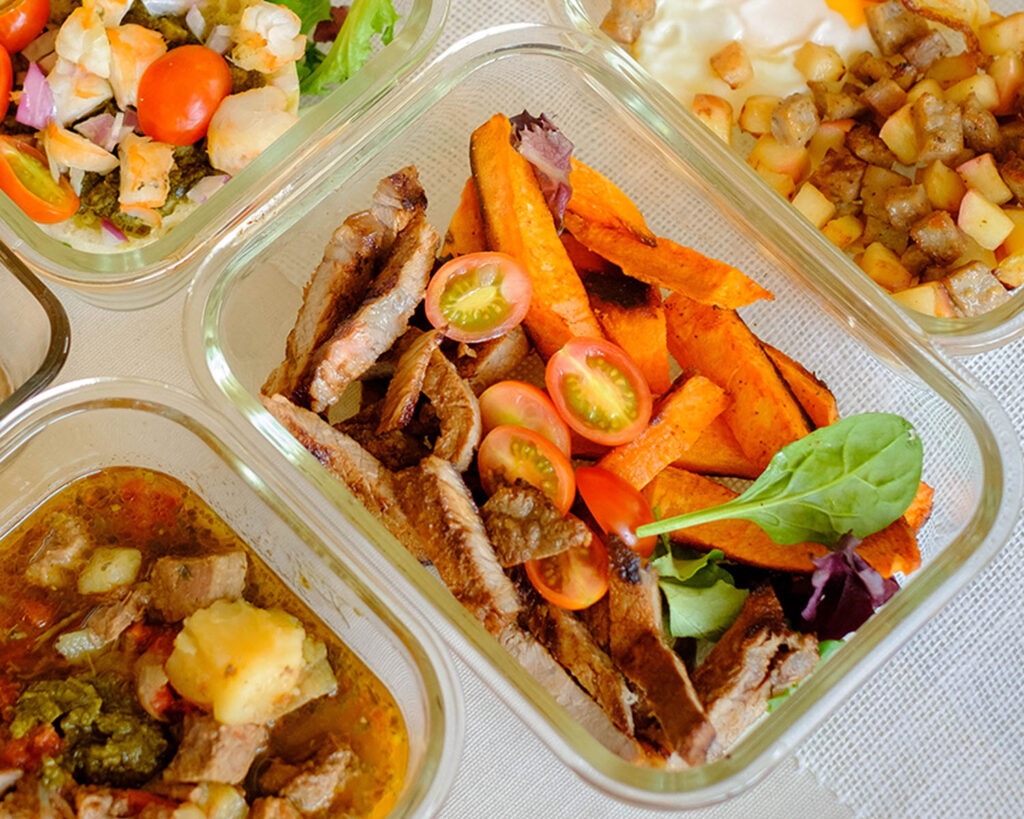
Meal Prep Tips for Meatloaf Patties
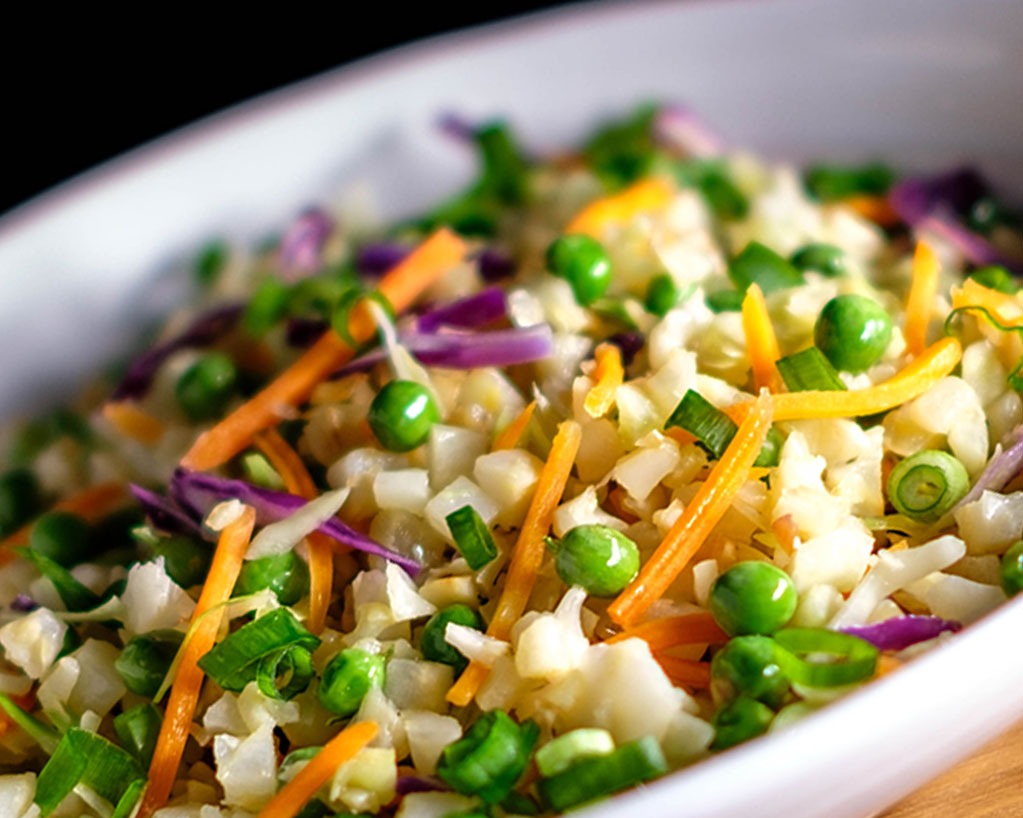
- To Serve: You can serve these with a side of mashed potatoes, buttered pasta noodles, or even rice pilaf.
- Leftovers: If you make a large batch and have leftovers, you can also enjoy these meatloaf patties in between toasted bread or hamburger buns.
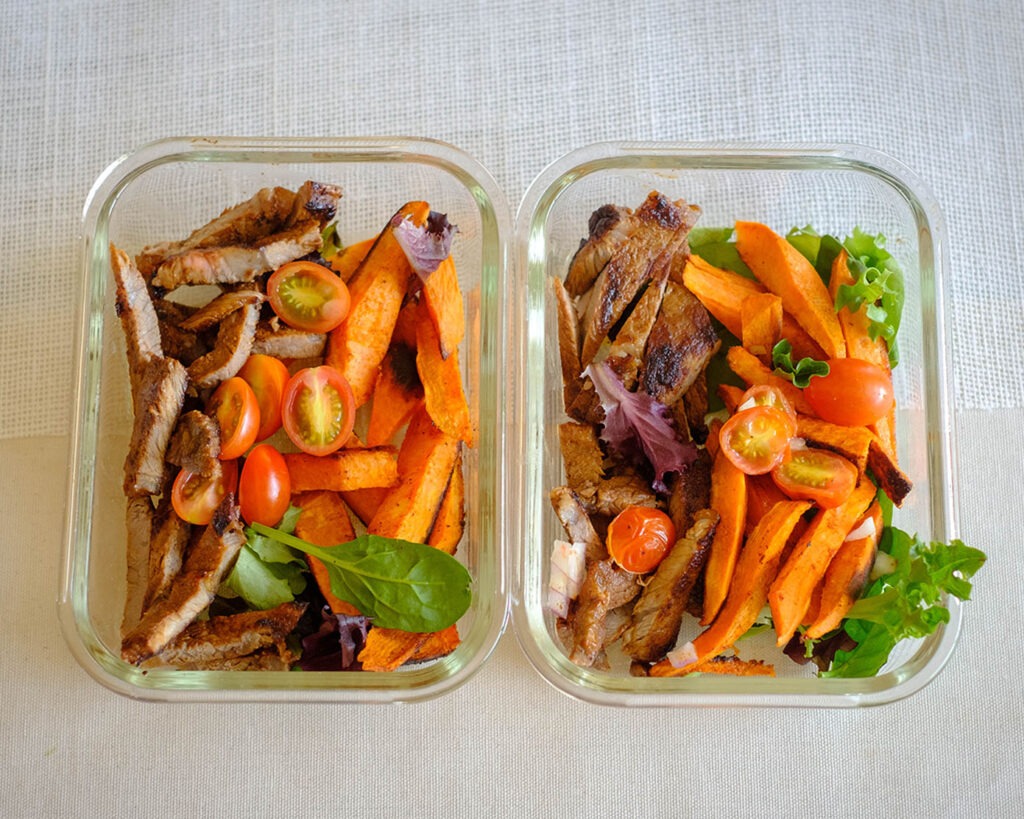
- To Store: You can store this in an airtight container in the refrigerator for up to 3 to 4 days.


Frequently Asked Questions
Do meat patties need breadcrumbs?
For this recipe, we did not use breadcrumbs like most traditional meatloaf recipes use because the patties were already formed and stuck together when they bake.
Do you have to put milk in meatloaf?
Milk is often added to meatloaf to help soak in the breadcrumbs. However, for this recipe, we did not use breadcrumbs and therefore did not use milk. This meatloaf patty version of the recipe is gluten-free and dairy free.
What meat do I use for meatloaf?
It is usually made with ground beef and sometimes includes a combination of pork or lamp. For this recipe, we only used ground beef, however, you can even use ground turkey or ground chicken.


Baked Meatloaf Patties and Roasted Green Beans
Equipment
Ingredients
Instructions
Notes
Nutrition