
Welcome aboard if you’re new! Our meal planning tool is your personalized meal prep assistant – you can tweak your serving sizes or skip some recipe options, it’s all in your hands! Our meal plans are meant to be a guide, so feel free to use all recipes or just a few to get you started! Click on each recipe to learn more prep tips. Enjoy the meals at your pleasure, but here’s an example of how we plan out the meals during the week:
Set Your Pace
- If you’re a beginner at meal prep: Be prepared to set aside 2-3 hours. Once mise en place is complete, all of these recipes can be completed one by one.
- If you’re a meal prep pro, use the sequenced steps below: These steps give you the flexibility to cook items simultaneously in a sequence of events.
- Be sure to set timers and check on food items to avoid overcooking. Sequencing will save you time and meal prep can be done in 1-2 hours.
Meal Prep Run Down
Prep and Organize Ingredients:
- Preheat the oven to 350°F (for breakfast bacon English muffin, bell pepper, and Brussels sprouts).
- Gather your ingredients:
- chop your veggies
- prepare your dredge for the fish
Cooking Phase 1: Start with the Baked Dishes:
- Breakfast Items: Place the bacon and English muffin with cheese in the oven to bake
- Vegetables: Season the red bell pepper and Brussels sprouts. Place them on a sheet pan and roast them in the oven
Cooking Phase 3: Stovetop
- Tofu: Cook the tofu and veggie stir fry
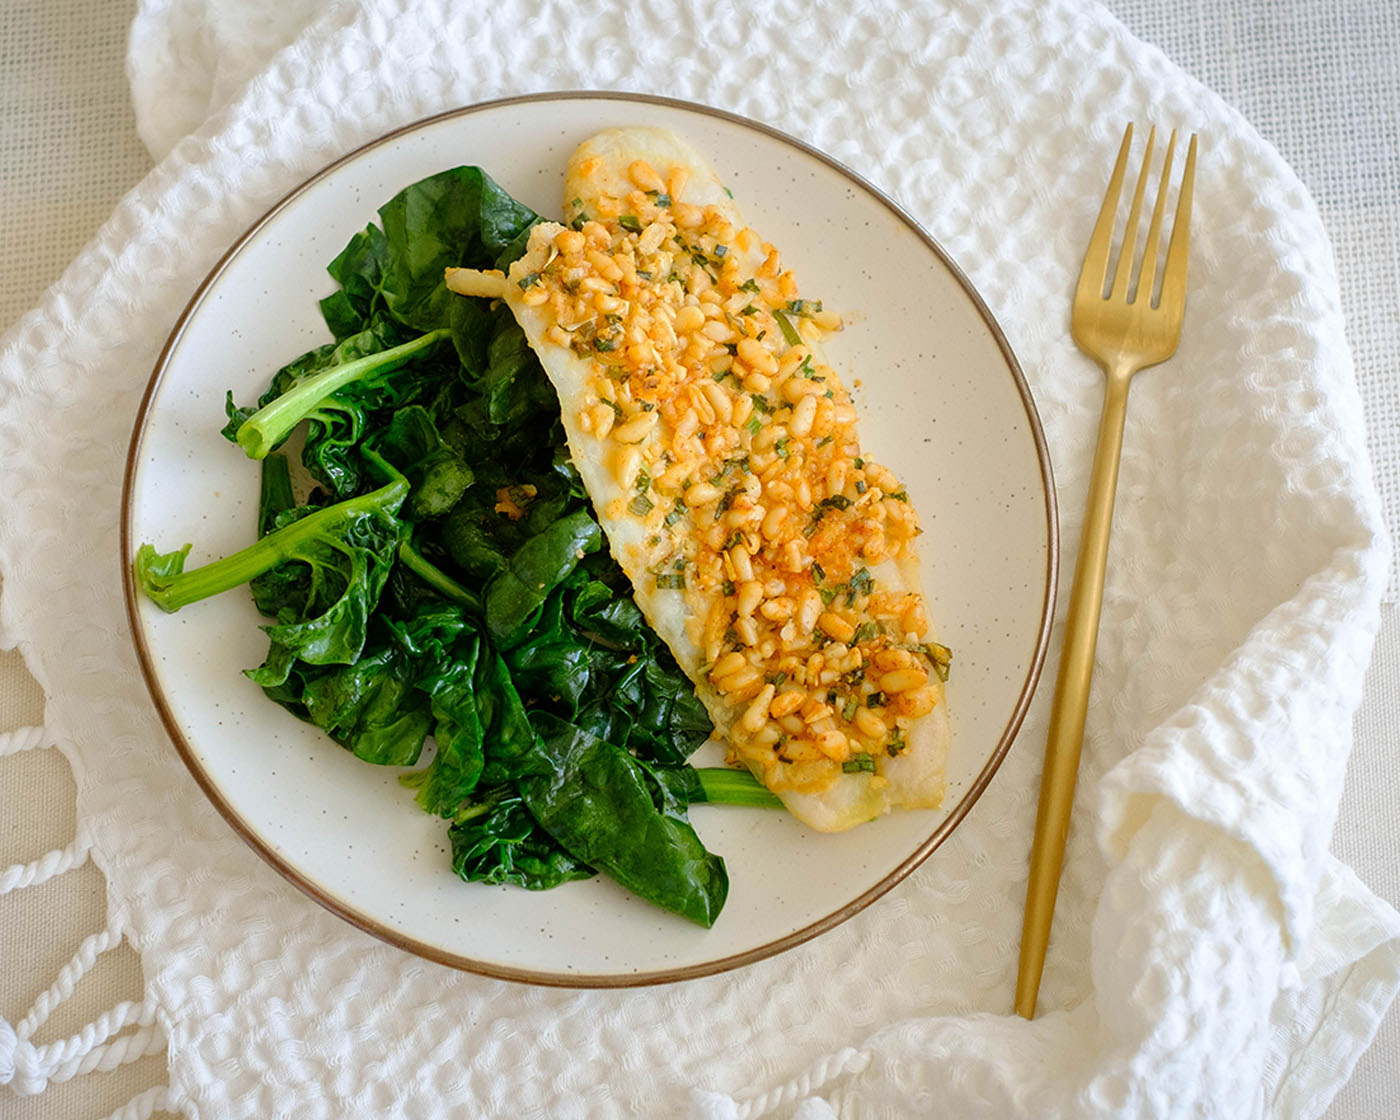
- Tilapia: Pan-fry the fish and saute the green beans
- Stew: Cook the cajun stew on the stovetop
- Breakfast Granola: cook the dates and walnut granola
Final Steps:
- Storage: Once all the dishes are fully cooked, plate everything into individual containers. Allow them to cool to room temperature before placing them in the refrigerator for storage. This will keep your meals fresh and ready to enjoy throughout the week.
If you’re sequencing your meal prep, be sure to keep an eye on everything! Make sure food is kept refrigerated under 40F degrees until ready to eat.
Assembly Tips
- Evenly divide meals according to the serving size
- Let all items cool before placing them in the refrigerator
- Keep all items refrigerated under 40F until ready to eat or reheat
- Breakfast: Both can be reheated in the microwave
- Lunch: Both meals can be reheated in the microwave
- Dinner: Both meals can be reheated in the microwave
Extra Flavors and Substitutions
- Bacon: Feel free to use your choice of bacon
- Tofu: Feel free to use your choice of vegetables
- Avocado: Wait to slice the avocado until you are ready to eat the meal to prevent it from browning
- Creamed Corn: Swap this out with regular corn
- Supplement meals with additional snacks such as fresh veggies and fruit for additional daily caloric needs. You can use lime/lemon and olive oil in place of salad dressing
Extra Leftover Ingredients Not Used
- Protein: Freeze any uncooked meats and save for a later recipe, or you can cook the full amount, and freeze the portion that you do not eat, and save for later use.
- Fruit: Use leftover fruit in smoothies, on top of yogurt, or with your cereal
- Veggies: Freeze any leftover veggies for later use. Use leftover herbs in omelets or other dishes for the weekend
Helpful Resources
Supplemental
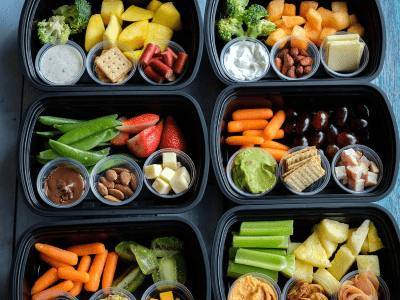
Snacks
Snacks to fuel you throughout the day
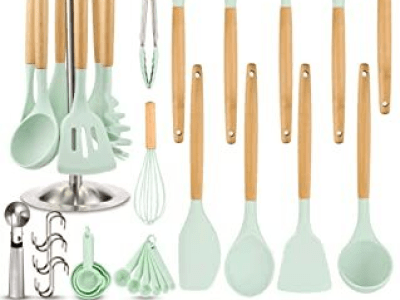
Kitchen
Equipment
Recommended Kitchen Tools & Cooking Utensils
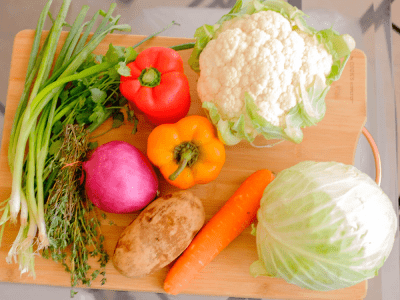
Grocery Pantry
Staples
Always be ready by stocking up on these items

Common Kitchen Terms
Get up to speed with those fancy cooking terms


Hearty Egg White Muffins
Equipment
Ingredients
Instructions
Video
Notes
Nutrition