
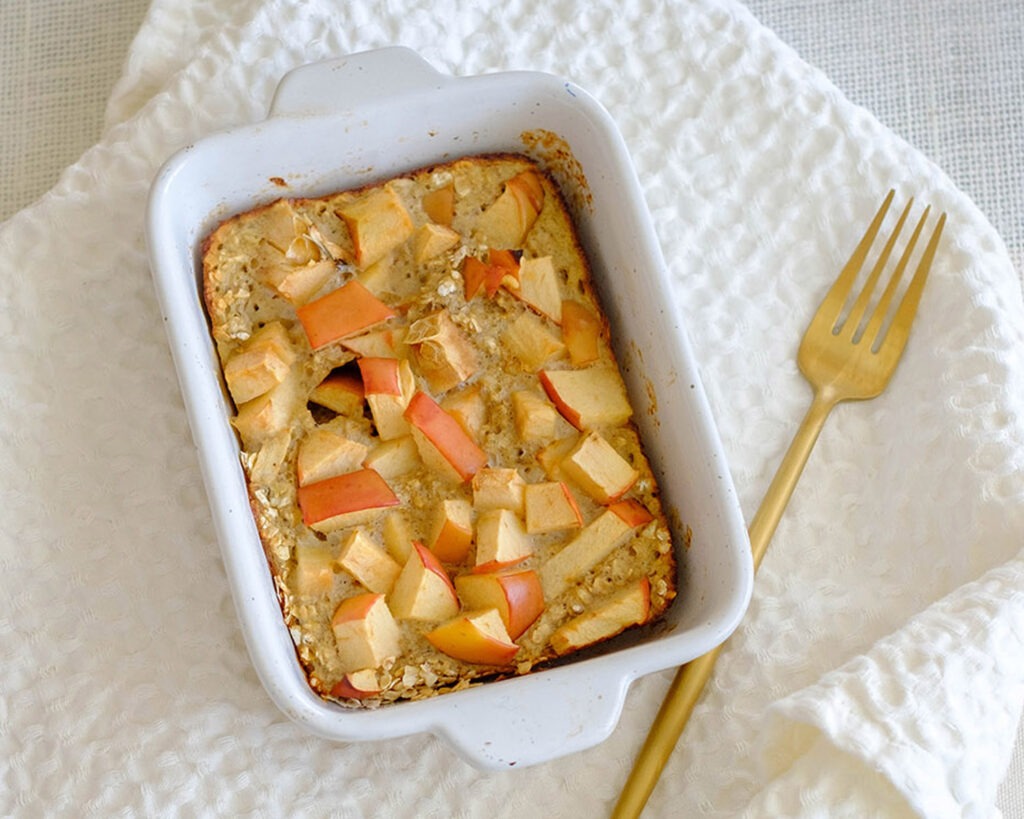
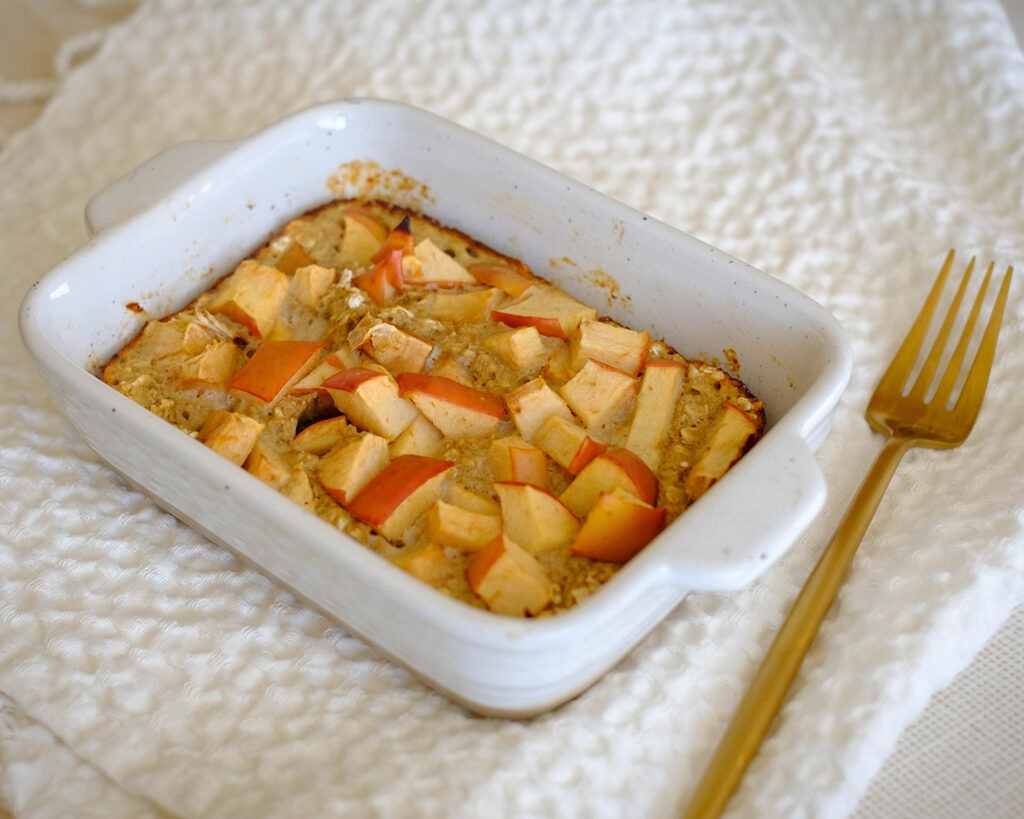
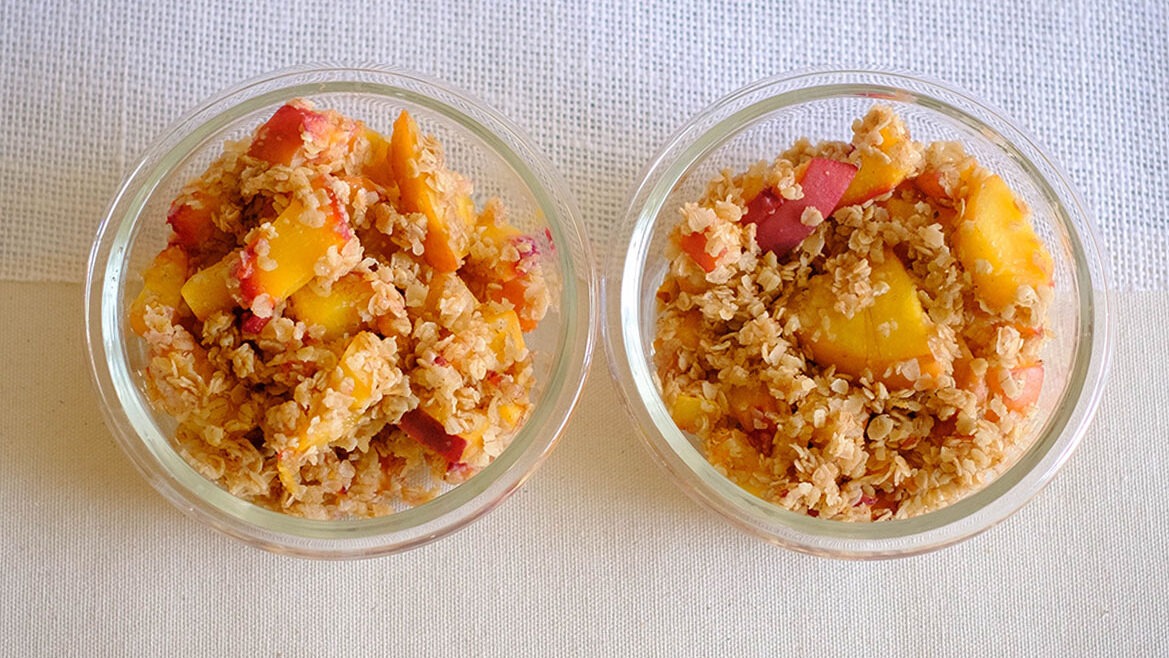
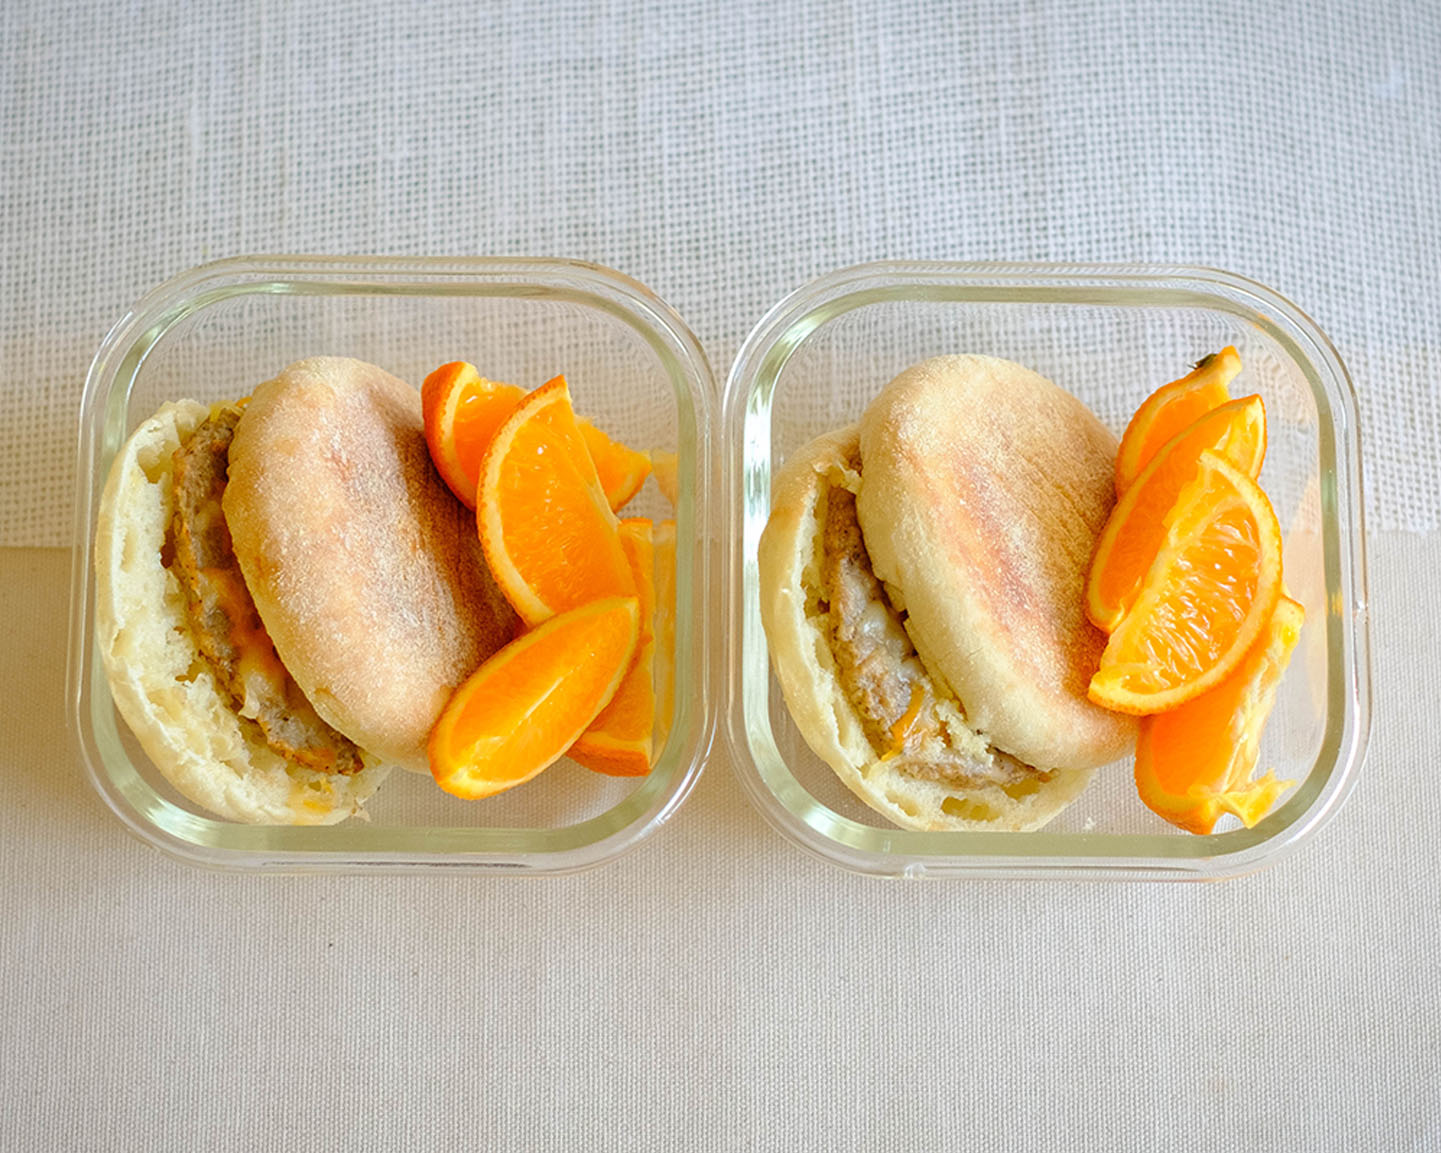
Our delectable Banana Apple Baked Oatmeal breakfast muffin bars are bursting with flavor and nutrition. This budget-friendly recipe combines the sweetness of ripe bananas with the refreshing crunch of diced apples, all nestled in a hearty bed of rolled oats. Perfectly balanced with protein from eggs and a touch of olive oil for moisture, each bite is a wholesome delight that will keep you fueled throughout the day. So, grab your ingredients and get ready to enjoy a breakfast that’s as nutritious as it is delicious. Let’s bake up some goodness together!
This post may contain affiliate links. Please see our privacy policy for details.
Here’s why this recipe rocks:
- Nutrient-packed Ingredients: Starting your day with a balance of carbs, protein, and healthy fats is essential, and this baked oatmeal delivers just that. Bananas provide a natural sweetness along with potassium and fiber, while eggs add protein to keep you feeling full and focused.
- Fiber-Filled Oats: Rolled oats are loaded with fiber, which helps regulate digestion, keeps your energy levels stable, and keeps those hunger pangs at bay until your next meal.
- No-Fuss Preparation: Busy mornings call for quick and easy recipes, and this one fits the bill perfectly. With just a few simple steps, you’ll have a nutritious breakfast ready to go in no time. Blend, mix, pour, bake – it’s that simple!
- Versatility Galore: Don’t limit yourself to just one variation of this baked oatmeal breakfast muffin bars recipe. Feel free to get creative with your toppings! Swap out the apple for berries, add a sprinkle of nuts or seeds, or drizzle on some honey for extra sweetness. The possibilities are endless!

Budget-Friendly Breakfast Muffin Bars Ingredients:
- Banana: The star of the show! Ripe bananas bring natural sweetness to the recipe without the need for added sugars. Plus, they’re loaded with potassium, fiber, and vitamins, making them a nutrient-packed addition that keeps our baked oatmeal moist and flavorful.
- Apple: Adding diced apple not only provides a burst of fresh flavor but also brings in additional fiber, vitamins, and antioxidants. It’s a budget-friendly fruit that adds a lovely texture and sweetness to the dish, complementing the banana beautifully.
- Rolled Oats: Ah, the humble hero of breakfast foods! Rolled oats are not only inexpensive but also incredibly nutritious. They’re high in fiber, which aids in digestion and helps keep you feeling full and satisfied. Plus, oats provide a hearty texture and nutty flavor that pairs perfectly with the fruity sweetness of the banana and apple.
- Egg: One large egg adds protein to our baked oatmeal, helping to keep you fueled and energized throughout the morning. Eggs are also relatively inexpensive and versatile, making them a budget-friendly way to boost the nutritional content of our breakfast dish.
- Baking Powder: A small amount of baking powder helps our baked oatmeal rise and become light and fluffy. It ensures that the texture is just right – not too dense or heavy – creating a delightful breakfast treat that’s both satisfying and budget-friendly.
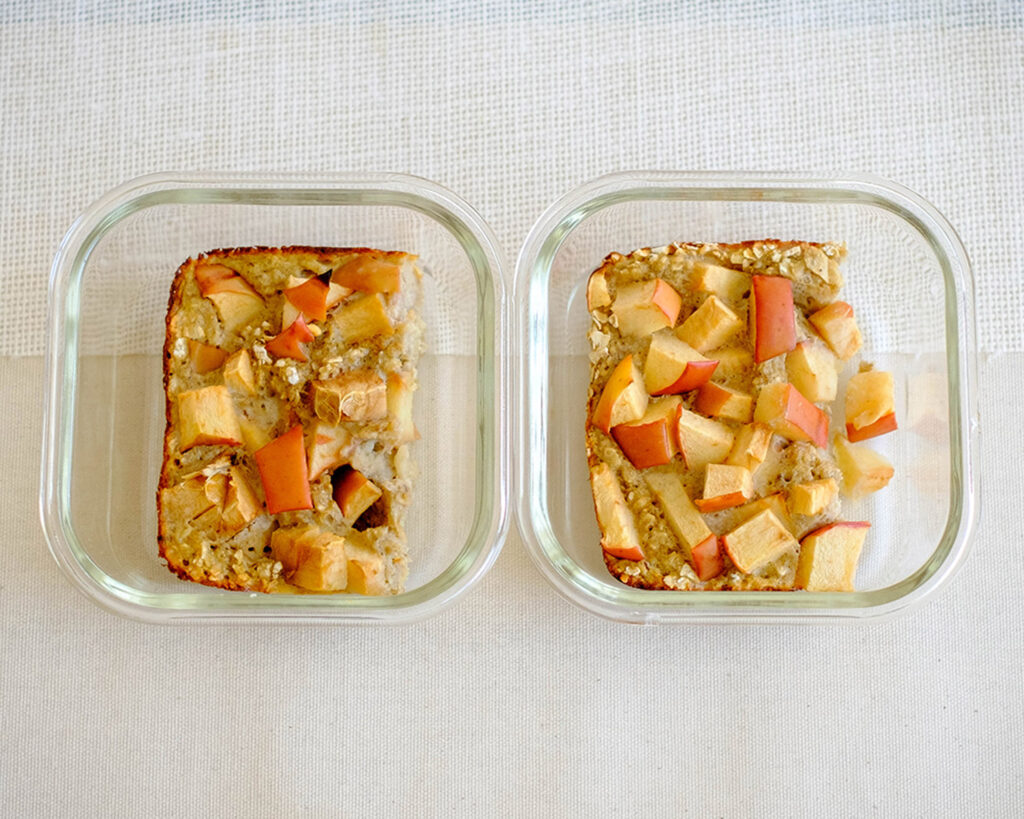
How to Meal Prep Apple Oatmeal Breakfast Muffin Bars
- Preheat your oven to 400°F (200°C).
- In a blender or mixing bowl, mash up your ripe banana and egg until it’s smooth and creamy. No blender? No problem! A fork works just as well.
- Add in the rolled oats and baking powder, giving everything a good mix until it’s nicely combined.
- Grease up a baking dish and pour in your oatmeal batter.
- Time to add a little fruity flair! Dice up your apple into small pieces and scatter them on top of the batter.
- Pop that dish into the oven and bake for 15-20 minutes until it’s golden and cooked through.
Reference the recipe card below for detailed instructions.
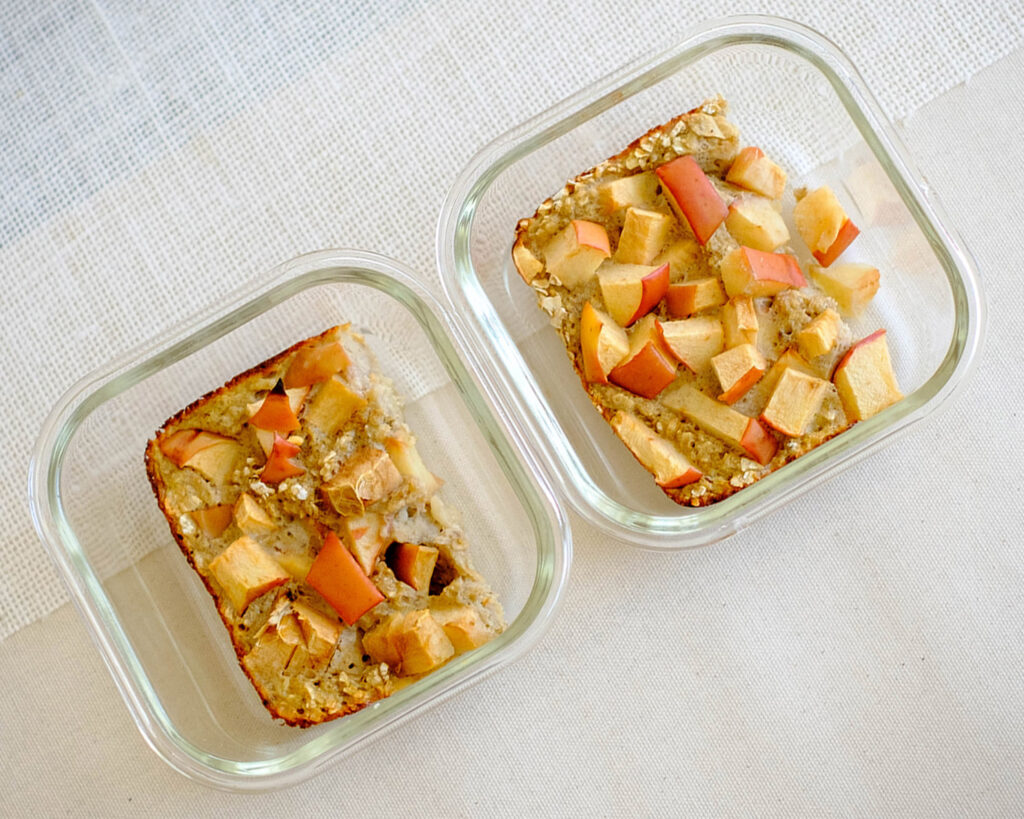
Meal Prep Tips:
- Yogurt: Serve your baked oatmeal with a dollop of Greek yogurt for a creamy contrast to the fruity flavors. Add a drizzle of honey or a sprinkle of cinnamon for extra indulgence.
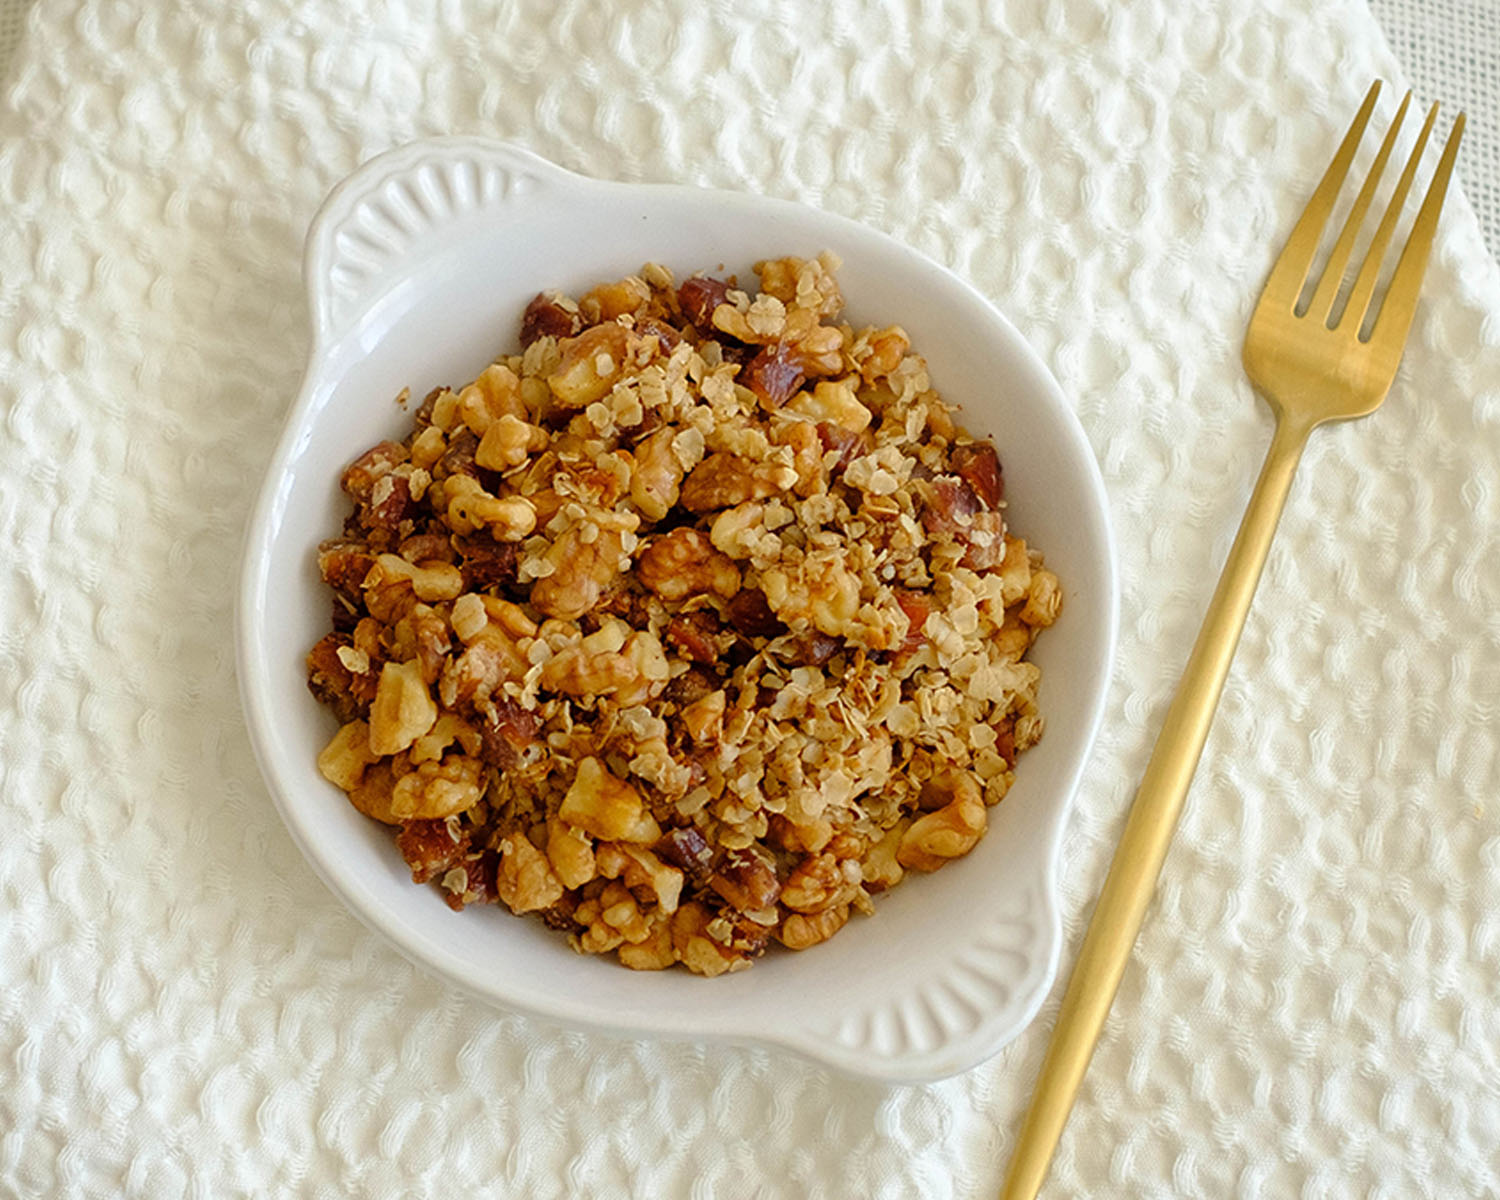
- Nuts and Seeds: Sprinkle chopped nuts or seeds (such as almonds, walnuts, or pumpkin seeds) on top of your baked oatmeal for added crunch and a boost of healthy fats and protein.
- Coffee or Tea: Enjoy your Banana Apple Baked Oatmeal with a cup of your favorite hot beverage, such as coffee or tea, for a comforting and satisfying breakfast experience.
- Spice it Up: Add a pinch of ground cinnamon, nutmeg, or vanilla extract to the batter for extra warmth and flavor.


Frequently Asked Questions
Can I use instant oats instead of rolled oats?
While instant oats can be used in a pinch, rolled oats are preferred for their texture and heartiness in this recipe. Instant oats may result in a softer texture, but the overall flavor should remain similar.
Can I freeze the baked oatmeal muffin?
Yes, you can freeze baked oatmeal muffins for longer storage. Once cooled, wrap individual portions tightly in plastic wrap or aluminum foil, then place them in a freezer-safe bag or container. Freeze for up to 3 months. Thaw overnight in the refrigerator or reheat from frozen in the microwave or oven.
Can I omit the egg to make it vegan?
Absolutely! You can substitute the egg with a flax or chia egg (1 tablespoon ground flaxseed or chia seeds mixed with 3 tablespoons of water, let sit for 5 minutes to gel) to make this recipe vegan-friendly.


Apple Oatmeal Muffin Bars
Equipment
Ingredients
Instructions
Notes
Nutrition