
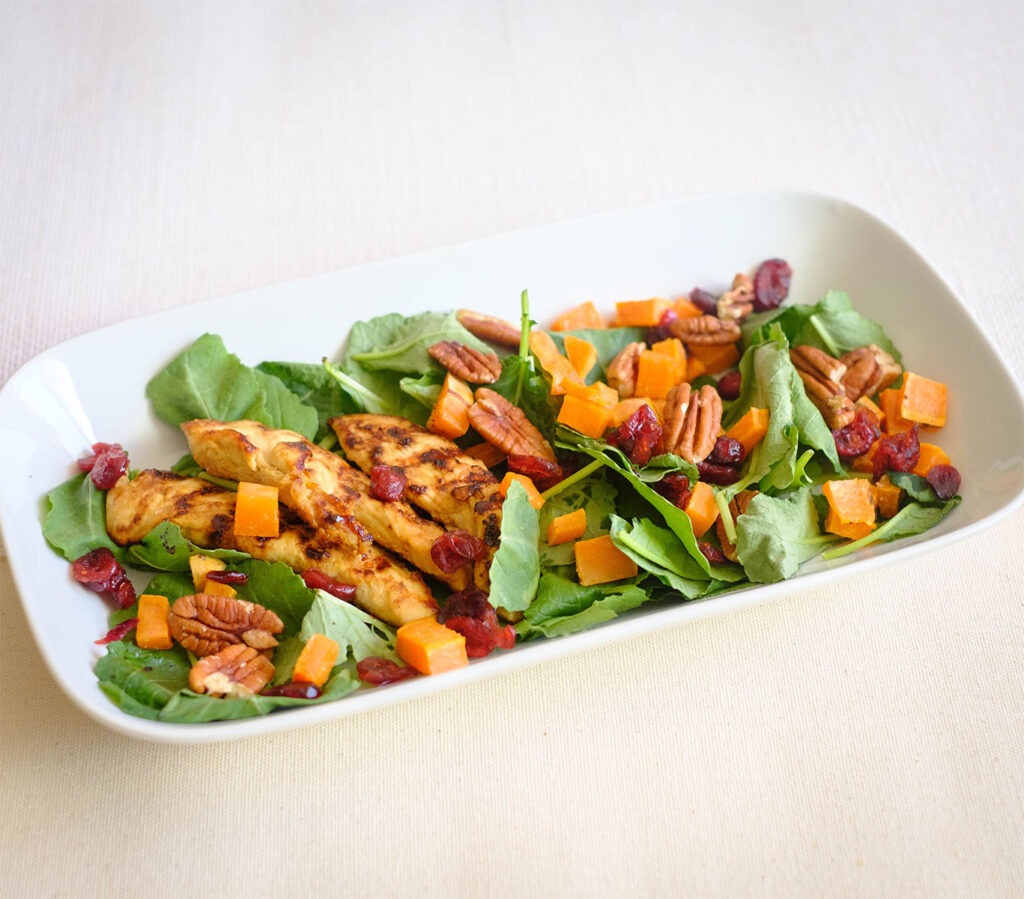
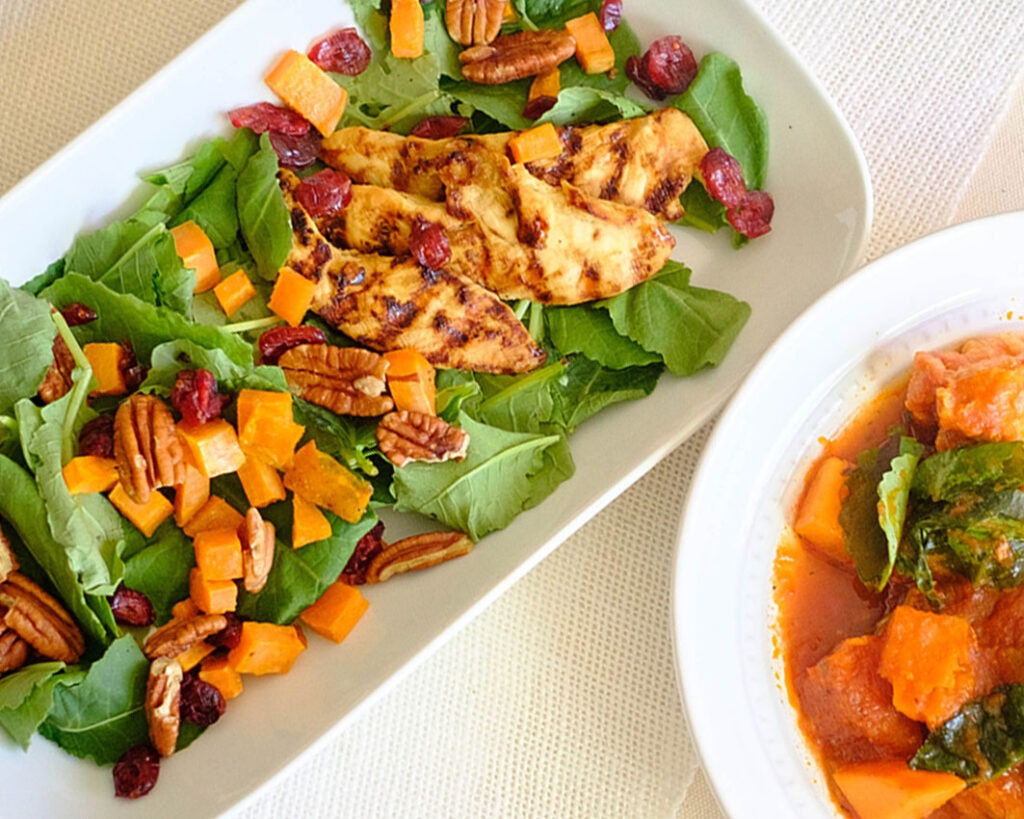
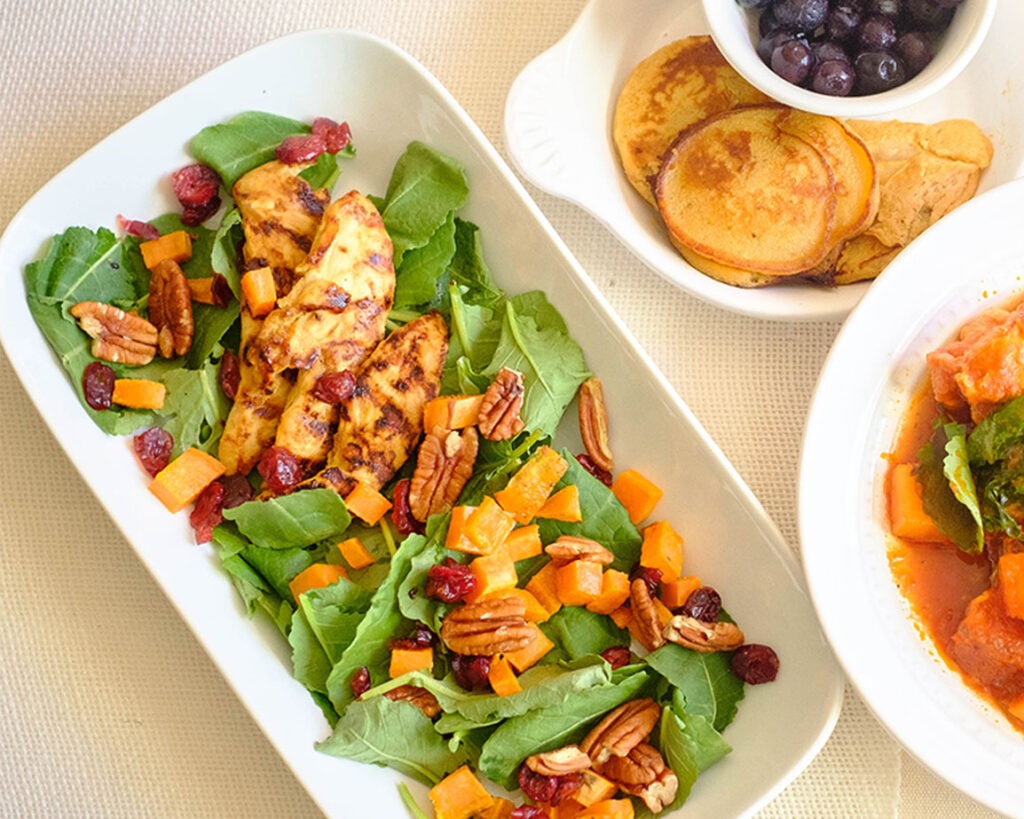
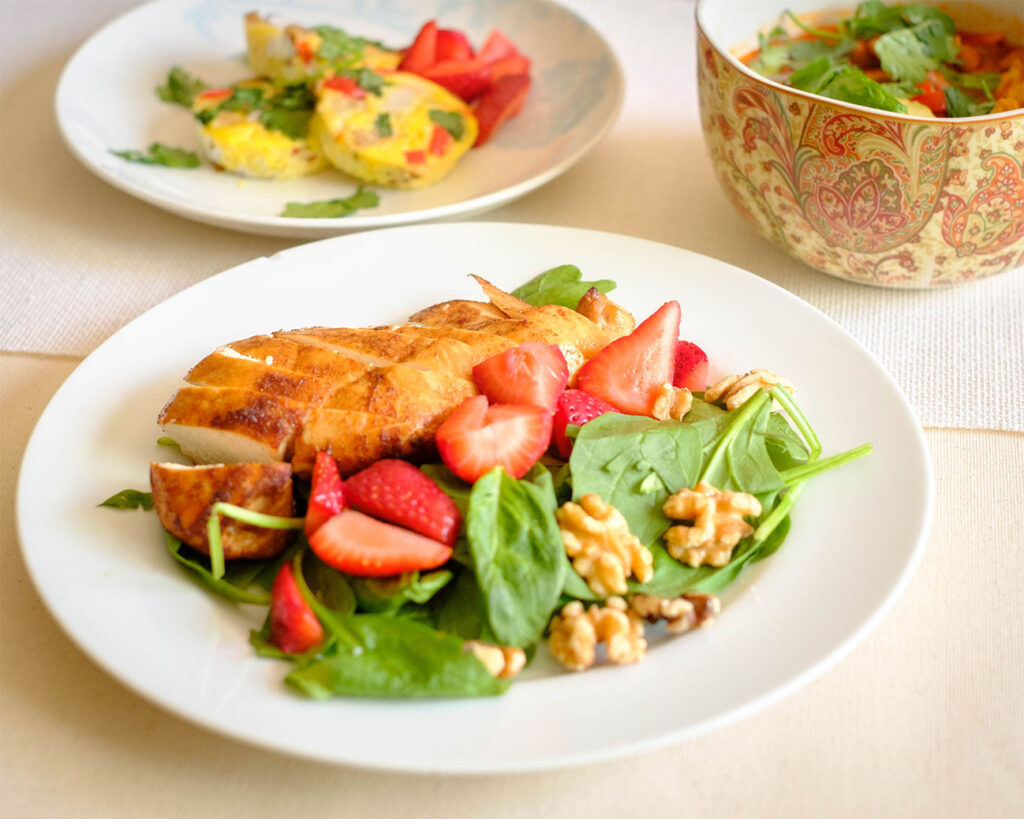
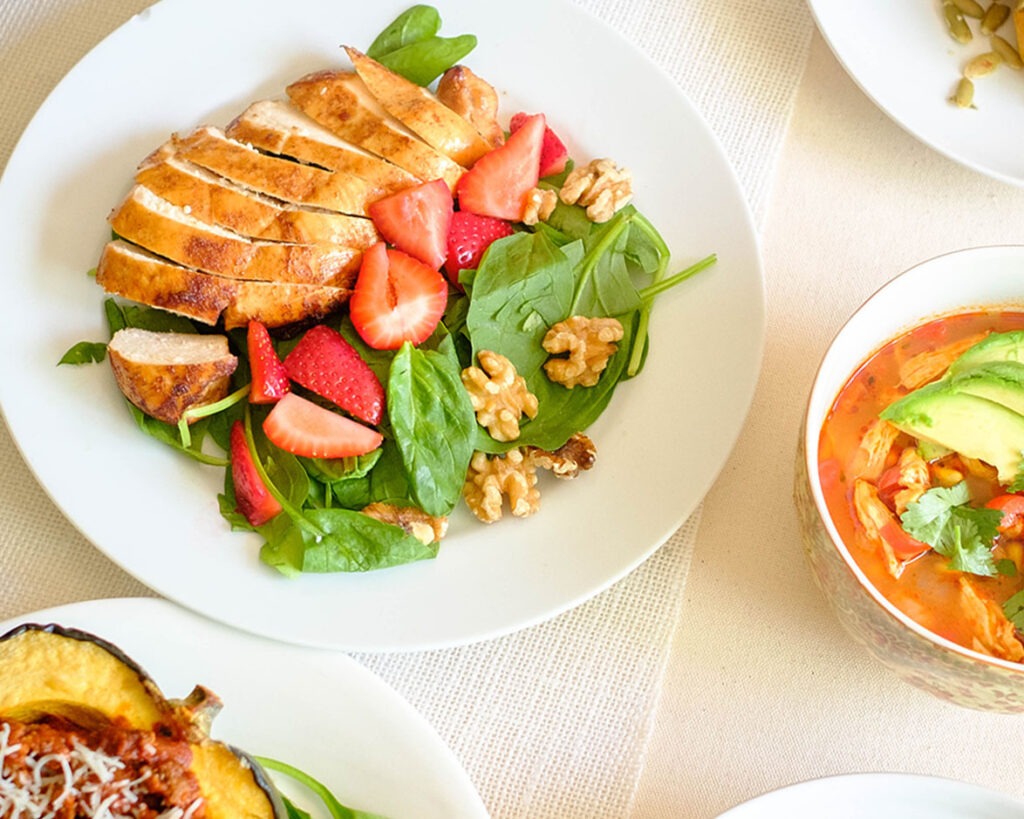
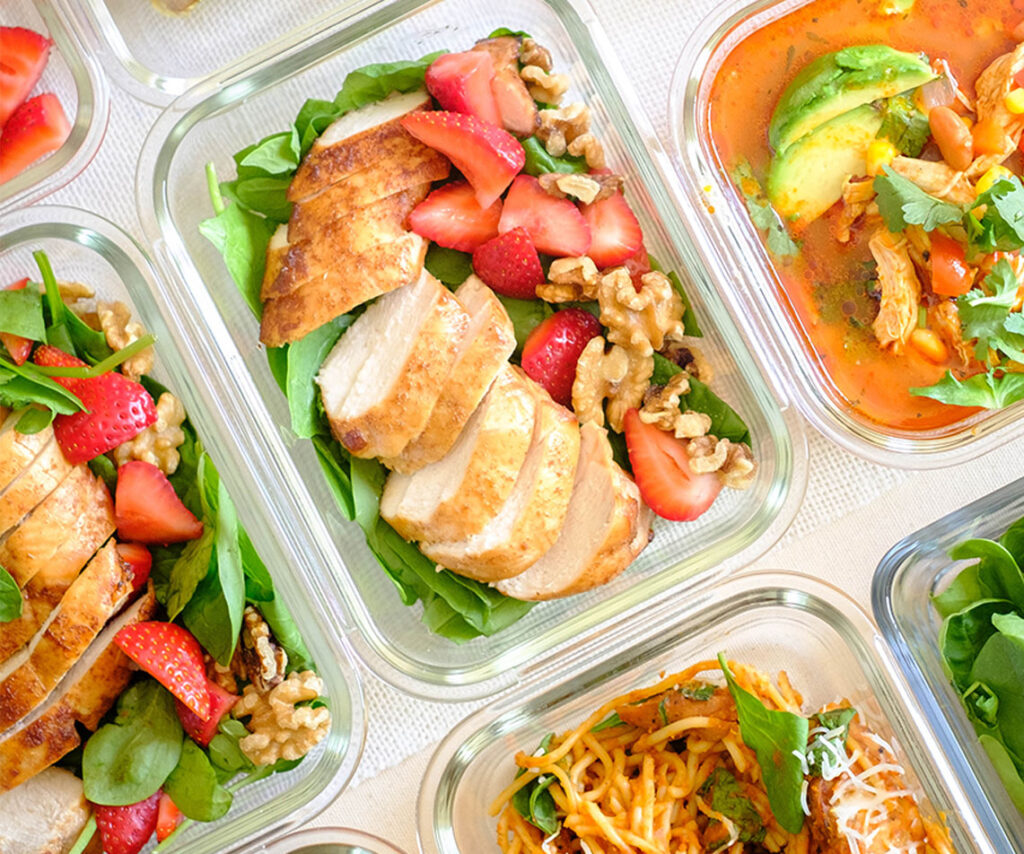
This delicious and gorgeous roasted sweet potato and kale salad with grilled chicken is full of flavor. It’s a nutrient-packed lunch for the week.
This post may contain affiliate links. Please see our privacy policy for details.
Why This Kale Salad is Healthy
- Complete Meal: This recipe has lean protein, complex carbs, vegetables, fruit, and healthy fats.
- Benefits of Kale: Kale is a green, leafy, cruciferous veggie that is rich in nutrients such as fiber, antioxidants, calcium, Vitamin C, K, and Iron.
- Benefits of Sweet Potato: This sweet and starchy root vegetable is great for meal prep because it comes in a variety of sizes and colors. It is also a great source of fiber, vitamins, and minerals that help promote gut health.

Ingredients You’ll Need
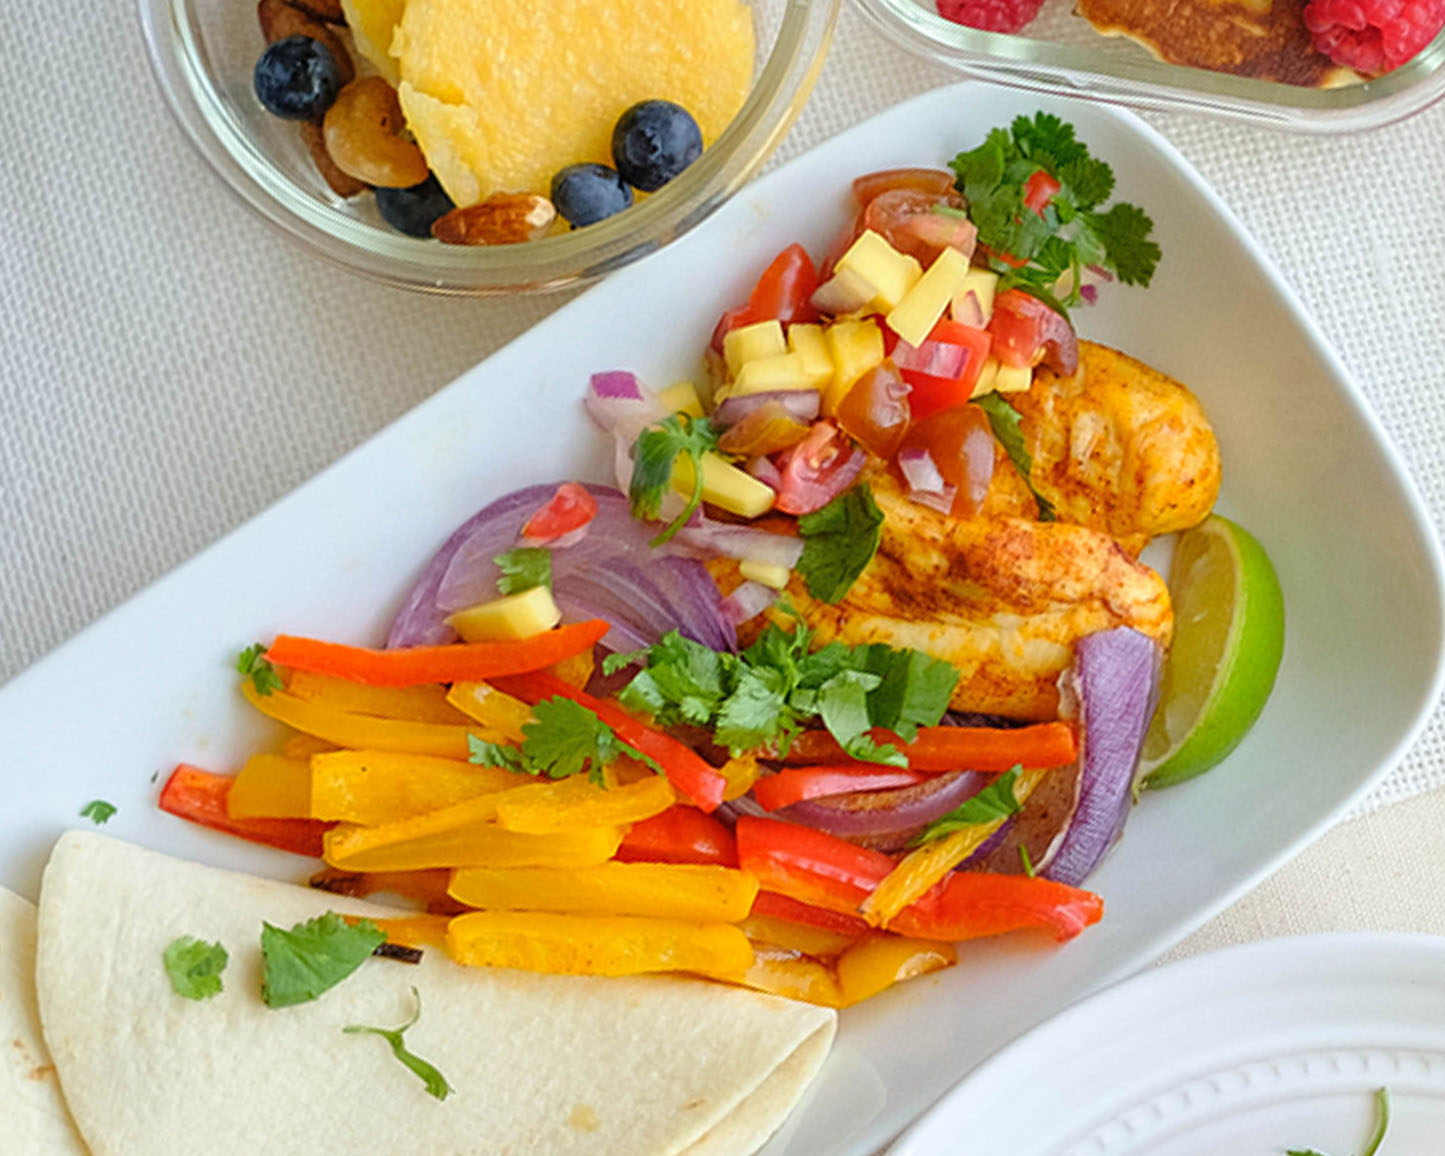
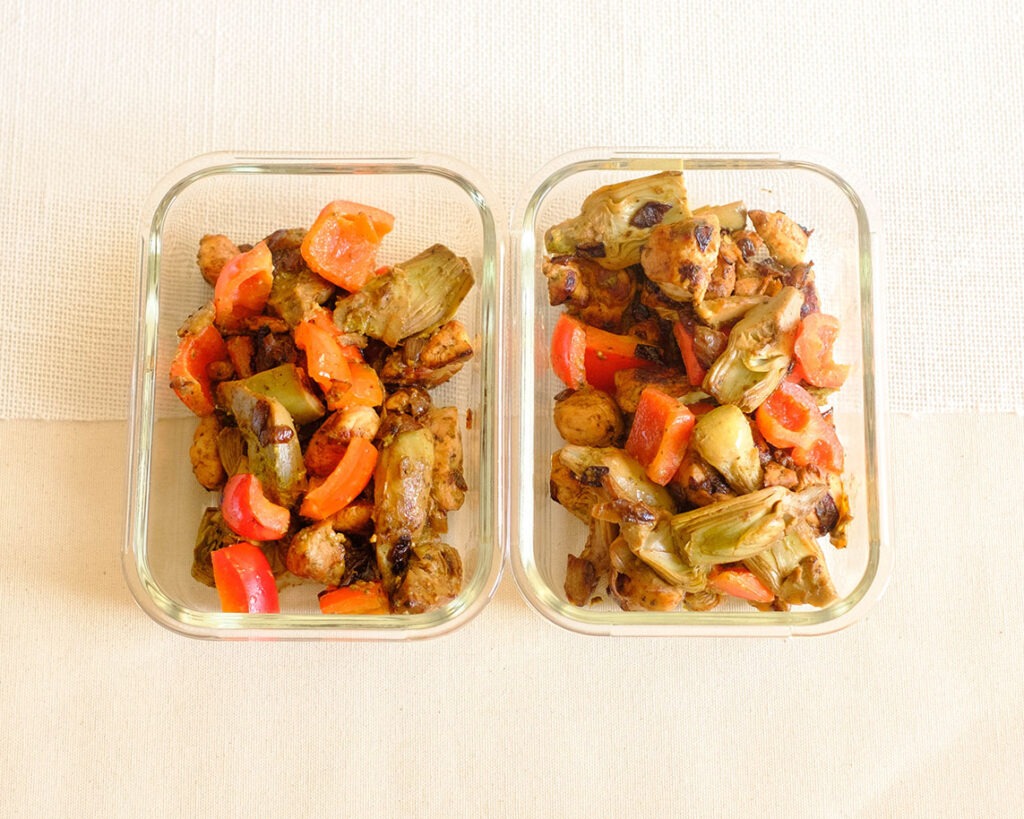
- Chicken and Marinade: For this recipe, we used chicken tenderloins because they cook fast, but you can also use boneless chicken thighs or chicken breast. We also marinated the chicken in a honey dijon sauce before grilling it.
- Sweet Potato & Seasonings: Other orange vegetable options you can use are diced butternut squash or acorn squash.
- Salad Ingredients: For our salad mix, we incorporated a dark leafy green such as baby kale mix, but you can also use baby spinach.
- Toppings: We topped off the salad with crunchy components such as pecan halves and dried cranberries.
- Salad Dressing: To streamline the ingredients, we made our own homemade vinaigrette using the same ingredients used for the chicken marinade.
How to Prepare Grilled Honey Dijon Chicken Kale Salad
- Preheat the oven to 400F.
- Cut the sweet potato into small pieces and place them on a baking sheet. Season the diced sweet potato and coat with olive oil.
- Bake the sweet potato in the oven until they are tender and golden brown.
- Meanwhile, marinate the chicken and cook it on the indoor grill.
- Afterward, toss together the chicken with the baby kale salad, sweet potatoes, dried fruit, and nuts, and drizzle the salad dressing on top.
Reference the recipe card below for detailed instructions.
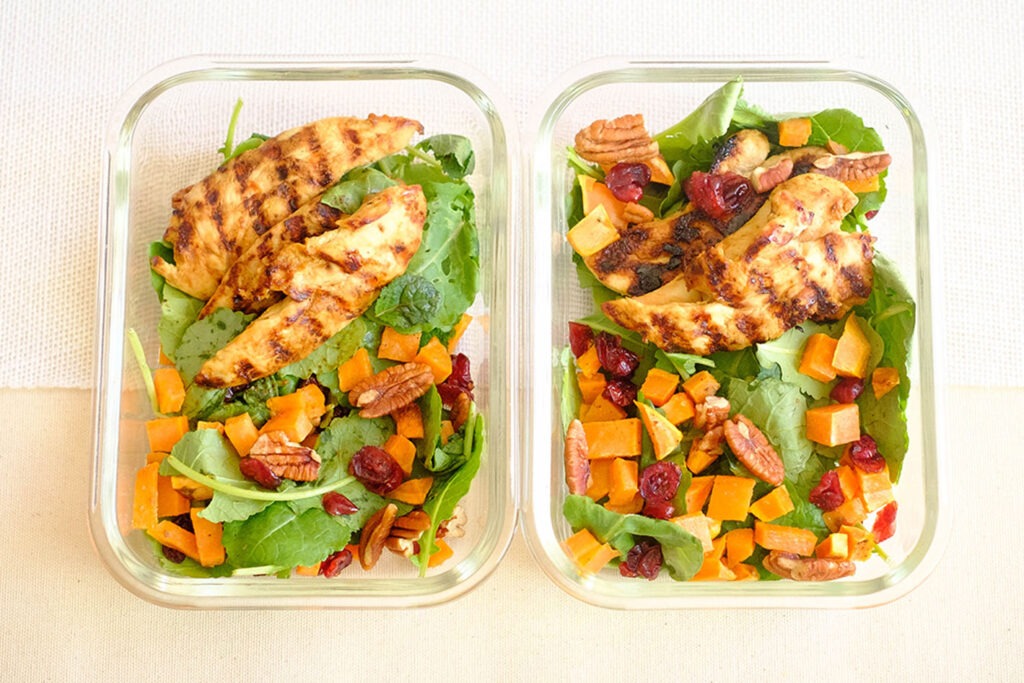
Meal Prep Tips for Kale Salad
- Other Flavors: To make kale taste good, add citrus flavors. Kale leaves are crunchy and have a strong taste. Therefore, acidic flavors can cut through the tough flavors of raw kale.
- Ingredient Variations: You can also a balsamic vinaigrette or Italian dressing to marinate your chicken if you don’t want to make your own homemade dressing.
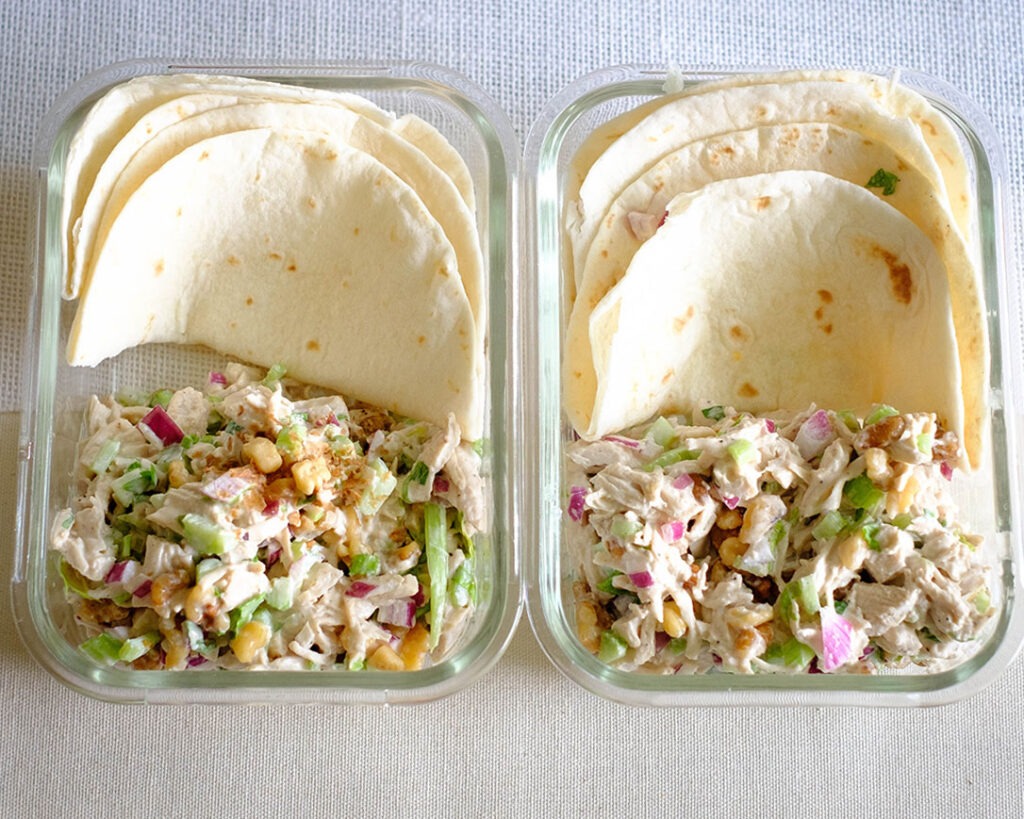
- Storage: Store in an airtight container in the refrigerator for up to 3 to 4 days for the best quality.


Frequently Asked Questions
How to store kale?
Bagged kale can keep in the fridge for up to 5 to 7 days
What is massaged kale?
Massaging kale usually involves adding an acid such as lemon juice with olive oil to chopped kale. Use your hands to massage it for a few minutes to soften the leaves. It results in a glossed and reduced volume. Massaging kale helps break down the tough cell structure and allows for a softer texture and a more appetizing flavor.
Is it better to eat kale raw or cooked?
Raw kale is more beneficial than cooked, however, some people find it hard to digest and dislike the bittern flavors, therefore heating it softens some of the tough fibers and make it more appealing to consume.


Grilled Honey Dijon Chicken Kale Salad
Equipment
Ingredients
Chicken and Marinade
Sweet Potato & Seasonings
Salad Ingredients
Honey Dijon Vinaigrette
Instructions