Posted on Leave a comment

Chicken Enchilada Stuffed Peppers

Hello meal preppers! Let’s make lunchtime something to look forward to with these incredible Chicken Enchilada Stuffed Peppers. They’re vibrant, nutritious, and bursting with Tex-Mex flair. Say goodbye to boring lunches, and embrace the joy of flavorful and convenient meal prep. Your taste buds will thank you!

This post may contain affiliate links. Please see our privacy policy for details.
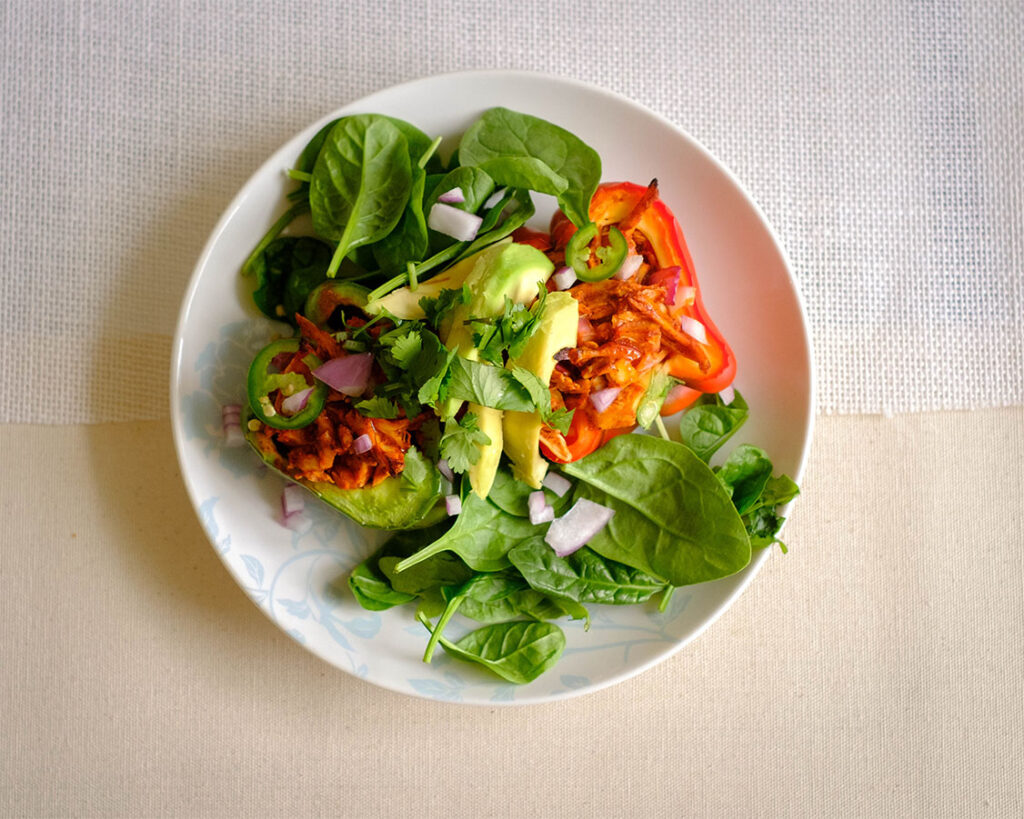
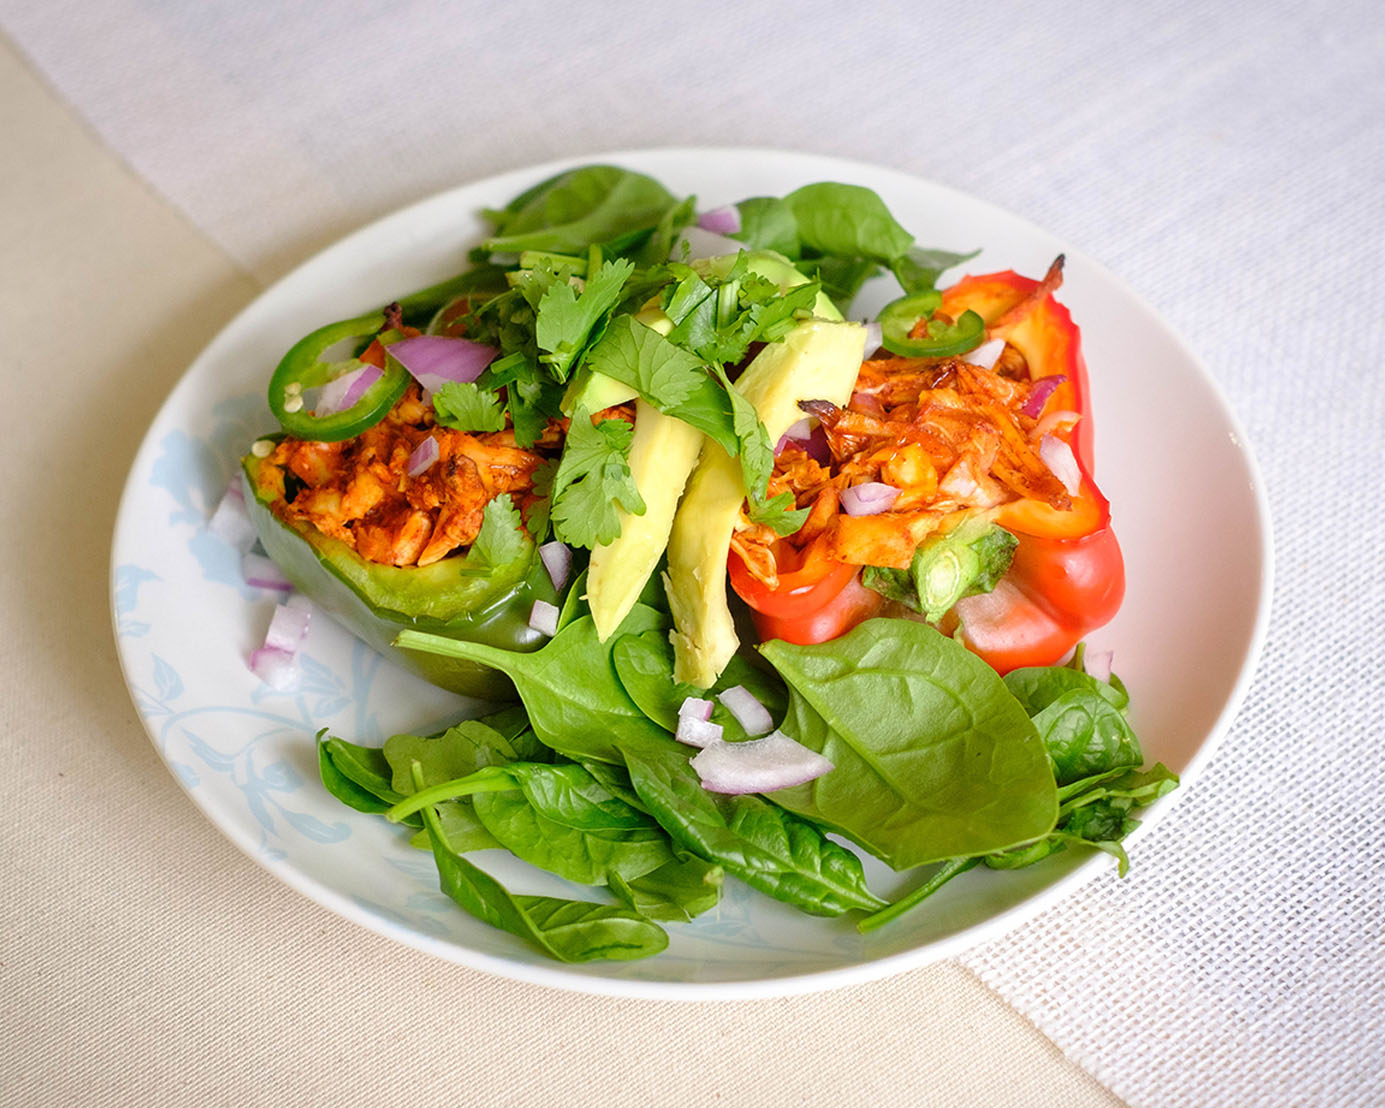
Round Plate with stuffed peppers filled with shredded chicken in enchilada sauce.

I am thrilled to share with you a lip-smacking recipe that will add a burst of flavor to your lunchtime routine. Not only are these peppers a delightful explosion of mouthwatering goodness, but they also work wonders for your meal prep game. So, let’s dive right in and discover why these stuffed peppers are the ultimate lunchtime meal!

These vibrant bell pepper beauties not only bring a pop of color to your plate but also pack a punch in terms of nutritional benefits. Bell peppers are loaded with vitamins A and C, antioxidants, and dietary fiber, making them a fantastic addition to your lunch. Plus, they provide a crisp and refreshing texture that perfectly complements the savory filling.

One of the many reasons why Chicken Enchilada Stuffed Peppers excel at meal prep is their single-serving nature. Each pepper acts as its own self-contained lunch, allowing for easy portion control. You can prep multiple peppers ahead of time, ensuring you have a delicious and satisfying lunch ready to go throughout the week. Say goodbye to sad desk lunches!

The PrepYoSelf Newsletter

Gather the Following Ingredients

  • Chicken: You can use pre-cooked chicken from the local rotisserie, or you can boil chicken breasts for about 25 minutes and shred the chicken
  • Bell Peppers: Feel free to use any color of bell peppers
  • Enchilada Sauce: We used pre-made enchilada sauce to save time on meal prep. You can find this in the canned goods aisle.
  • Cilantro and Red Onions: These ingredients add a level of freshness to the recipe.
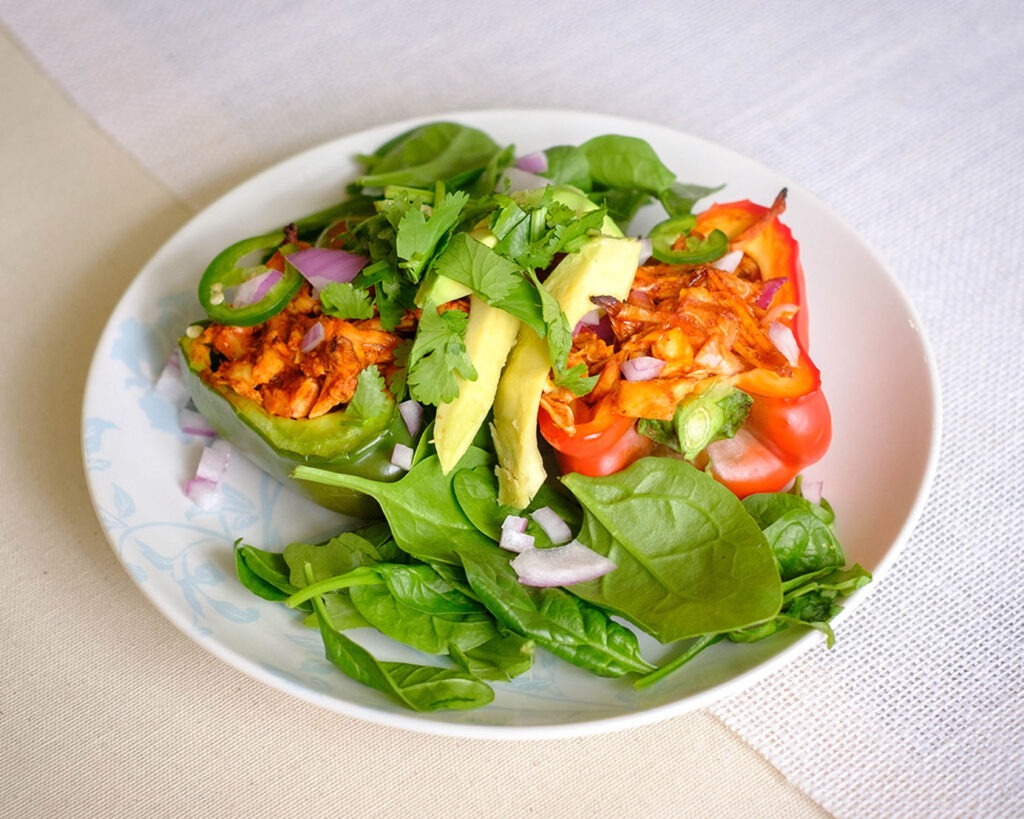
plate of veggies and stuffed peppers

How to Make Enchilada Stuffed Peppers

What makes this recipe a meal prep champion is its ease of preparation. The filling comes together in a snap, using simple and readily available ingredients. Once your peppers are stuffed, pop them in the oven, and let the magic happen. You’ll have a lunch that is not only delicious but also packed with protein and veggies—perfect for keeping you fueled and satisfied throughout the day.

  1. Preheat the oven to 400F. Slice the bell peppers in half and remove the inside core.
  2. Next, combine the chicken, red onions, cilantro, and enchilada sauce.
  3. Use a spoon to scoop the chicken mixture into the peppers.
  4. Place the peppers on a baking dish and bake in the oven for 20-25 minutes until the peppers are cooked to your desired tenderness.

Reference the recipe card below for detailed instructions.
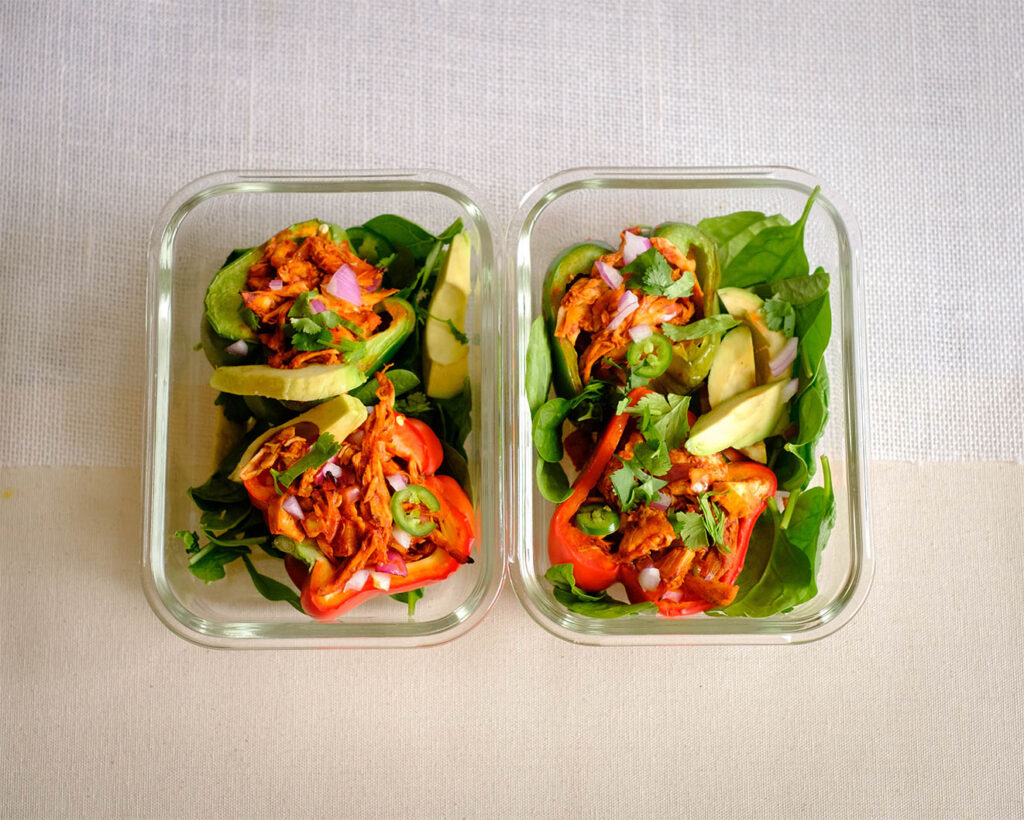
Glass meal prep containers with stuffed peppers with shredded chicken in enchilada sauce.

Meal Prep Tips for Stuffed Peppers

  • Storage is a breeze when it comes to these stuffed peppers. Once cooked, allow them to cool completely before storing them in airtight containers in the refrigerator. They’ll stay fresh and flavorful for up to four days. When it’s time to enjoy your lunch, simply heat them in the microwave or oven until warmed through. Talk about a hassle-free lunchtime solution!
  • Now, let’s discuss serving options. These Chicken Enchilada Stuffed Peppers are delightful on their own, but you can take them to the next level by adding a dollop of sour cream, a sprinkle of fresh cilantro, or a squeeze of lime juice. Serve them with your favorite side of salsa. These little touches elevate the flavors and bring a burst of freshness to every bite. Feel free to get creative and make it your own!
  • You can also freeze the stuffed peppers for future meals. Once cooked and cooled, place them in freezer-safe containers or wrap them tightly in aluminum foil. Thaw in the refrigerator overnight before reheating in the oven or microwave.
stuffed pepper

Chicken Enchilada Stuffed Peppers

These incredible Chicken Enchilada Stuffed Peppers are vibrant, nutritious, and bursting with flavor. Enjoy them for a fantastic option for your next lunch prep.
No ratings yet
Prep Time 5 minutes
Cook Time 20 minutes
Servings 2

Equipment

  • knife
  • cutting board
  • mixing bowl
  • spoon
  • baking dish
  • oven

Ingredients
  

  • 10 oz shredded chicken breast (pre-cooked)
  • 1 each red bell pepper
  • 1 each green bell pepper
  • 1 cup enchilada sauce
  • 1/4 cup red onions (diced)
  • 1/4 cup cilantro (chopped)
  • 2 each small avocados
  • 4 cups salad mix
  • 4 tbsp salad dressing (your choice)

Instructions
 

  • Pre-heat the oven to 400F
  • Slice the bell peppers in half and remove the inside core
  • In a bowl, mix together the red onions, cilantro, shredded chicken, and enchilada sauce
  • Use a spoon to scoop the chicken into the peppers
  • Place the peppers into a baking dish and bake in the oven for 20-25 minutes until the peppers are tender
  • Top the stuffed peppers with sliced avocado and enjoy with a side salad and your choice of dressing

Similar Recipes

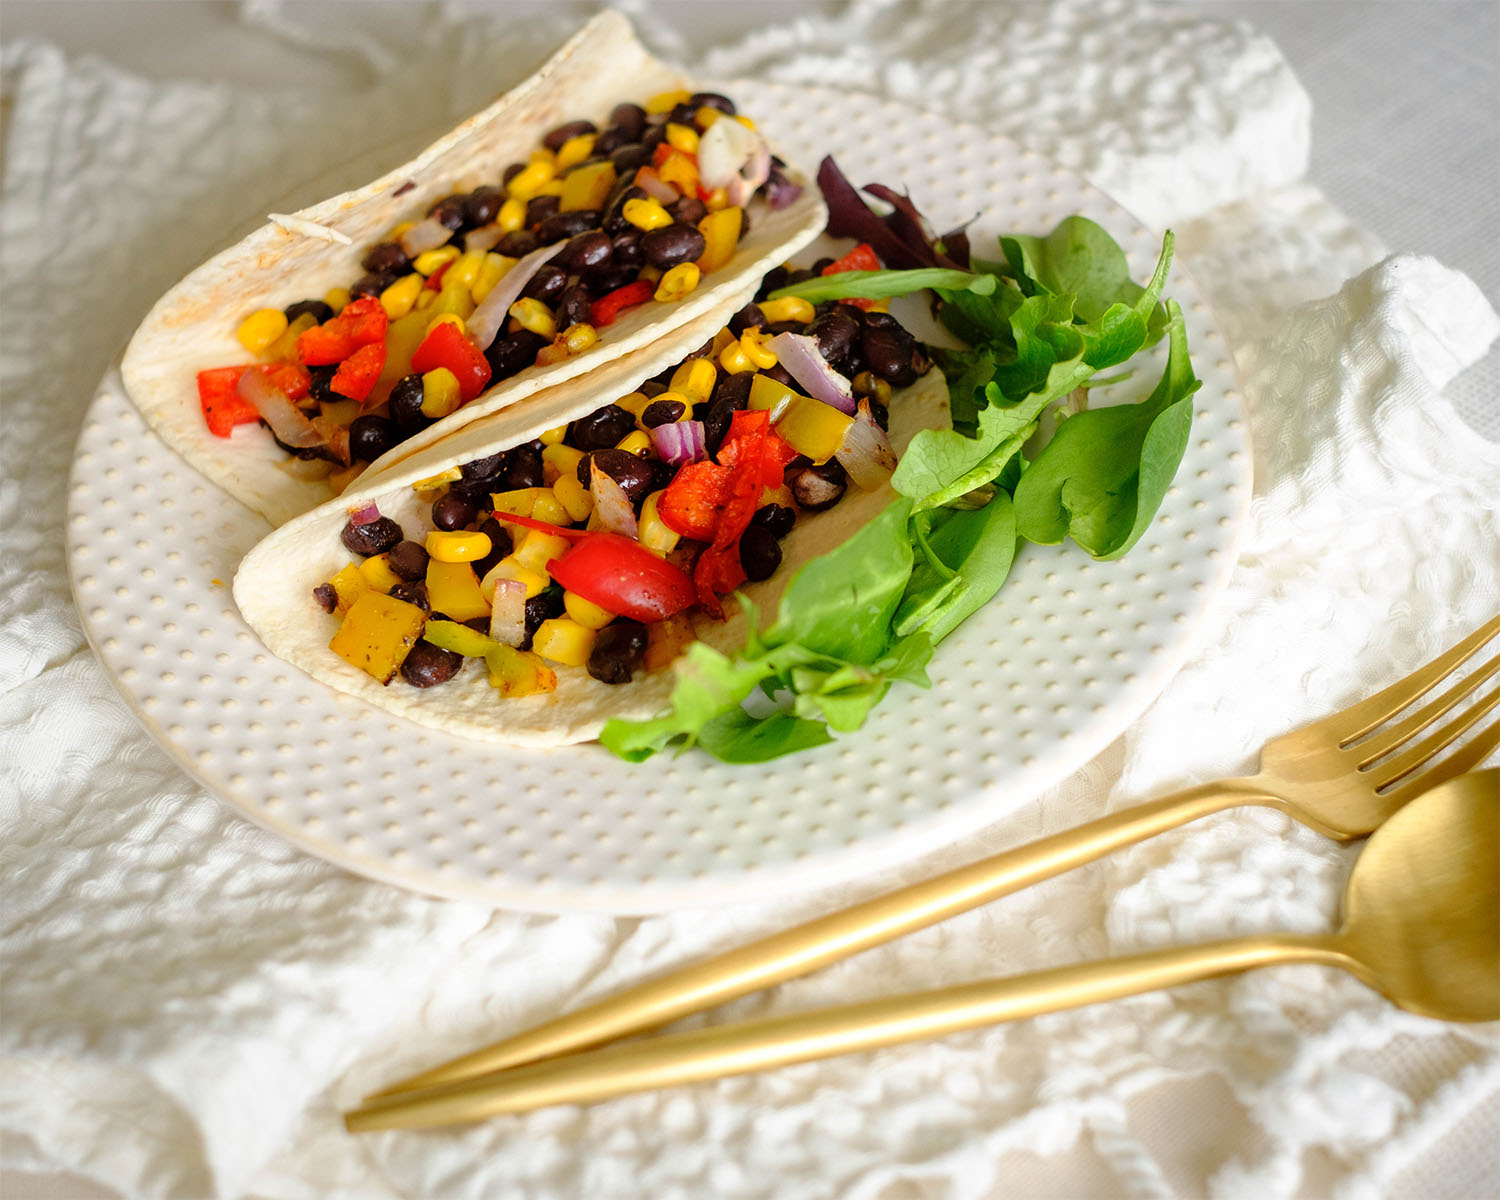
bean and corn taco

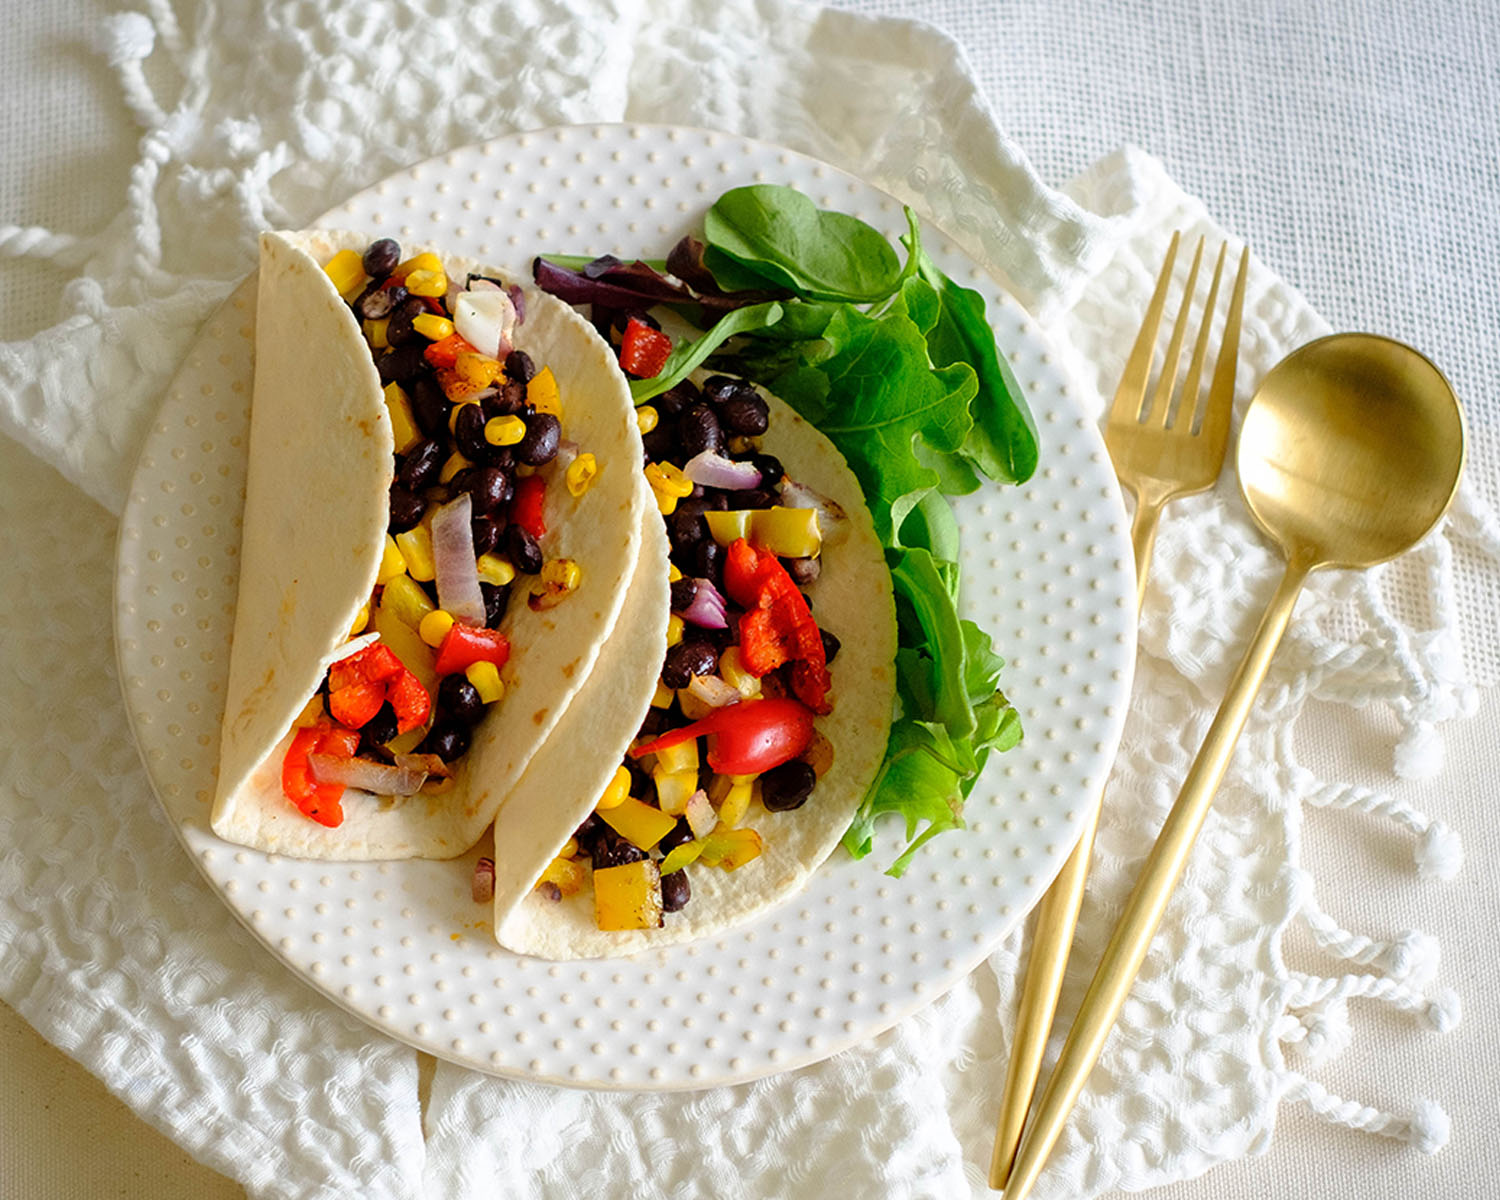
Vegetarian Black Bean and Corn Soft Tacos

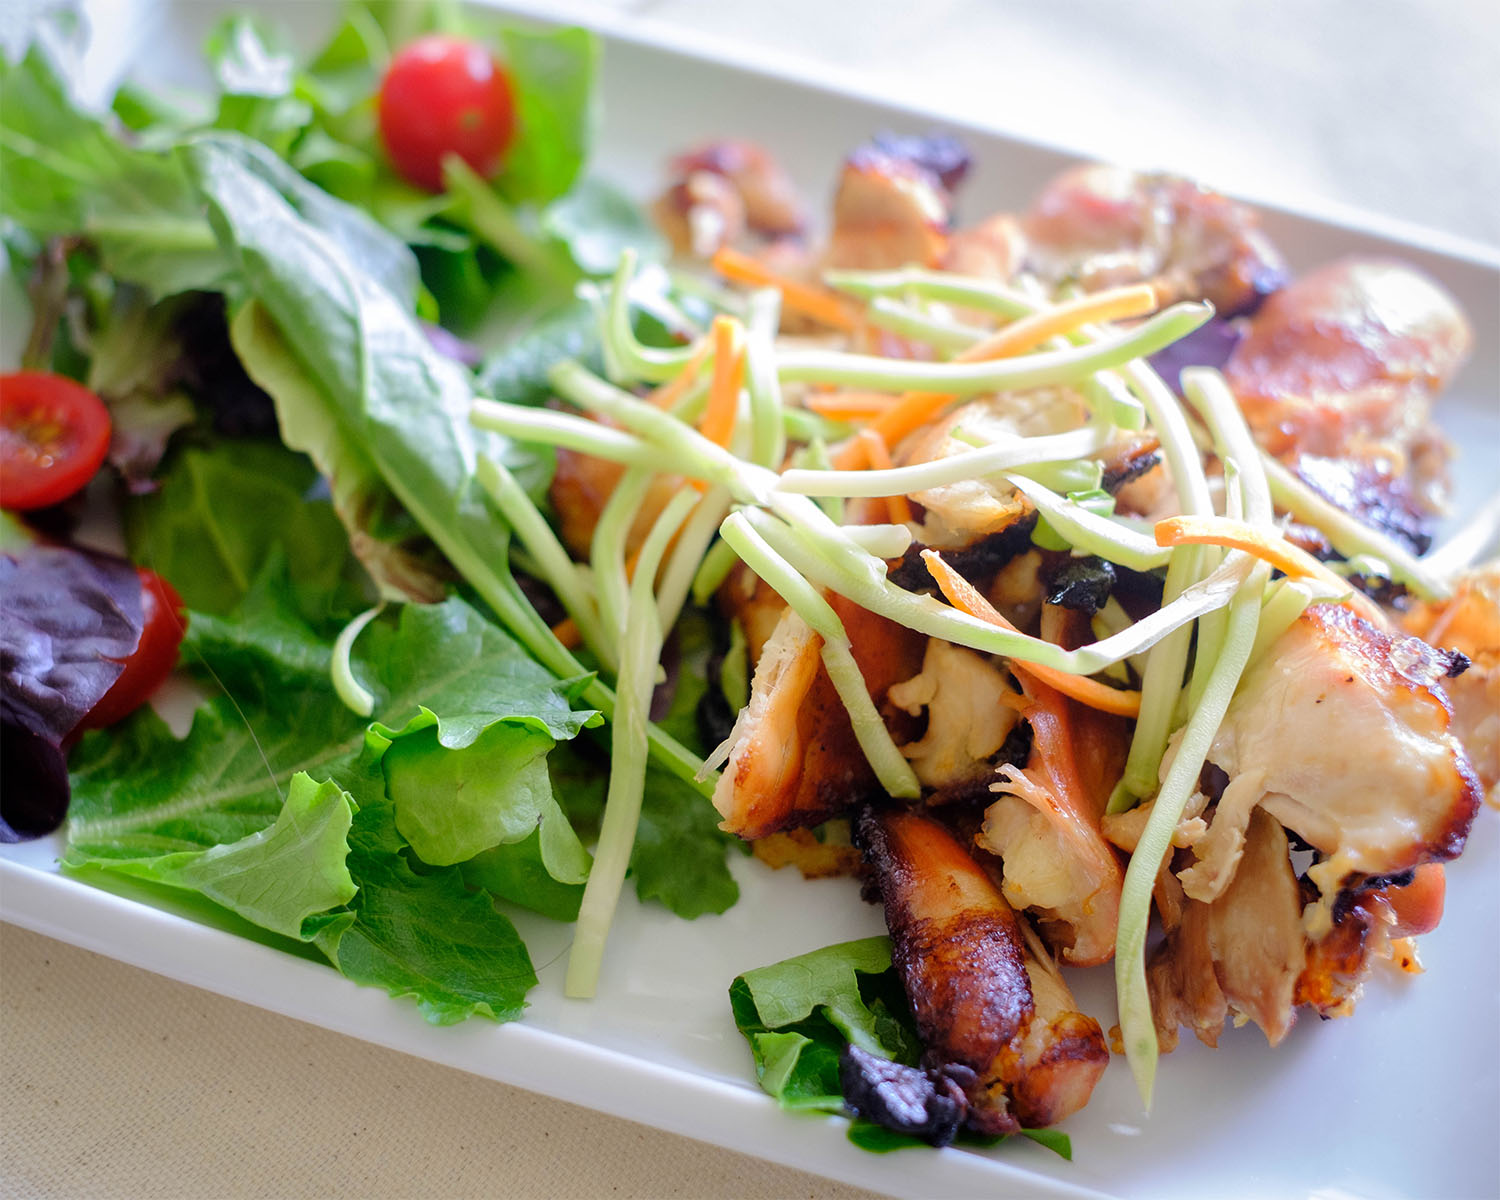
chicken salad

Oven Baked Honey Mustard Glazed Chicken Salad

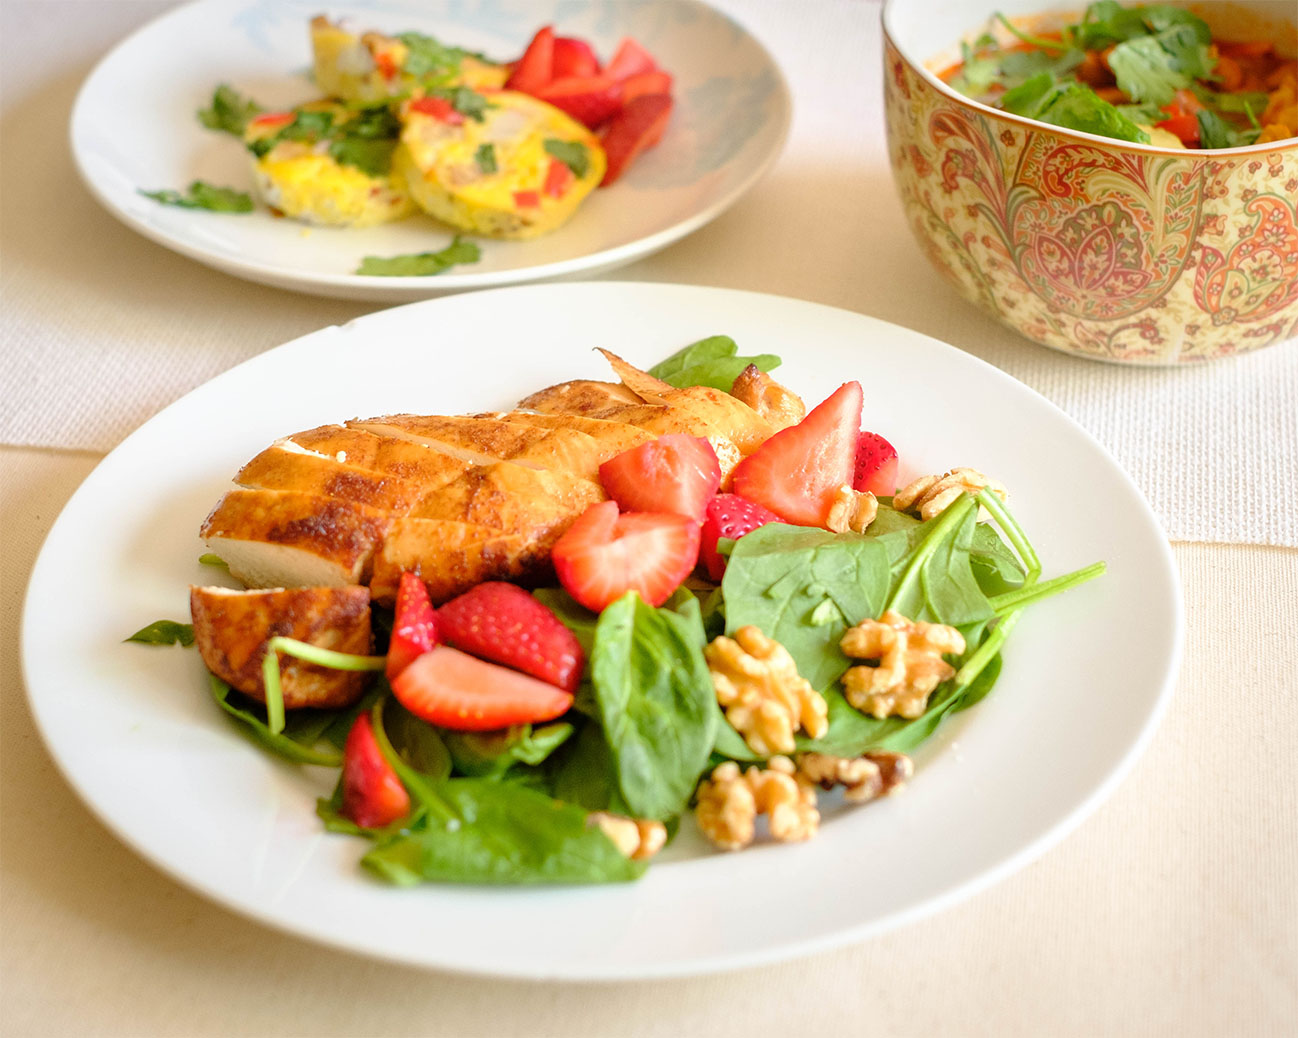
balsamic chicken salad

Oven Baked Balsamic Chicken Salad with Strawberries

You Might Also Like

Frequently Asked Questions

Can I use a different type of protein instead of chicken?

Absolutely! While the recipe calls for chicken, you can easily swap it out with other proteins such as ground beef, turkey, or even plant-based options like black beans or tofu. Customize the recipe to your liking and dietary preferences


Can I make the filling ahead of time?

You can prepare the filling for the Chicken Enchilada Stuffed Peppers ahead of time and store it in the refrigerator for a day or two. When you’re ready to assemble the peppers, simply stuff them and bake them according to the recipe instructions.


Can I use different types of peppers?

While the recipe typically calls for bell peppers, you can experiment with different pepper varieties to add a unique twist to your stuffed peppers. Try using poblano peppers for a smoky flavor or banana peppers for a touch of sweetness. The choice is yours!

Posted on Leave a comment

Portobello Mushroom Egg Bake

Hey there, breakfast lovers! I’m here to share with you an absolutely scrumptious recipe that will make your taste buds dance with joy: the Portobello Mushroom Egg Bake! Trust me, this dish is a game-changer when it comes to easy, tasty, and nutritious breakfasts that are perfect for meal prep. This breakfast dish is also a fantastic low-carb option for breakfast that will keep you feeling satisfied until lunchtime.
This post may contain affiliate links. Please see our privacy policy for details.

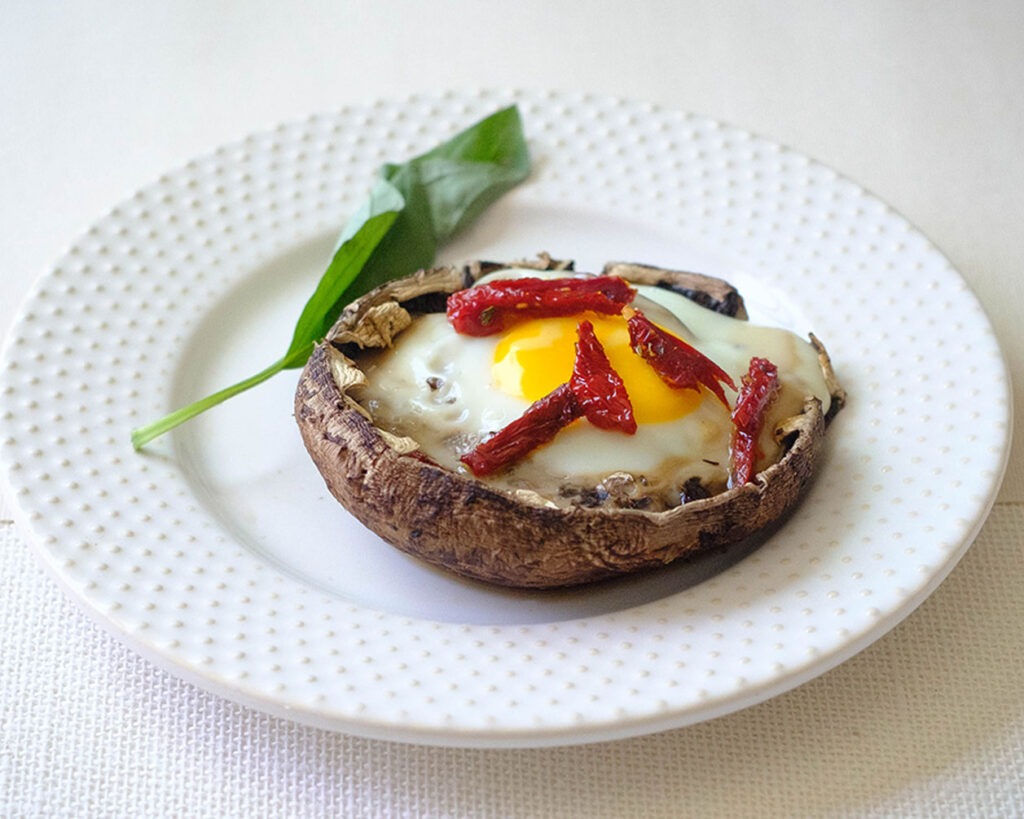
round plate with portobello mushroom baked with a egg and topped with sun-dried tomato slices and fresh basil.

Why this meal is a great low-carb breakfast option:

By choosing a low-carb breakfast option like the Portobello Mushroom Egg Bake, you’re fueling your body with the right nutrients to keep you feeling satisfied and energized until lunchtime. It’s a delicious way to kickstart your day while keeping your carb intake in check, and here’s why:

  • Portobello mushrooms are naturally low in carbohydrates, making them an excellent choice for those following a low-carb or keto lifestyle. By using mushrooms as the base of the egg bake instead of bread or other high-carb ingredients, you can enjoy a delicious and filling breakfast without the excess carbs.
  • Eggs are an excellent source of high-quality protein. Protein is known to promote feelings of fullness and can help curb cravings throughout the day. 
  • The Portobello mushrooms used in this recipe are not only low in carbs but also high in dietary fiber. Fiber adds bulk to your meal, slows down digestion, and helps you feel fuller for longer. This means that incorporating mushrooms into your breakfast will not only provide great flavor and texture but also contribute to keeping you satiated throughout the morning.
  • If you choose to add some healthy fats to your Portobello Mushroom Egg Bake, such as a drizzle of olive oil or sliced avocados, they can further enhance the satiety factor. Fats take longer to digest, providing a sustained release of energy and helping to keep hunger at bay.
  • The balance of low carbs, high protein, and healthy fats in the Portobello Mushroom Egg Bake creates a well-rounded and balanced meal that can help maintain steady blood sugar levels, which can help prevent energy crashes and cravings later in the day.

The PrepYoSelf Newsletter

Simple Ingredients You’ll Need

  • Portobello Mushrooms: This ingredient is the star of this recipe. These earthy delights are not only bursting with flavor but also packed with essential nutrients. Plus, their hearty texture and savory taste make them a perfect replacement for meat in vegetarian meals.
  • Eggs: Feel free to use 2 eggs per mushroom if you prefer more protein
  • Sun-dried tomatoes: We used harissa to add some heat and smoky flavors, but you can easily use another kind of chili sauce such as sriracha. 
  • Fresh Basil Leaves: We made our pistachio pesto from scratch, however, you can use any kind of store-bought pesto such as basil pesto.

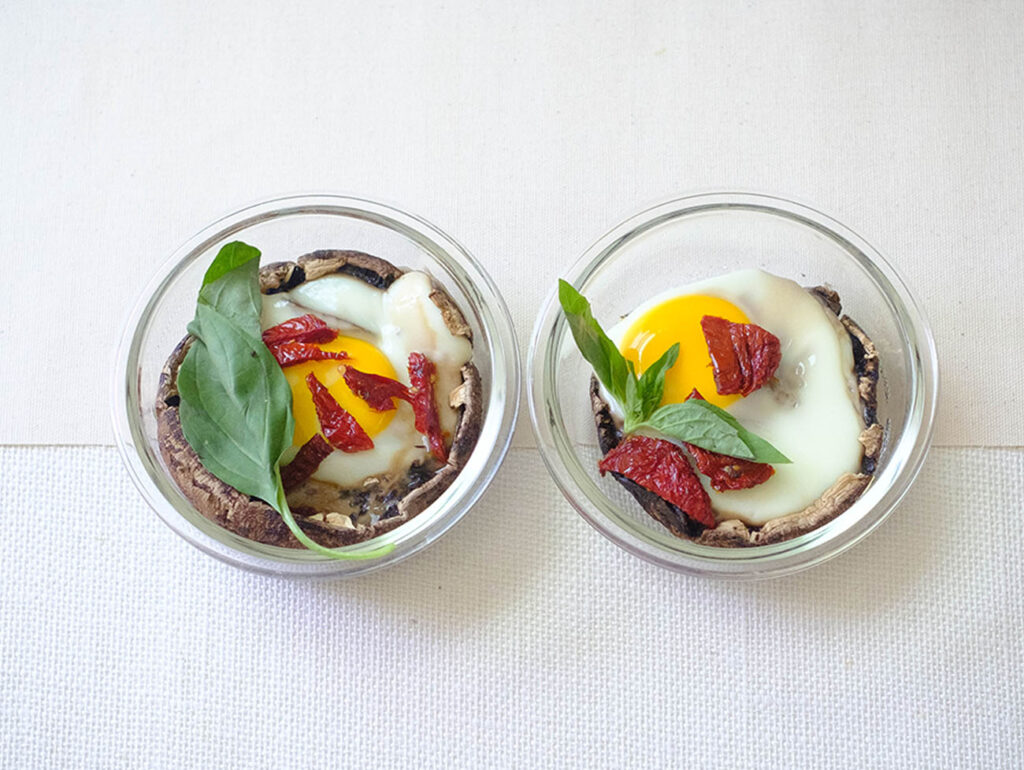
round glass prep bowls with portobello mushroom baked with a egg and topped with sun-dried tomato slices and fresh basil.

How to Make Portobello Mushroom Egg Bake

Now, let’s talk about why this Portobello Mushroom Egg Bake is a fantastic option for meal prep, especially for those who prefer single-serving portions. First and foremost, this recipe is incredibly easy to make. You can whip it up in no time, and it requires only a handful of simple ingredients that you probably already have in your kitchen. Convenience is key when it comes to meal prep, right?

Here’s how to make this easy breakfast dish.

  1. Preheat the oven to 400F.
  2. Wipe the portobello mushrooms clean with a wet paper towel. Use a spoon to scrape out the inside ribs.
  3. Coat the portobello mushrooms with a little bit of olive oil and place the mushroom caps on a sheet pan with the flesh facing up.
  4. Crack an egg in the middle of the portobello mushrooms and season with salt.
  5. Bake the mushrooms in the oven for 12 to 15 minutes until the egg whites are set.
  6. Once they are cooked, garnish them with sliced sun-dried tomatoes and basil leaves for added flavor.

Reference the recipe card below for detailed instructions.

round glass prep bowls with portobello mushroom baked with a egg and topped with sun-dried tomato slices and fresh basil.

Meal Prep Tips for This Breakfast Dish

  • The beauty of this recipe lies in its versatility. You can prepare multiple portions of the Portobello Mushroom Egg Bake ahead of time, storing them in the refrigerator for up to four days. When you’re ready to enjoy a delicious and hassle-free breakfast, simply pop a portion in the microwave or oven to reheat. 
  • When it comes to serving, feel free to get creative! You can enjoy the Portobello Mushroom Egg Bake as is, or pair it with your favorite sides. Try adding a side of avocado slices, a dollop of Greek yogurt, or a sprinkle of fresh herbs to elevate the flavors. The possibilities are endless, so don’t be afraid to experiment and make it your own!
  • Now, let me share one last tip with you. If you’re a busy bee like me, prepping the mushrooms ahead of time can be a time-saver. Clean and slice your portobello mushrooms in advance, storing them in a container in the refrigerator. This way, you’ll have them ready to go whenever you want to whip up another batch of this fantastic Portobello Mushroom Egg Bake.

round plate with portobello mushroom baked with a egg and topped with sun-dried tomato slices and fresh basil.

Mushroom and Eggs

Oven Baked Egg and Portobello Mushrooms

No ratings yet
Prep Time 5 minutes
Cook Time 15 minutes
Course Breakfast
Cuisine American
Servings 2

Equipment

  • knife
  • cutting board
  • sheet pan
  • oven

Ingredients
  

  • 2 each large eggs
  • 2 each portobello mushrooms
  • 2 tbsp sun-dried tomatoes (sliced)
  • 1/8 tsp salt
  • 2 each fresh basil leaves (thinly sliced)
  • 1 tbsp olive oil

Instructions
 

  • Pre-heat oven to 400F. Wipe the portobello mushrooms clean with a wet paper towel. Use a spoon to scrape out the inside ribs
  • Coat the portobello mushrooms with the olive oil and place the portobolello mushrooms on a sheet pan. Crack an egg into each portobello and season with salt
  • Bake in the oven for 12 to 15 minutes until the egg whites set
  • Top it off with sliced sun-dried tomatoes and sliced basil leaves

Similar Recipes

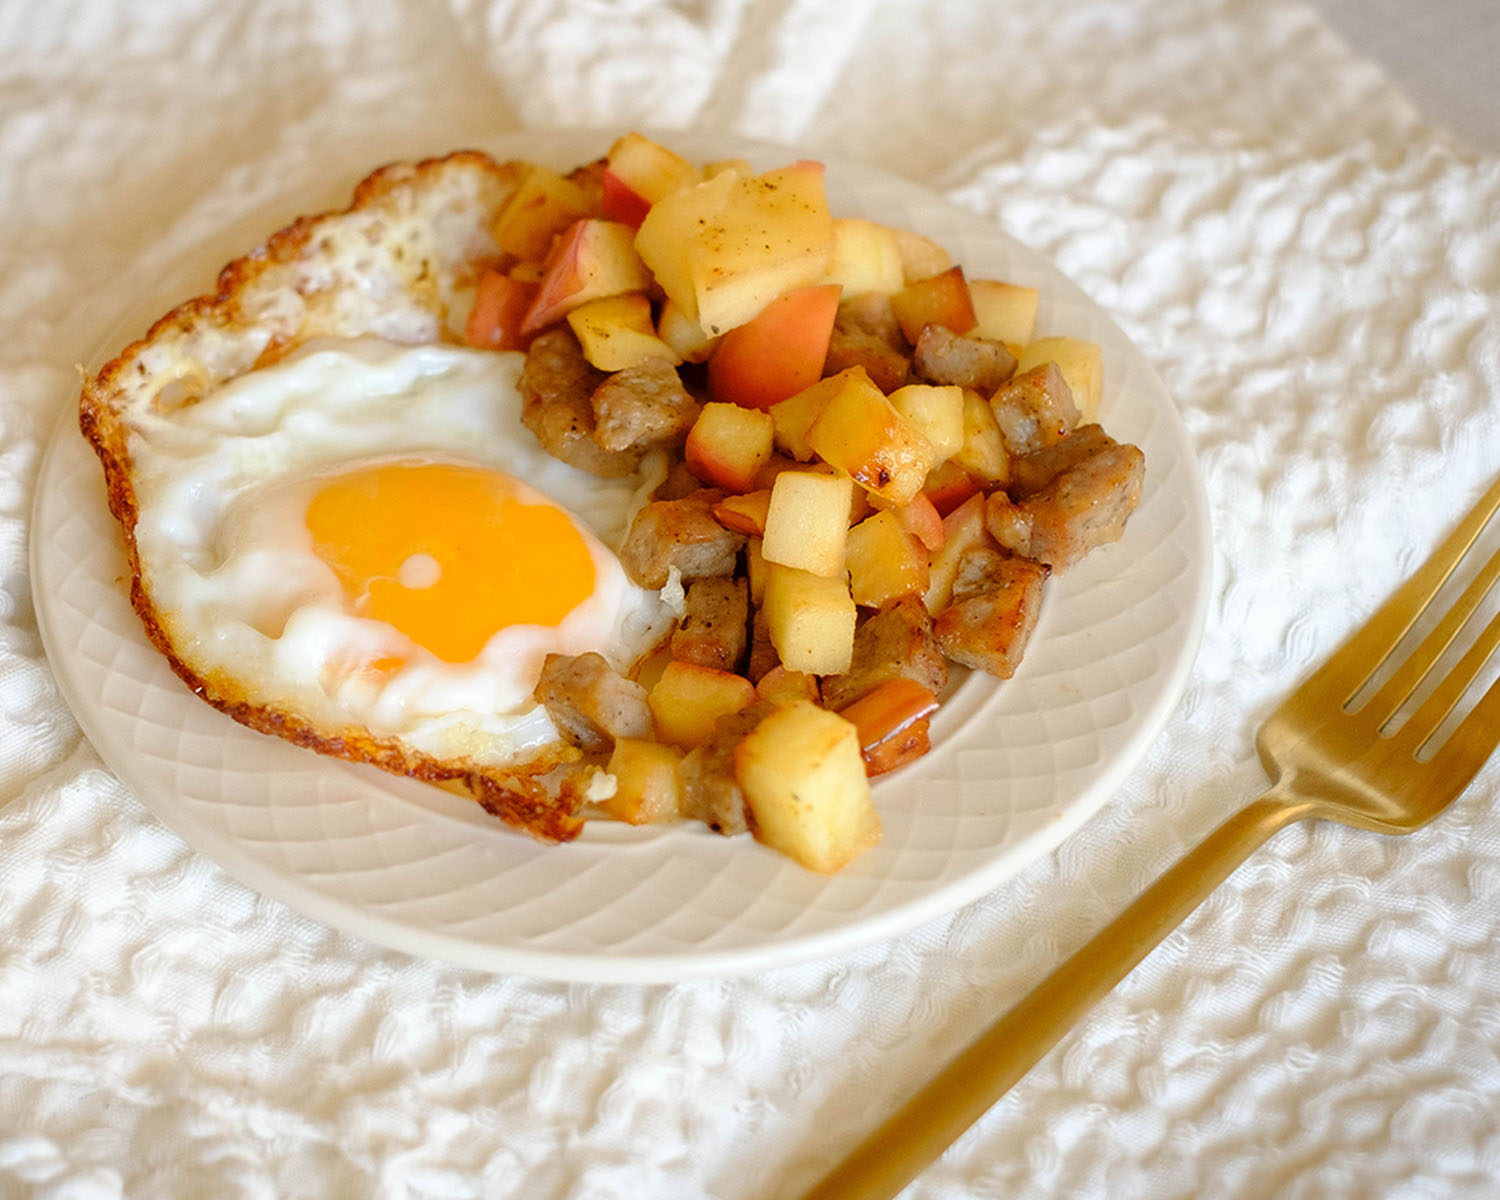
fried egg and sausage hash

Fried Egg with Apple and Sausage Hash

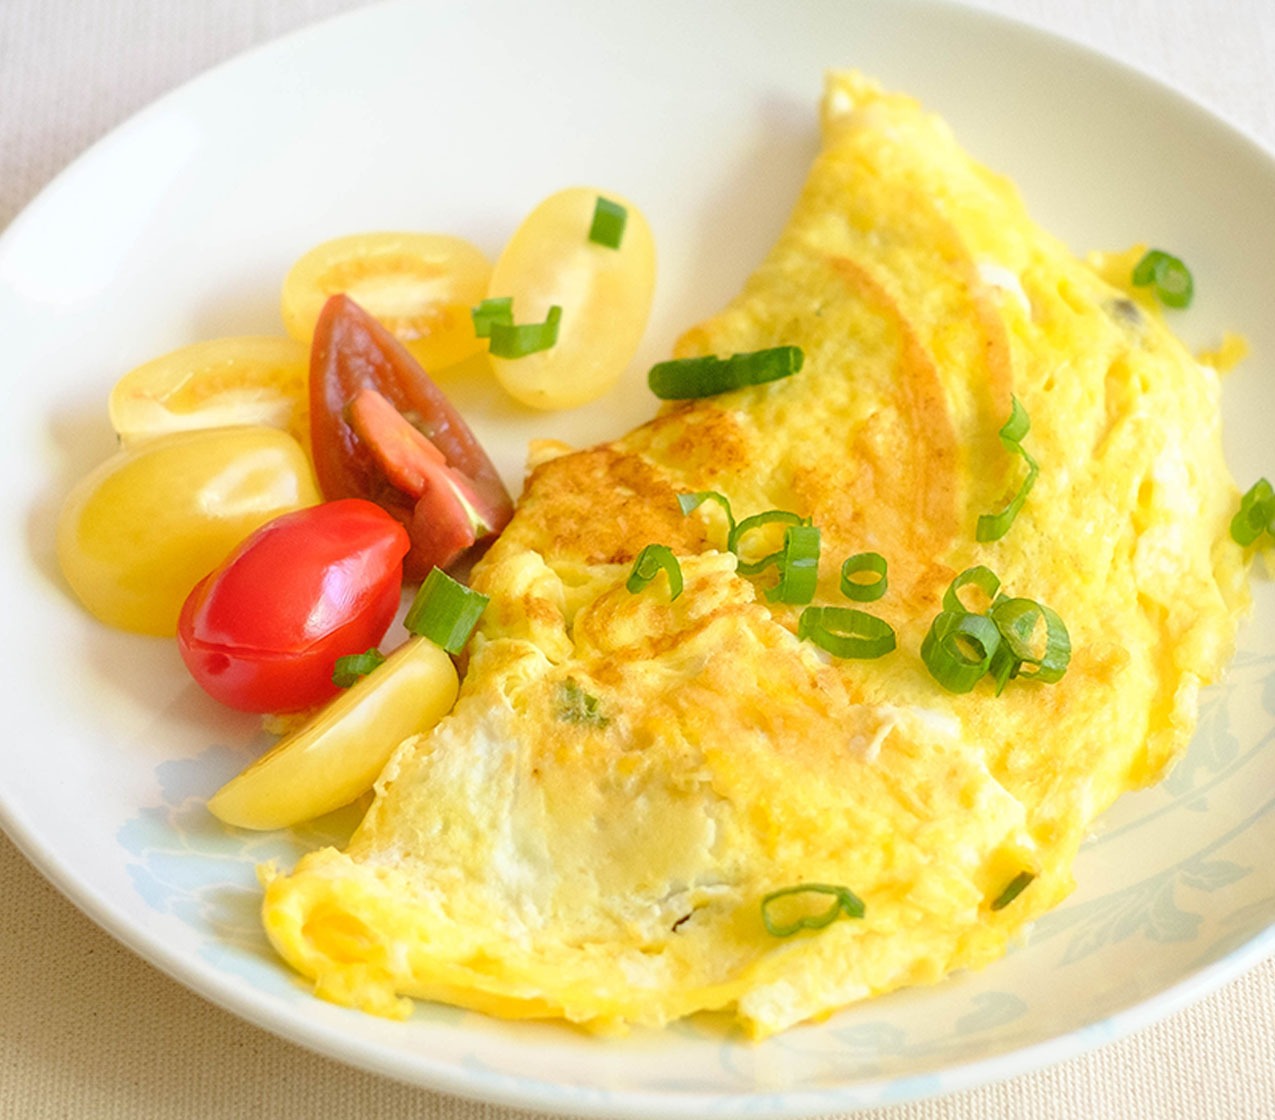
Easy Cheese Omelette

easy sausage egg muffins

Sausage Egg Muffins with Strawberries

You Might Also Like

Frequently Asked Questions

Can I use regular mushrooms instead of Portobello mushrooms?

Absolutely! While the recipe is specifically designed for Portobello mushrooms, you can definitely substitute them with regular mushrooms if that’s what you have on hand. Just keep in mind that the texture and flavor may vary slightly.


Can I freeze the Portobello Mushroom Egg Bake?

While it’s technically possible to freeze this dish, the texture of the mushrooms and eggs may change upon thawing and reheating. For the best taste and texture, it’s recommended to store the Portobello Mushroom Egg Bake in the refrigerator for up to four days rather than freezing it.


Can I use egg substitutes or egg whites instead of whole eggs?

Yes, you can! If you prefer to use egg substitutes or egg whites, feel free to make the swap. The cooking time may be slightly different, so keep an eye on the bake to ensure the eggs are cooked through.

Posted on Leave a comment

Air Fryer Honey Sesame Chicken Bites

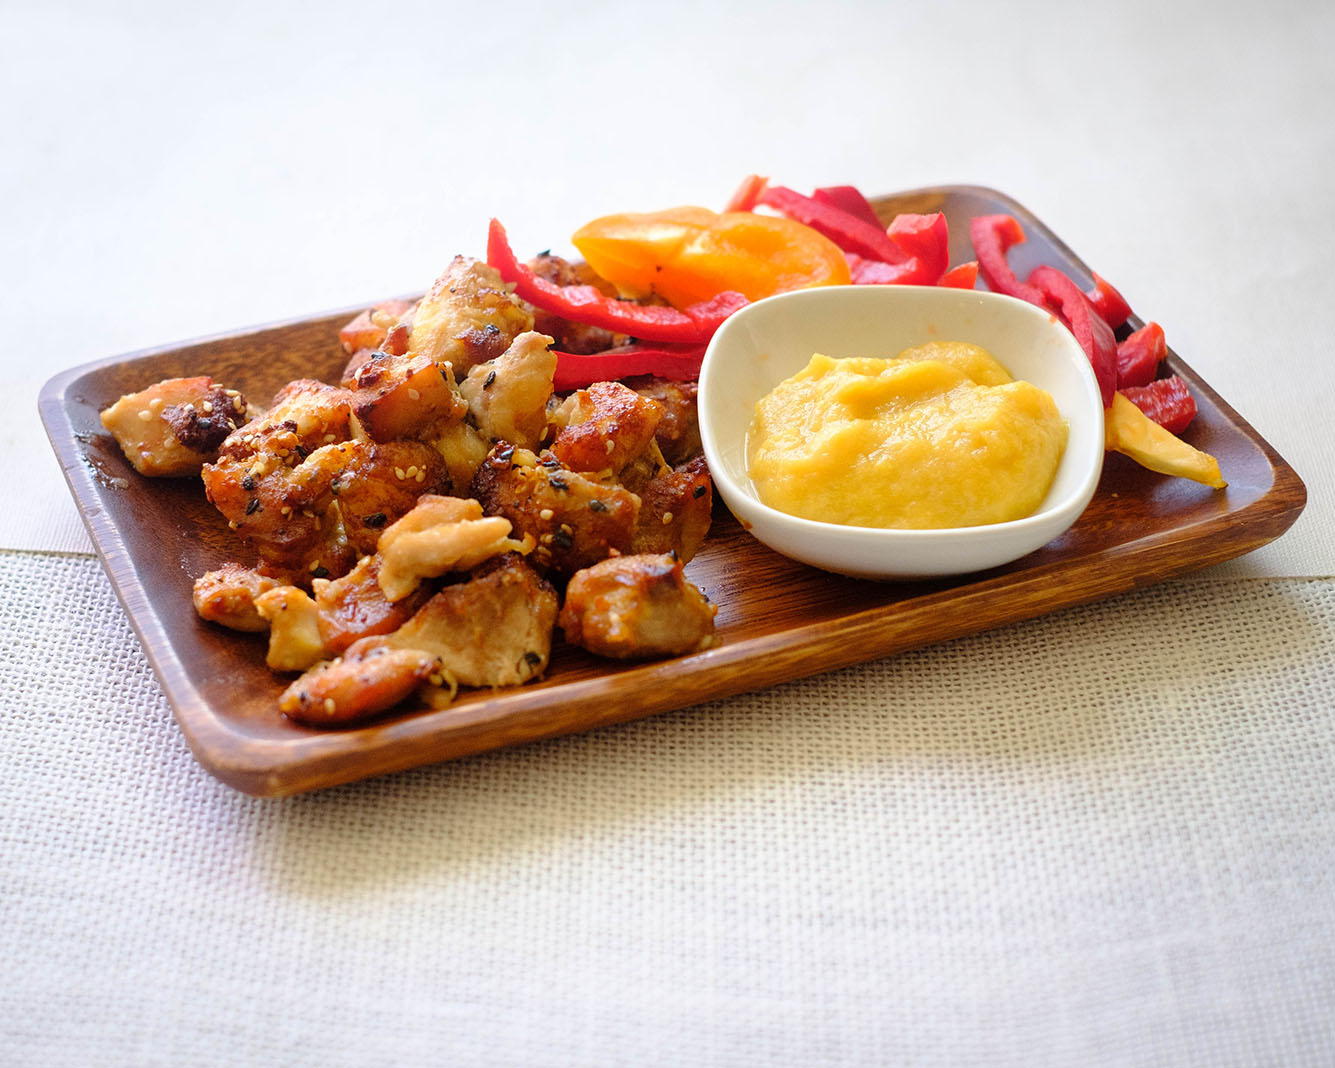
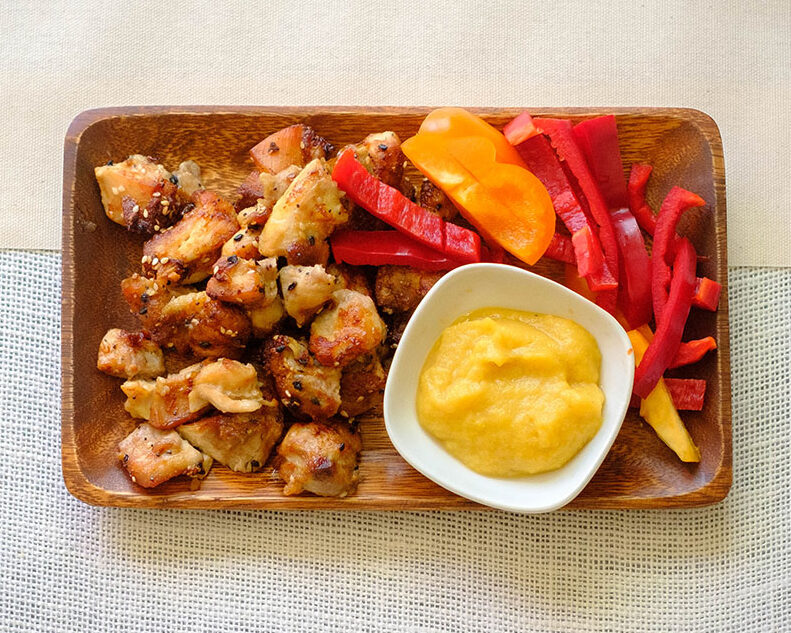
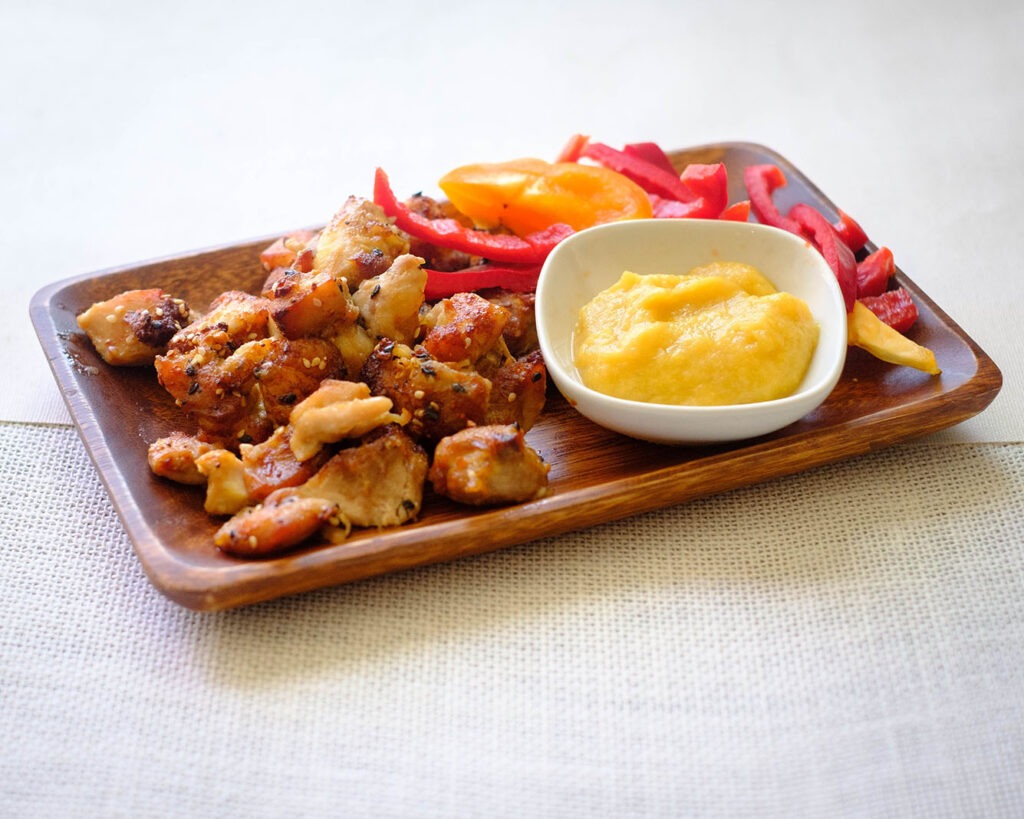
rectangular wooden plate with small bite size chicken pieces, sliced red bell peppers, and honey mustard applesauce

Hello foodie friends! I’m excited to share this delicious and healthy honey sesame, air fryer chicken recipe that’s not only convenient and cheap but also just as good as takeout! I also want to talk to you about the magic of sesame seeds and how they can add amazing flavor to your Asian-Inspired chicken dishes. In addition we’ve got a tasty recipe for a honey mustard apple sauce that’s both healthy and incredibly flavorful that is perfect for adding some excitement to your meal prep routine.
This post may contain affiliate links. Please see our privacy policy for details.

Calories: 531kcal | Carbohydrates: 22g | Protein: 31g | Fat: 36g | Saturated Fat: 9g | Polyunsaturated Fat: 9g | Monounsaturated Fat: 15g | Trans Fat: 0.1g | Cholesterol: 167mg | Sodium: 1223mg | Potassium: 584mg | Fiber: 3g | Sugar: 18g | Vitamin A: 2019IU | Vitamin C: 77mg | Calcium: 39mg | Iron: 2mg

rectangular wooden plate with small bite size chicken pieces, sliced red bell peppers, and honey mustard applesauce - try this air fryer chicken recipe

Making honey sesame chicken in the Air Fryer is a healthy, convenient, and cheap way to enjoy a delicious meal at home. By following these tips, you’ll be able to cook up a tasty dish that’s just as good as takeout, but with a fraction of the cost and calories. Let’s get started!

The PrepYoSelf Newsletter

Why this recipe is great for meal prep

  • The Air Fryer is a quick and easy way to cook chicken, which is perfect for busy weeknights or meal prepping for the week ahead. Plus, making your own honey sesame sauce is cheaper than buying pre-made sauce from the store.
  • Condiments can often add a lot of unnecessary calories, but this honey mustard applesauce dip is made from scratch. The ingredients include honey which is a natural sweetener that’s lower in calories than refined sugar, and it also has antibacterial and anti-inflammatory properties. And mustard is a low-calorie condiment that adds a lot of flavor without adding a lot of fat or calories.
  • Last but not least, sesame seeds are a versatile and flavorful ingredient that can be used in a variety of dishes, but they are particularly delicious in Asian cuisine. They add a nutty, toasted flavor and a satisfying crunch that elevates any dish. Not to mention, sesame seeds are packed with nutrients like protein, fiber, and healthy fats, making them a great addition to any healthy meal prep.

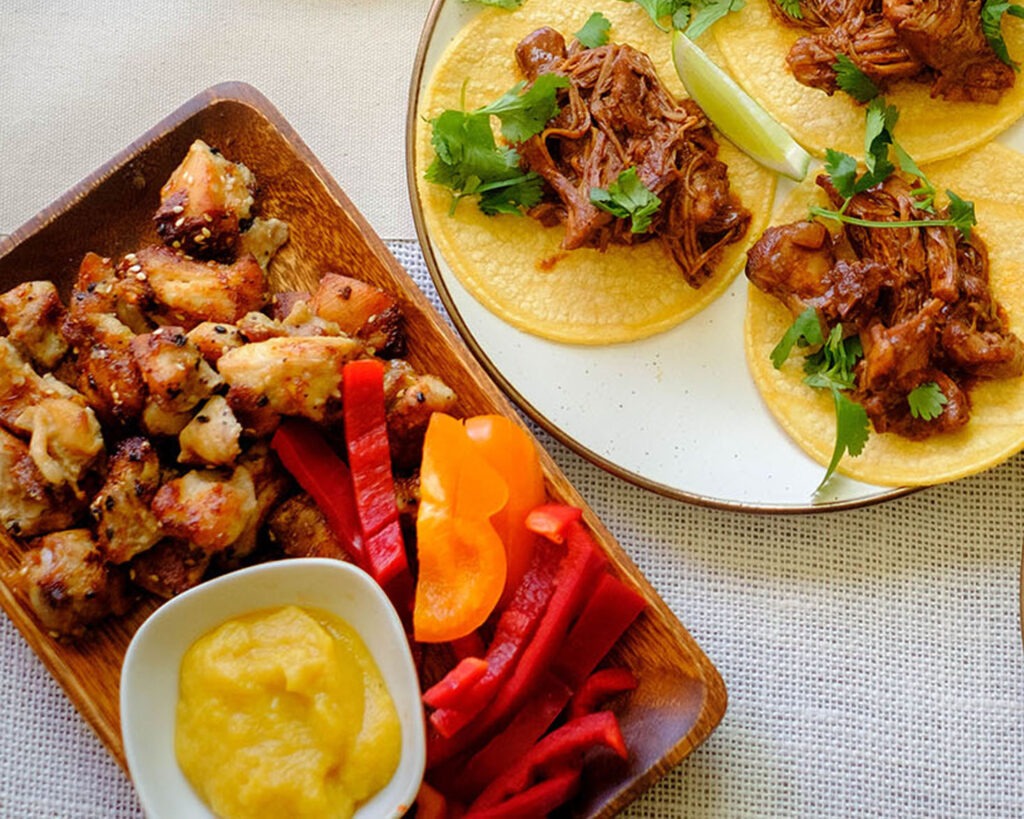
rectangular wooden plate with air fryer chicken recipe, small bite size chicken pieces, sliced red bell peppers, and honey mustard applesauce. Next to it is a round plate with chicken tacos

Ingredients:

  • Chicken: We used boneless chicken thighs, but you can also use chicken breasts or chicken tenderloins
  • Marinade: We used a simple combination of soy sauce, sesame oil, garlic butter, and honey. However, you can add other ingredients such as hoisin sauce, gyoza sauce, and ginger powder
  • Mustard sauce: This sauce is a simple mixture of yellow mustard, honey, and applesuace

rectangular wooden plate with air fryer chicken recipe - small bite size chicken pieces, sliced red bell peppers, and honey mustard applesauce

Easy Air Fryer Chicken Recipe steps

  1. Cut your chicken into one inch cubes.
  2. Whisk together the honey sesame sauce. In a bowl, combine the chicken with the marinade and make sure they are fully coated.
  3. Place the chicken in the Air Fryer Basket and spray them with cooking spray. Cook them in the Air Fryer for about 20 minutes. Flip them halfway through the cooking process so that they get golden brown all around.
  4. Meanwhile, mix together the honey mustard applesauce dip and slice the bell peppers.

Reference the recipe card below for detailed instructions.

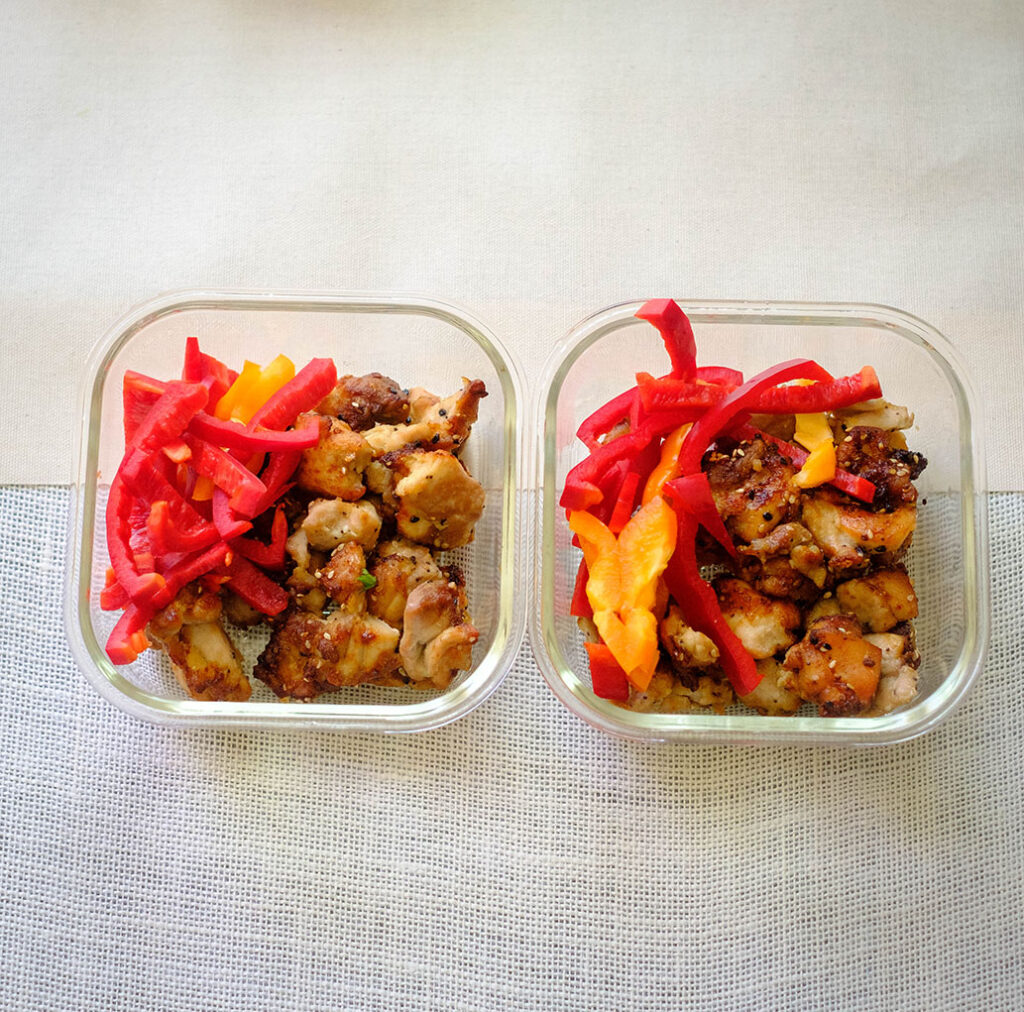
Glass meal prep container with chicken and red bell peppers - try this air fryer chicken recipe

Meal Prep Tips for Honey Sesame Chicken

  • When  it comes to serving your honey sesame Air Fryer chicken recipe, I recommend pairing it with some healthy sides. We served it fresh bell pepper strips, however, steamed or roasted veggies, brown rice, or quinoa are all great options that will help balance out the sweetness of the honey sesame sauce and provide some extra nutrition.
  • To store: Let the chicken cool completely before storing it in an airtight container in the fridge for up to 3 to 4 days.
  • To Reheat: You can reheat it in the Air fryer for 3 to 4 minutes at 350F until it warms through or you can just reheat in the microwave. If the chicken seems dry after reheating, you can make extra honey sesame sauce and drizzle it over the chicken before serving.

rectangular wooden plate with small bite size chicken pieces, sliced red bell peppers, and honey mustard applesauce

Air Fryer Honey Sesame Chicken

This recipe features tender chicken thighs marinated in a flavorful blend of soy sauce, honey, sesame oil, and garlic powder, air-fried to perfection and served with a tangy honey mustard applesauce alongside crisp red bell pepper slices.
No ratings yet
Prep Time 5 minutes
Cook Time 15 minutes
Course lunch, Main Course
Cuisine Asian
Servings 2
Calories 531 kcal

Equipment

  • knife
  • cutting board
  • mixing bowls
  • Air Fryer

Ingredients
  

  • 12 oz boneless chicken thighs
  • 2 tablespoons soy sauce
  • 1 tablespoon honey
  • 1 tablespoon sesame oil
  • 1/4 teaspoon garlic powder
  • 1 teaspoon sesame seeds

Mustard Applesauce

  • 1 tablespoon yellow mustard
  • 1 tablepsoon honey
  • 1/2 cup applesauce

Vegetable Sides

  • 1 red bell pepper (sliced)

Instructions
 

  • Cut the chicken into 1 inch cubes. Add the chicken to a mixing bowl and combine it with the soy sauce, honey, sesame oil, garlic powder, and sesame seeds.
  • Place the chicken in the Air Fryer basket and cook them in the air fryer for 15 minutes at 360F until they fully cook to an internal temperature of 165F. Be sure to flip them over halfway through so that they are golden brown on all sides.
  • Meanwhile, in a small bowl, mix together the mustard, honey, and applesauce. Slice the red bell peppers into thin strips.
  • Once the chicken is cooked, dip them in the honey mustard applesauce and enjoy them with sliced bell peppers or your choice of fresh veggie sticks.

Notes

Nutrition information provided is an estimate. It will vary based on cooking method and specific ingredients used. Please consult with your healthcare provider for specific dietary needs. To gain a better understanding, explore our nutrition disclaimer here

Nutrition

Calories: 531kcalCarbohydrates: 22gProtein: 31gFat: 36gSaturated Fat: 9gPolyunsaturated Fat: 9gMonounsaturated Fat: 15gTrans Fat: 0.1gCholesterol: 167mgSodium: 1223mgPotassium: 584mgFiber: 3gSugar: 18gVitamin A: 2019IUVitamin C: 77mgCalcium: 39mgIron: 2mg

Similar Recipes

broccoli beef

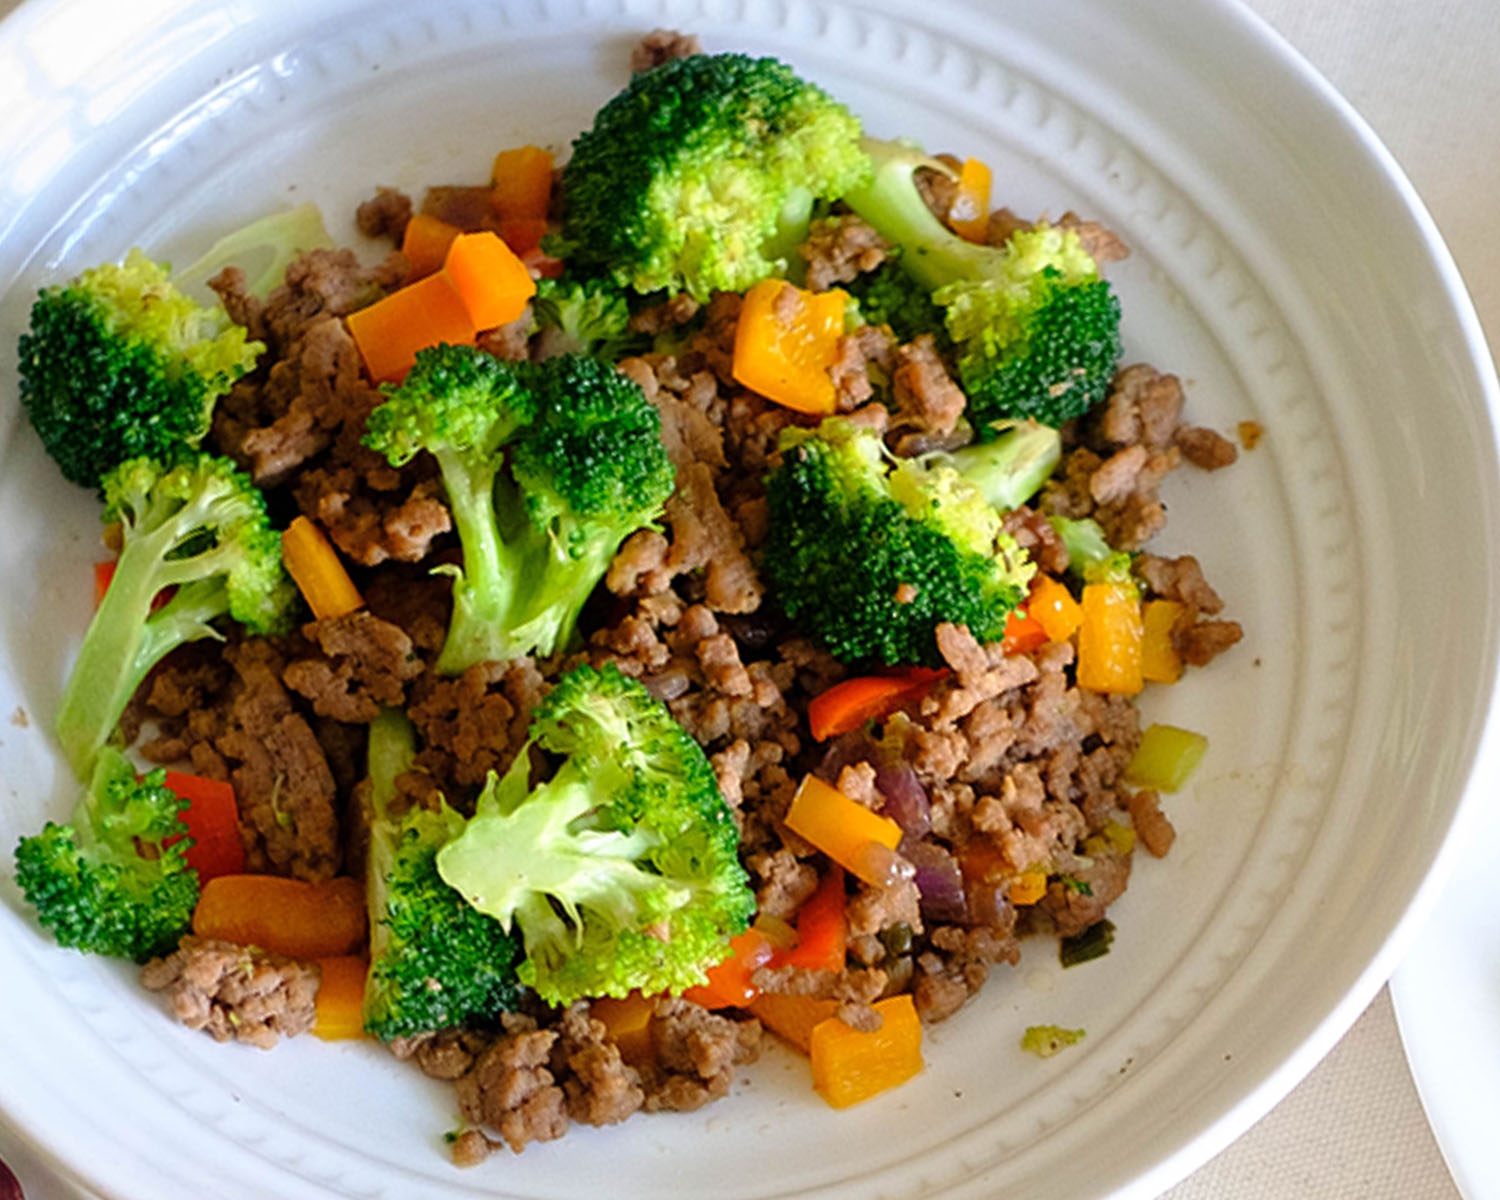
Ground Beef and Broccoli Stir Fry

tofu stir fry

Tofu and Veggie Stir Fry

beef and chinese broccoli

Garlicky Beef Stir Fry

You Might Also Like

Frequently Asked Questions

How else can I use sesame seeds?

One of my favorite ways to use them is by making a simple sesame seed crust for chicken. To do this, you’ll need to mix together sesame seeds, breadcrumbs, and your favorite Asian-inspired spices, such as ginger, garlic, and soy sauce. Then, coat your chicken breasts in the mixture and bake them in the oven. The result is a perfectly crispy, flavorful chicken that’s sure to impress.


Can I make this recipe without an Air Fryer? 

Yes, you can! If you don’t have an Air Fryer, you can bake the chicken bites in the oven at 400F for about 20-25 minutes or until it is cooked through and golden brown. Just be sure to flip the chicken bites halfway through cooking to ensure that they are cooking evenly.


How can I use the honey mustard sauce in my meal prep?

It’s also perfect for adding flavor to chicken, pork, or salmon. Simply brush it on your protein before baking or grilling. You can also use it as a dipping sauce for fresh veggies. Add apple cider vinegar and olive oil to the sauce. Blend it together and use it as a salad dressing.

Posted on Leave a comment

Asian Lettuce Wraps with Beef and Fresh Basil

Hey there fellow meal-prepping enthusiasts, I am so excited to share with you one of my go-to recipes for Asian Ground Beef Lettuce Wraps! This dish is not only delicious, but it’s also healthy, low-carb, and perfect for weekly meal prep.

One of the meal prep hacks to making this dish truly tasty is by adding fresh herbs. Not only do they add a pop of color and freshness to your dish, but they also add an incredible depth of flavor. For this recipe, I highly recommend adding fresh basil to your ground beef filling. The combination of this fresh herb with the juicy ground beef and flavorful sauce is simply irresistible.

This post may contain affiliate links. If you use these links to buy something we may earn a commission at no extra cost to you. Please read the disclosure policy.

With a little bit of planning and preparation, you can enjoy restaurant-quality flavors at home all week long. 

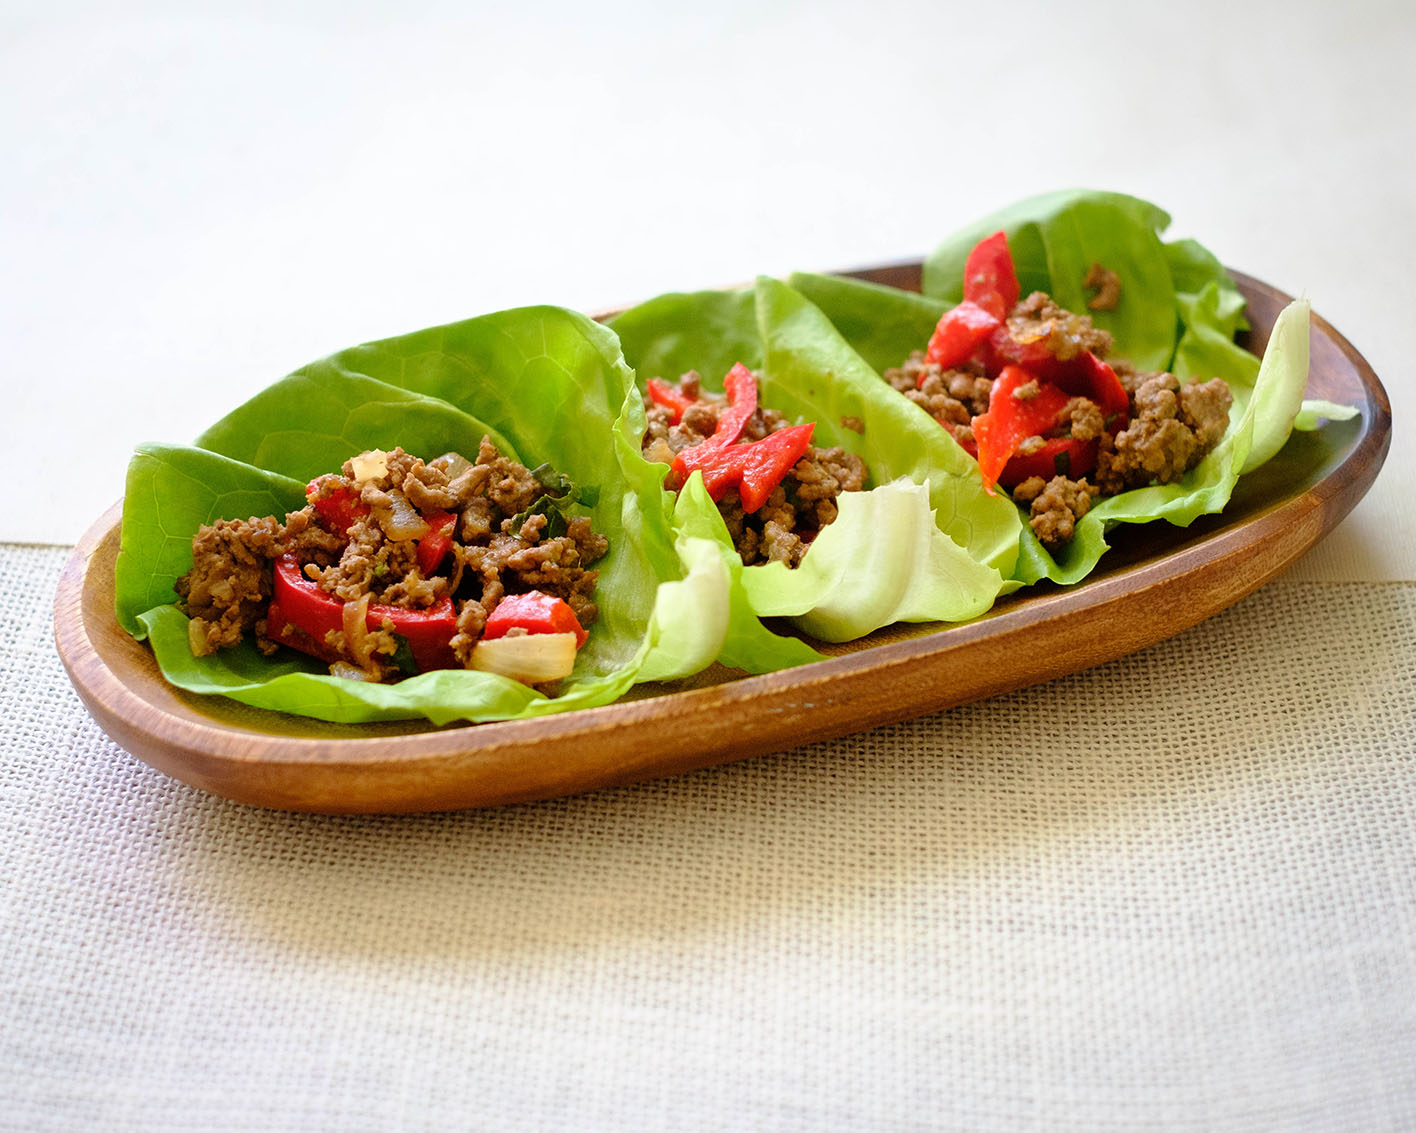
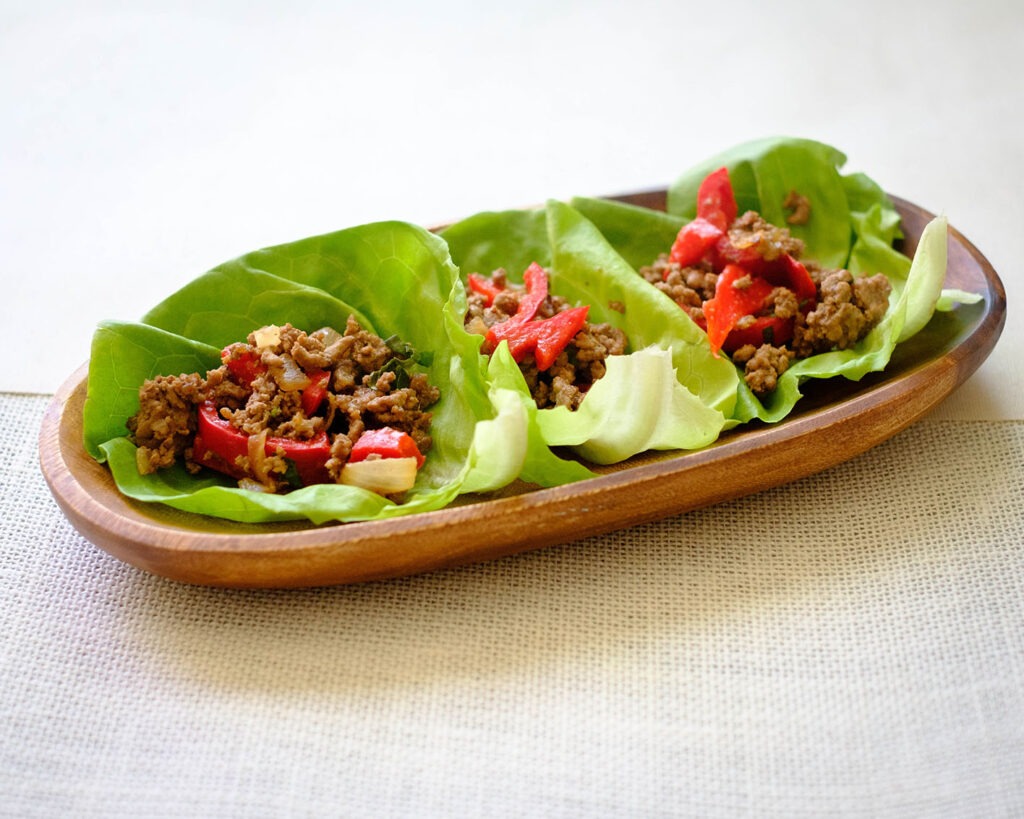
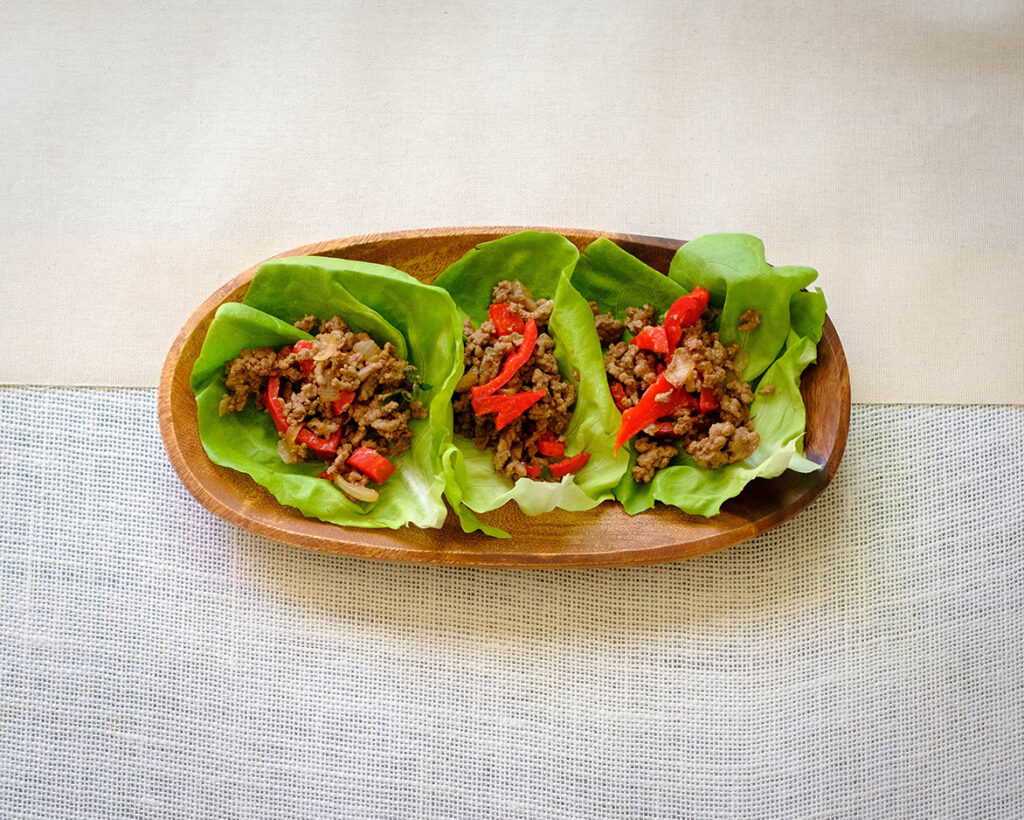
asian beef lettuce wraps on a wooden bowl

The PrepYoSelf Newsletter

Now, let’s talk about the nutritional benefits of this dish. By using lettuce wraps you’re cutting out lots of calories. Plus, ground beef is a great source of protein and the addition of vegetables like bell peppers and onions adds fiber and important vitamins and minerals. And let’s not forget about the incredible flavors and textures that make this dish so satisfying.

I’m going to show you how to make Asian Flavored Ground Beef Lettuce Wraps that taste just as good as your favorite takeout but with the added convenience of being able to prepare it in advance for the week ahead.

asian beef lettuce wraps on a wooden bowl

Simple Keto-Friendly, Low-Carb Ingredients

Firstly, let’s talk about how to make this dish taste absolutely amazing. The key is to season your ground beef well with Asian spices like garlic, ginger, and soy sauce. You can also add a little sweetness with honey or brown sugar, and some heat with red pepper flakes or chili paste. The combination of these flavors will make your taste buds dance with delight!

  • Ground Beef: We used ground beef, but you can easily swap in ground pork, ground turkey, or ground chicken for your protein
  • Red Onions: We used diced red onions, but chopped green onions are also a great choice.
  • Lettuce Wraps: We used butter lettuce leaves, but you can also use romaine lettuce leaves
  • Bell Peppers: This will add freshness to the dish and also bright colors
  • Herbs: We used basil leaves, but you can easily swap them with cilantro
  • Soy Sauce: Soy sauce adds great savory flavors to stir fry, but you can also use other sauces such as hoisin sauce, gyoza sauce, or oyster sauce.
  • Oils: We stir fry with olive oil, but then drizzle in a little bit of sesame oil for extra flavor in the end.

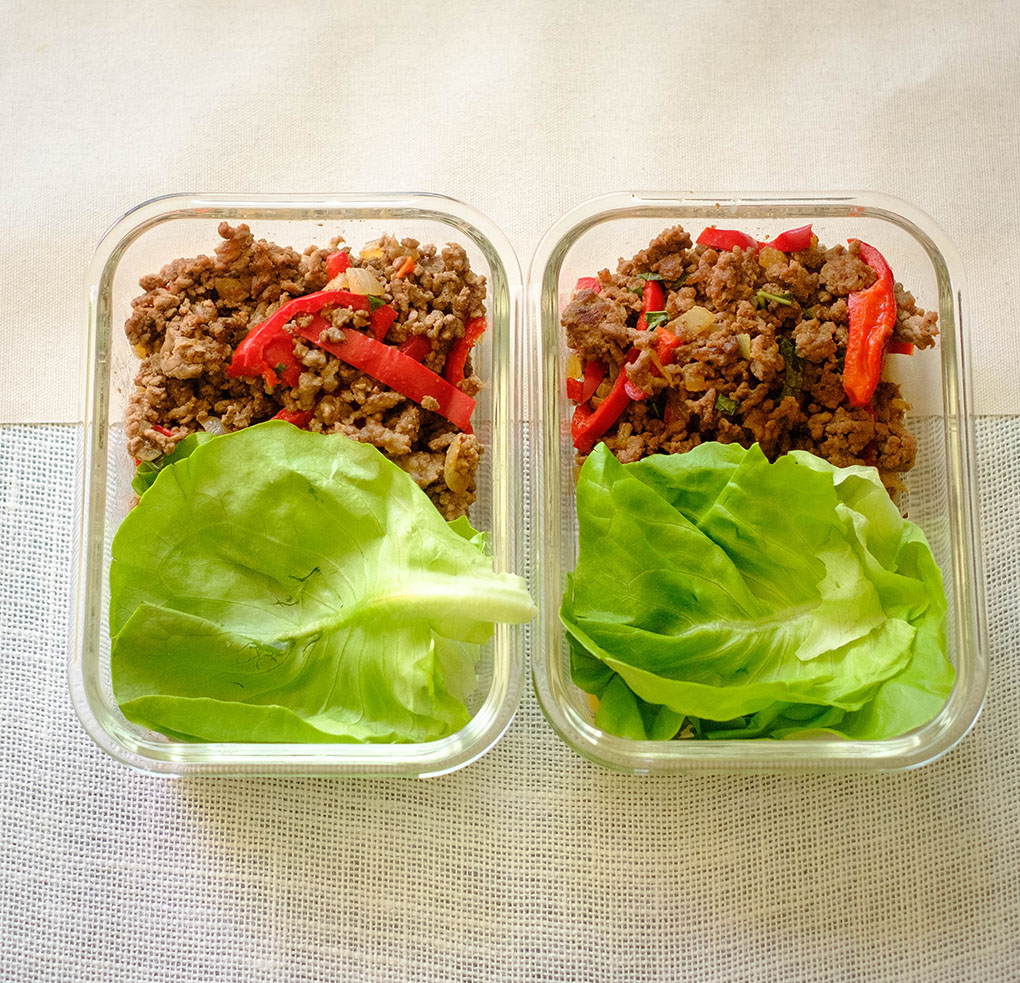
asian beef lettuce wraps in meal prep containers

How to Make Ground Beef Lettuce Wraps

  • Add 1 tbsp olive oil to a saute pan on medium-high heat. Saute the onions until they soften (about 2 to 3 minutes)
  • Next, add the ground beef and saute for about 5 to 6 minutes until the beef is fully cooked and golden brown
  • Then, add seasonings, bell peppers, and chopped fresh basil leaves and mix it all together
  • Serve the beef on top of the lettuce wraps

Reference the recipe card below for detailed instructions.

asian beef lettuce wraps in meal prep containers

Meal Prep Tips for Basil Beef Lettuce Wraps

  • Now, let’s talk about what side dishes would pair well with this recipe. I recommend serving these lettuce wraps with some pickled ginger or onions, which will help balance out the flavors. You could also enjoy it with a side of fruit like sliced oranges for added nutrition and citrus flavors.
  • When it comes to storing and reheating this dish for the week, it’s important to separate the lettuce wraps from the ground beef filling and store them separately. This will help keep the lettuce wraps crips and fresh and prevent them from getting soggy.
  • To reheat, you could also heat up the filling in a skillet with a little oil to crisp it up or just simply microwave the filling until heated through and then assemble the lettuce wraps. 

Beef lettuce wraps

Basil Ground Beef Lettuce Wraps with Bell Peppers

No ratings yet
Prep Time 5 minutes
Cook Time 15 minutes
Course lunch, Main Course
Cuisine American, Asian
Servings 2

Equipment

  • knife
  • cutting board
  • spatula
  • saute pan

Ingredients
  

  • 12 oz ground beef
  • 1/4 cup red onions (diced)
  • 1 each red bell pepper (sliced)
  • 4 each fresh basil leaves (thinly sliced)
  • 2 tbsp soy sauce
  • 1 tbsp honey
  • 1 tsp sesame oil
  • 1/4 tsp garlic powder
  • 4 each large lettuce leaves

Instructions
 

  • Add 1 tbsp olive oil to a saute pan on medium high heat. Saute the onions until they soften (about 2 to 3 minutes)
  • Next, add the ground beef and saute for about 5 to 6 minutes until the beef is fully cooked and golden brown
  • Then, add seasonings, bell peppers, and chopped fresh basil leaves and mix it all together
  • Serve the beef on top of the lettuce wraps

Similar Recipes

peanut chicken

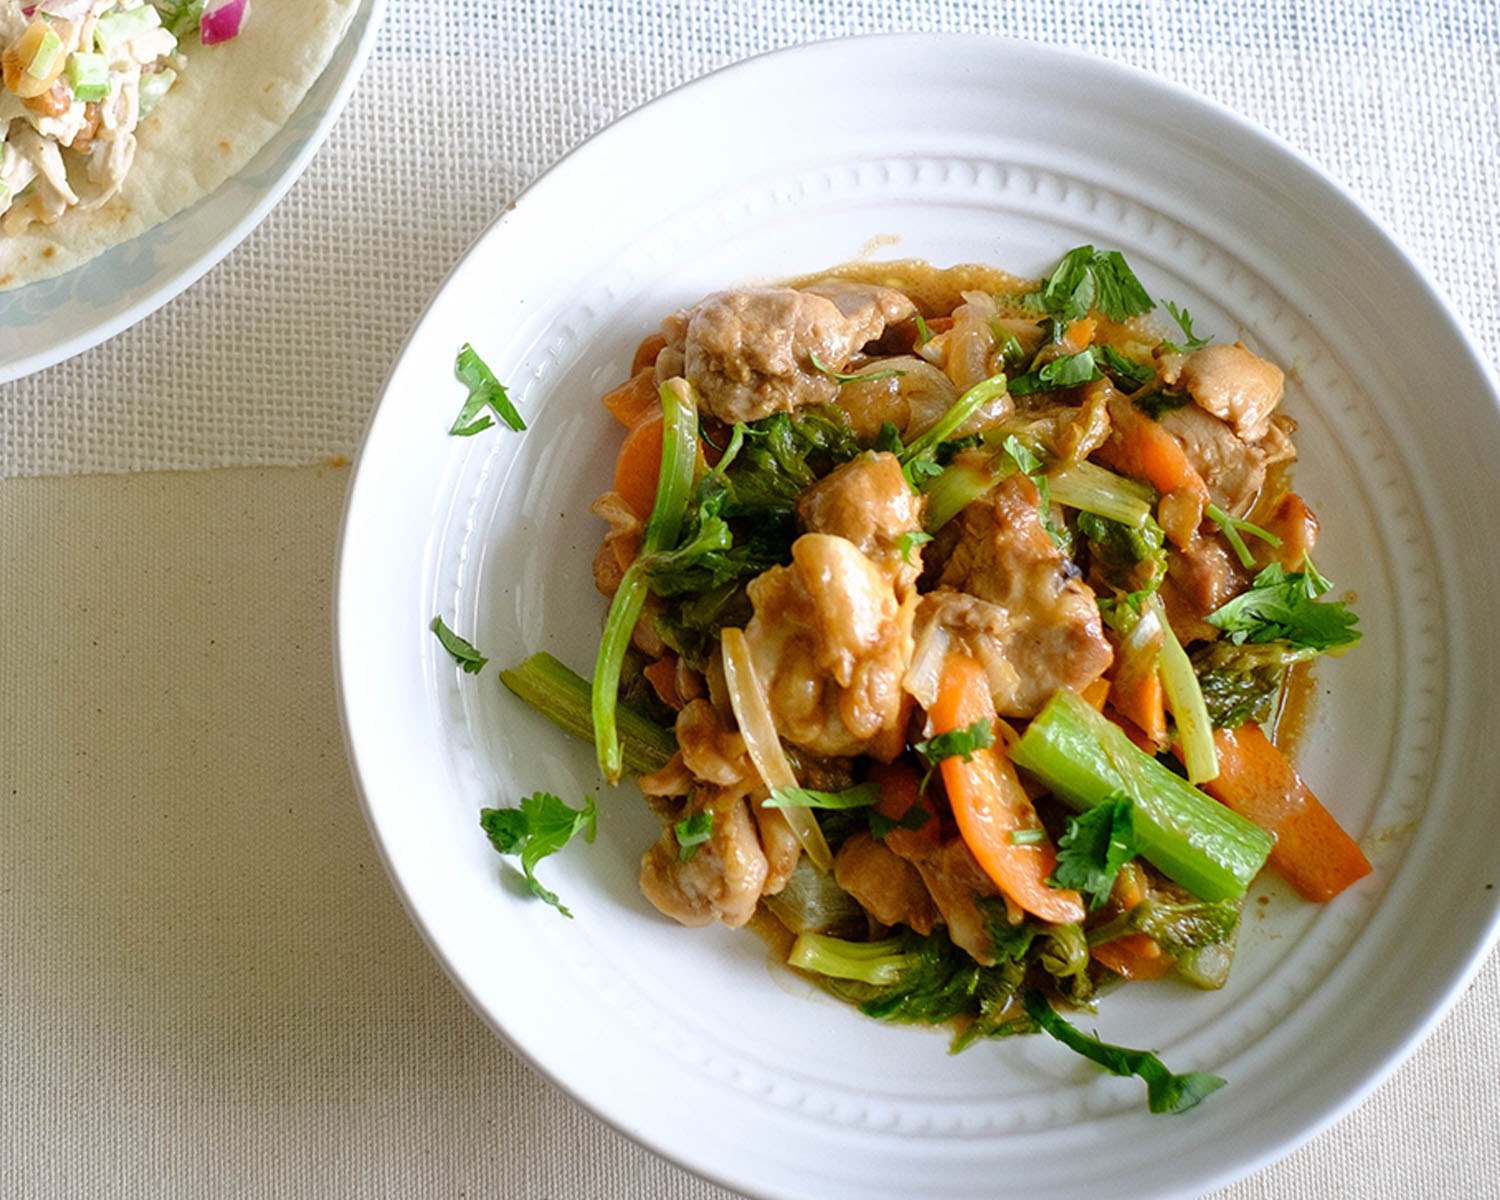
Peanut Chicken and Celery Stir Fry

beef and chinese broccoli

Garlicky Beef Stir Fry

tofu stir fry

Tofu and Veggie Stir Fry

You Might Also Like

Frequently Asked Questions

Can I add vegetables to the filling?

Absolutely! Adding vegetables like broccoli, carrots, and mushrooms will not only add more nutrition to the dish but also add texture and flavor.


How can I make sure the lettuce stays fresh for meal prepping?

To keep the lettuce fresh for meal prepping, I recommend storing the lettuce leaves separately from the filling. Place a damp paper towel at the bottom of the container and then layer the lettuce leaves on top. This will help keep the lettuce fresh and crisp.


Can I freeze ground beef lettuce wraps?

I do not recommend freezing the lettuce wraps as the lettuce will become wilted and soggy when thawed. However, you can freeze the cooked ground beef filling for up to three months.

Posted on Leave a comment

Instant Pot BBQ Chicken

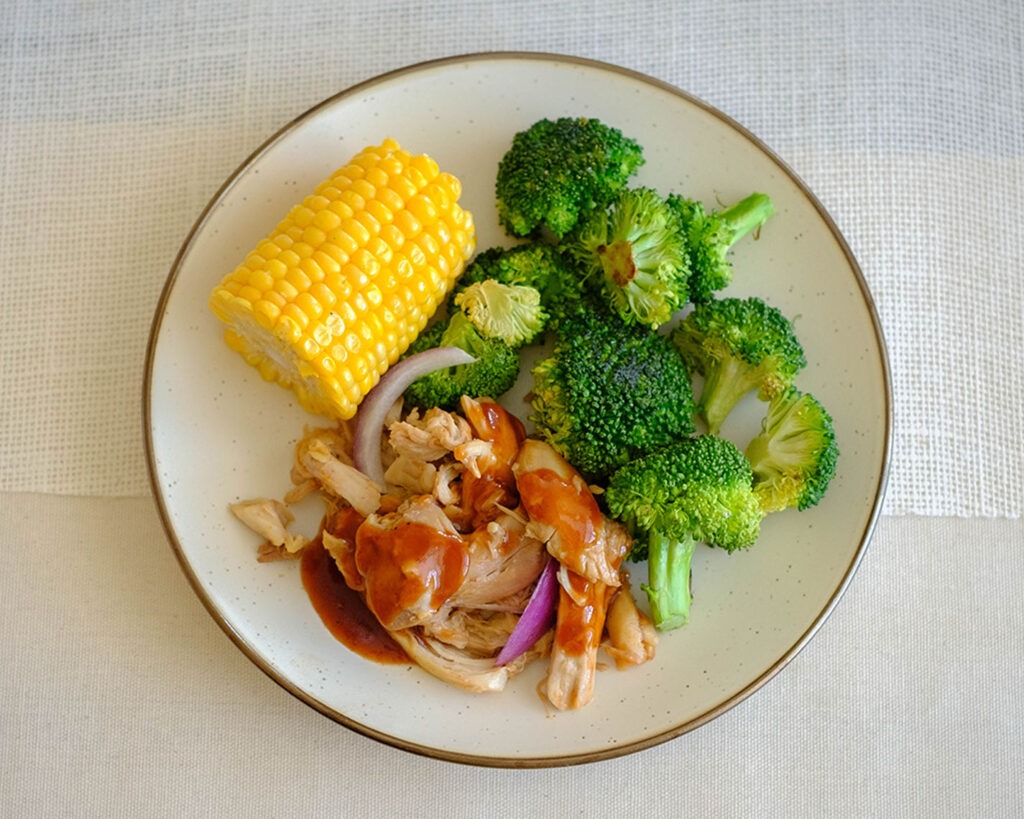
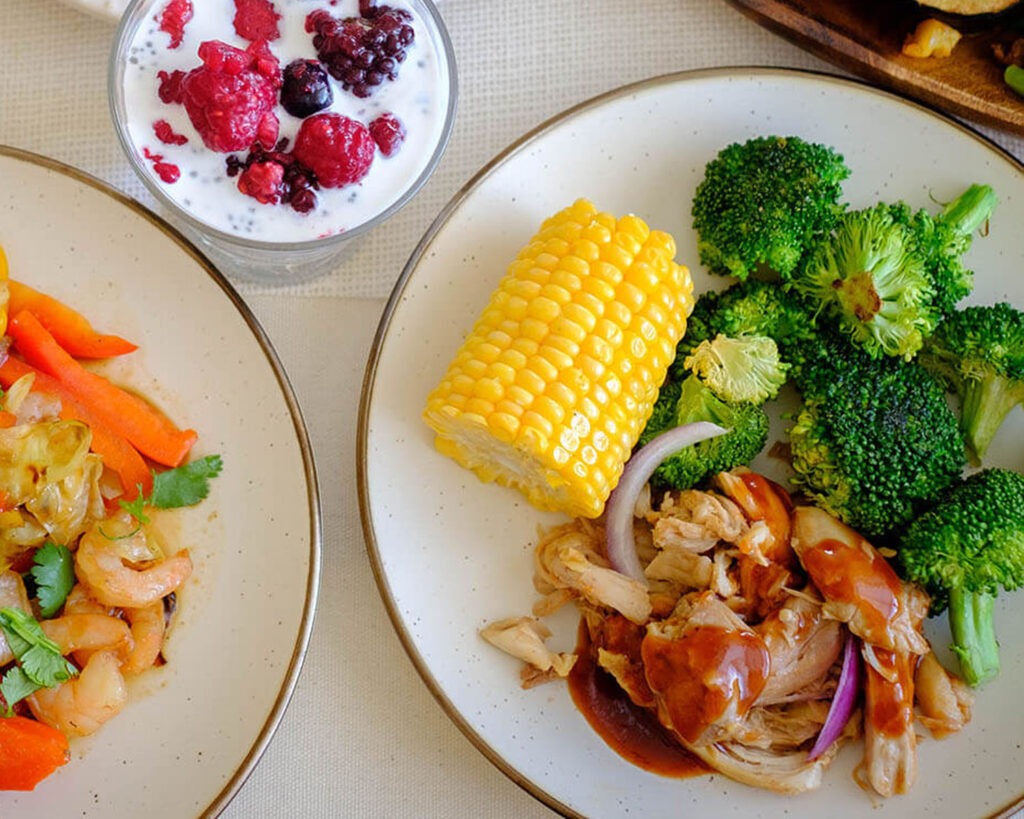
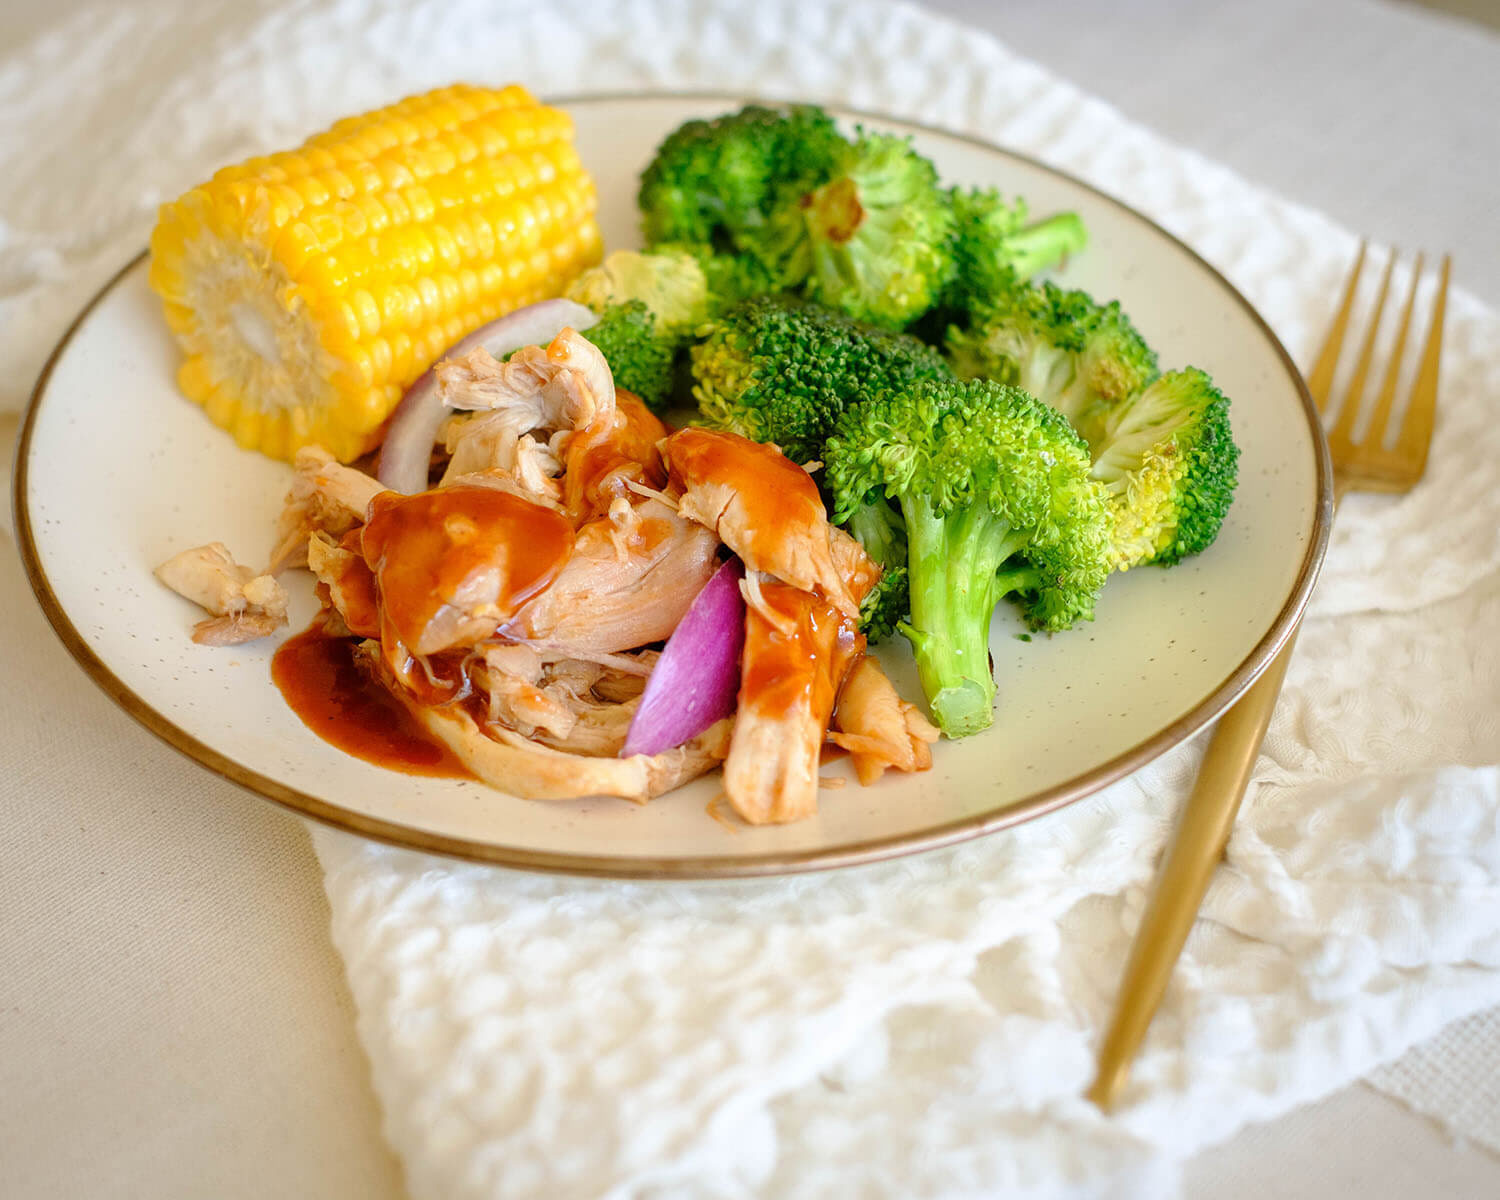
Round plate with shredded bbq chicken, corn, and broccoli

Making your Instant Pot BBQ Chicken is a cost-effective way to meal prep rather than buying pre-made chicken at a store or getting it from a restaurant.

This post may contain affiliate links. Please see our privacy policy for details.

Round plate with shredded instant pot bbq chicken, corn, and broccoli

Why Instant Pot BBQ Chicken is Great for Meal Prep

  • By making your own shredded bbq chicken in the Instant Pot, you can control your portion size and can control the ingredients to ensure that they are healthy.
  • Using the Instant Pot to cook your BBQ chicken also saves a lot of time because the pressure cooking feature allows it to cook quickly and thoroughly.
  • You can also make a large batch and freeze them in portioned containers for later use which makes it a convenient option for busy nights when you don’t have time to cook from scratch.
  • The shredded BBQ chicken can be served in a variety of meals. We enjoy eating it with roasted vegetables, in sandwiches or wraps, or even on top of salads. You can use this protein dish in multiple meals throughout the week without getting tired of it.

The PrepYoSelf Newsletter

Here’s What You Need to Make BBQ Chicken

Making your own shredded BBQ chicken in the Instant Pot allows you to control the ingredients and flavors to your liking.

  • Chicken: We used boneless chicken thighs, but you can also use chicken breasts or chicken tenderloins if you prefer leaner protein.
  • BBQ Sauce: You can make your own BBQ sauce, however, we used a store bought version for the sake of time. Just be sure to read the ingredient labels and pick a BBQ sauce that is less in sugar and sodium.
  • Broth: We used chicken broth, but you can also use water. You just need a little bit of liquid for this recipe
  • Seasonings: To enhance the flavor, we added garlic powder, paprika, and a little bit of liquid smoke to add the “BBQ flavor”

Round plate with shredded instant pot bbq chicken, corn, and broccoli

Easy Steps for Instant Pot BBQ Chicken

  1. Combine the ingredients in the Instant Pot.
  2. Seal the lid and set the timer for 25 minutes on high pressure.
  3. Once the cook time finishes, carefully release the steam and open the lid.
  4. Use two forks to shred the chicken. Then drain the excess liquid.
  5. Add more BBQ sauce to the chicken to your liking.
  6. Enjoy with vegetables or make a sandwich.

Reference the recipe card below for detailed instructions.

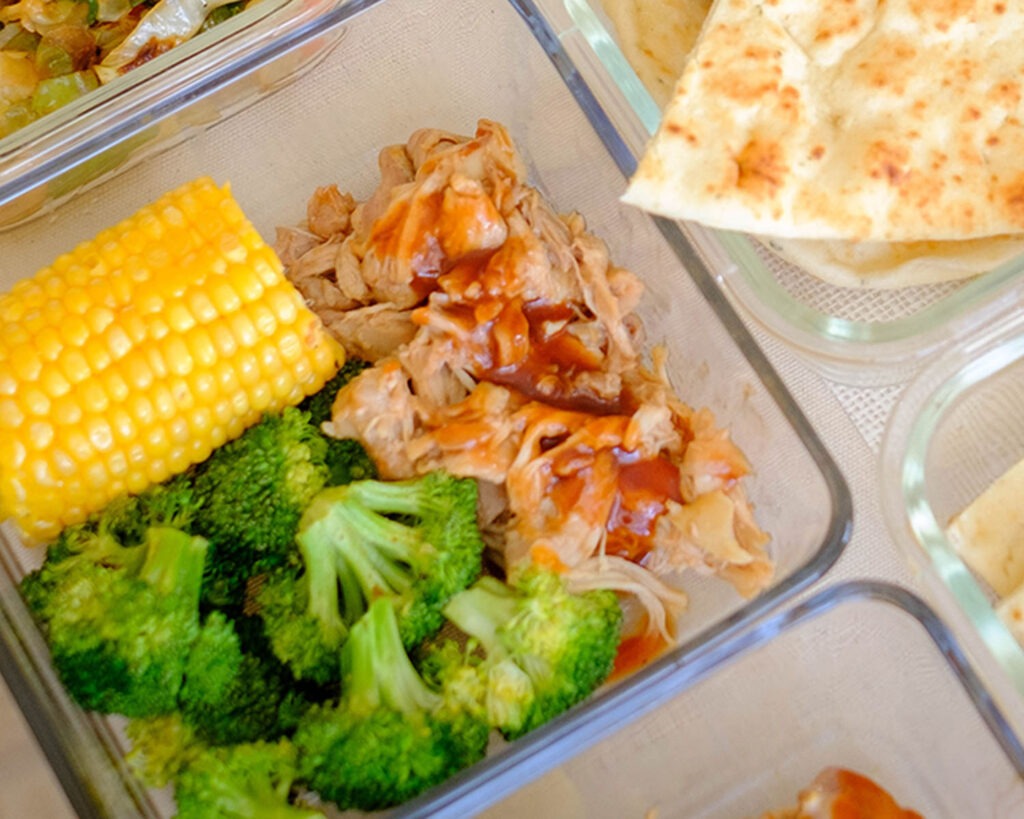
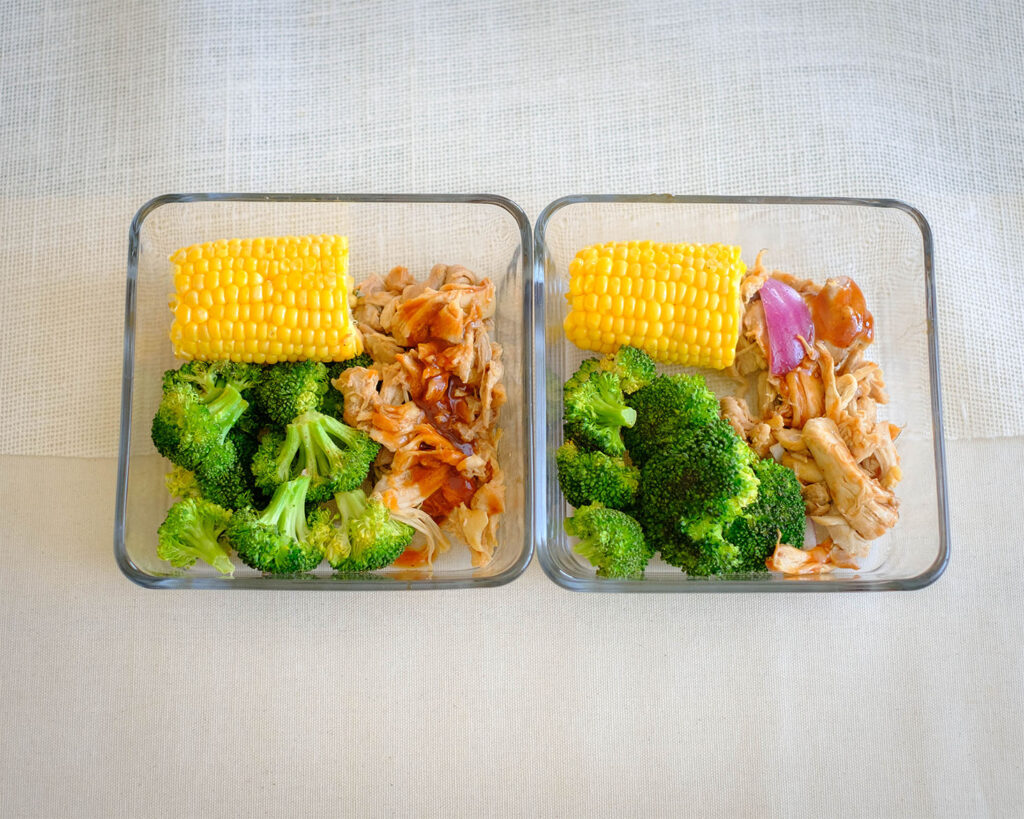
glass meal prep container with shredded instant pot bbq chicken, corn, and broccoli

Meal Prep Tips for Instant Pot BBQ Chicken

  • Use boneless chicken beause they cook quickly and are easy to shred. You won’t have to deal with separating the bones.
  • Double the recipe if you want to freeze extra portions for a later time. Just be sure to label and date the containers.
  • Allow the chicken to cool for a fewminutes before shredding to make it easier to handle so that you don’t burn your hands. You can also use a hand mixer on low speed to shred the meat.

glass meal prep container with shredded instant pot bbq chicken, corn, and broccoli

shredded bbq chicken

Shredded BBQ Chicken with Roasted Broccoli and Corn

No ratings yet
Prep Time 5 minutes
Cook Time 35 minutes
Course lunch, Main Course
Cuisine American
Servings 4

Equipment

  • knife
  • cutting board
  • mixing bowl
  • Instant Pot
  • sheet pan
  • oven

Ingredients
  

Chicken

  • 1.5 lbs boneless chicken thighs
  • 1.5 cups BBQ sauce
  • 1 cup chicken broth
  • 1/4 cup red onions (sliced)
  • 1 tsp garlic powder
  • 1 tsp paprika
  • 1/2 tsp salt

Vegetables

  • 4 cups broccoli florets
  • 4 pieces corn on the cob
  • 1/4 tsp garlic powder
  • 1/4 tsp paprika
  • 1/4 tsp salt
  • 1 tbsp olive oil

Instructions
 

  • Pre-heat the oven to 400F
  • Meanwhile, place the chicken in the Instant Pot and pour in chicken broth, half of the BBQ sauce, red onions, and seasonings
  • Seal the lid and set the timer for 35 minutes and cook on the medium setting
  • Next, place the broccoli and corn on a sheet pan and sprinkle with garlic powder, paprika, and salt. Coat it with olive oil. Bake in the oven for 12-15 minutes
  • After the chicken cooks, follow the manufacturer's instructions to carefully release the steam and open the lid
  • Drain the chicken broth and use two forks to shred the chicken. Then, pour over the leftover BBQ sauce and mix it all together
  • Serve the shredded chicken with the roasted broccoli and corn
  • optional: Enjoy with a side salad

Similar Recipes

chicken soup

One Pot Mexican Chicken Soup

sweet potato blt

Sweet Potato BLT Sandwich

Grilled Honey Dijon Chicken Kale Salad

You Might Also Like

Frequently Asked Questions

Can I use frozen chicken?

Yes, absolutely, you’ll just have to adjust the cooking time accordingly to make sure it cooks thoroughly, approximately an additional 10 extra minutes per pound when using frozen meats. 


Can I reheat Instant Pot BBQ Chicken in the microwave?

Yes, you can reheat it in the microwave or on the stovetop.


Can I use any type of BBQ Sauce?

Yes, you can use any type of BBQ Sauce. There are many different flavors such as the traditional tangy flavors that is tomato based, smoky bbq sauce that comes from smoked paprika or liquid smoke, spicy bbq sauce that has a kick to it from cayenne pepper, or honey bbq sauce that is sweet from the addition of honey. 

Posted on Leave a comment

Healthy Breakfast Pizza

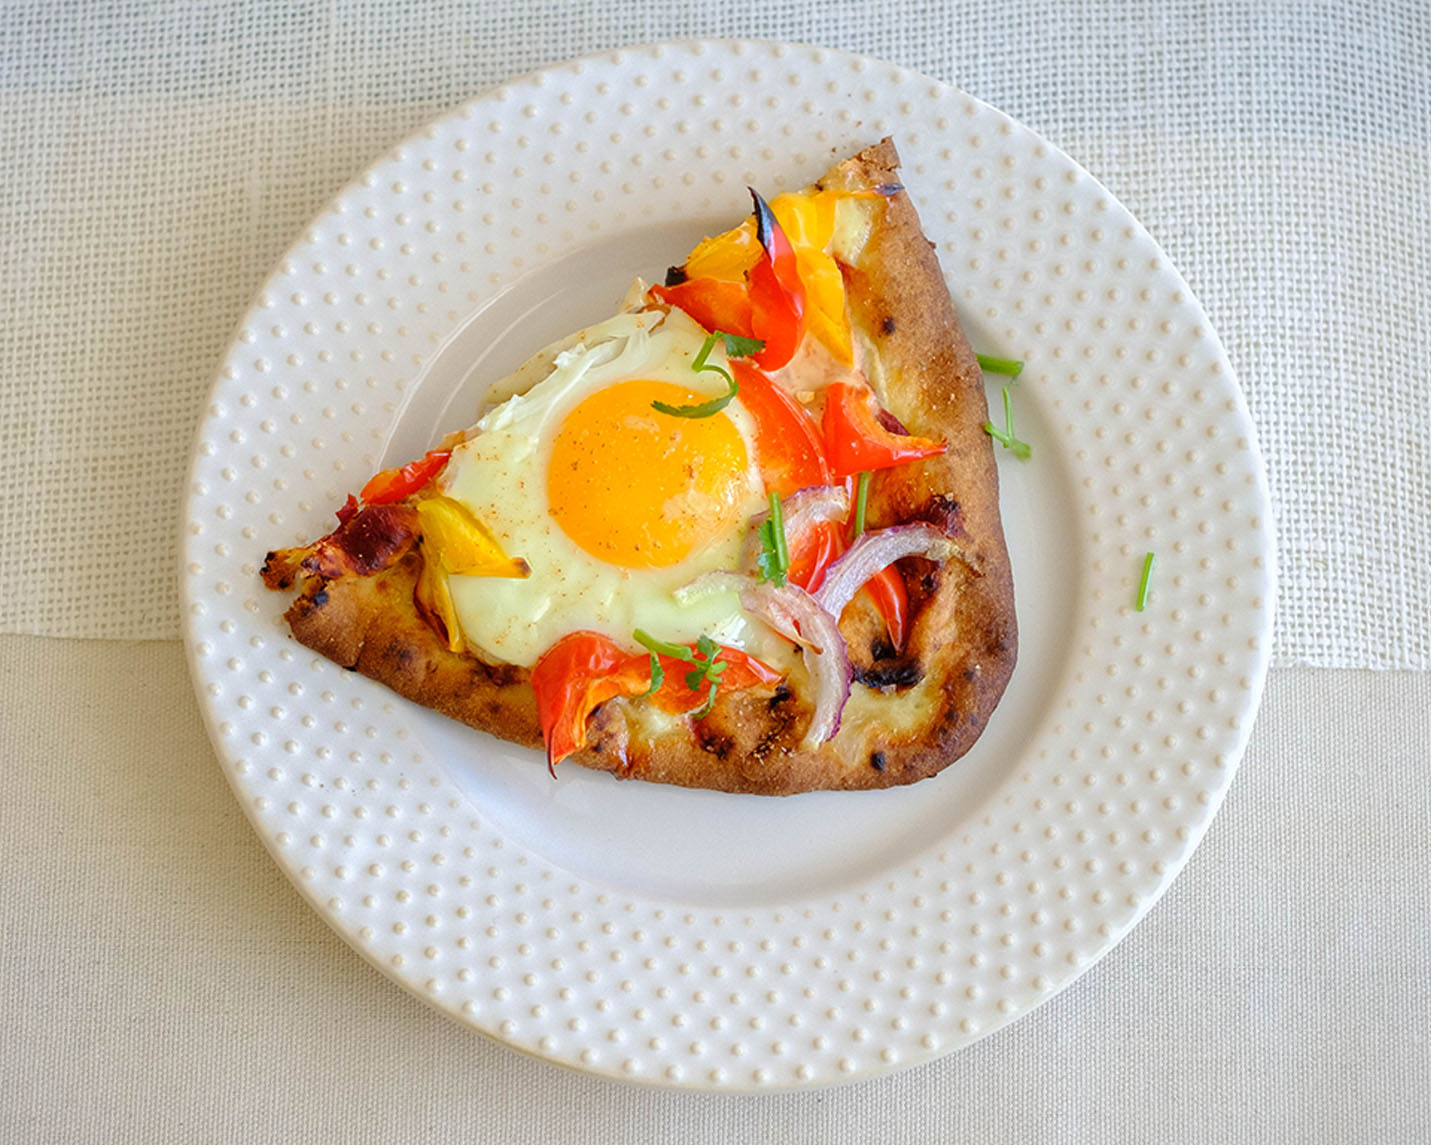
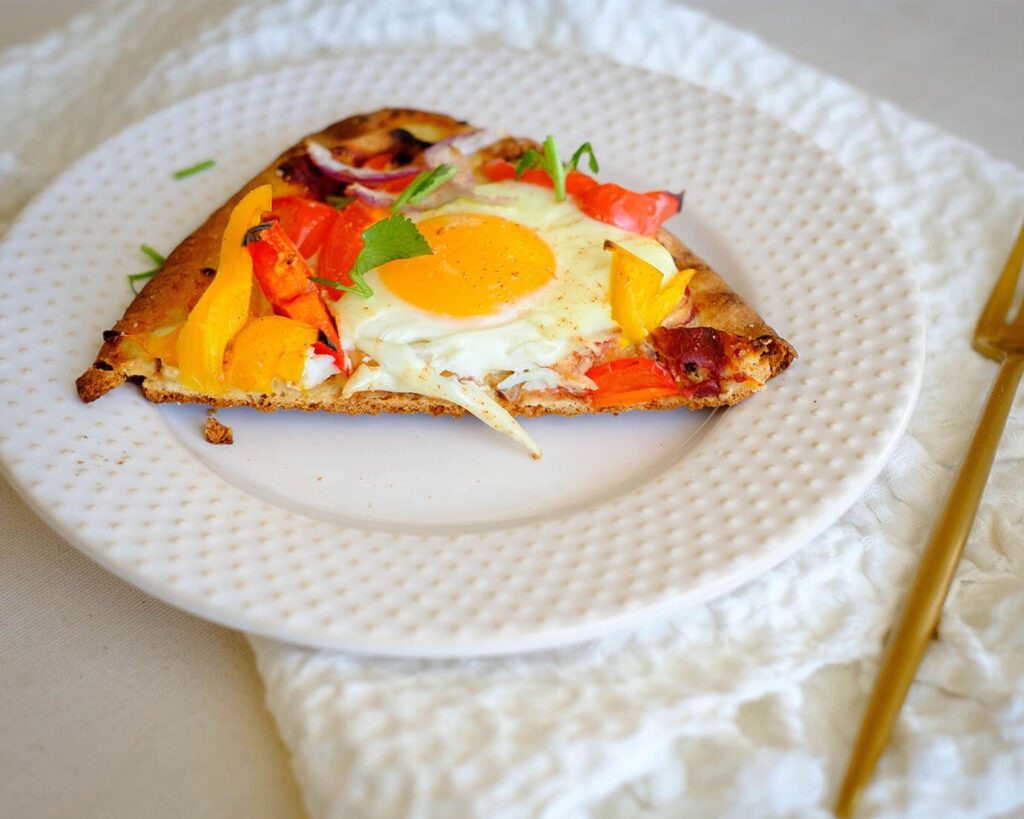
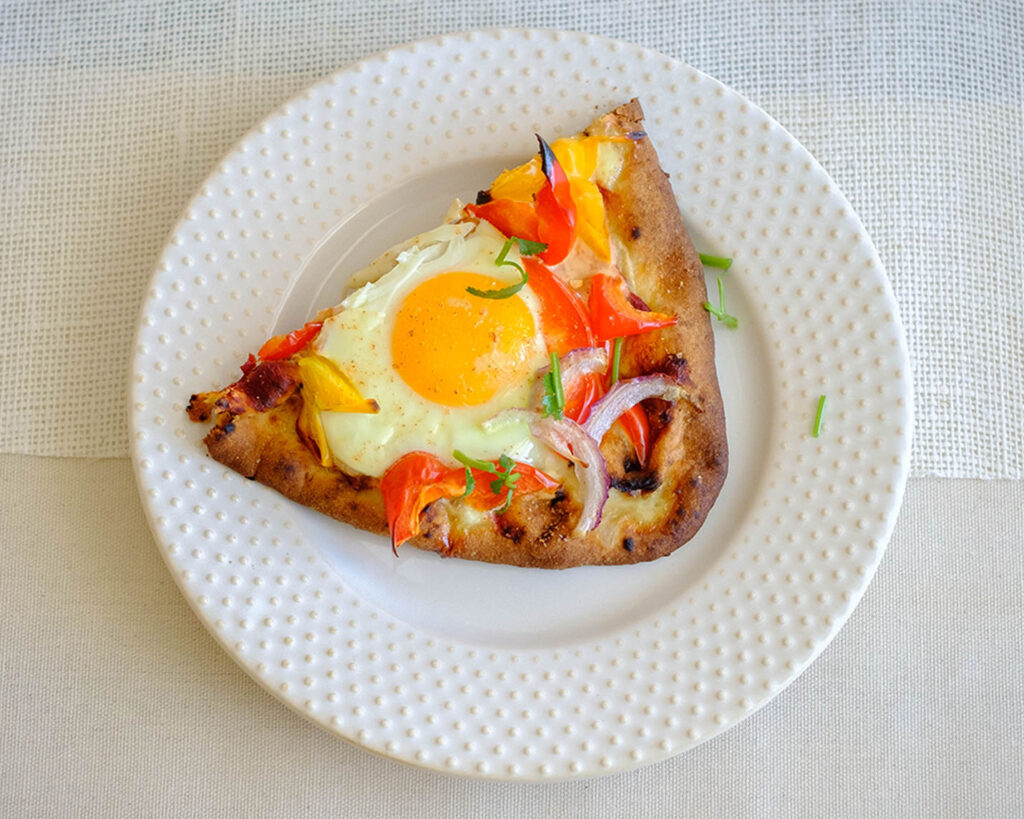
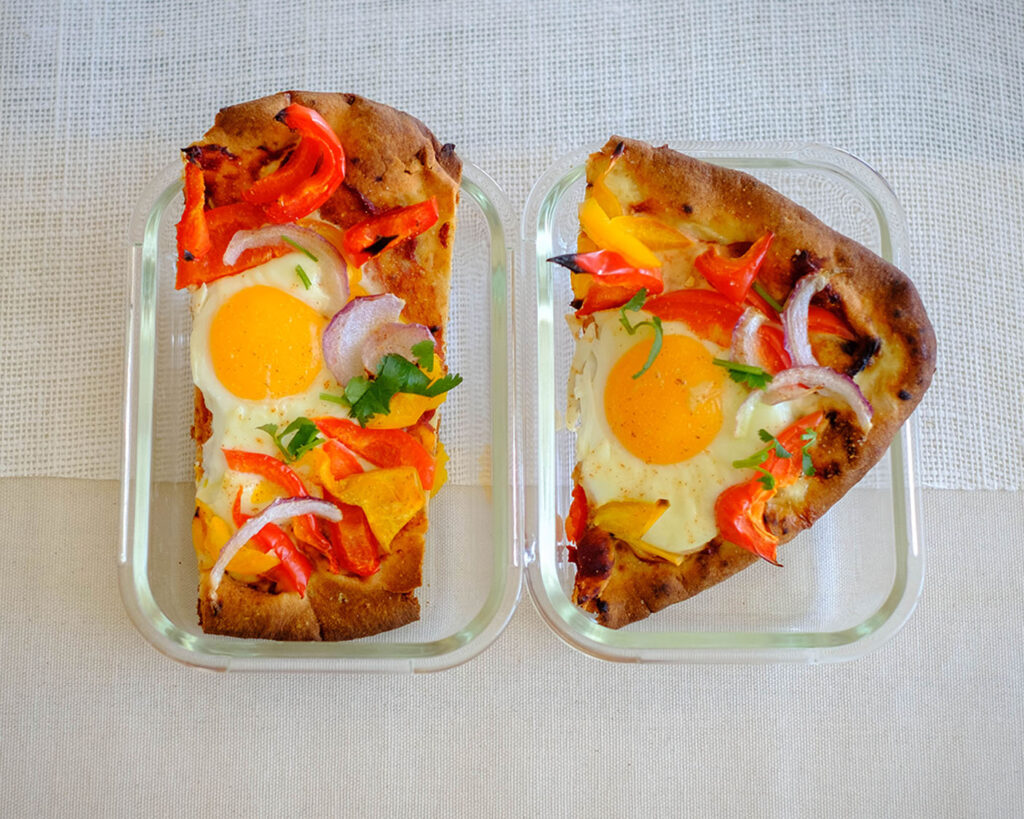
Round plate with breakfast pizza that has egg topping, bell pepper, and red onions.

This breakfast pizza is a delicious and satisfying way to start your day. You’ll feel energized and ready to tackle whatever comes your way. And let’s face it, breakfast pizza is just plain fun to eat and it’s a healthy pizza!

This post may contain affiliate links. Please see our privacy policy for details.

Round plate with breakfast pizza that has egg topping, bell pepper, and red onions.

Why We Love Breakfast Pizza

  • Breakfast pizza can be a healthy pizza, if you choose nutritious ingredients. Start with a whole grain crust and lots of vegetables to boost the nutrients in your pizza.
  • Prepping it in advance makes it convenient for you to have a healthy option readily available for the mornings. You can store it in the refrigerator or freezer and just heat it up quickly for busy mornings when you don’t have time to prepare breakfast in the mornings.
  • Making it ahead of time also allows you to control the portion size especially if you’re trying to manage your calorie intake and maintain a balanced diet.
  • You also have the flexibility to add a variety of toppings such as eggs, sausage, cheese, vegetables, and herbs you have on hand.

The PrepYoSelf Newsletter

Simple Ingredients You’ll Need

  • Crust: We used a pre-made crust such as naan bread to help with portion control. You can also use pita bread or flatbreads as an option. It just depends on how thick you want your crust
  • Sauce: For the base of your toppings, you can spread tomato sauce. Other options you can use are pesto sauce or just even leave it bare with no sauce
  • Vegetables: We used bell peppers, red onions, and sliced tomatoes because of their nutrients and bright colors. However, feel free to spinach, sliced mushrooms, and even sliced zucchini.
  • Protein toppings: Since it’s breakfast pizza, we had to top it off with an egg, but you can easily add chopped breakfast sausage, bacon pieces, or even slices of prosciutto would be a delicious option
  • Cheese: opt for low-fat cheese or just make sure you only use a balanced portion of cheese to keep the fat and calorie content of your pizza in check. Mozzarella, feta cheese, and gruyere are great options
  • Herbs and spices: To add more flavor, sprinkle in some herbs and spices such as garlic powder, basil, oregano, or red pepper flakes. These ingredients add a layer of extra flavor without adding extra calories

Round plate with breakfast pizza that has egg topping, bell pepper, and red onions.

How to Make Breakfast Pizza

  1. Preheat the oven to 400F. Slice up your toppings as needed.
  2. Spread the base of the crust with tomato sauce.
  3. Crack the egg in the middle of each crust. Assemble the sliced veggies around the egg.
  4. Place the crust on a sheet pan and bake it in the oven for 15-20 minutes until the eggs are firmly set.

Reference the recipe card below for detailed instructions.

round plate with glass meal prep container with breakfast pizza with egg, naan bread, and vegetables

Meal Prep Tips for Breakfast Pizza

  • Use a good quality crust as it is the foundation of any great pizza. We used a pre-made crust to help with the time of prep.
  • Consider how you want your eggs cooked. If you like it runny, you can crack them directly into the pizza before you bake them. However, if you prefer firmer eggs, you can cook the eggs separately and then add them as a topping after the pizza cooks.
  • Experiment with different toppings. Instead of eggs, you can use smoked salmon and use cream cheese as your sauce base. Instead of a savory breakfast pizza, you can also make a sweet version such as a fruit breakfast pizza by using fruit and nut toppings, and maple syrup.

glass meal prep container with breakfast pizza with egg, naan bread, and vegetables

Round plate with breakfast pizza that has egg topping, bell pepper, and red onions.

Breakfast Pizza

Healthy Breakfast Pizza in less than 20 minutes. Start your day with a tasty bite!
No ratings yet
Prep Time 5 minutes
Cook Time 20 minutes
Course Breakfast
Cuisine American
Servings 2

Equipment

  • cutting board
  • knife
  • sheet pan
  • oven (or toaster oven/Air Fryer)

Ingredients
  

  • 2 large naan bread (or flatbread, 6 inches wide)
  • 1/4 cup red bell peppers (sliced)
  • 1/4 cup red onions (sliced)
  • 2 large eggs
  • 1/2 cup shredded mozzarella cheese
  • 2 tablespoons tomato sauce (optional)
  • 1/8 teaspoon garlic powder
  • 1/8 teaspoon salt

Instructions
 

  • Pre-heat the oven 400F. Use a spoon to spread the tomato sauce across the naan bread. Place the naan bread on a sheet pan.
  • Crack two eggs in the middle of each naan bread. Assemble the sliced bell peppers, onions, around the egg. Sprinkle with the seasoning.
  • Bake in the oven for about 15-20 minutes until the egg whites are firmly set and fully cooked. After it cooks, use a knife to cut it in half

Similar Recipes

pepper sandwich

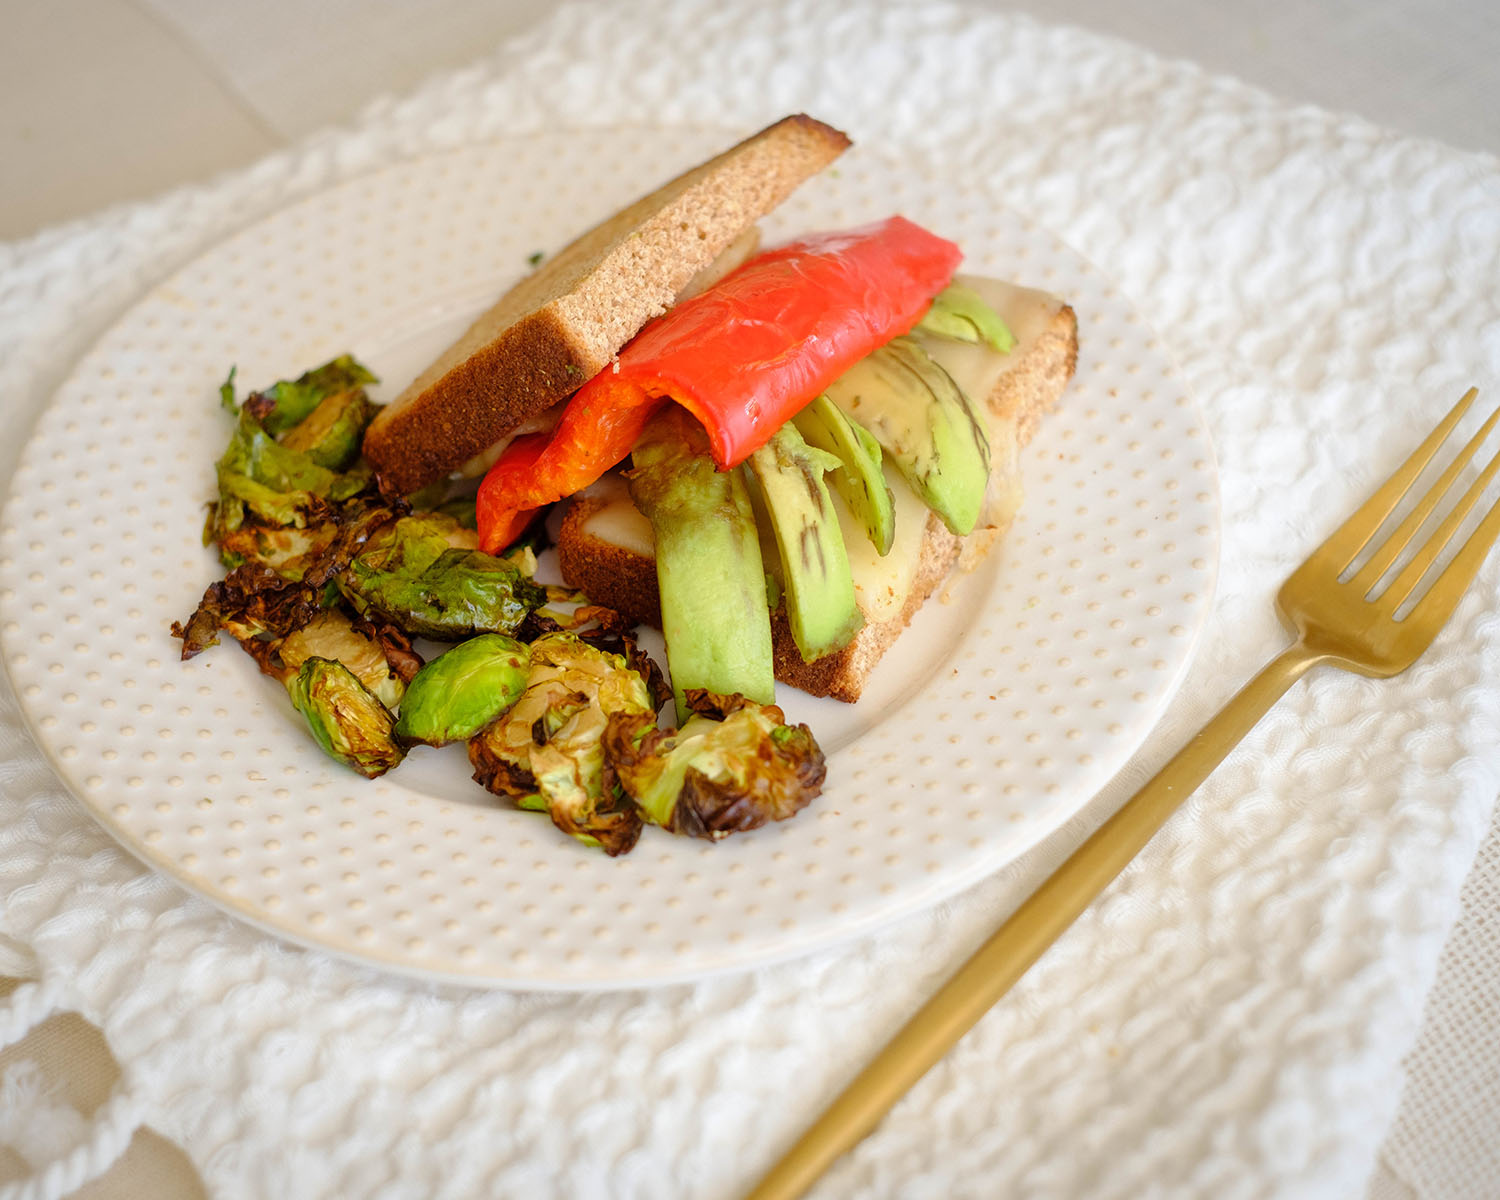
Roasted Red Pepper and Cheese Sandwich

bean and corn taco

Vegetarian Black Bean and Corn Soft Tacos

eggplant

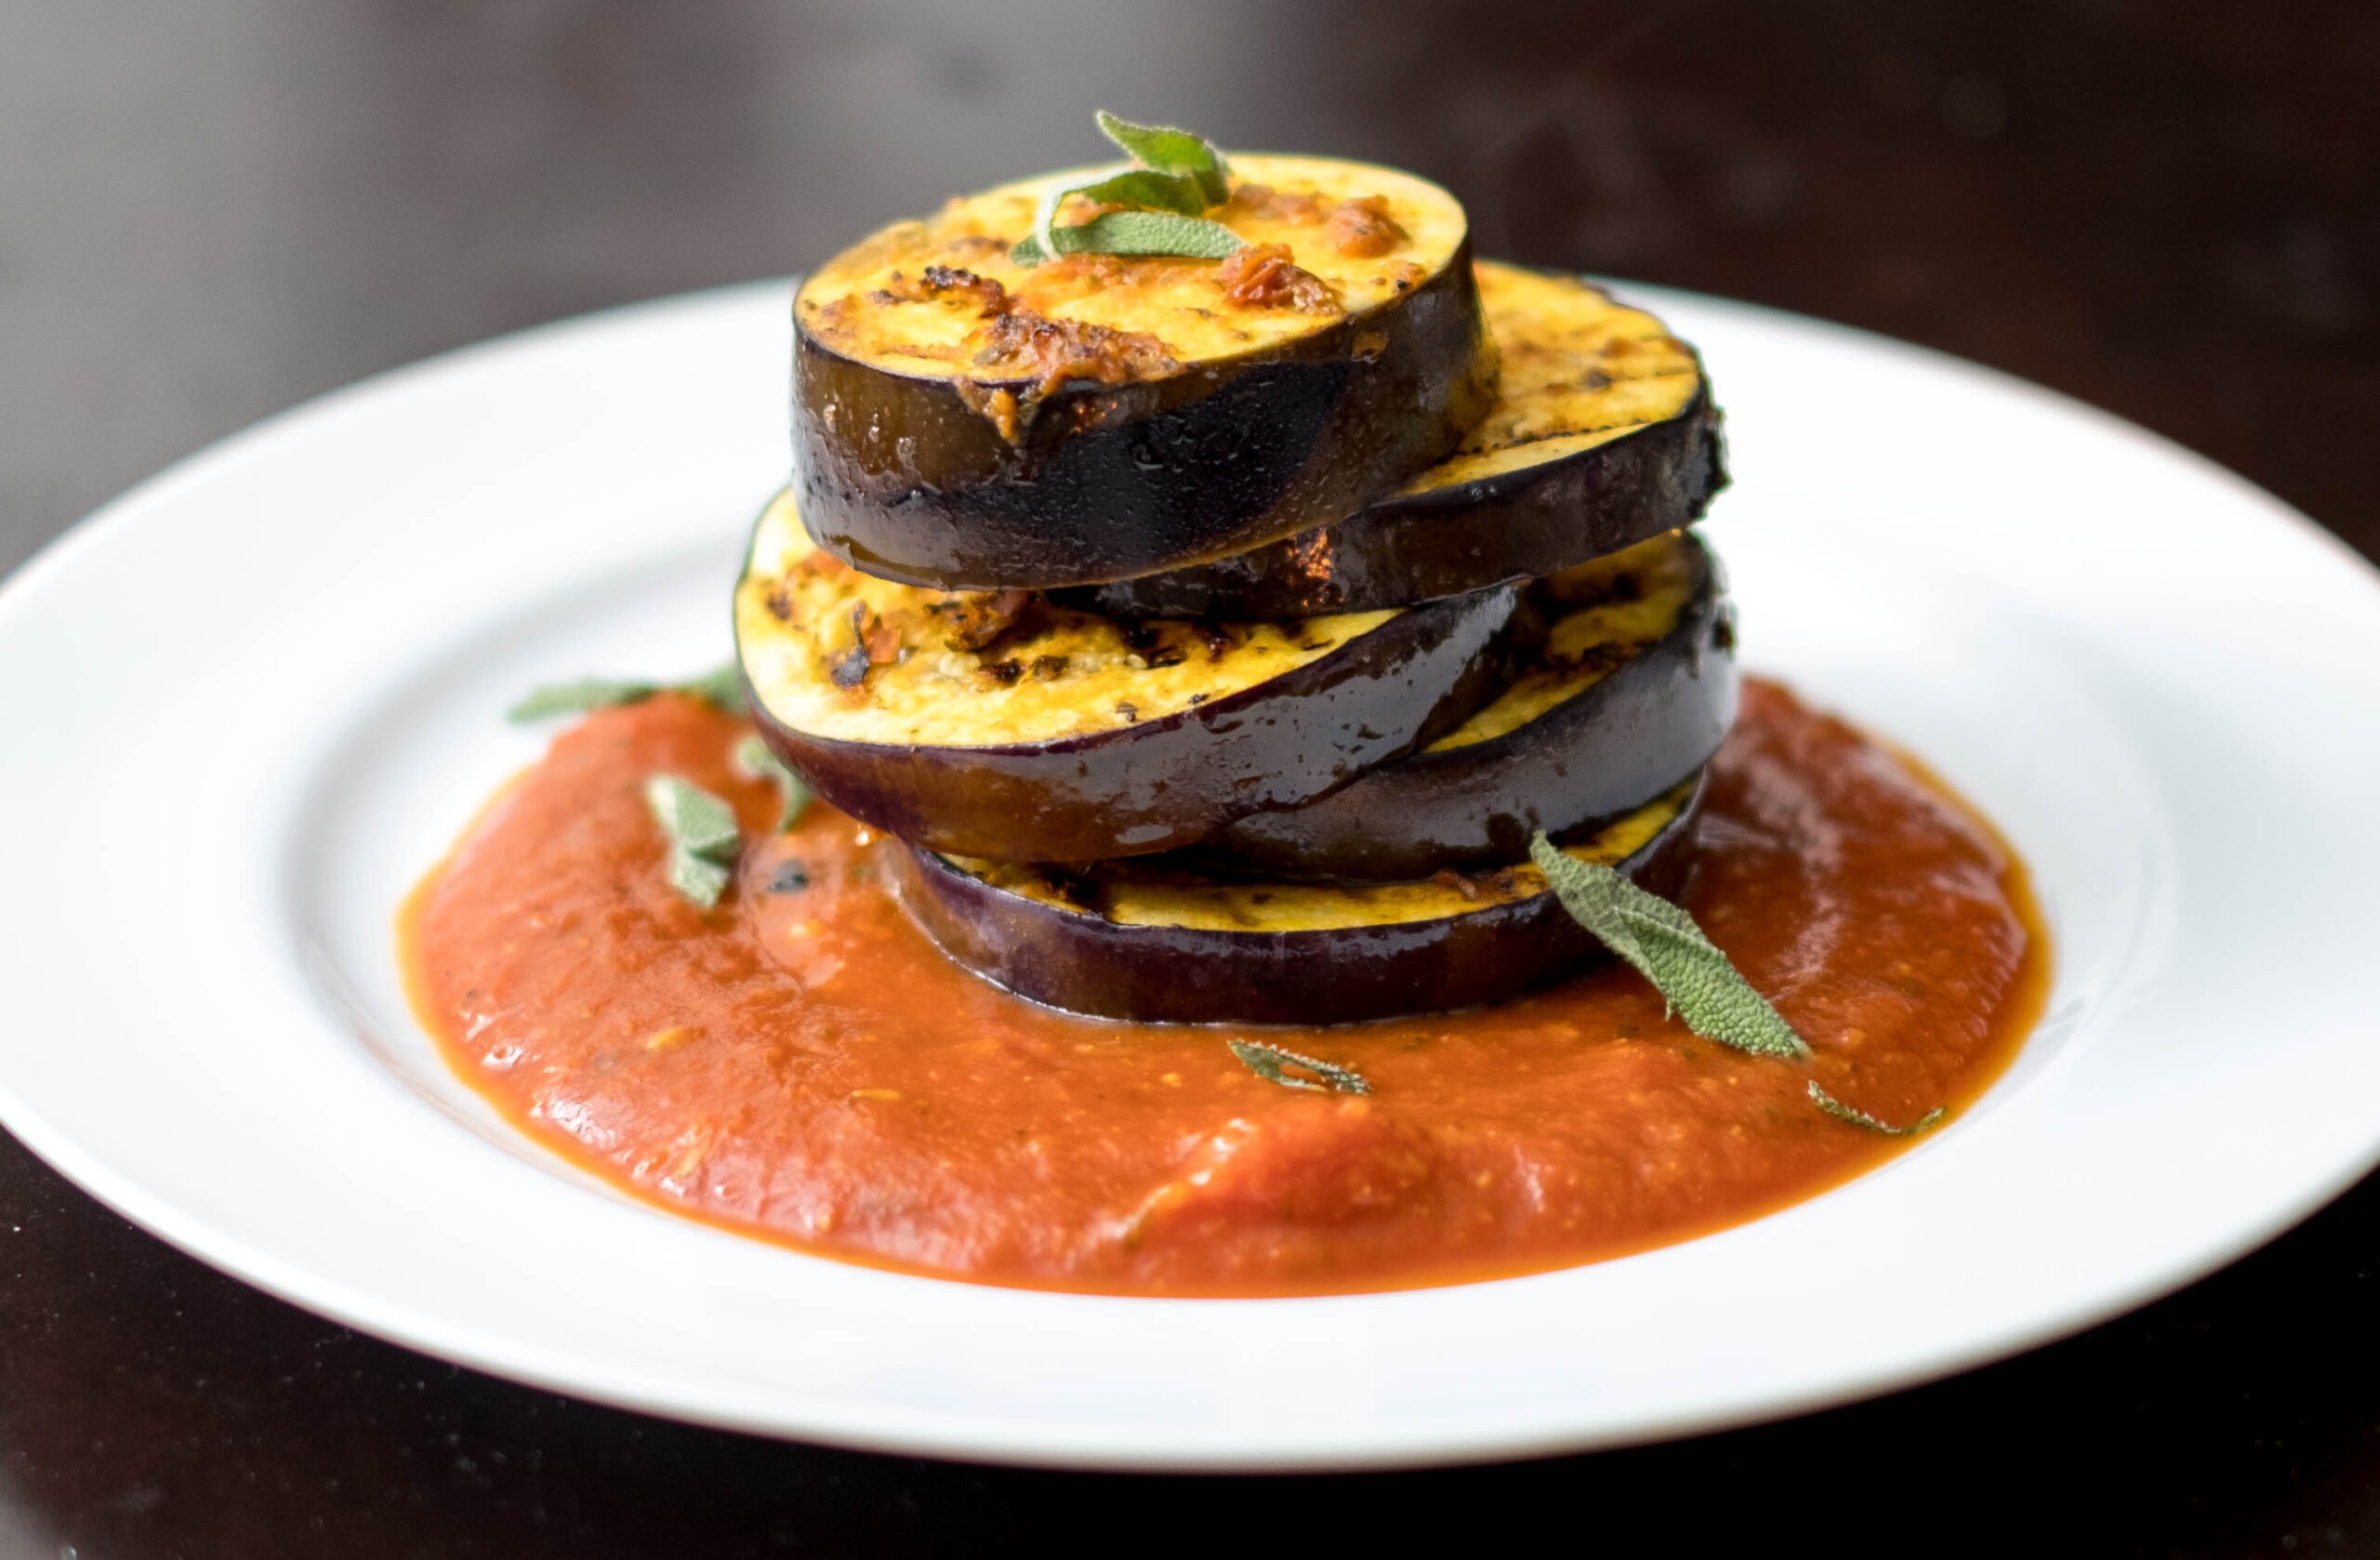
Grilled Eggplant Steaks with Marinara Sauce

You Might Also Like

Frequently Asked Questions

Is breakfast pizza healthy?

It can be healthy if made with nutritious ingredients. The key to keeping it healthy is limiting high fat, high fat, and high sodium ingredients and portion control.


Can breakfast pizza be frozen?

Yes, you can freeze breakfast pizza. Just make sure it is stored in tight plastic wrap in an airtight container. It’s best to use it up within 3 months for the best quality.


How do you reheat breakfast pizza?

You can place it in the oven at 350F for 5 to 7 minutes or you can just microwave it for 1-2 minutes

Posted on Leave a comment

Shrimp Salad with Peanut Dressing

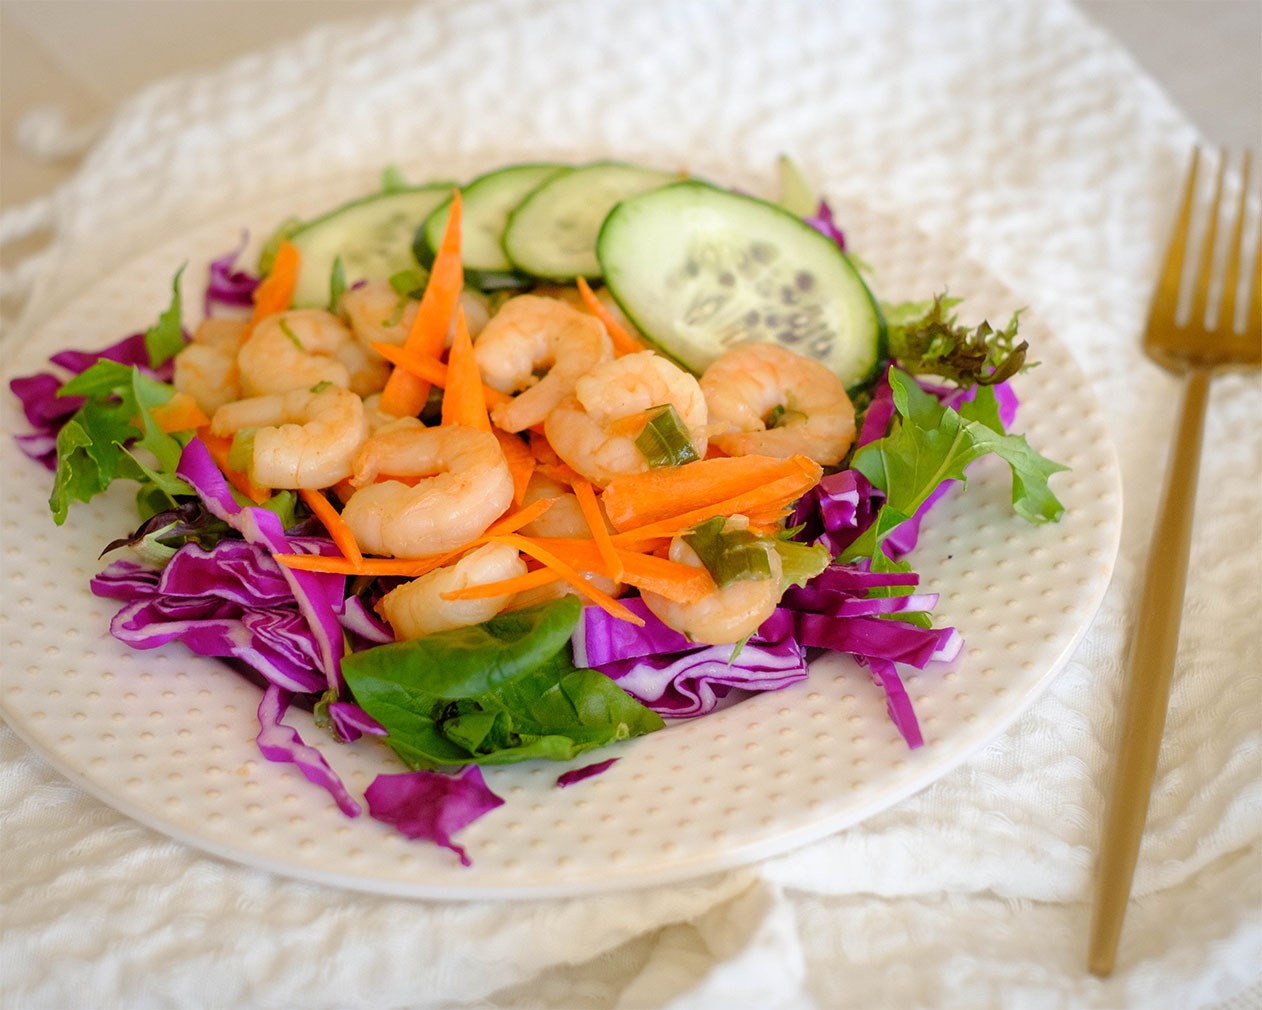
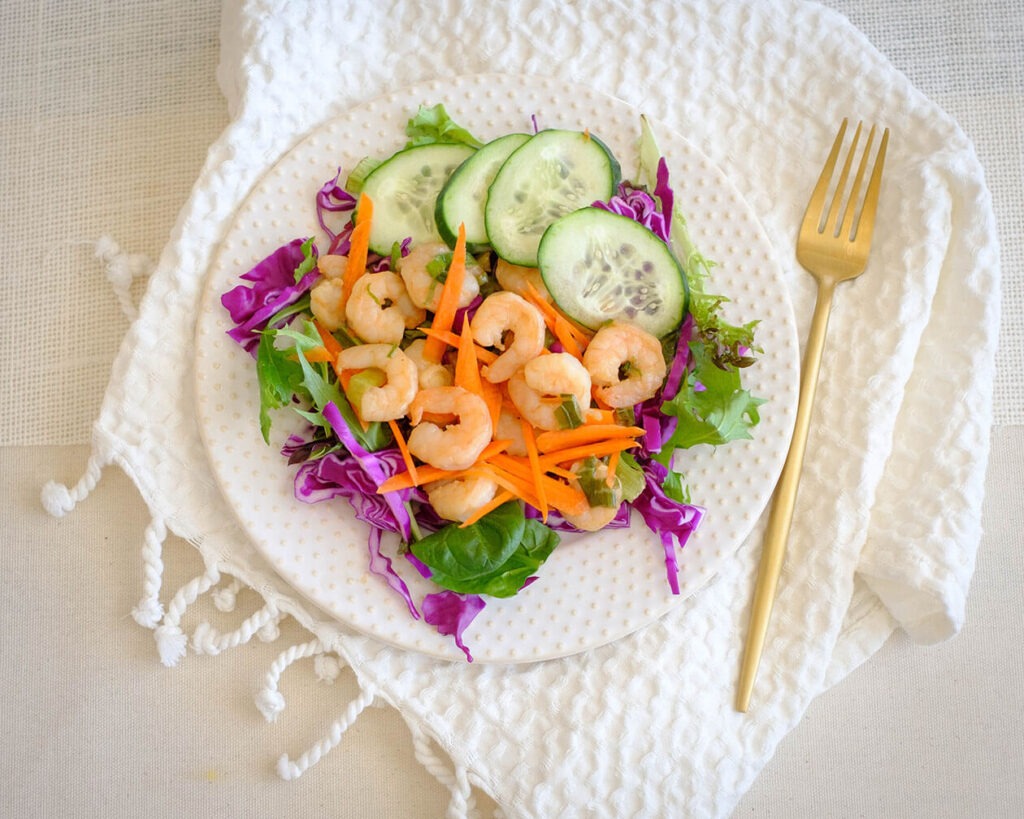
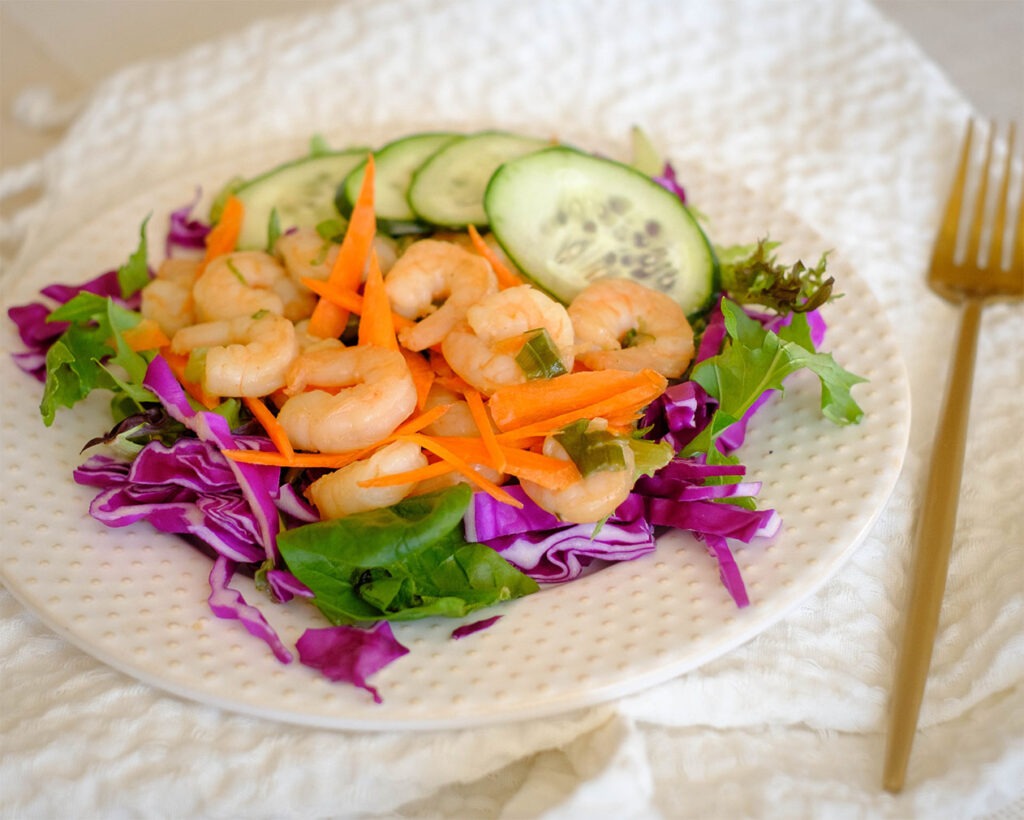
round plate with salad, shrimp, and cucumbers, and carrots, and purple cabbage

This simple shrimp salad is made with a delicious homemade peanut dressing. It is a quick, light, and healthy lunch option that can be ready in less than 15 minutes.

This post may contain affiliate links. Please see our privacy policy for details.

round plate with shrimp salad, and cucumbers, and carrots, and purple cabbage

Why you’ll love this Shrimp Salad

Cooking shrimp can be a healthy option for meal prep due to its low-calorie, high-protein, low-fat content, and easy preparation.

  • Shrimp is low in calories, with approximately 60-70 calories per 3 oz serving making it an ideal protein source for individuals looking to manage their caloric intake.
  • Shrimp is high in protein, with approximately 18 grams of protein per 3 oz serving and it helps keep you full for longer periods which can help reduce overall calorie intake.
  • Shrimp is low in fat, with less than 1 gram of fat per 3 oz serving. This makes it an ideal protein source for individuals looking to manage their fat intake.
  • Shrimp is rich in several nutrients, including selenium, vitamin B12, and iron. 
  • Boiled shrimp is easy to prepare and can be cooked in large batches, making it a convenient option for meal prep, and can be stored in the refrigerator for a few days.

The PrepYoSelf Newsletter

Homemade Peanut Dressing

The star of this recipe is the homemade peanut dressing that is quick to make and uses pantry-friendly items.

  • Making your own peanut butter dressing requires simple ingredients such as peanut butter, soy sauce, rice vinegar, honey, garlic, and ginger. These ingredients are easy to find in any grocery store, and you may already have them in your pantry.
  • All you need to do is whisk the ingredients together in a bowl, and your dressing is ready. It takes only a few minutes to prepare, which makes it perfect for meal prep. You can also use an immersion blender or a small food processor to mix it all together.
  • You can also use this dressing in a variety of dishes, including salads, sandwiches, and stir-fries. 
  • Making peanut butter dressing on your own can help you control the amount of salt, sugar, and other additives that you might find in pre-made dressings. It is also cost-effective as it is much cheaper than buying pre-made dressings. Make a large batch of dressing and store it in the refrigerator for up to a week, which saves you time and money in the long run.

round plate with salad, shrimp, and cucumbers, and carrots, and purple cabbage

Easy Recipe Steps for Shrimp Salad with Peanut Dressing

  1. In a bowl, combine the ingredients for the peanut dressing. Blend it all together until the sauce is smooth. You can use a fork or place it in small blender
  2. Next, either saute the shrimp in a wok on medium-heat for a minute. Or you can boil the shrimp for about 2 minutes. Be sure to let the shrimp cool.
  3. Layer your salad with your choice of veggies and shrimp. Drizzle the peanut dressing on top.

Reference the recipe card below for detailed instructions.

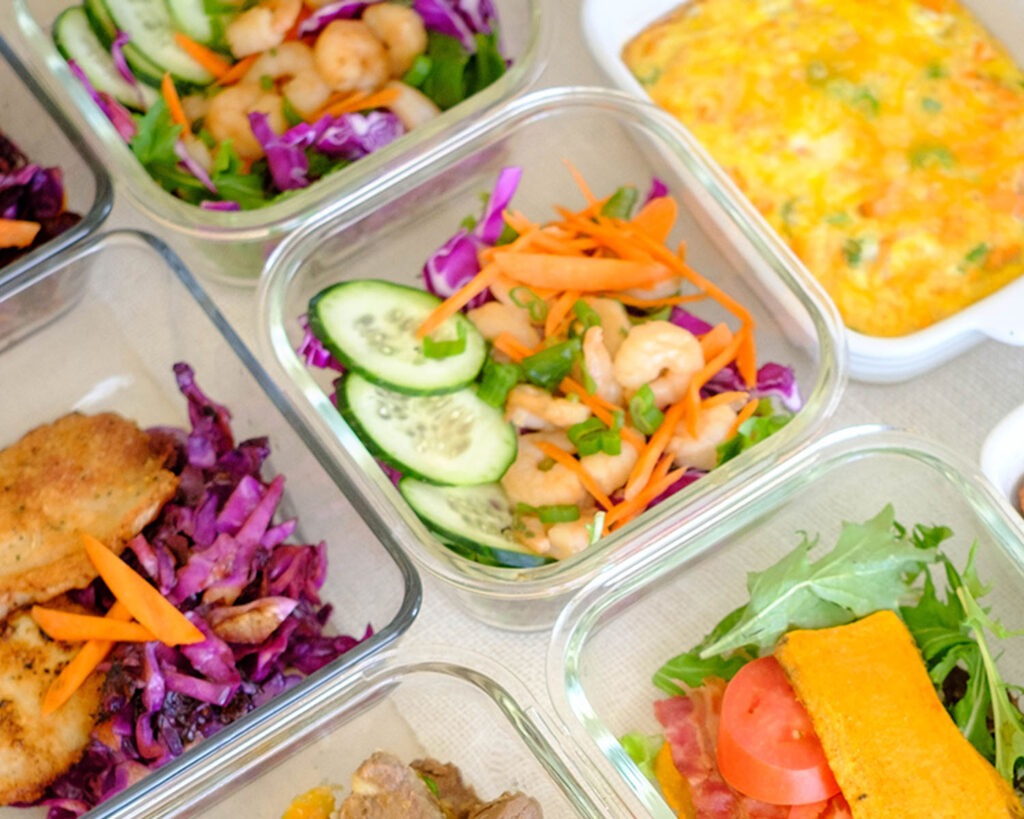
glass meal prep containers with different food items

Shrimp Salad Meal Prep Tips

Making homemade peanut butter dressing is a great way to add some flavor and nutrition to your meals. Here are some meal prep tips to make the process easier:

  • Try to use high-quality ingredients such as natural peanut butter, fresh garlic, ginger, soy sauce, rice vinegar, and honey or maple syrup.
  • Use a container with a tight-fitting lid, like a mason jar, to store your dressing.
  • Use a food processor or immersion blender to whisk it all together.
  • Give the dressing a taste and adjust the seasoning as necessary. Add more soy sauce if it needs more salt, honey, if it needs more sweetness, or vinegar if it needs more tang. If the consistency is too thick, you can also add a little bit of water.
  • Store it in the refrigerator for up to a week. When you are ready to use it, give it a good shake.

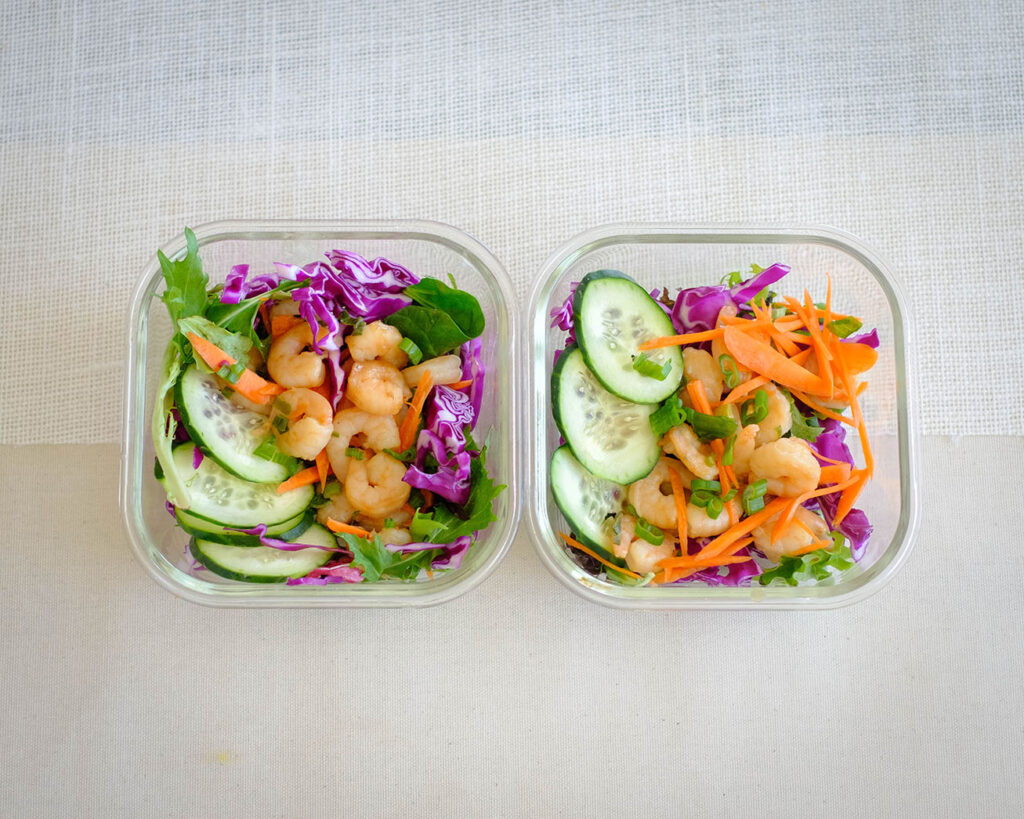
glass meal prep containers with salad, shrimp, and cucumbers, and carrots, and purple cabbage

shrimp salad

Shrimp Salad with Peanut Dressing

No ratings yet
Prep Time 5 minutes
Cook Time 15 minutes
Course lunch, Main Course
Cuisine Asian
Servings 2

Equipment

  • knife
  • cutting board
  • mixing bowl
  • spatula
  • wok

Ingredients
  

  • 12 oz shrimp (peeled and deveined)
  • 4 cups spring mix
  • 1/4 cup shredded red cabbage
  • 1/4 cup shredded carrots
  • 1/2 cup cucumbers (sliced)
  • 1 tbsp olive oil

Peanut Dressing

  • 2 tablespoons peanut butter
  • 2 tablespoons soy sauce
  • 2 tablespoons lime juice
  • 2 tablespoons rice vinegar
  • 1 teaspoon honey
  • 1 teaspoon sesame oil
  • 1/4 teaspoon garlic powder
  • 1/4 teaspoon ground ginger
  • 1 teaspoon sriracha

Instructions
 

  • In a bowl, mix together the ingredients of the peanut sauce and mix until it is well blended
  • Add oil to a wok on medium high heat and saute the shrimp for about a minute. (Note: Instead of sauteing the shrimp, you can also boil the shrimp for about 2 minutes until they are pink and turn opaque). Afterwards, let the shrimp cool.
  • Assemble the salad by layering the spring mix on the bottom of the bowl. Top it off with the shredded cabbage, carrots, and cucumber slices
  • Add the shrimp and drizzle the peanut sauce on top

Similar Recipes

shrimp kebab

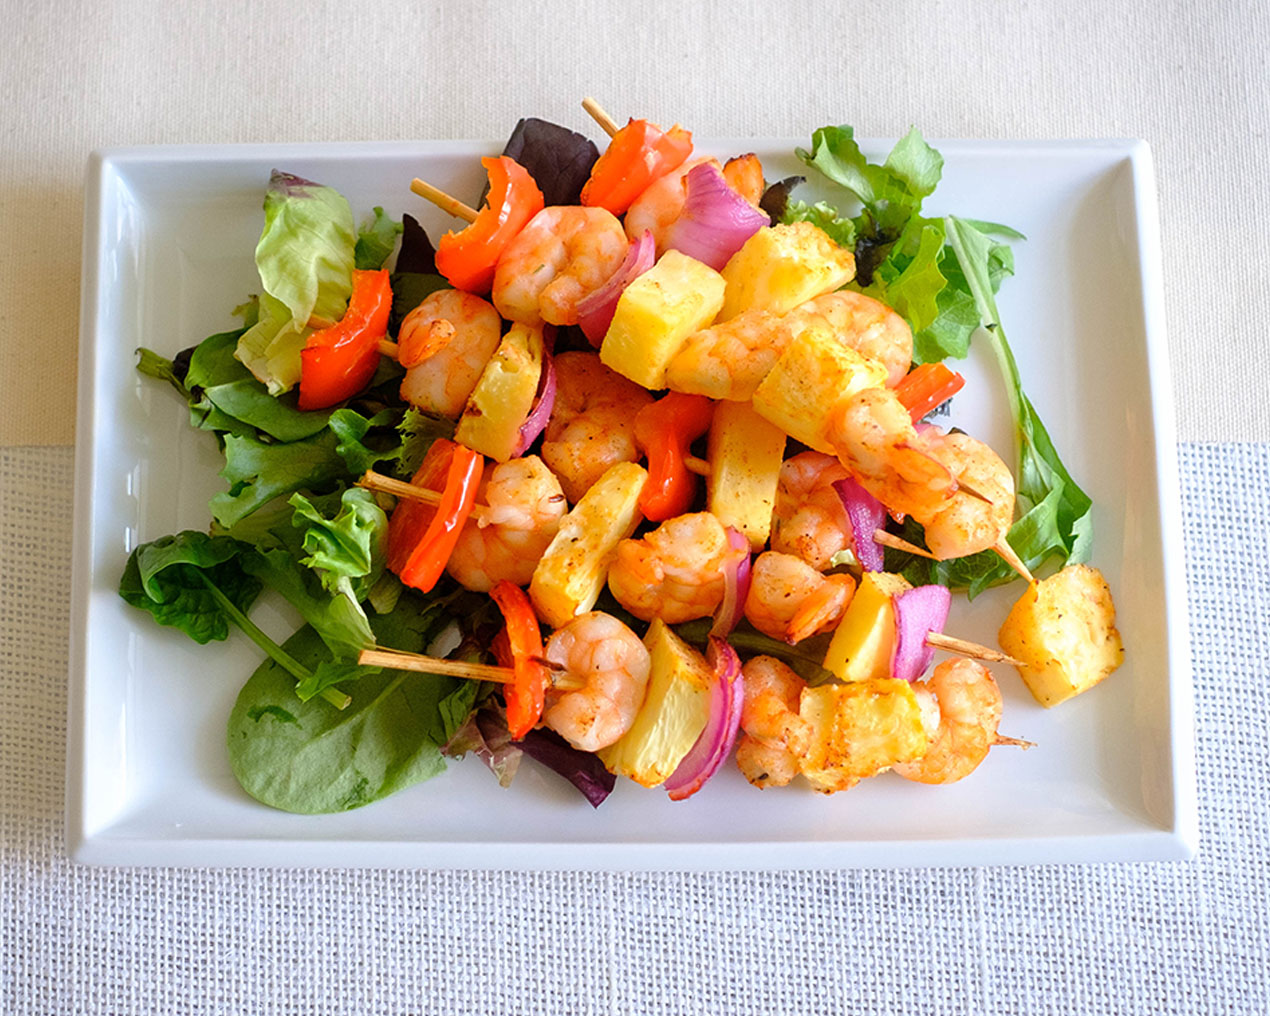
Air Fryer Shrimp and Pineapple Kebabs

shrimp and corn

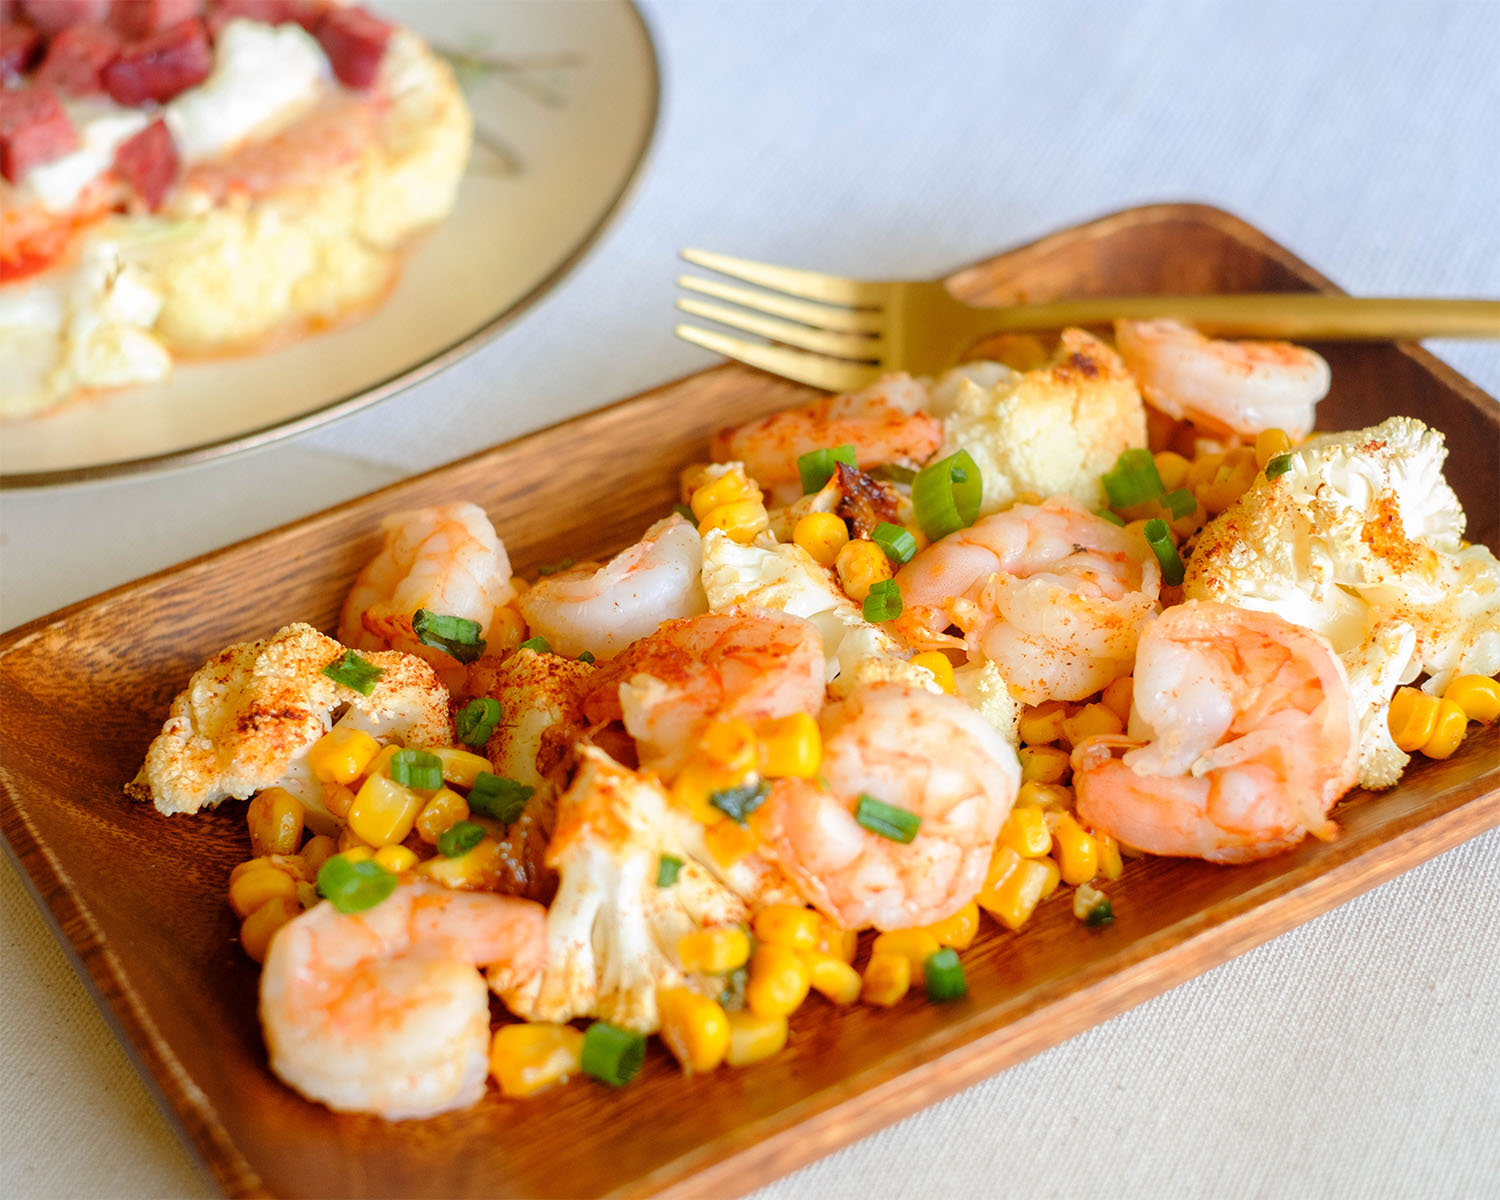
Sheet Pan Shrimp with Cauliflower and Corn

salmon salad

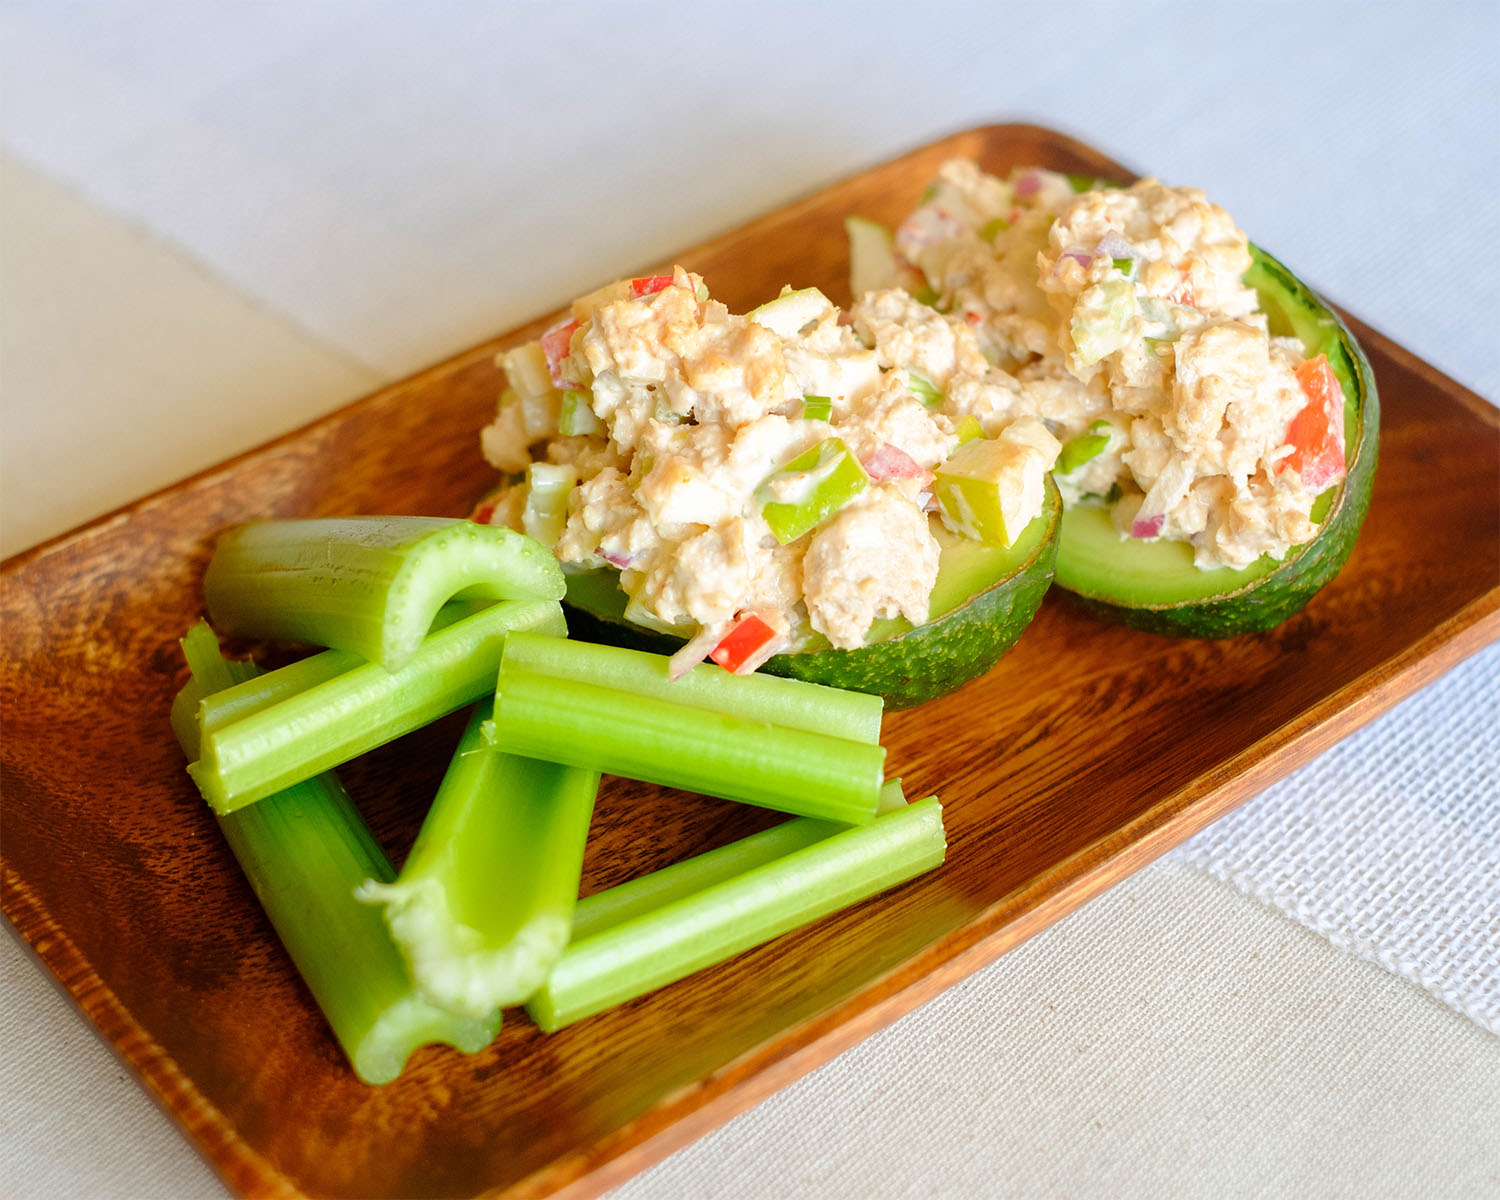
Salmon Salad Stuffed Avocado

You Might Also Like

Frequently Asked Questions

How do I know if the shrimp are fresh?

Fresh shrimp should have a firm texture and a mild odor. If they have a strong fishy smell, or if they feel slimy or mushy, they may not be fresh.


Can I eat the shrimp tail?

Yes, the shrimp tail is edible, but it is often removed before cooking or serving for convenience.


Can I use other nut butter instead of peanut butter?

Yes, other nut butter such as almond or cashew butter can be used to make salad dressing as well.

Posted on Leave a comment

Sheet Pan Chicken Fajita Lettuce Wraps

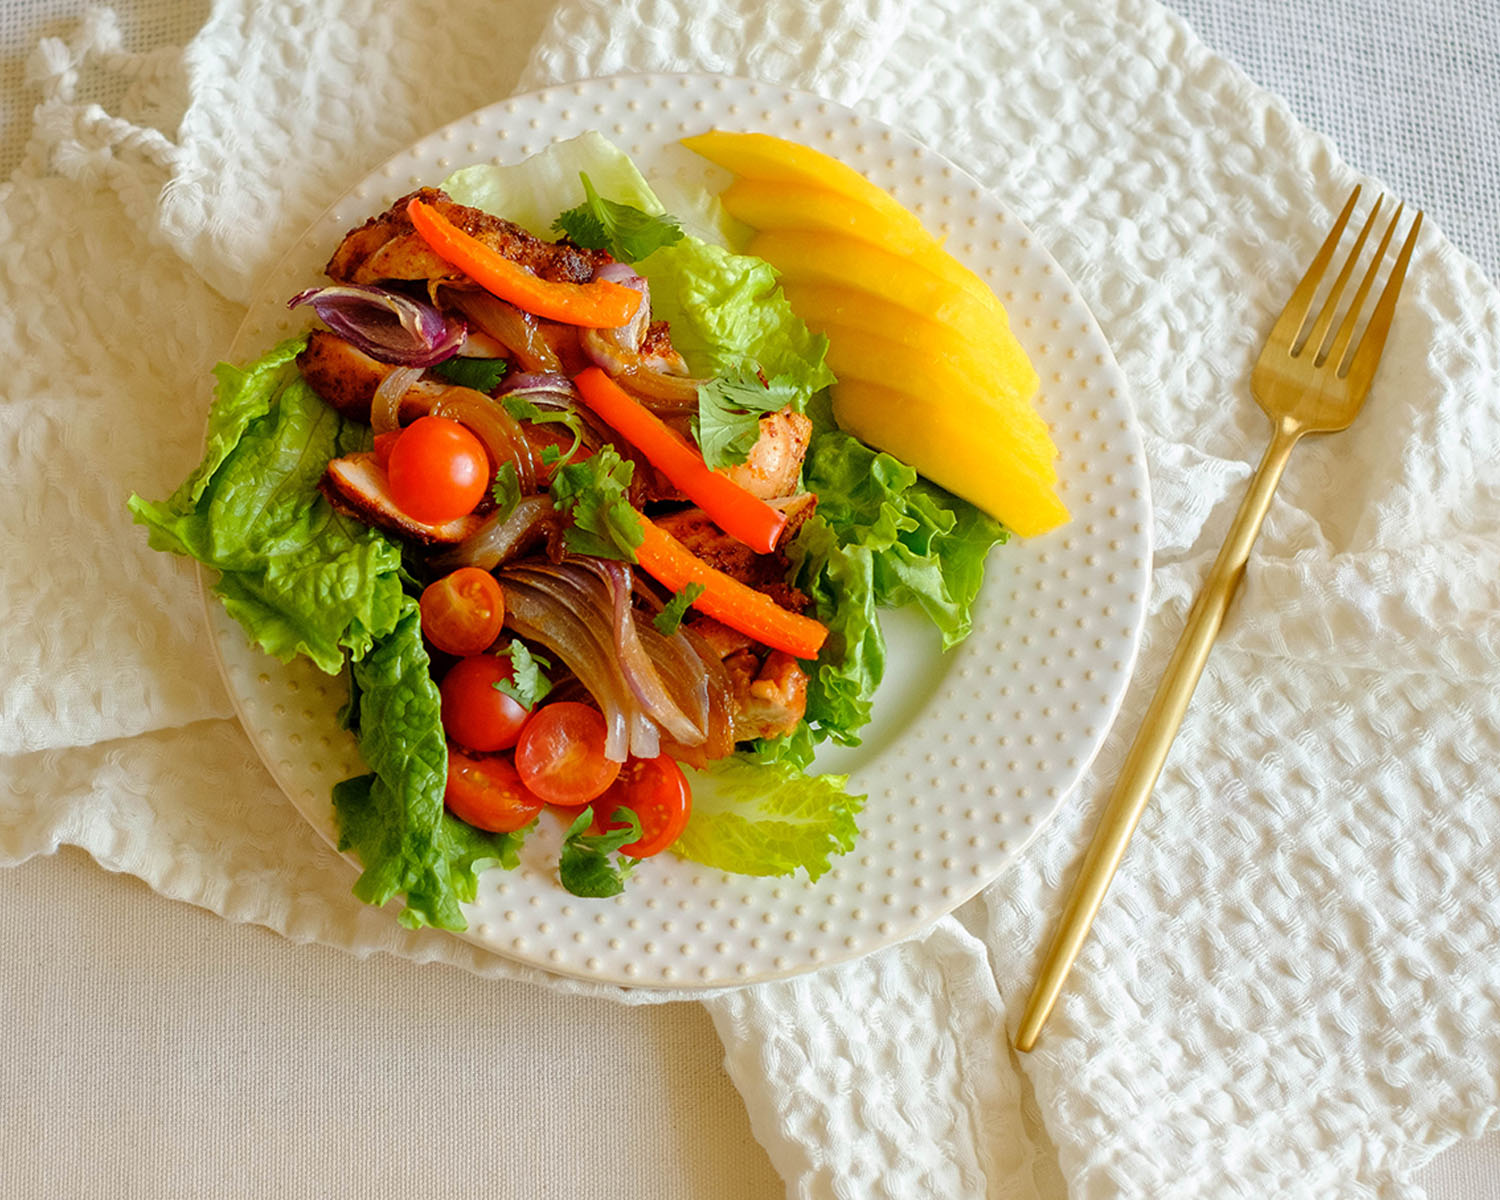
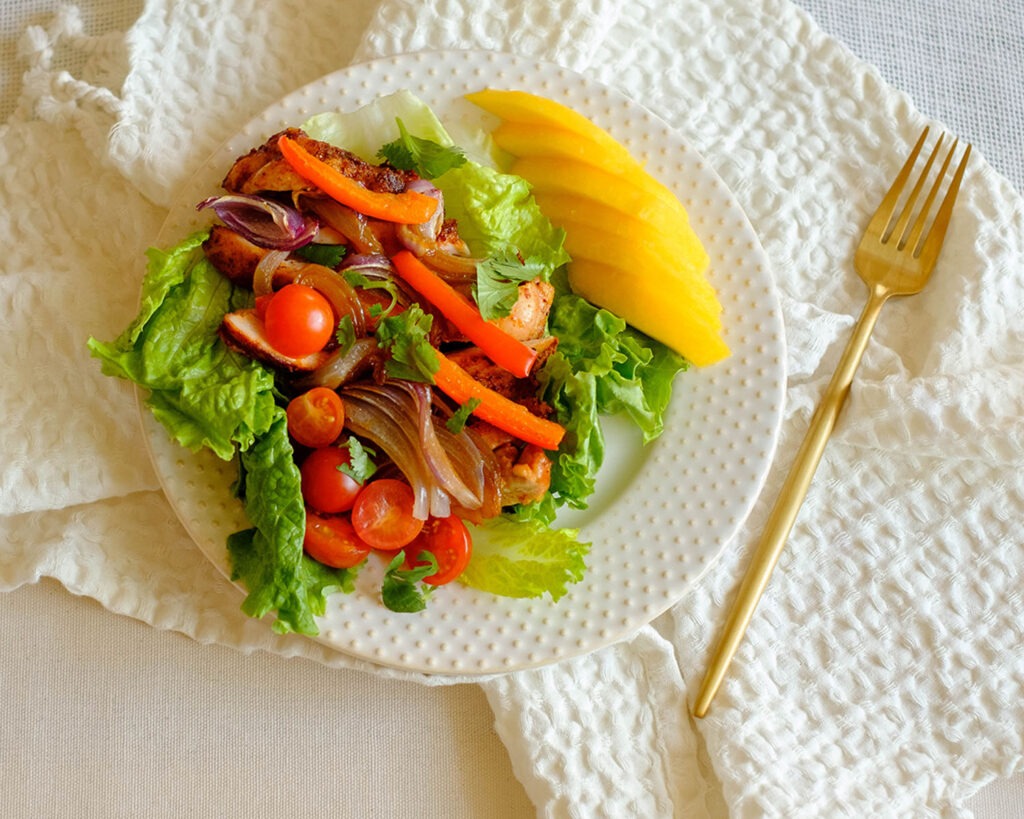
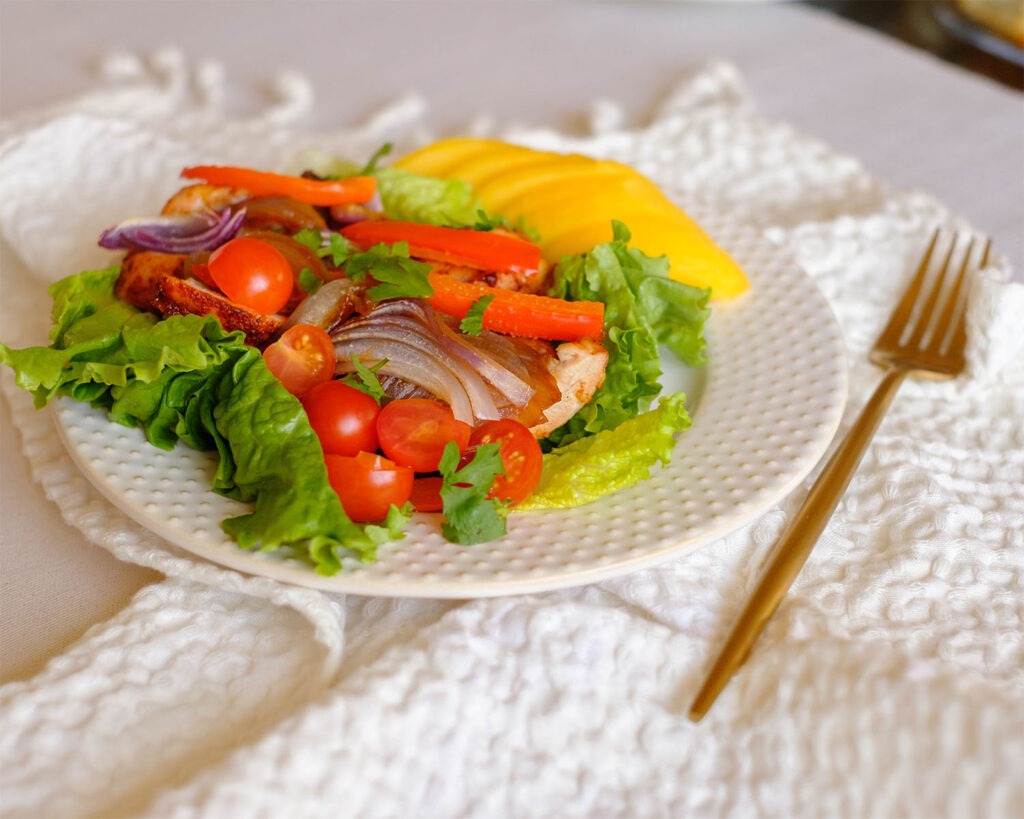
round plate with chicken fajita lettuce wrap and sliced mango

This post may contain affiliate links. Please see our privacy policy for details.

If you’re looking for a healthy lunch idea that also provides low cost meals, try these sheet pan chicken fajita lettuce wraps. They are easy to make and can be prepared quickly with just a few ingredients.

round plate with chicken fajita lettuce wrap and sliced mango - low cost meals

Why This Recipe Makes Low Cost Meals

Sheet pan chicken fajitas can be a low-cost meal that is great for meal prep for a few reasons:

  1. Simple budget-friendly ingredients: The ingredients needed for sheet pan chicken fajitas are generally affordable and easy to find. Chicken, bell peppers, onions, and basic spices are all relatively affordable, especially if purchased in bulk or on sale.
  2. Versatility: Sheet pan chicken fajitas can be customized to fit your budget and taste preferences. You can adjust the amount of chicken and vegetables you use, as well as the types of spices and herbs you like, depending on what you have on hand or what’s on sale at the grocery store.
  3. Simple cooking equipment: This recipe requires only a sheet pan and an oven, which are common kitchen items that most people already have. There is no need for any special equipment or appliances, which can help keep costs down.
  4. Leftovers: Sheet pan chicken fajitas also make great leftovers that can be repurposed into other meals such as salads, wraps, rice bowls, or quesadillas, which can help stretch your food budget even further.

The PrepYoSelf Newsletter

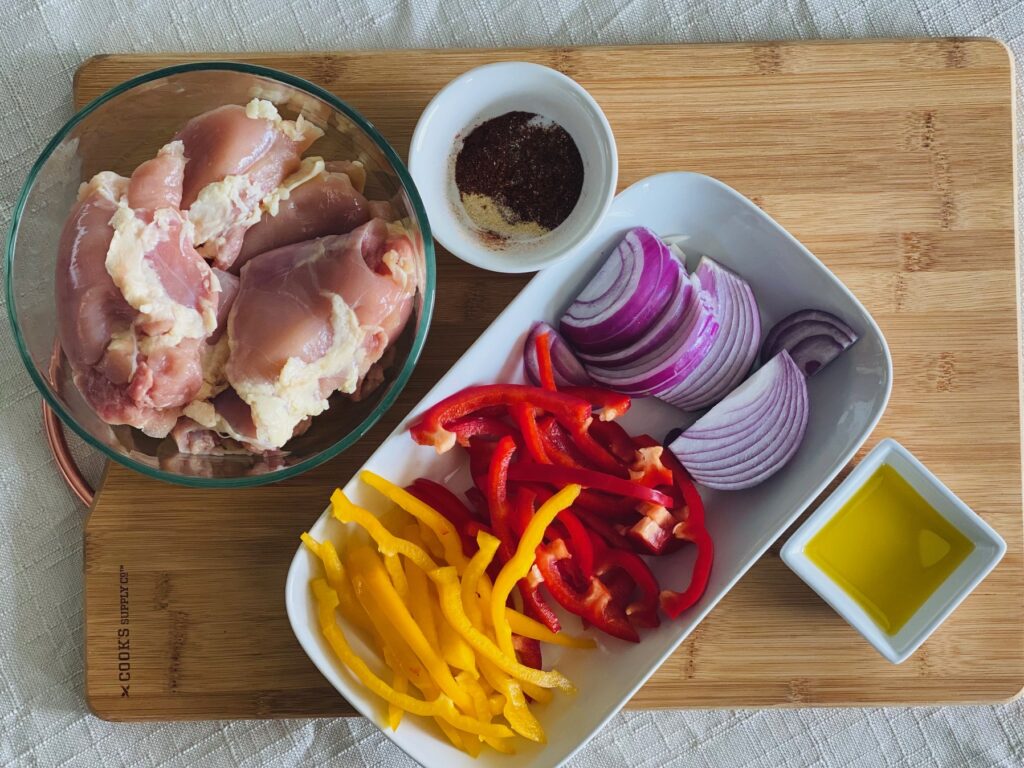
Ingredients for You’ll Need

Chicken fajita lettuce wraps can be a healthy lunch idea that provides a balanced mix of protein, fiber, vitamins and minerals, and healthy fats. By using fresh, whole ingredients and controlling the amount of added salt and fat, you can enjoy delicious and nutritious, low cost meals that supports overall health and well-being. Here are some ingredients that you’ll need to build this meal:

  1. Protein: Chicken is a great source of protein, which is important for building and repairing muscles, as well as for overall health.
  2. Vegetables: Chicken lettuce wraps typically include a variety of vegetables like bell peppers and red onions, which can provide fiber, vitamins, and minerals. Eating a variety of colorful vegetables can help support a healthy immune system, promote healthy digestion, and reduce the risk of chronic diseases.
  3. Low in carbohydrates: By using lettuce wraps, it can help lower carbohydrates. This can be beneficial for individuals who need to watch their carbohydrate intake due to health concerns like diabetes or insulin resistance.
  4. Low in saturated fat: By using minimal oil and healthy fats such as olive oil, in the cooking process, chicken fajita lettuce wraps can be low in saturated fat, which is important for heart health.
  5. Customizable: These lettuce wraps can be easily customized to fit your dietary needs and preferences. You can add or subtract ingredients based on your nutritional goals, and adjust the portion sizes to control calories.

chicken fajita wrap ingredients - low cost meals

How to Cook Sheet Pan Chicken Fajitas

  1. Preheat the oven to 400°F.
  2. In a large mixing bowl, combine the chicken, seasonings, and olive oil. Toss until everything is well coated.
  3. Spread the chicken, bell peppers, and red onions, evenly on a large sheet pan and bake for 20-25 minutes, or until the chicken is fully cooked and the vegetables are tender.
  4. Remove the sheet pan from the oven and let it cool for a few minutes. Dice, the chicken into small bite-size pieces.
  5. To assemble the lettuce wraps, spoon the chicken fajita mixture on to of the lettuce wraps
  6. Top each wrap with the fajita veggies. Feel free to serve these with additional toppings such as avocado, salsa, shredded cheese, or sour cream.

Reference the recipe card below for detailed instructions.

round plate with chicken fajita lettuce wrap and sliced mango - low cost meals

Prep Tips – Low Cost Meals

Following these meal prep tips, you can save time and have a nutritious and delicious meal ready to go throughout the week.

  • Prep the vegetables ahead of time: To save time, you can cut the bell peppers and onions ahead of time and store them in an airtight container in the refrigerator. This will make it easier to assemble the sheet pan when you’re ready to cook.
  • Make the fajita seasoning in advance: You can make the fajita seasoning in advance or you can purchase a pre-made seasoning mix. This will save time when it comes to assembling the recipe, as you can simply sprinkle the seasoning over the chicken and vegetables and mix them together.
  • Use portion control containers: Consider using portion control containers to measure out the chicken and vegetable portions. This will ensure that you have a balanced meal and prevent overeating. 
  • Add toppings later: If you plan to eat the sheet pan chicken fajitas later during the week, separate the toppings, such as the avocado or salsa, to prevent them from getting soggy.

chicken fajita wraps meal prepped in containers for low cost meals

round plate with chicken fajita lettuce wrap and sliced mango

Sheet Pan Chicken Fajita Lettuce Wraps

Sheet pan chicken fajitas are a delicious and easy-to-make meal that can be prepared quickly with just a few ingredients.
No ratings yet
Prep Time 5 minutes
Cook Time 20 minutes
Course lunch, Main Course
Cuisine Mexican
Servings 2

Equipment

  • knife
  • cutting board
  • sheet pan
  • oven

Ingredients
  

Chicken & Seasoning

  • 12 oz chicken tenderloins
  • 1/4 teaspoon chili powder
  • 1/4 teaspoon cumin
  • 1/4 teaspoon garlic powder
  • 1/4 teaspoon paprika
  • 1/4 teaspoon salt
  • 1 tablespoon olive oil

Fajita Veggies & Seasoning

  • 1 red bell pepper (sliced)
  • 1/4 cup red onions (sliced)
  • 1/4 teaspoon paprika
  • 1/4 teaspoon garlic powder
  • 1/4 teaspoon salt
  • 1 tablespoon olive oil

Optional Sides and Garnish

  • 1 mango (peeled and sliced)
  • 1/4 cup cilantro (chopped)
  • 1/4 cup red onions (diced)
  • 1/2 cup cherry tomatoes (sliced)
  • 1 lime (juiced)

Instructions
 

  • Pre-heat the oven to 400F. In large mixing bowl, combine the chicken with the seasonings and olive oil. Toss to coat the chicken evenly. Place the chicken, sliced bell peppers, and sliced onions on a sheet pan. Sprinkle the veggies with the seasonings and coat them with olive oil.
  • Bake in the oven for 20 minutes until the chicken is fully cooked and reaches an internal temperature of 165F. (cook for an additional 5 minutes until it reaches the internal temperature of 165F). You will want to cook it through until the vegetables are tender and slightly charred.
  • After the chicken cooks, let it rest for a few minutes before dicing it into small bite size pieces. Layer the chicken in the middle of the lettuce wraps and top it off with the fajita veggies. Garnish with lime juice and chopped fresh cilantro and serve with freshly sliced mango.

Similar Recipes

cilantro chicken

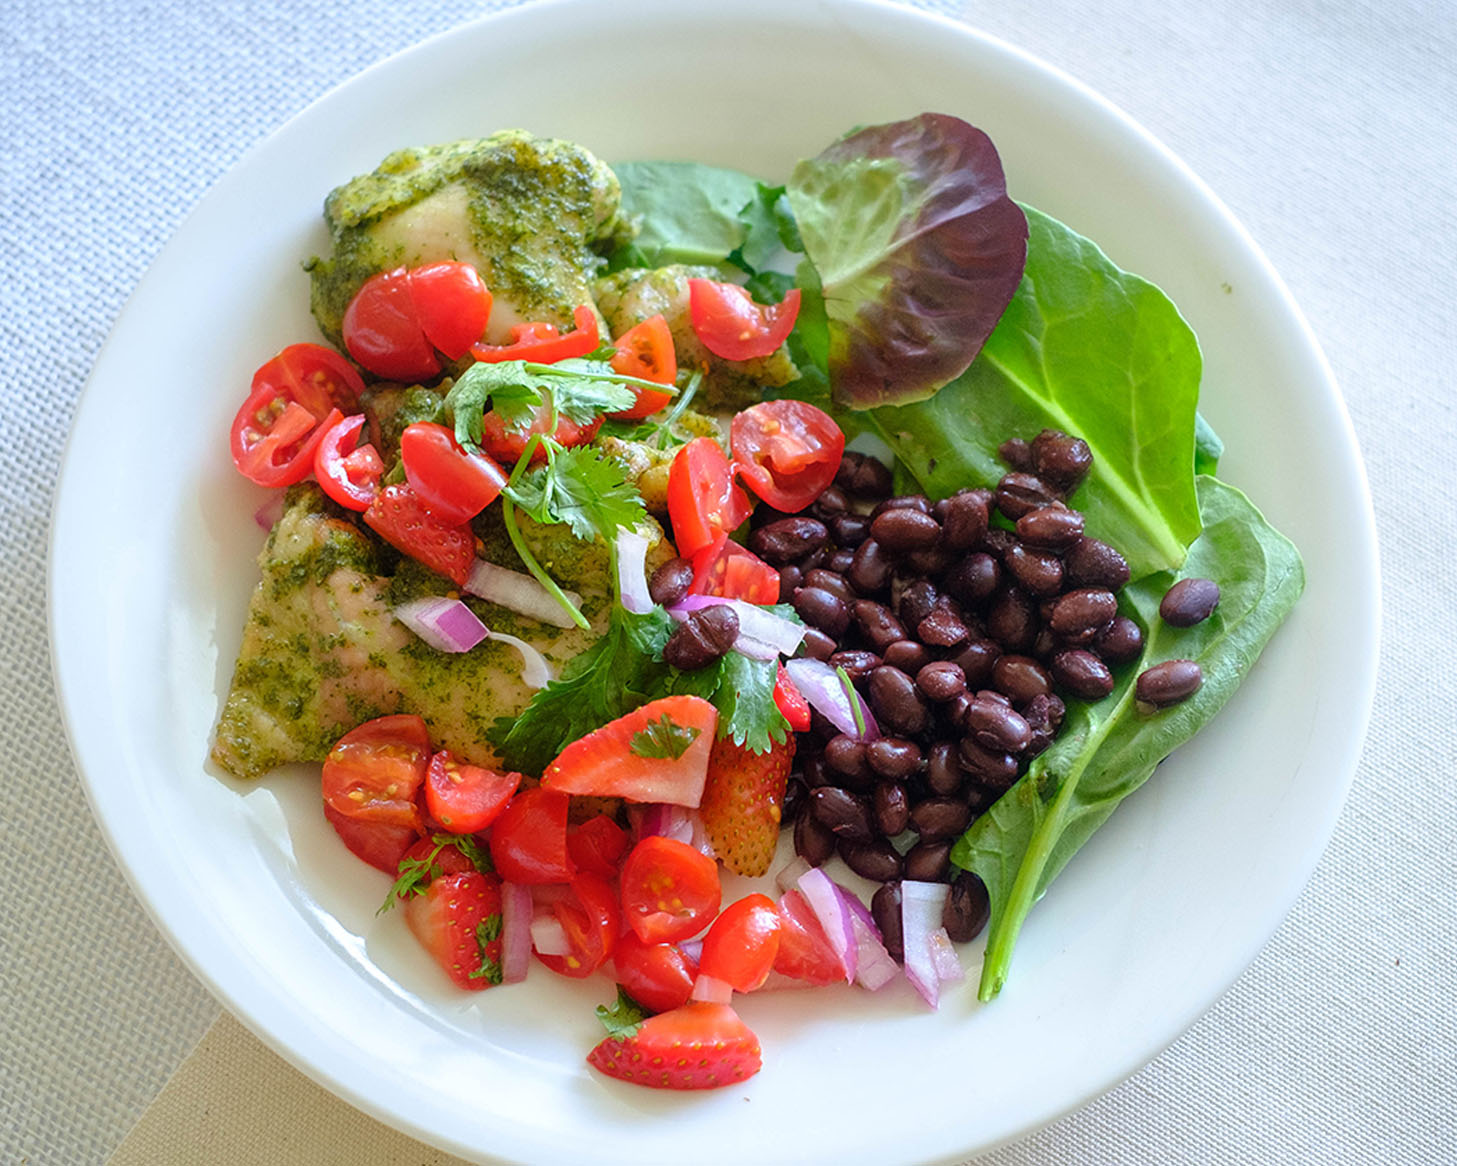
Cilantro Lime Chicken Salad with Strawberry Salsa

sweet and sour chicken wings

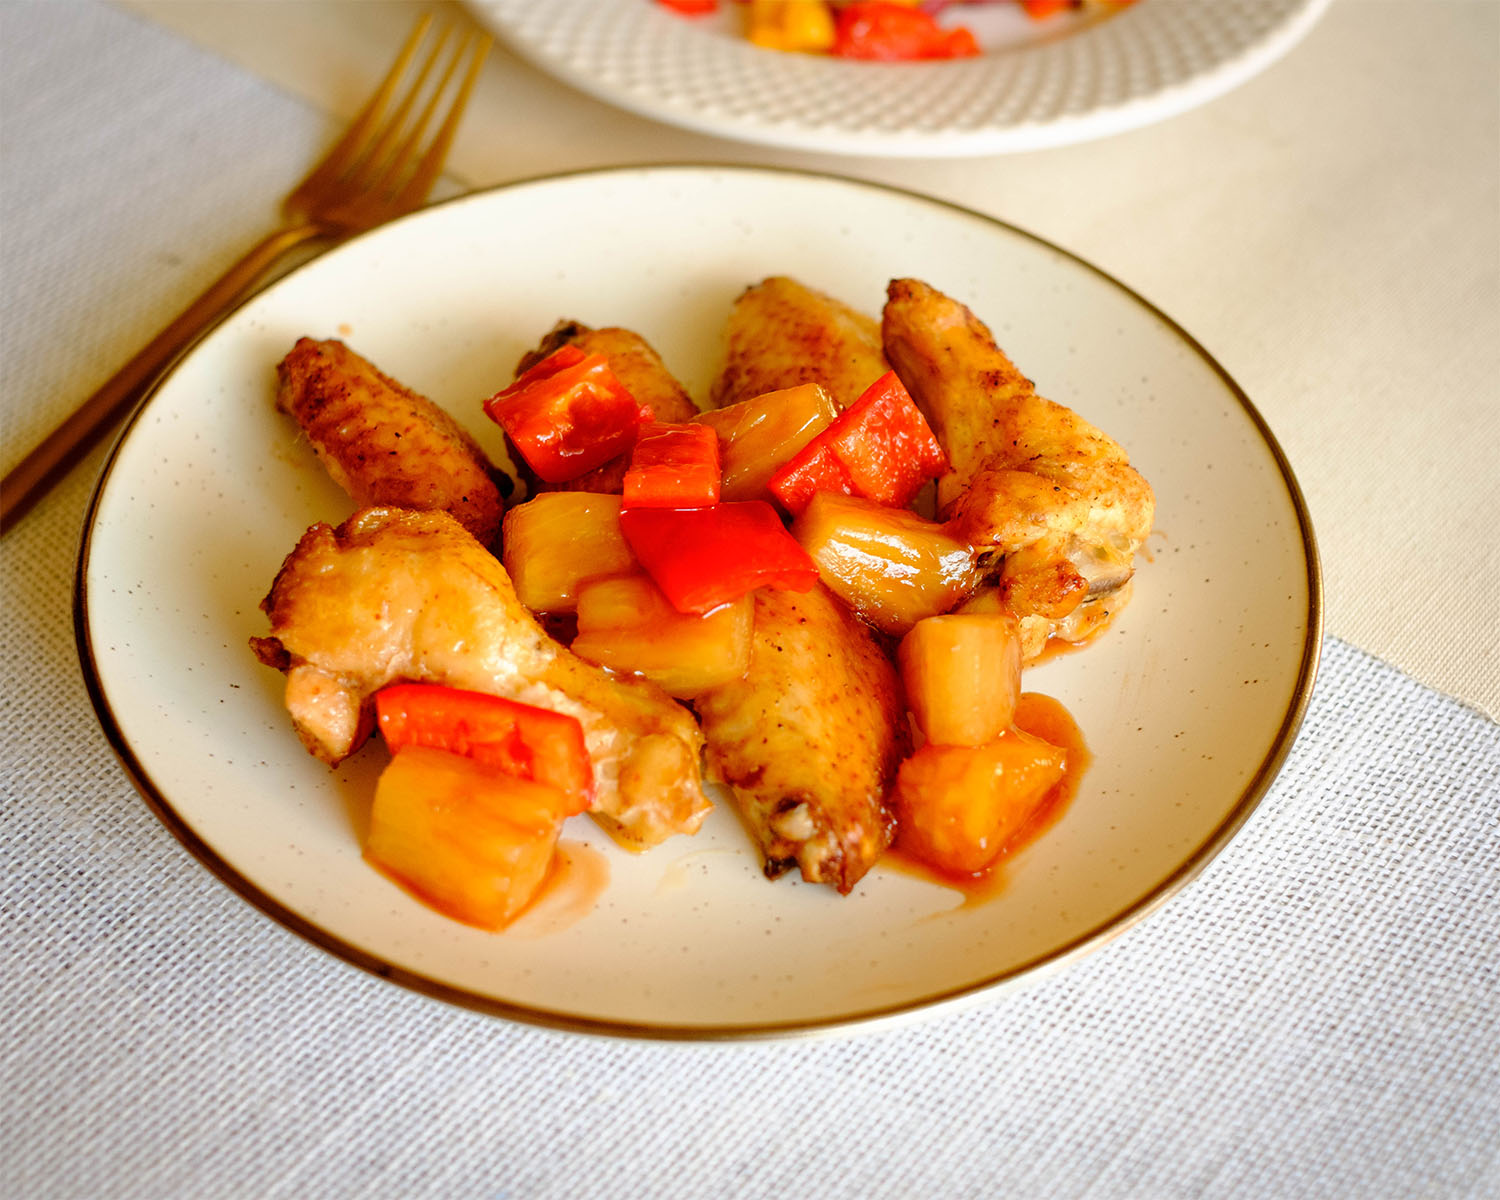
Air Fryer Sweet and Sour Chicken Wings

stuffed primavera chicken

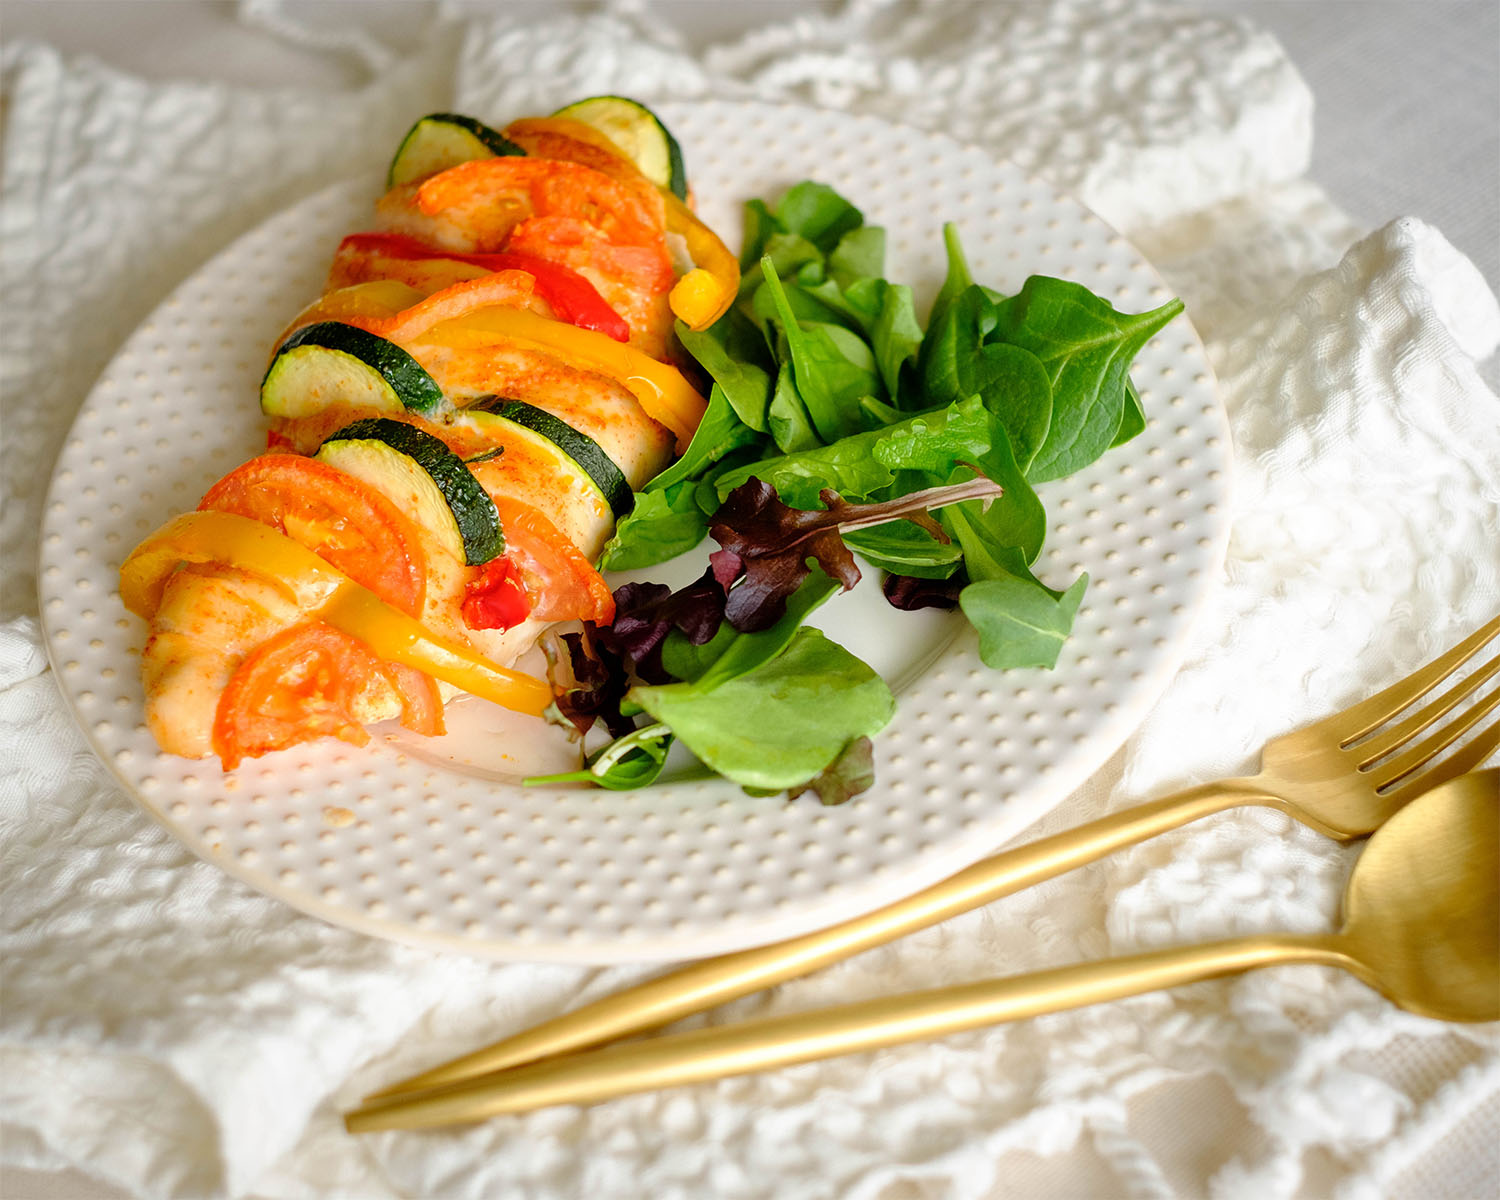
Primavera Stuffed Chicken Breasts

You Might Also Like

Frequently Asked Questions

Can you use different types of lettuce for the wraps?

Yes, you can use any type of lettuce that is sturdy enough to hold the filling, such as romaine or iceberg lettuce. Jicama tortillas are also a good vegetable option for wraps.


Can you make sheet pan chicken fajita lettuce wraps vegan?

Yes, you can make sheet pan fajita lettuce wraps vegan by substituting the chicken with tofu or a plant-based protein and omitting the cheese.


Are sheet pan chicken fajita lettuce wraps healthy?

Yes, sheet pan chicken fajita lettuce wraps are a healthy meal option. They are low in calories, high in protein, and packed with vegetables.

Posted on Leave a comment

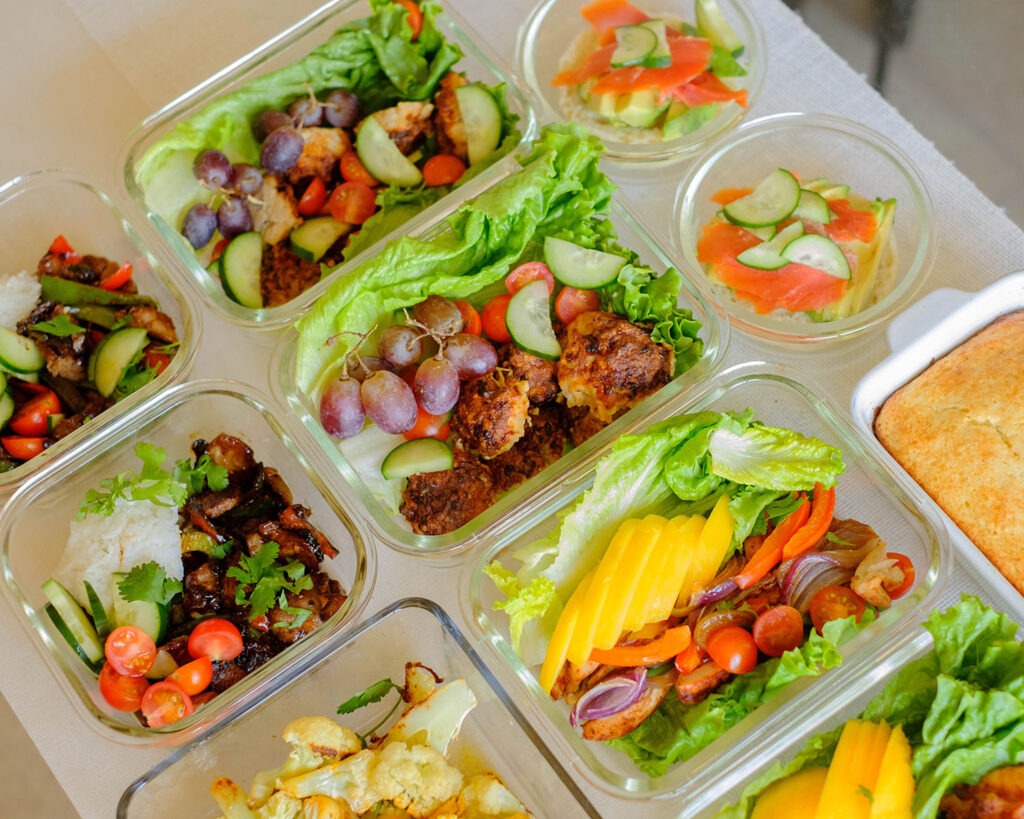
Air Fryer Chicken Meatball Lettuce Wraps

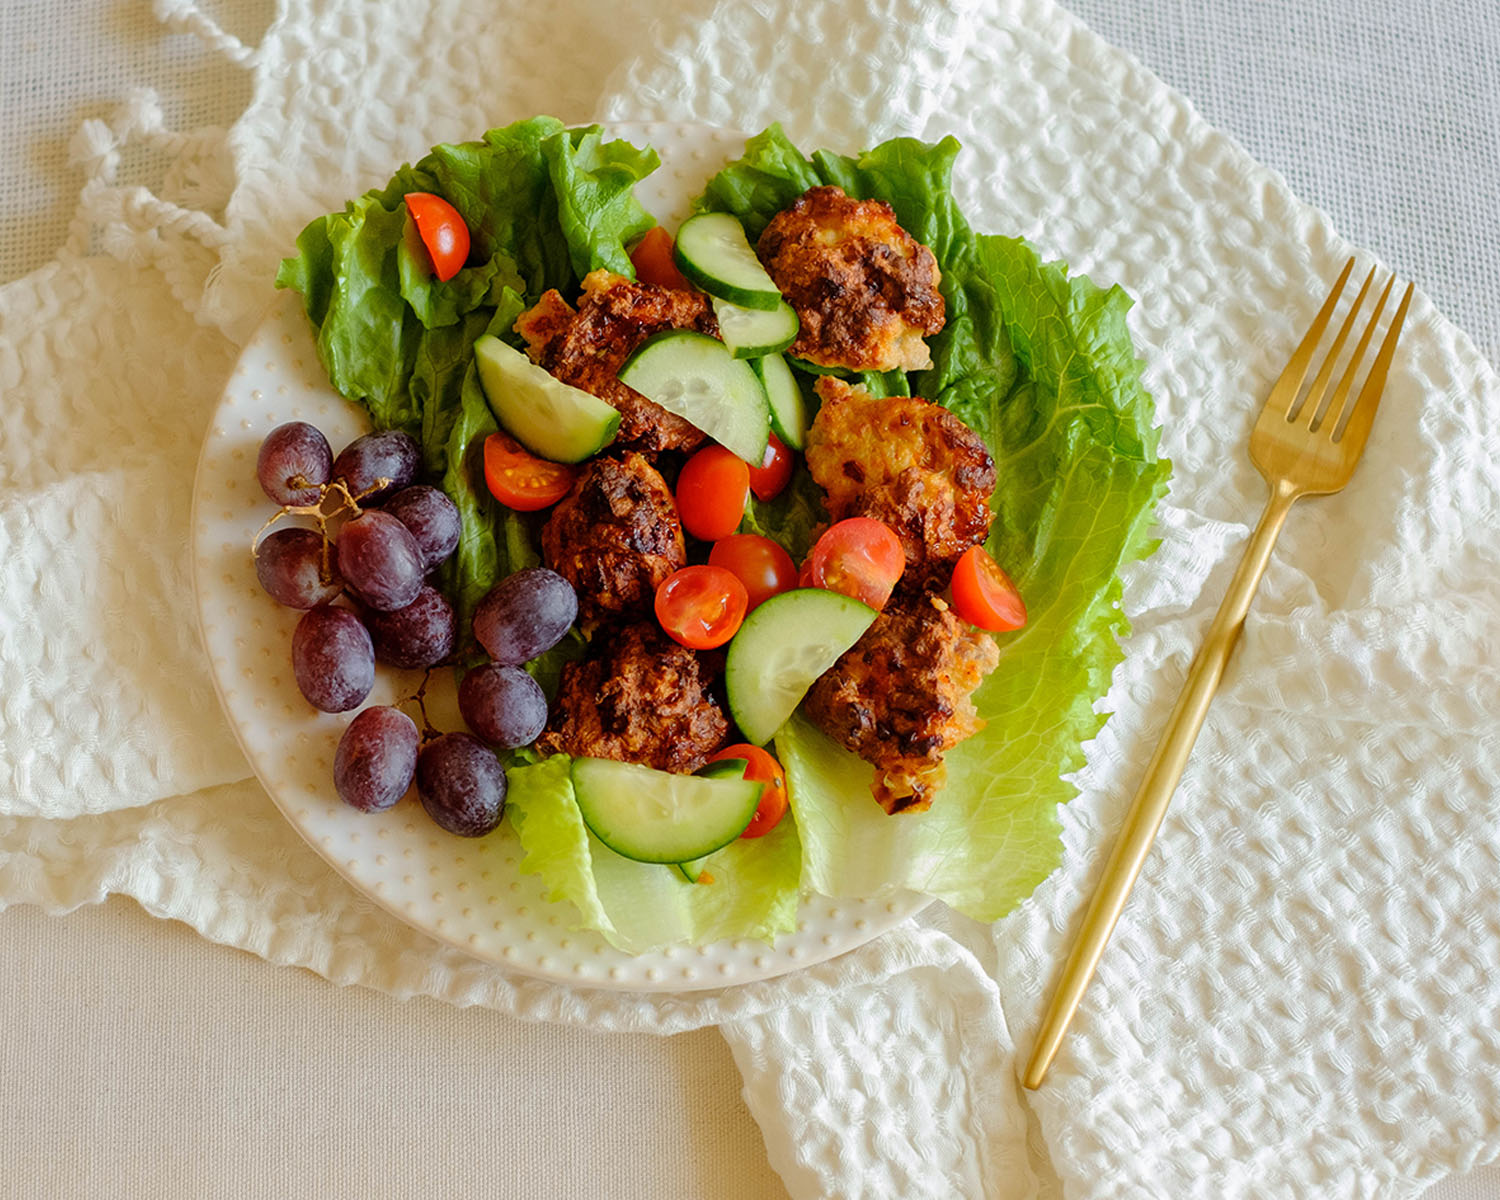
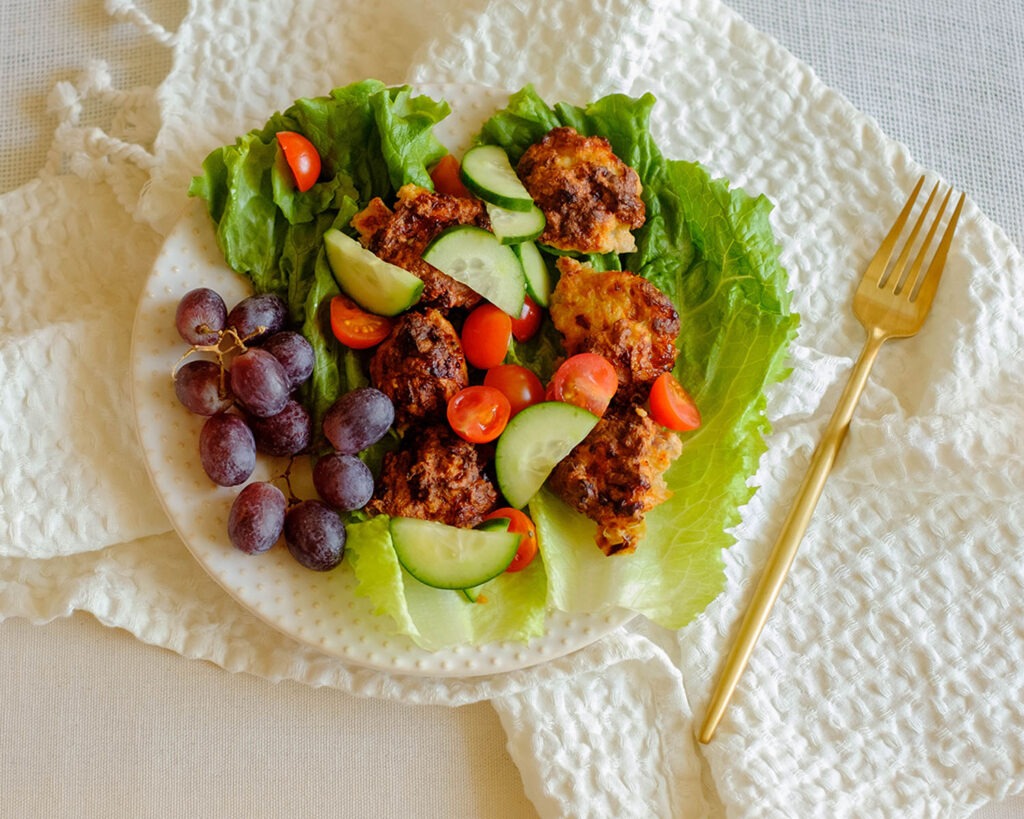
round plate with chicken meatball lettuce wraps served with grapes

Air Fryer Chicken Meatballs are a delicious and healthy way to enjoy this classic dish without the added fat and oil of traditional frying methods. Serving them in lettuce wraps makes them a healthy lunch idea you can enjoy during your busy work week.

This post may contain affiliate links. Please see our privacy policy for details.

round plate with chicken meatball lettuce wraps served with grapes, healthy lunch idea

Air Fryer meatballs are a healthy lunch idea because they are:

  1. Easy to Make: Meatballs can be made quickly and easily in an Air Fryer with minimal effort. You can prepare a large batch of meatballs in just a few minutes, which makes meal prep much easier and faster.
  2. Healthy: Air fryer meatballs are healthier than traditional fried meatballs. They are cooked using hot air, which means they don’t need to be submerged in oil. This reduces the fat and calorie content of the meatballs and makes them a healthier option.
  3. Versatile: Meatballs can be made with a variety of meats and flavors, making them a versatile, healthy lunch idea. You can make meatballs with beef, chicken, turkey, or even plant-based alternatives like tofu or lentils. You can also experiment with different herbs and spices to add flavor.
  4. Freezer-friendly: Air fryer meatballs can be frozen and reheated easily. This means you can make a large batch of meatballs and freeze them for future meals. When you’re ready to eat, simply reheat them in the air fryer for a quick and easy meal.
  5. Portion-controlled: Meatballs are a great way to control portion sizes for meal prep. You can make them in uniform sizes, which makes it easy to portion out your meals for the week. This is especially helpful if you’re trying to stick to a specific calorie or macro-nutrient goal.

The PrepYoSelf Newsletter

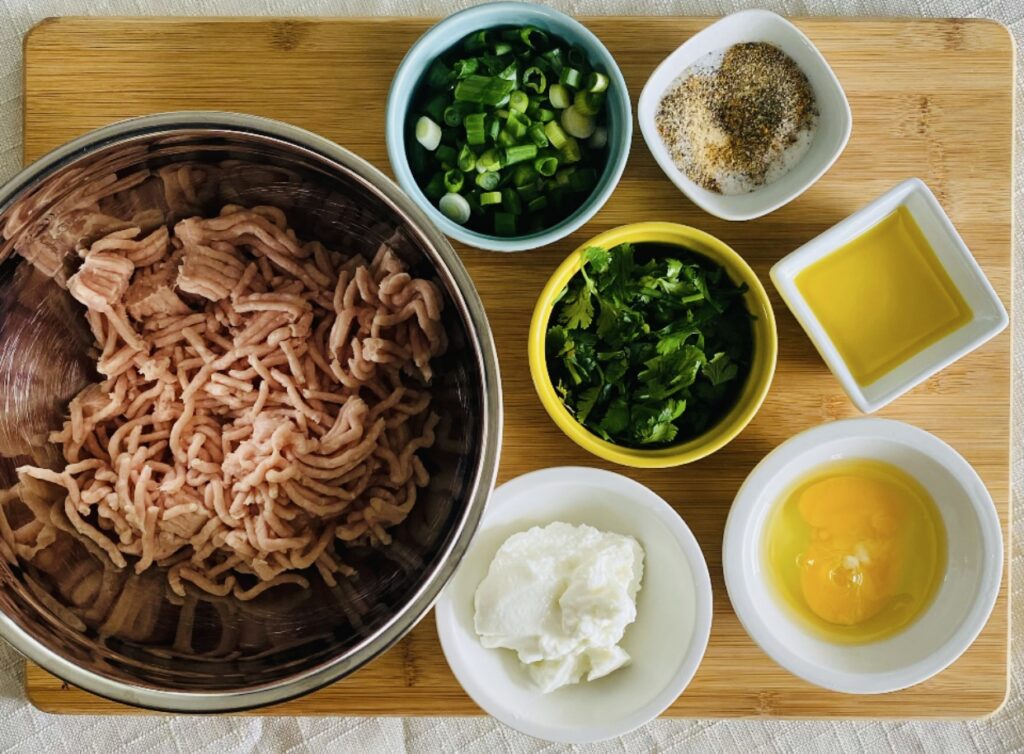
  • Ground Chicken
  • Egg
  • Ricotta
  • Garlic
  • Onion powder, dried thyme, salt, and pepper
  • Green Onions and Cilantro

You can use different types of ground meat such as turkey, chicken, pork, or a combination of meats. Just ensure you adjust the cooking time accordingly, as cooking times may vary for different types of meat.

cutting board with a silver mixing bowl filled with ground chicken, small containers filled with green onions, chopped cilantro, seasonings, olive oil, eggs, and ricotta cheese - healthy lunch idea

Variations of meatballs:

  • Italian-style meatballs: Add dried oregano, dried basil, and chopped fresh parsley to the mixture.
  • Asian-style meatballs: Use ground pork and add soy sauce, hoisin sauce, and chopped scallions to the mixture.
  • BBQ meatballs: Use ground beef and add BBQ sauce and chopped onion to the mixture.
  • Vegetarian meatballs: Use 1 can of drained and mashed chickpeas instead of ground meat, and add chopped fresh cilantro and ground cumin to the mixture.

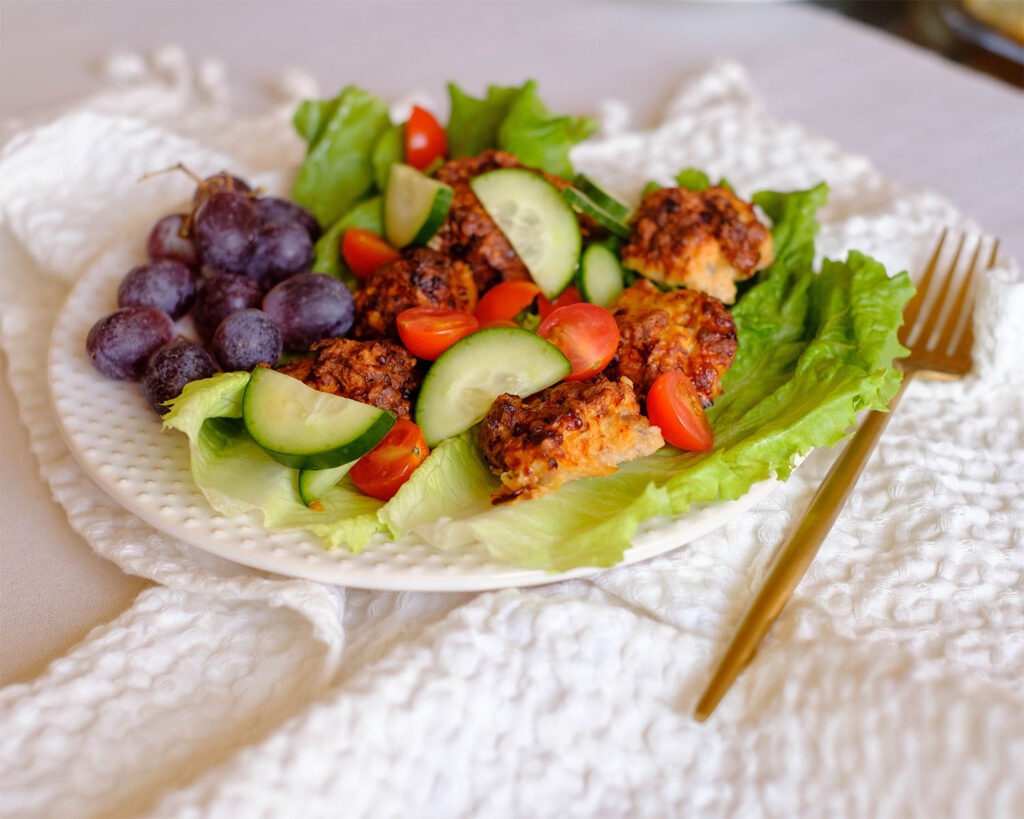
round plate with chicken meatball lettuce wraps served with grapes, healthy lunch idea

How to Air Fry Chicken Meatballs:

  1. Preheat the Air Fryer before cooking to ensure they cook evenly and quickly.
  2. In a large mixing bowl, combine all the ingredients and mix well.
  3. Shape the mixture into meatballs, about 1 inch in diameter.
  4. Place the meatballs in a single layer in the air fryer basket.
  5. Cook for 12-15 minutes, flipping the meatballs halfway through, until they are cooked through and browned on the outside.

Reference the recipe card below for detailed instructions.

glass meal prep containers filled with chicken meatball lettuce wraps - a healthy lunch idea

Meal Prep Tips for Air Fryer Meatballs

  • Make sure the meatballs are evenly sized to ensure even cooking.
  • Please note that cooking times may vary depending on the size of your meatballs and the temperature of your Air Fryer.
  • Experiment with different seasonings to find your favorite flavor combination.
  • If you’re short on time, you can make a big batch of meatballs and freeze them for later use. Simply reheat them in the air fryer when you’re ready to enjoy them.

round plate with chicken meatball lettuce wraps served with grapes

Air Fryer Chicken Meatball Lettuce Wraps

Easy to make Air Fryer Chicken Meatball Lettuce wraps that are great for meal prep.
No ratings yet
Prep Time 5 minutes
Cook Time 25 minutes
Course dinner, Main Course
Cuisine Mediterranean
Servings 2

Equipment

  • knife
  • cutting board
  • mixing bowl
  • sheet pan

Ingredients
  

Meatballs

  • 12 oz ground chicken
  • 1 large egg
  • 1/4 cup ricotta cheese
  • 2 tbsp garlic (minced)
  • 1/4 tsp onion powder
  • 1/4 tsp dried thyme
  • 1/4 cup green onions (chopped)
  • 1/4 cup cilantro (chopped)
  • 1/4 tsp salt
  • 1/4 tsp pepper

Lettuce Wrap Ingredients

  • 6 large lettuce wraps
  • 1/2 cup cherry tomatoes (sliced)
  • 1/4 cup cucumber

Yogurt dip

  • 1 cup greek yogurt
  • 1 tbsp lemon juice
  • 1 tbsp olive oil
  • 1 tbsp garlic (minced)
  • 1/4 cup cucumbers (finley diced)
  • 1/4 tsp salt
  • 1/8 tsp dried dill

Optional

  • 1.5 cups grapes (or choice of fruit)

Instructions
 

  • Pre-heat the Air Fryer for about 5 minutes at 360F.
  • In a mixing bowl, combine the ground chicken, eggs, seasonings, garlic, and ricotta. Use a fork or whisk to mix everything together. Next, add the chopped herbs and fold them in well.
  • Take small portions of the mixture and shape them into meatballs. You can use a small ice cream scoop or 2 spoons to portion out the meatballs (about 1 inch in diameter). Arrange the meatballs into the Air Fryer Basket in a single layer, making sure they are not touching each other. Coat them with cooking spray and cook them in the Air fryer for about 12 to 15 minutes at 360F. Flip them halfway through until they are browned and cooked through an internal temperature of 165F.
  • Meanwhile, in a small bowl, mix together the ingredients for the yogurt sauce. Once cooked, serve with lettuce wraps and top them off with fresh cucumbers and cherry tomatoes.
  • Serve with the yogurt sauce and your choice of fruit.

Similar Recipes

bean and corn taco

Vegetarian Black Bean and Corn Soft Tacos

chicken salad

Oven Baked Honey Mustard Glazed Chicken Salad

balsamic chicken salad

Oven Baked Balsamic Chicken Salad with Strawberries

You Might Also Like

Frequently Asked Questions

Can I use Frozen meatballs in the Air Fryer?

Yes, you can use frozen meatballs in the air fryer. Just make sure to add a few extra minutes to the cooking time to ensure they are fully cooked.


Can I make Air Fryer Meatballs without breadcrumbs?

Yes, you can make air fryer meatballs without breadcrumbs. You can use almond flour, crushed pork rinds, or even grated parmesan cheese as a substitute.


Can I make meatballs in advance and reheat them in the Air Fryer later?

Yes, you can make meatballs in advance and reheat them in the Air Fryer later. Just be sure to store them properly in the fridge or freezer and adjust the cooking time accordingly when reheating.

Posted on Leave a comment

Instant Pot Recipe for Beef Udon Noodles

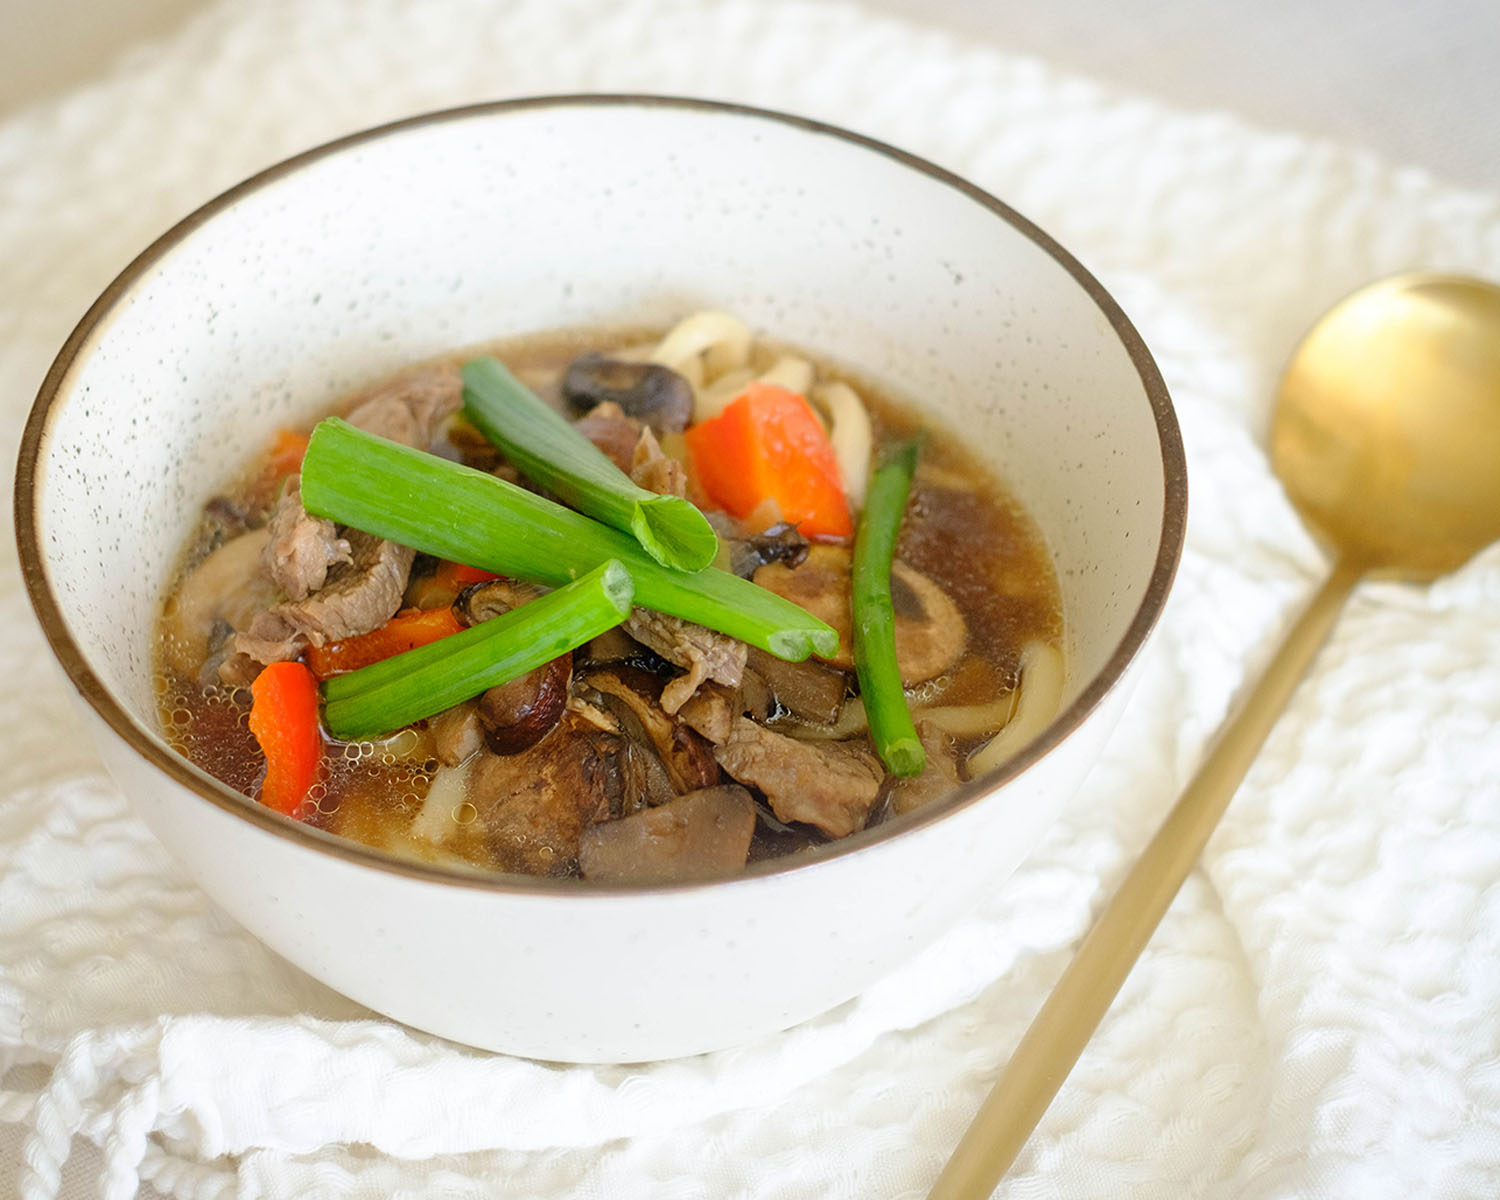
Round bowl with beef soup and udon noodles.

Enjoy udon noodles served in this savory soup by using your chopsticks while making a slurping sound. Slurping enhances the flavors of this dish 🙂

This post may contain affiliate links. Please see our privacy policy for details.

Round bowl with beef soup and udon noodles.

Cooking for two can be a challege, but with a little planning and creativity, it can be enjoyable. One of our tips is to embrace conveience. Sometimes, convenience foods can be a lifesaver when cooking for two.

You can buy pre-cut vegetales or pre-cooked grains to save time. For this recipe, we are incorporating pre-cooked udon noodles, and we are letting the Instant Pot do all the heavy lifting of this meal prep process.

What is udon noodles?

If you’re looking for a new side dish to accompany your meal prep, give udon noodles a try. Udon noodles are chewy Japanese noodles made from wheat flour, water, and salt. They are thicker than ramen and soba noodles that you often find in Asian recipes.

They are often served in a simple broth or used in stir fry recipes. The great thing about this ingredient is that you can often find them already packaged and pre-cooked in the international aisles of the grocery store. This means no cooking is required! When it comes to meal prep, you definitely want to incorporate ready to eat ingredients to cut down on prep time.

Not only are udon noodles a great alternate to rice, udon noodles can be a healthy addition to your meal prep as long as they are portioned right and portioned with a fair amount of protein and fiber.

The PrepYoSelf Newsletter

Ingredients for Instant Pot Beef Udon Soup

  • Beef: We used lean beef stew meat, but you can use cubed pork or chicken for this recipe
  • Bell Peppers: This adds a sweetness to the broth and also vibrant colors. If you don’t have bell peppers, you can also use carrots or butternut squash
  • Aromatics: Green onions, onions and garlic cloves add a ton of flavor to your cooking
  • Herbs: We used green onions, but you can easily use fresh cilantro or basil
  • Udon Noodles: You can use dried udon noodles or soft udon noodles that are pre-cooked. For the ease of meal prep, we opted for the soft udon noodels so that there is no pre-cooking required. All you have to do is heat them up.

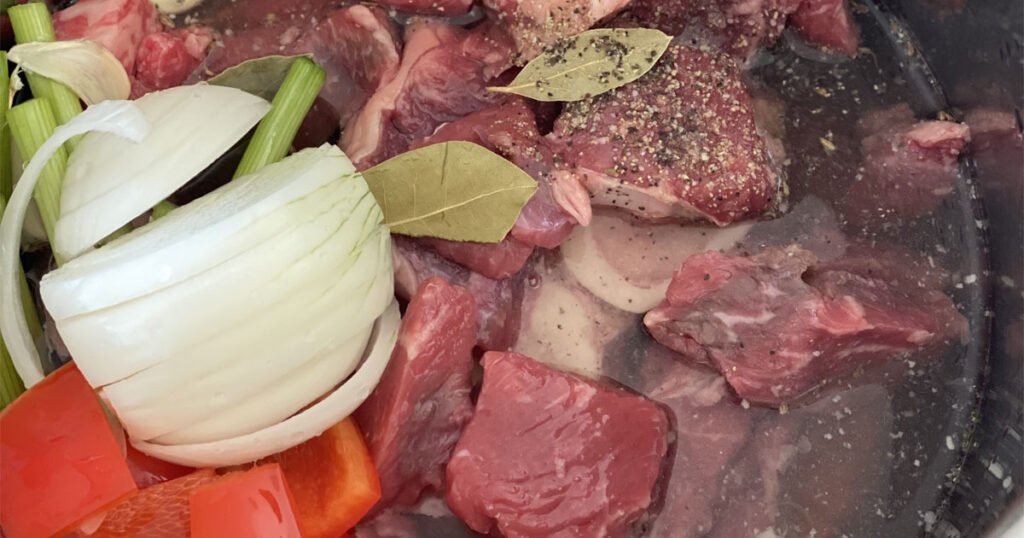
Instant Pot with raw beef and vegetables

How to Make Beef Udon Soup Using Instant Pot

  1. Add the beef, vegetables, broth, and seasonings to the pot.
  2. Add the broth and seal the lid.
  3. Cook on medium setting for 25 minutes.
  4. After the beef cooks, carefully release the steam and remove the lid.
  5. Ladle the soup over udon noodles.

Reference the recipe card below for detailed instructions.

Round bowl with beef soup and udon noodles.

Meal Prep Tips for Instant Pot Beef Udon

  • Additional ingredients: For extra seasoning, you can add 1/2 tsp of star anise seeds. This is a great seasoning that can add a sweet-licorice-peppery flavor often found in Asian dishes. To add extra flavor, you can also drizzle chili oil as a garnish for a little bit of heat.
  • What to serve with beef udon: You can also add cubes of fried tofu or a boiled egg. Pickled veggies such as radish brined in vinegar and seasonings gives a sour and crunchy texture that is delicious with udon noodles.
  • Large Batches: Increase the serving size of the recipe and make a large batch that you can freeze. Store it in a freezer-safe bag or container and freeze it for up to 3 months for the best quality.
  • Storage: Store in an airtight container in the refrigerator for up to 3 to 4 days for the best quality.

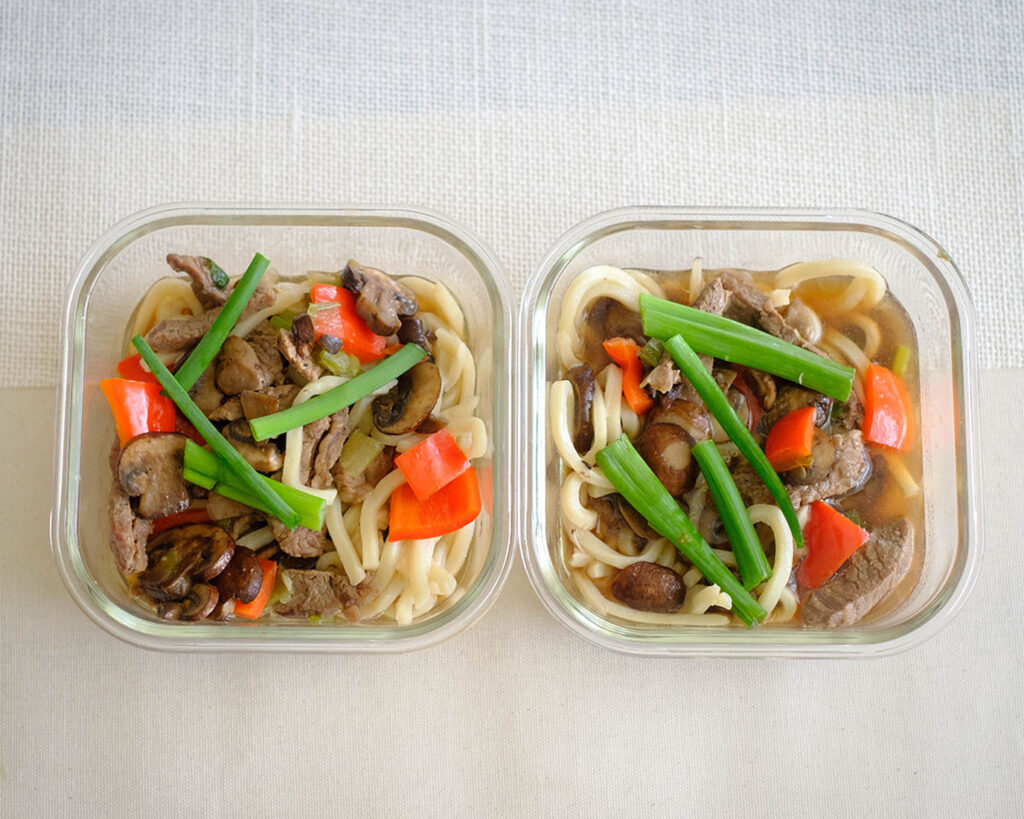
Glass meal prep containers with beef soup and udon noodles.

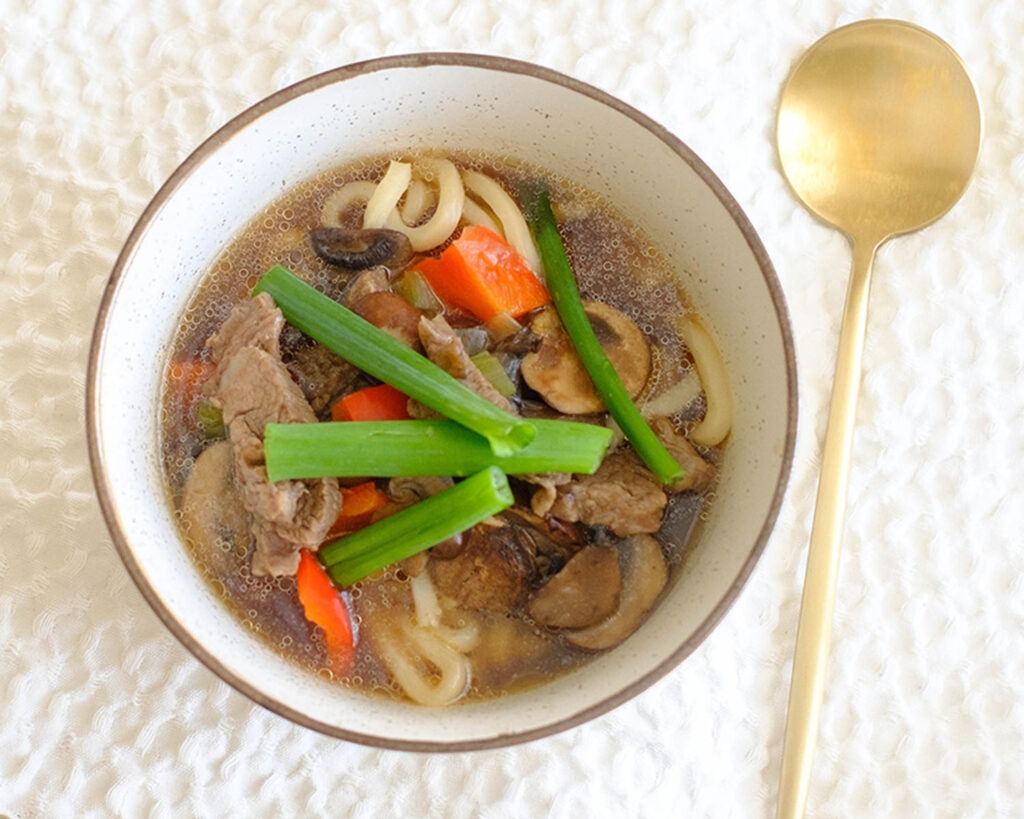
Round bowl with beef soup and udon noodles.

Instant Pot Recipe for Beef Udon Noodle Soup

Enjoy this simple and delicious recipe for Beef Udon Noodle Soup that you can make in your Instant Pot.
No ratings yet
Prep Time 5 minutes
Cook Time 35 minutes
Course dinner, Main Course
Cuisine Asian
Servings 2

Equipment

  • knife
  • cutting board
  • Instant Pot

Ingredients
  

  • 12 oz lean beef stew meat
  • 1/2 each white onions (sliced)
  • 1/2 cup green onions (sliced)
  • 1 each red bell pepper (cubed)
  • 1 cup mushrooms (sliced)
  • 2 each garlic cloves (peeled)
  • 1 tablespoon ginger (grated)
  • 3 cups beef broth
  • 2 tablespoon soy sauce
  • 1/2 teaspoon salt
  • 1/4 teaspoon pepper
  • 1/4 teasponn garlic powder
  • 1/4 teaspoon star anise
  • 1 tablespoon honey
  • 1 bay leaf
  • 2 cups udon noodles

Instructions
 

  • Add the beef, onions, half of the green onions, garlic, bell peppers, mushrooms, broth, honey, soy sauce, salt, and pepper to the pot.
  • Close the lid of the Instant Pot and set the valve to "sealing". Cook on high pressure for 25 minutes
  • Once the cooking cycle is complete, allow the pressure to naturally release for 5 to 10 minutes before manually releasing any remaining pressure.
  • Open the lid and ladle the soup over a bowl of udon noodles. Garnish with sliced green onions.

Notes

If you don’t have an instant pot, you can use a slow cooker and cook it on high for 4 to 6 hours

Similar Recipes

chicken soup

One Pot Mexican Chicken Soup

sweet potato blt

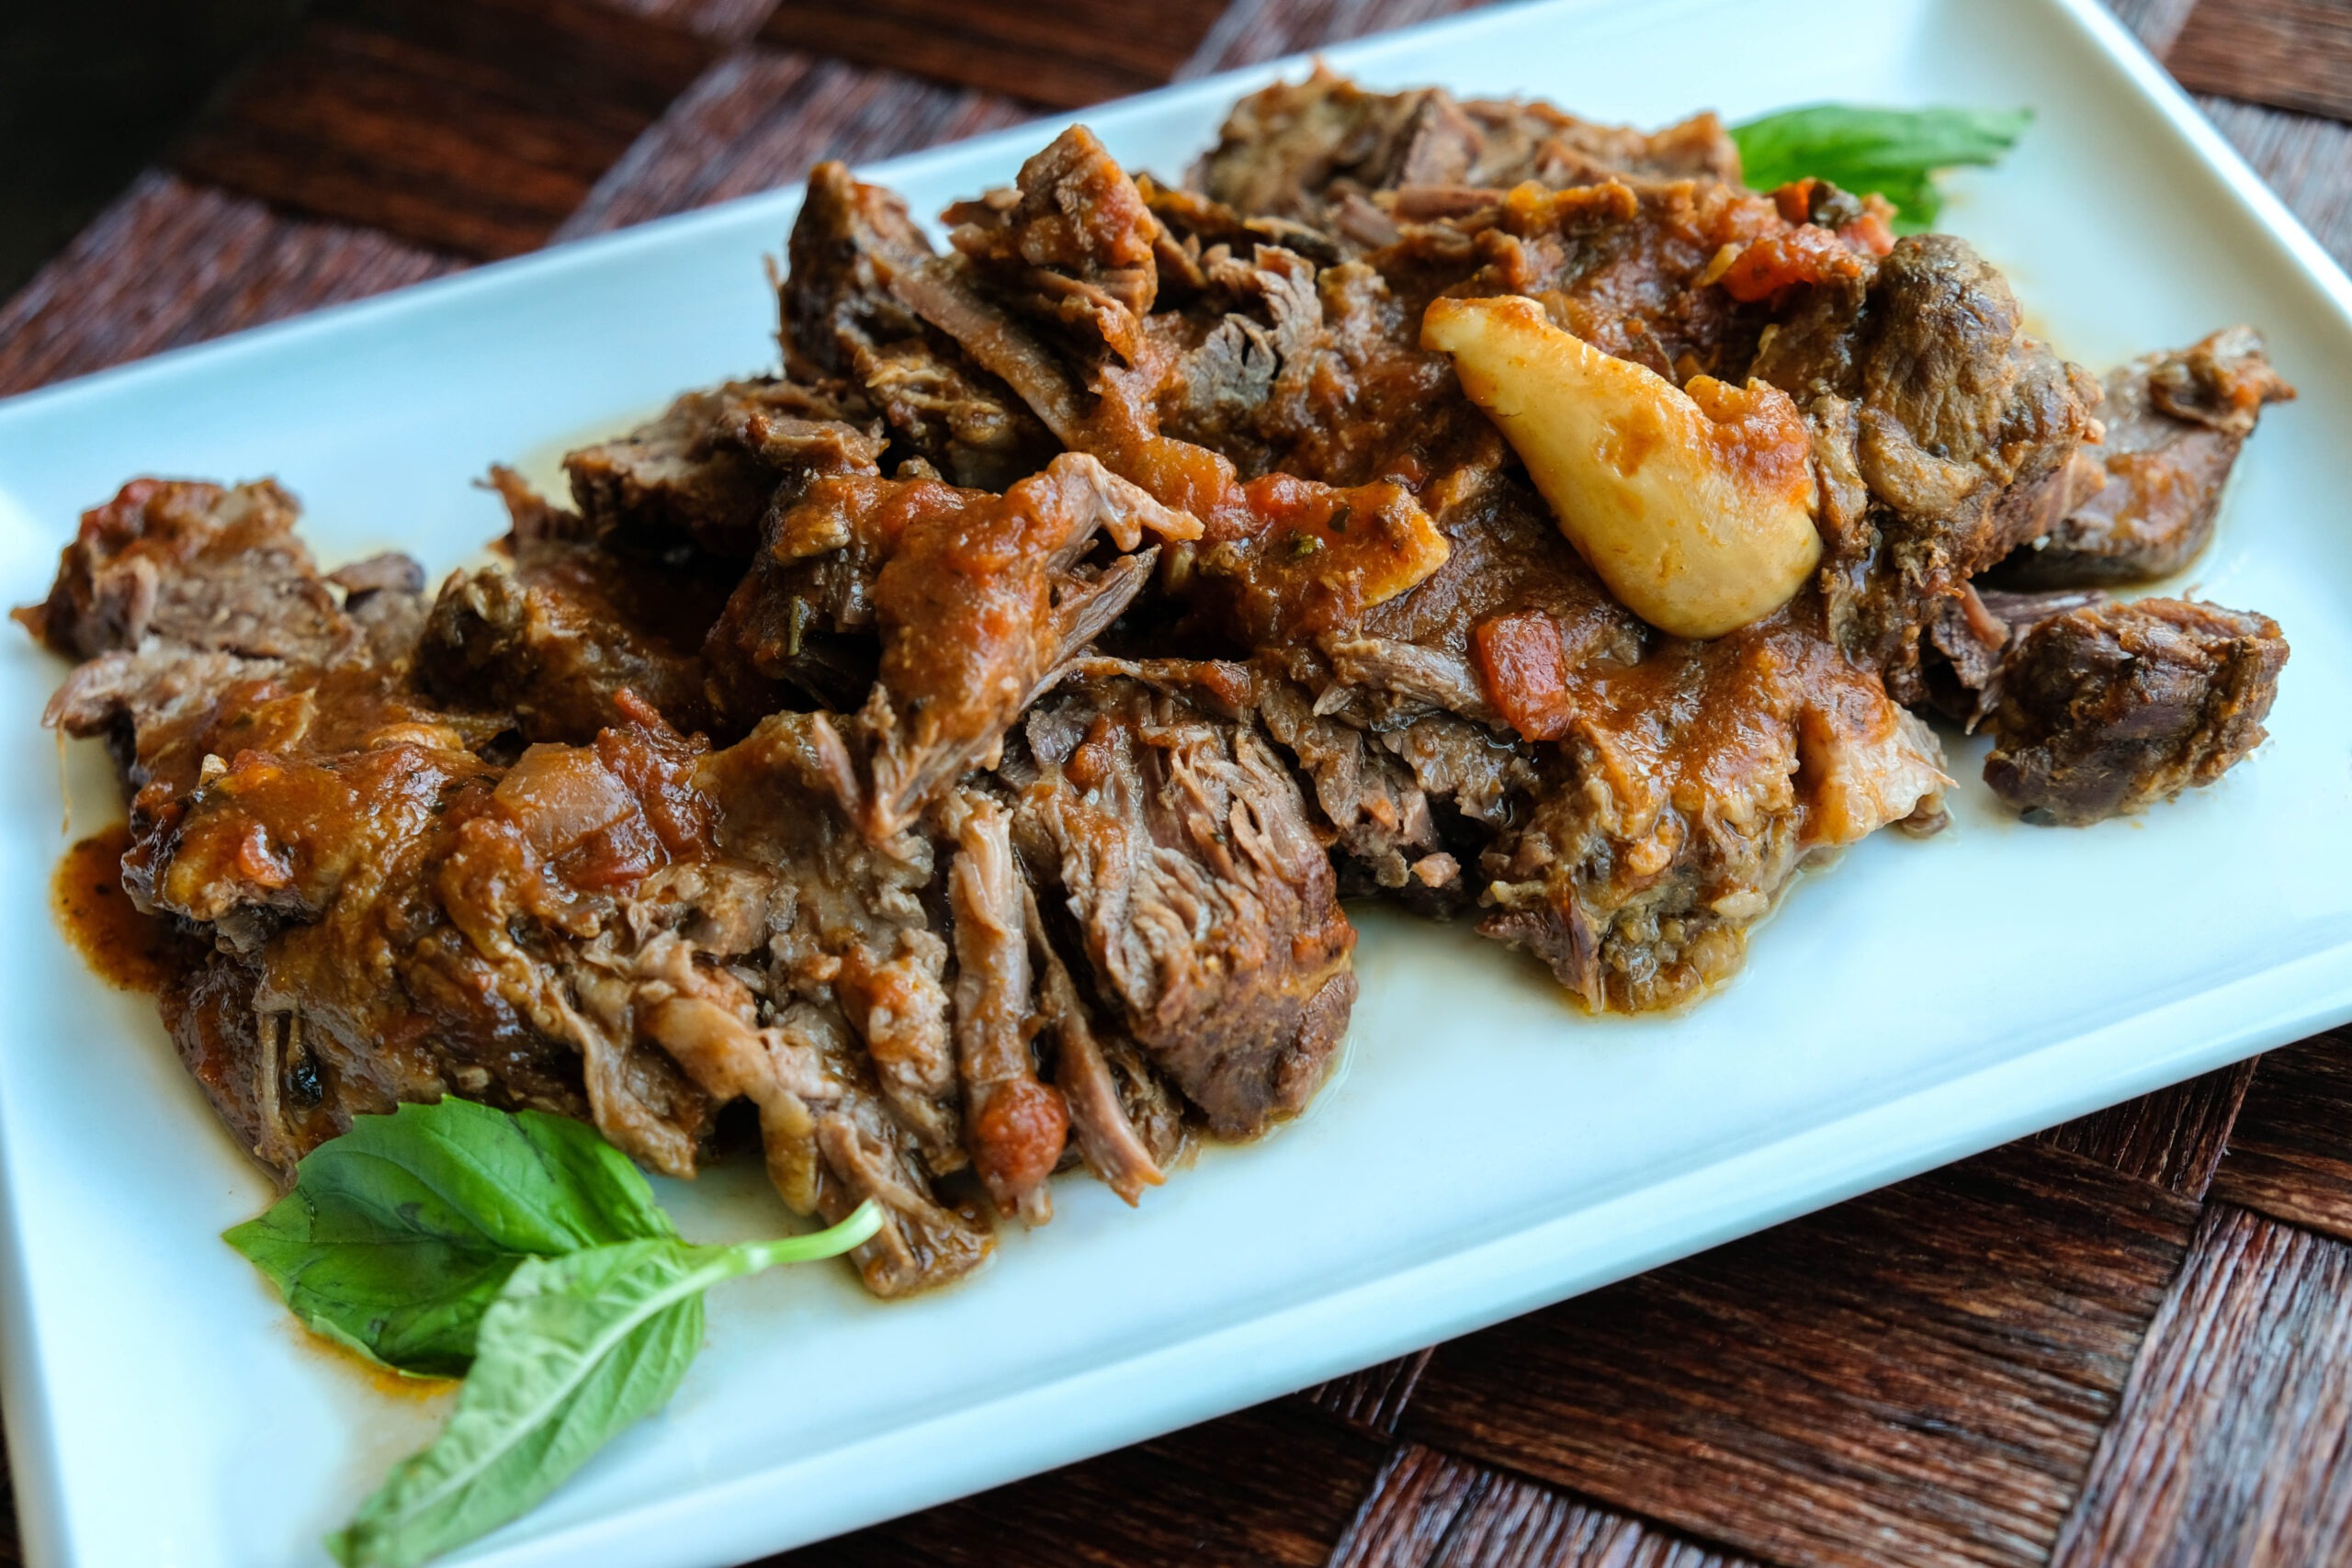
Instant Pot Beef Ragu

pork carnitas

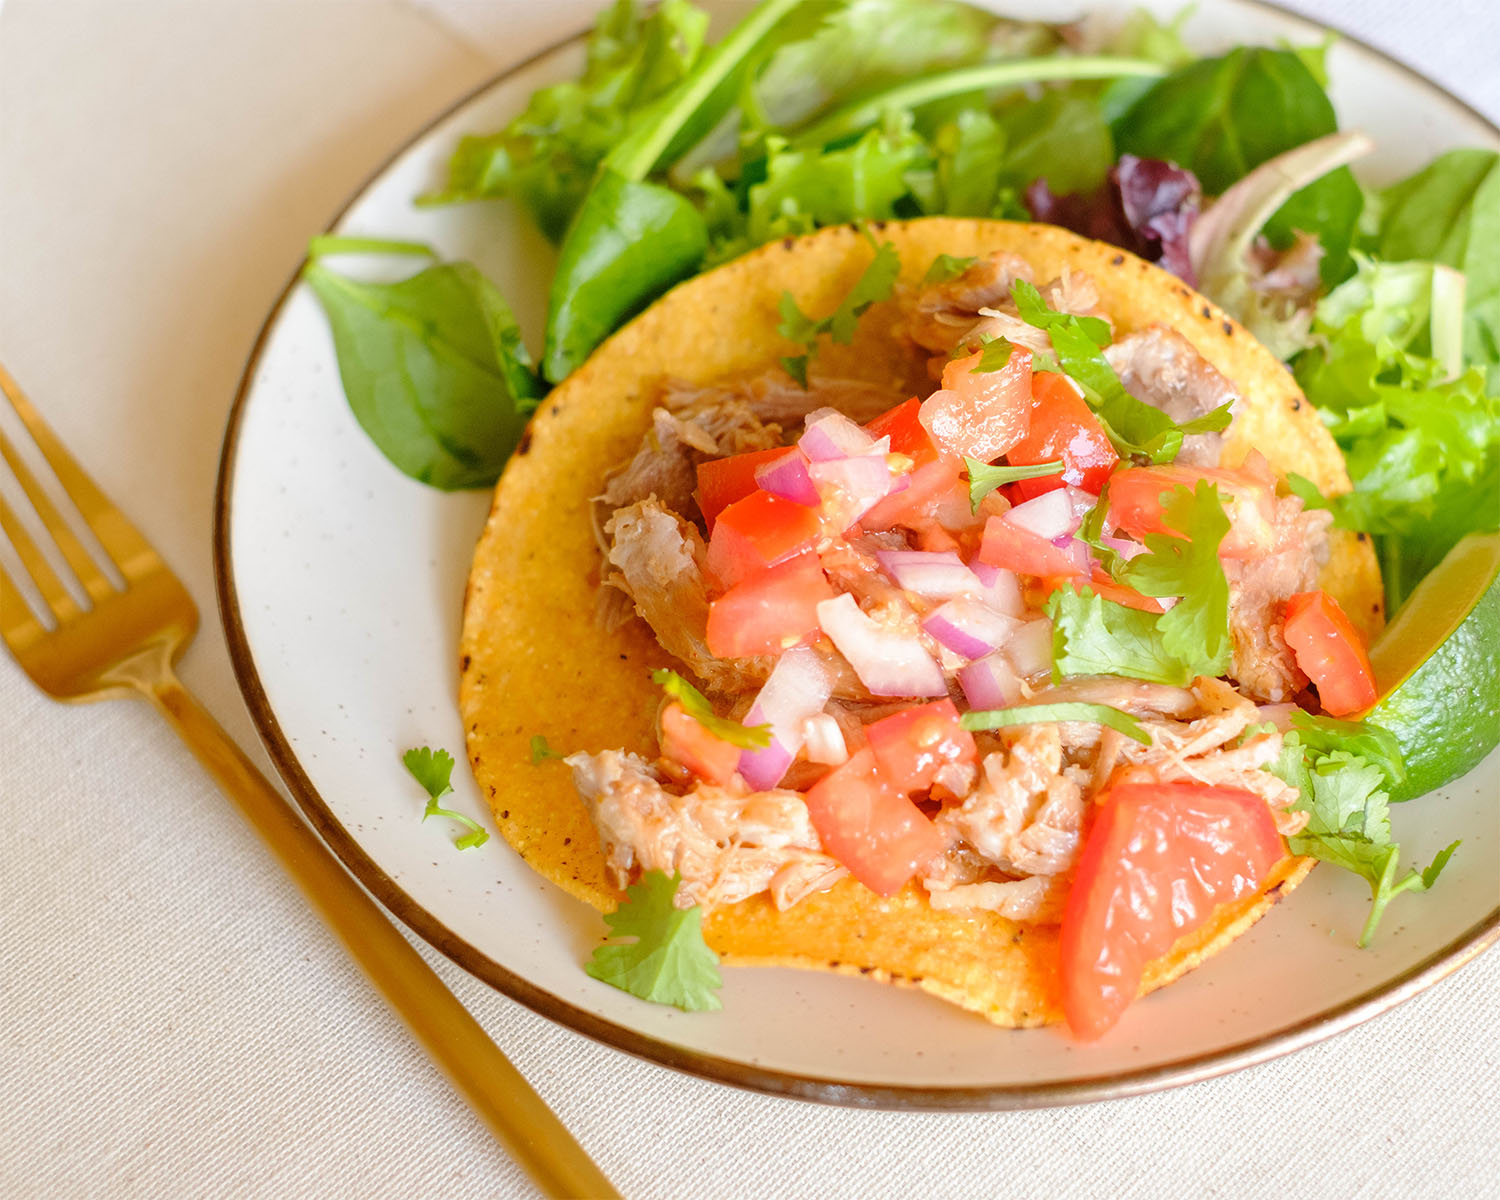
Instant Pot Pork Carnitas

You Might Also Like

Frequently Asked Questions

Can I make this beef udon noodle soup with my slow cooker?

Yes, you can cook the beef and vegetables on low for 8-10 hours or on high for 4 to 6 hours. After the beef cooks, ladle the soup over the udon noodles.


Are udon noodles gluten free?

Udon noodles are not gluten free. Their primary ingredient is wheat flour, which contains gluten. If you have a gluten allergy, you can substitute with rice noodles.


What is the difference between udon noodles and ramen noodles?

Udon noodles are thicker than ramen noodles. The main big difference is that ramen is made with egg while udon is vegan.