
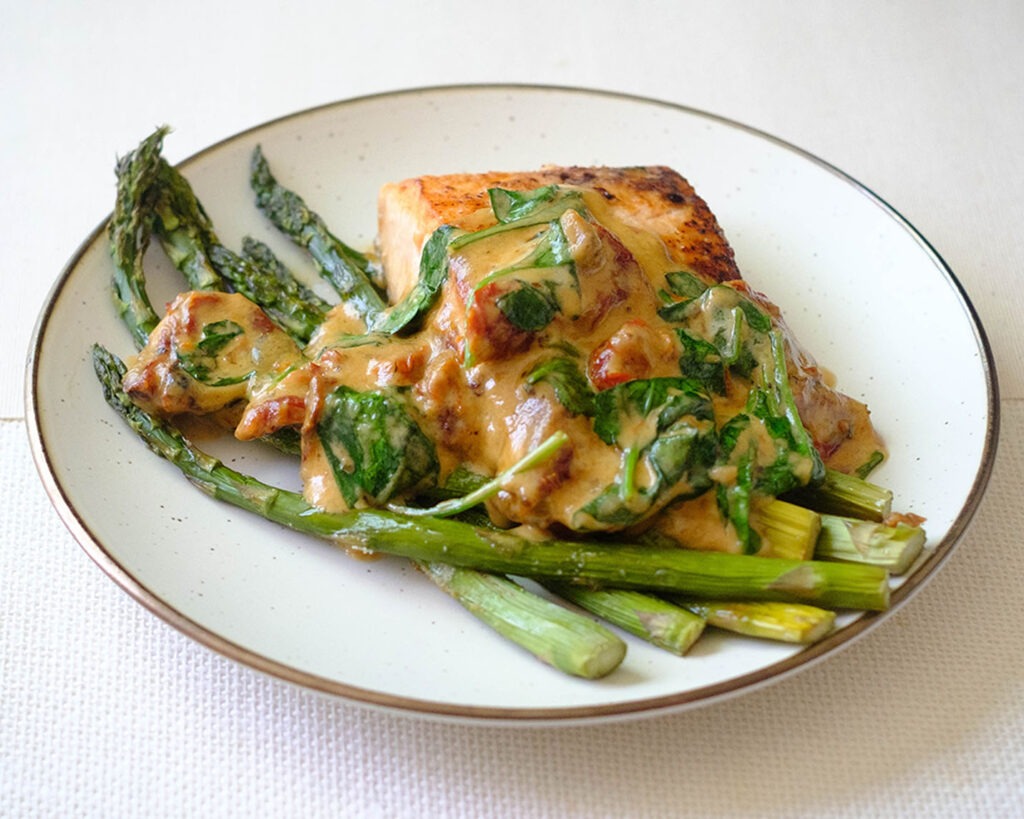
Pan-Seared Salmon with Creamy Sun-Dried Tomato Sauce and Roasted Asparagus is a fantastic meal prep easy salmon recipe option that brings the flavors of a high-end restaurant right to your own dining table. With its combination of succulent salmon, tangy sun-dried tomatoes, creamy sauce, and crispy asparagus, this dish is a true winner.
This post may contain affiliate links. Please see our privacy policy for details.
Why This Recipe is Great for Meal Prep
Balanced Macronutrients: This dish contains a good balance of healthy fats, lean protein, and complex carbohydrates from the vegetables. Such balanced meals help regulate blood sugar levels, keep you satisfied, and prevent energy crashes.
Home-Cooked Control: Preparing this dish at home allows you to control the ingredients and portion sizes. It gives you the power to reduce sodium, unhealthy fats, and unnecessary additives often found in restaurant dishes.
Meal Prep Convenience: Preparing this dish in advance ensures you have a healthy and delicious option readily available during busy days. Having pre-portioned meals can help you avoid making less healthy choices when you’re short on time.

To Prepare This Salmon Recipe You’ll Need
- To start off, you’ll need some glorious salmon fillets. Opt for fresh, high-quality salmon that’s been sustainably sourced for the best flavor.
- Next up, we’ve got garlic, the aromatic hero that adds a delightful punch to any dish.
- Sun-dried tomatoes bring their unique tanginess to the table, infusing the creamy sauce with their concentrated flavor.
- Speaking of the sauce, we’ll be incorporating some luxurious heavy cream to create a velvety texture that will make you feel like you’re dining in a five-star restaurant.
- And to add a touch of vibrant green, we’ll toss in some fresh spinach, which beautifully complements the creaminess of the sauce.
- Now, let’s not forget our lovely asparagus, a wonderful vegetable that roasts to perfection. It adds a delightful crunch and earthy flavor to this dish, making it a well-rounded and nutritious option.
Easy Recipe Steps to Make Pan-Seared Salmon
- Begin by searing the salmon fillets in a hot pan, achieving that perfect golden crust while keeping the fish moist and flaky on the inside.
- Next, remove it from the pan and set the salmon aside.
- In the same pan, sauté garlic until fragrant, then add the sun-dried tomatoes and heavy cream. Then, add the salmon back to the sauce to finish cooking. Allow the sauce to simmer and thicken, infusing it with the irresistible flavors of garlic and tomatoes.
- Lastly, toss in the spinach, letting it wilt gently into the creamy goodness.
- Meanwhile, roast the asparagus in the oven.
Reference the recipe card below for detailed instructions.
Meal Prep Tips
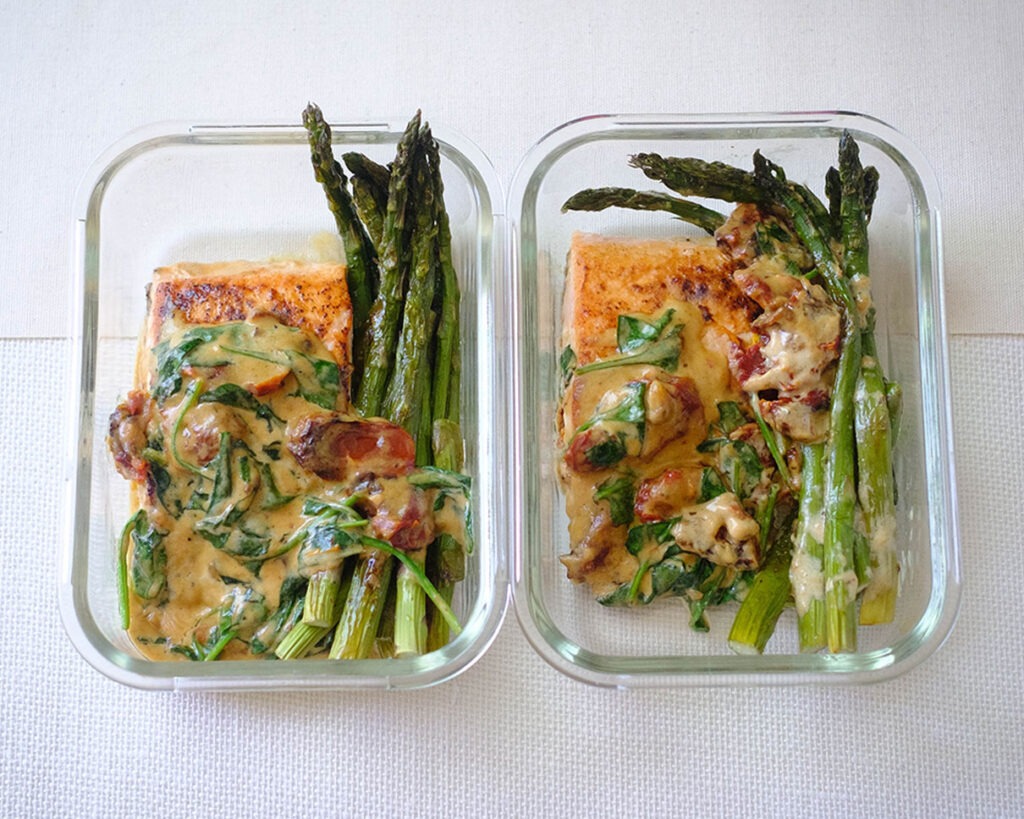
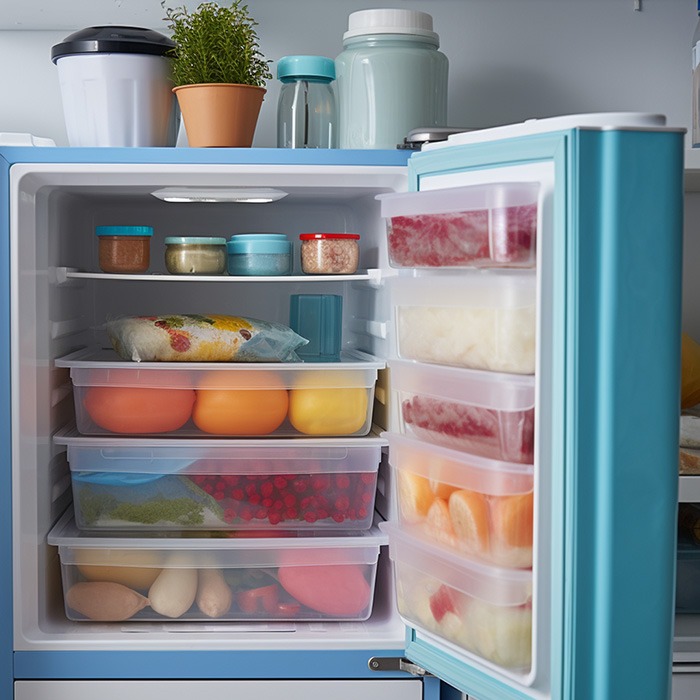
- Now, let’s talk about meal prep and storage tips. This dish is a wonderful option for preparing in advance, allowing you to enjoy a restaurant-quality meal throughout the week. Once cooked, divide the salmon, sauce, and roasted asparagus into individual meal-sized portions.
- Store them in airtight containers in the refrigerator for up to 3 days, or freeze them for longer-term storage.
- To elevate this meal even further, consider pairing it with some fluffy quinoa or fragrant jasmine rice. The grains will soak up the luscious sauce, creating an irresistible combination. Additionally, a fresh side salad with a zesty vinaigrette will provide a refreshing contrast to the creamy flavors of the dish.
- Reheating: When ready to enjoy, gently reheat the salmon and asparagus in the oven at a low temperature to retain their texture and flavors. Alternatively, you can microwave them briefly, taking care not to overcook them.


Frequently Asked Questions
Can I use frozen salmon fillets for this recipe?
Absolutely! While fresh salmon is ideal, you can definitely use frozen fillets. Just make sure to thaw them thoroughly before cooking to ensure even cooking and optimal texture.
Can I substitute the heavy cream with a lighter alternative?
Yes, you can! If you prefer a lighter version, you can substitute heavy cream with alternatives like half-and-half or Greek yogurt. Keep in mind that the sauce’s texture and richness may vary slightly.
How do I know when the salmon is cooked through?
The cooking time for salmon will depend on the thickness of the fillets. As a general guideline, salmon is cooked through when it flakes easily with a fork and reaches an internal temperature of 145°F (63°C)


Pan-Seared Salmon with Creamy Sun-Dried Tomato Sauce and Asparagus
Equipment
Ingredients
Salmon and Seasoning
Sun-Dried Tomato Sauce
Asparagus and Seasonings
Instructions
Asparagus
Salmon and Sauce