
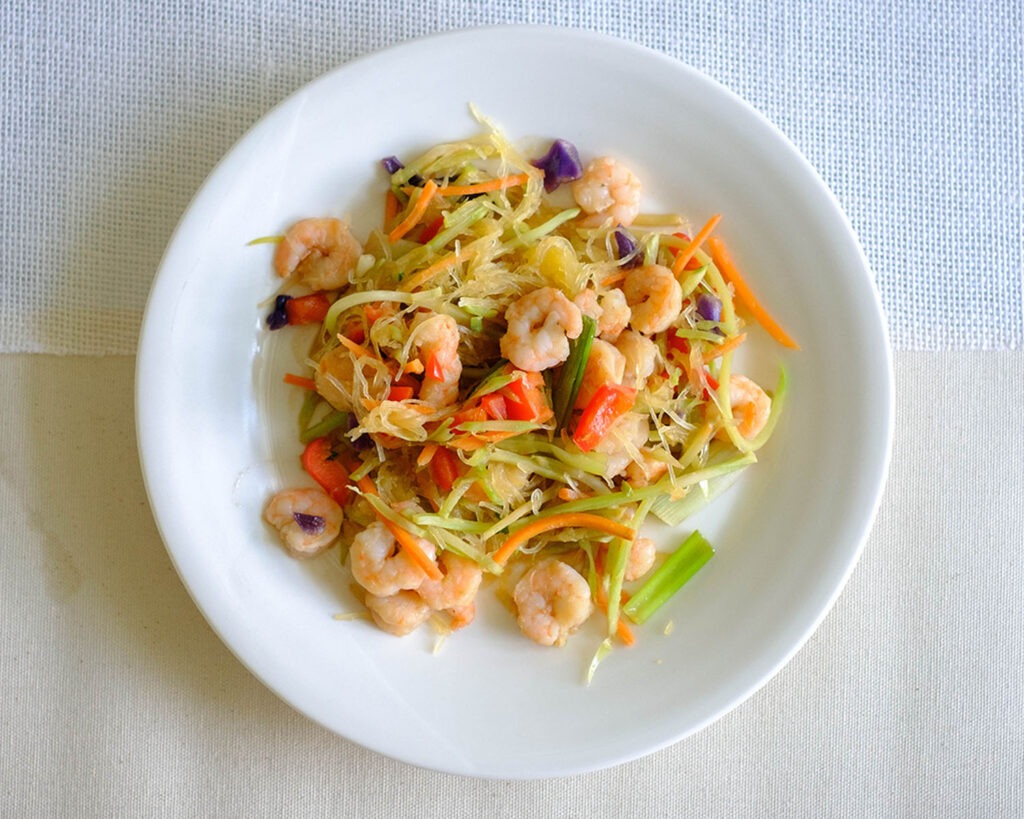
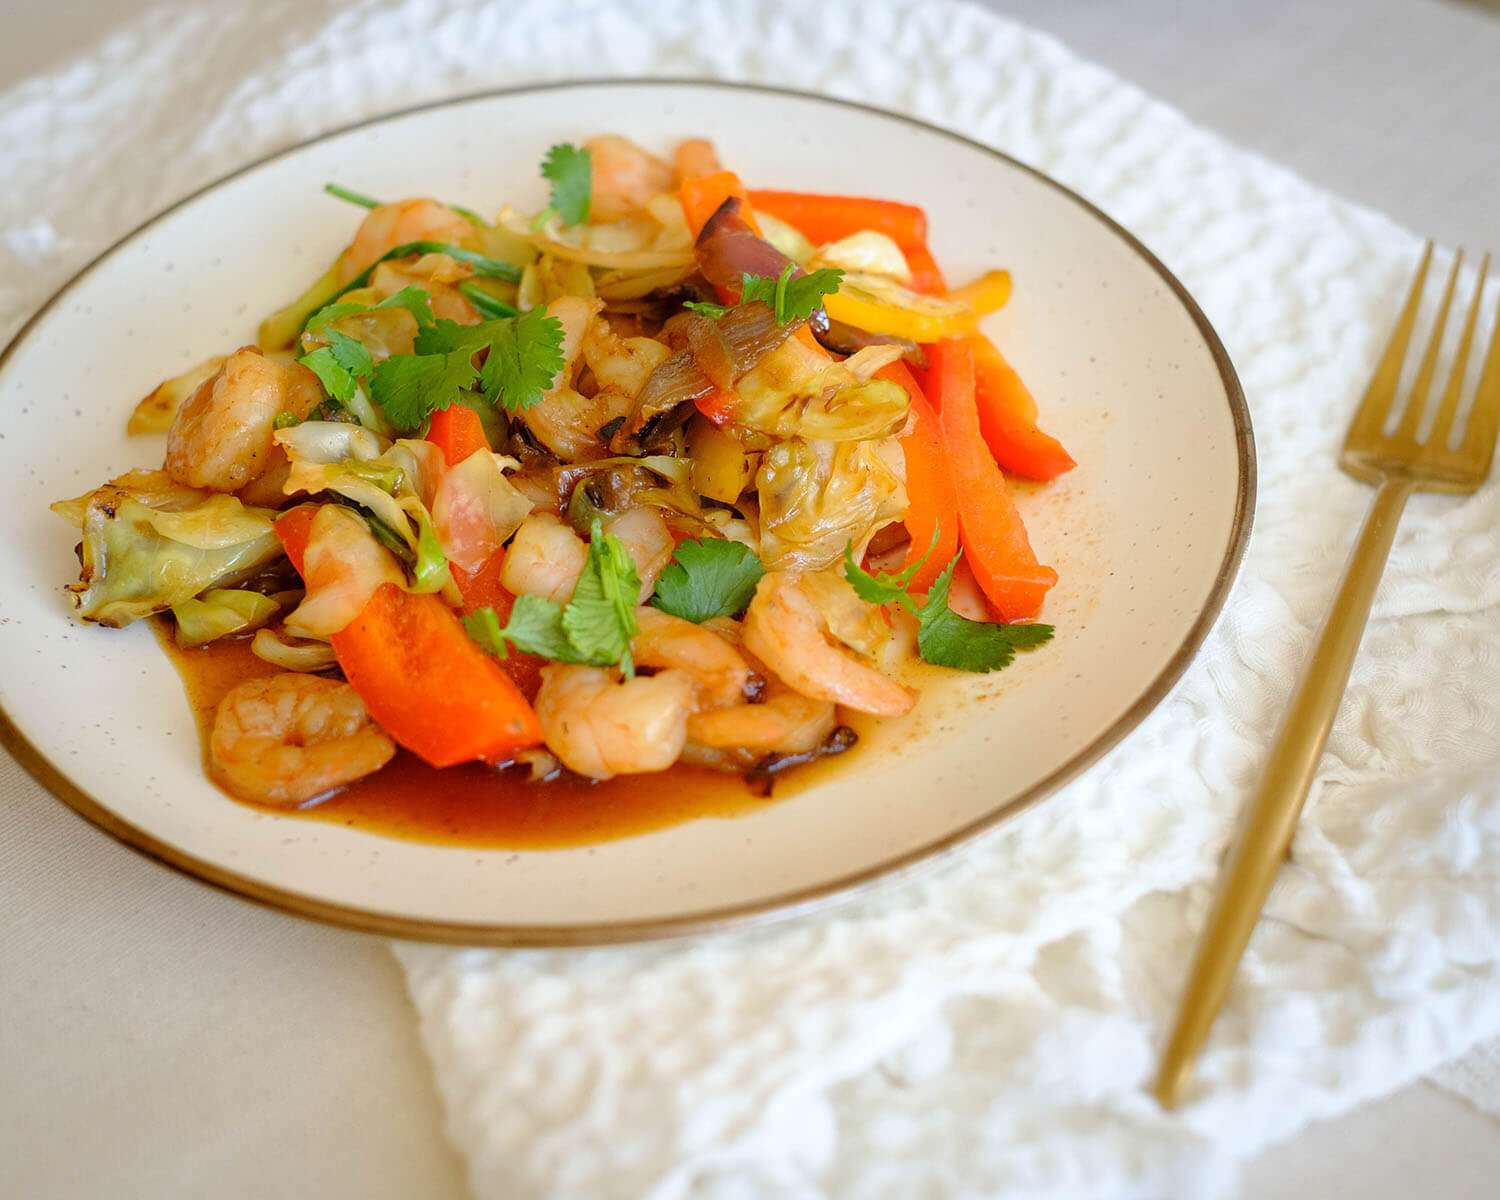
If you’re on a quest for a low-carb alternative to lo mein that doesn’t compromise on flavor, our stir fry shrimp with spaghetti squash is your answer. With its low-carb content, delightful flavors, and nutritious ingredients, it’s a recipe that will satisfy your cravings and keep you on track with your health goals. Get ready to indulge in a guilt-free and scrumptious meal that will leave you wanting more!
This post may contain affiliate links. Please see our privacy policy for details.
Why You’ll Enjoy This Shrimp Stir Fry
- Ah, the classic lo mein—a beloved dish that tempts us with its delightful combination of noodles and flavorful sauce. But for those of us watching our carb intake or following a low-carb lifestyle, indulging in traditional lo mein might not be an option. That’s where our stir fry shrimp with spaghetti squash comes to the rescue as a fantastic low-carb alternative!
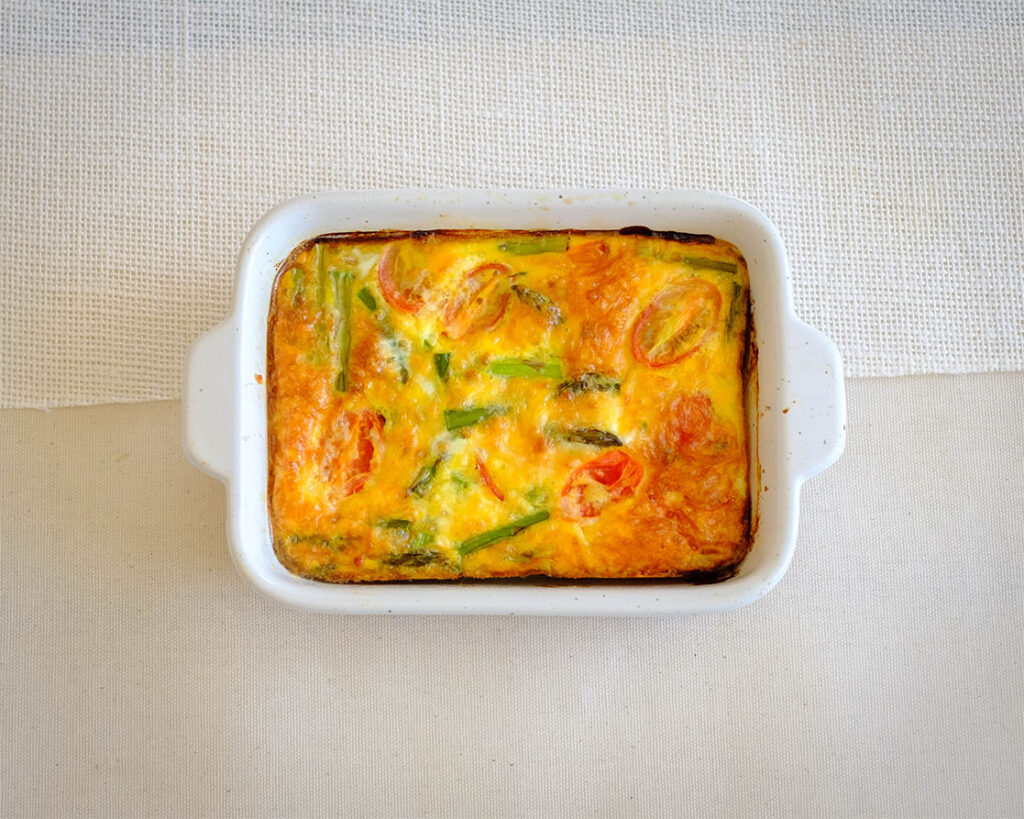
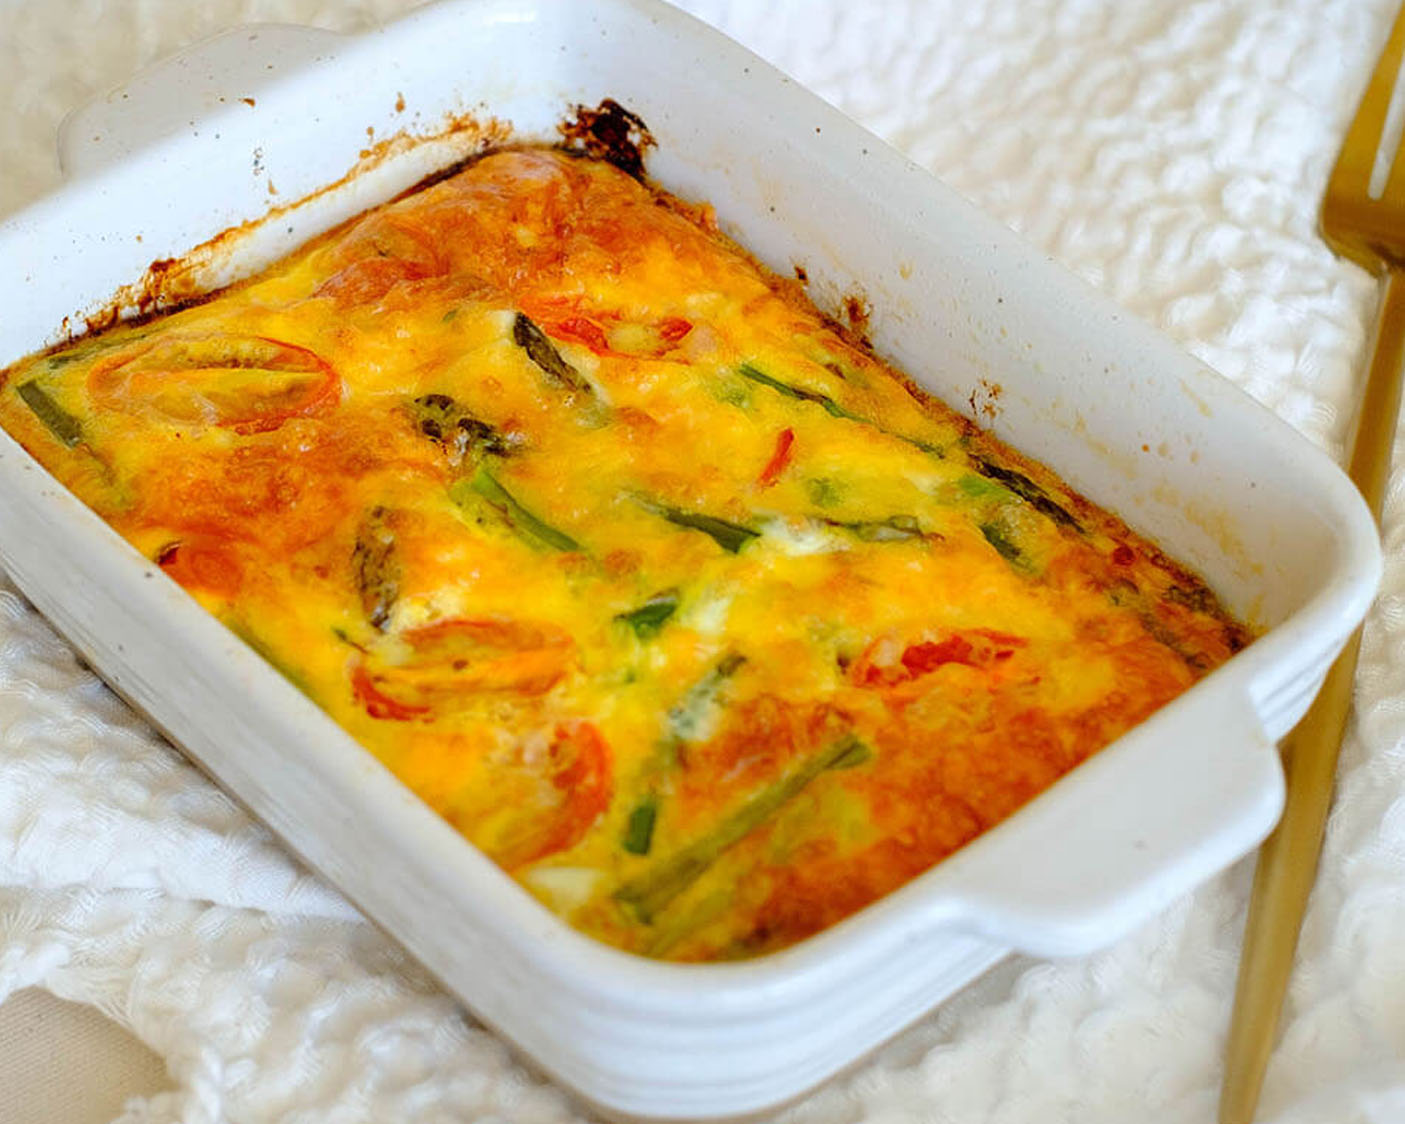
- The star of our dish, spaghetti squash, is a miraculous vegetable that transforms into noodle-like strands when cooked. These strands provide a similar texture to traditional lo mein noodles but without the hefty carb count. So, if you’re craving the satisfaction of a noodle-based stir fry while keeping your carb intake in check, this recipe is an excellent choice.

Simple Ingredients You’ll Need
- By substituting spaghetti squash for traditional lo mein noodles, you’ll significantly reduce the carbohydrate content of the dish. Spaghetti squash is relatively low in carbs and calories compared to wheat-based noodles, making it a healthier option. It’s also packed with essential vitamins, minerals, and dietary fiber, which contribute to a well-rounded and nutritious meal.
- Moreover, the stir fry shrimp and veggies add a protein punch to the dish, making it a satisfying and well-balanced meal. Shrimp is not only delicious but also a lean source of protein that supports muscle growth and repair. Combined with the colorful medley of veggies, you’ll be enjoying a nutrient-dense meal that keeps you feeling full and satisfied.
- Let’s not forget about the flavor! While traditional lo mein relies heavily on soy sauce for its savory taste, our low-carb stir fry brings its own unique blend of flavors. The combination of soy sauce, garlic powder, and lemon juice infuses the dish with a delightful umami profile, accentuating the natural sweetness of the shrimp and the freshness of the veggies. It’s a symphony of flavors that will have your taste buds dancing with joy.

Easy Shrimp Stir Fry Recipe Steps
1. First, preheat your oven to 400°F (200°C). Take a large spaghetti squash and slice it in half lengthwise. Scoop out the seeds and pulp with a spoon. Remember to save those seeds for roasting later if you’re feeling adventurous!
2. Next, brush the flesh of the spaghetti squash with some olive oil and season it with salt and pepper. Place the halves face-down on a baking sheet lined with parchment paper. Pop them into the oven and let them roast for about 40-45 minutes or until the flesh becomes tender and easily shreds into strands with a fork.
3. Once your spaghetti squash is roasted to perfection, let it cool slightly before using a fork to scrape out those glorious spaghetti-like strands.
4. Now, let’s move on to the stir-fry itself. Heat oil over medium-high heat and add an array of vibrant and colorful veggies. You can go wild with your choices here, but some great options include bell peppers, broccoli florets, snap peas, and thinly sliced carrots. Sauté them for a few minutes until they’re tender-crisp, maintaining their vibrant colors and crunch.
5. In the same skillet, toss in your shrimp and cook them until they turn pink and opaque, which usually takes around 2-3 minutes per side. Now comes the part where we infuse our stir fry with incredible flavor. Drizzle some soy sauce over the veggies and sprinkle in a generous amount of garlic powder. Squeeze in the juice of fresh lemon to add a bright and tangy kick. Stir everything together and let the flavors meld for a minute or two.
6. Toss everything together gently, ensuring the flavors blend harmoniously, and the shrimp and veggies are evenly distributed.
Reference the recipe card below for detailed instructions.
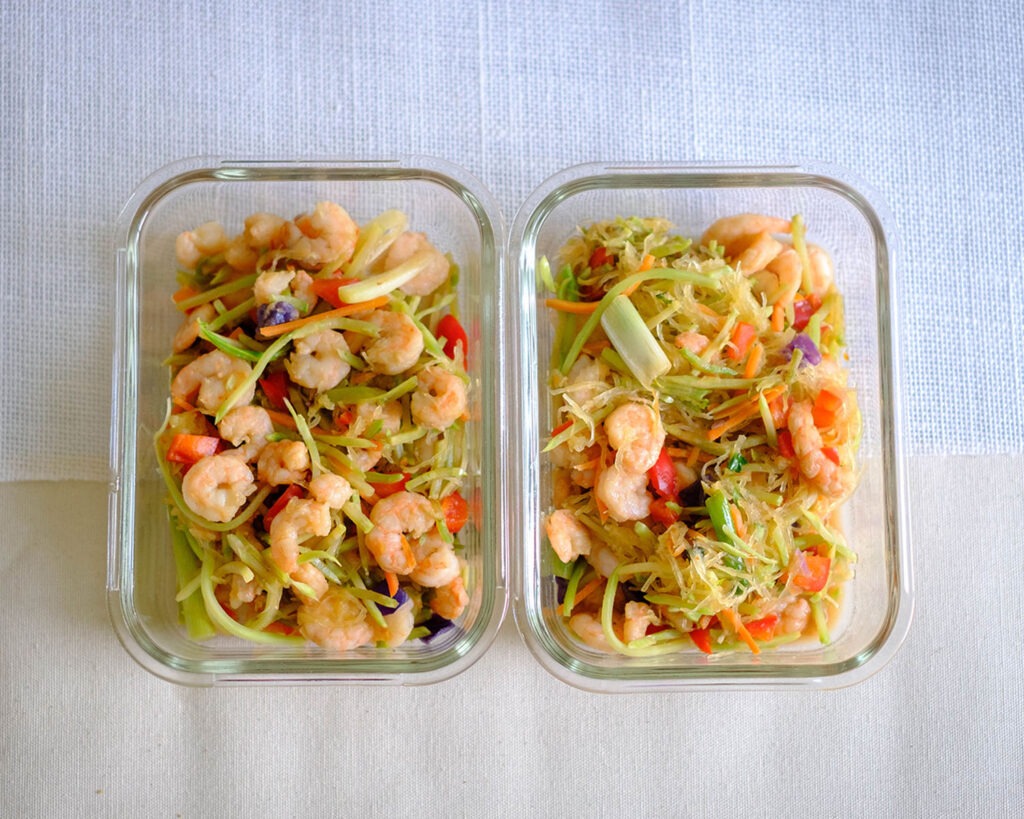
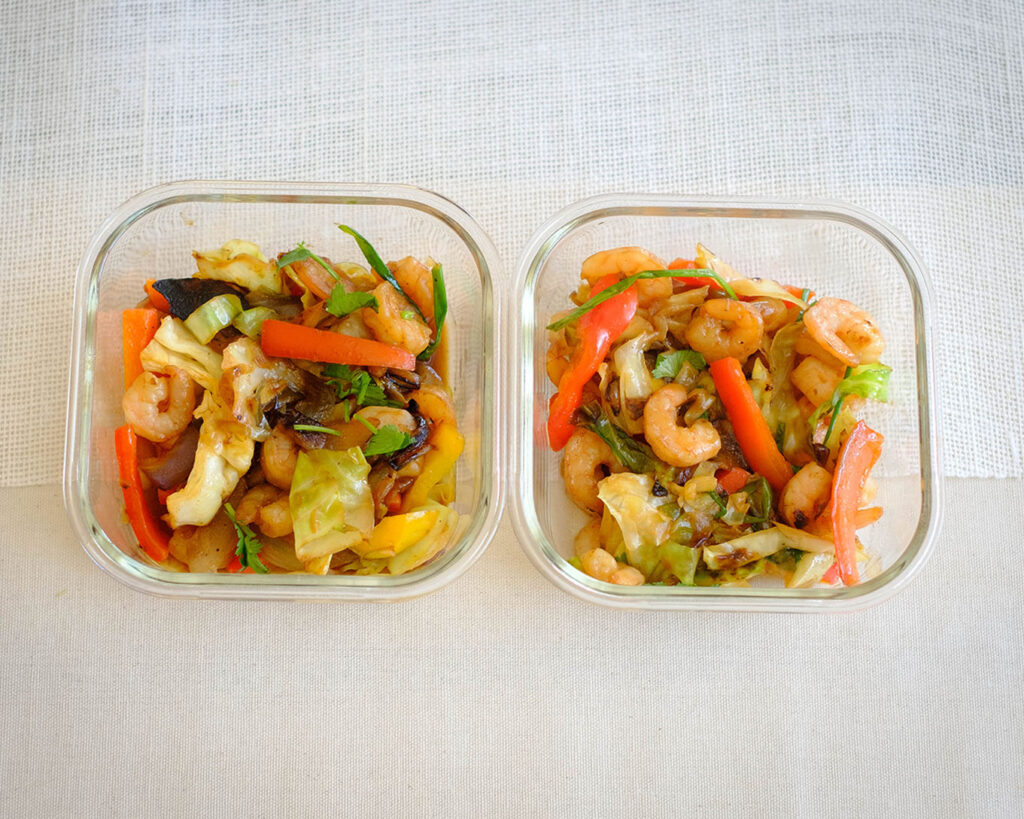
Meal Prep Tips
- Store any leftovers in an airtight container in the refrigerator for up to 3-4 days. Reheat the stir fry in a skillet or microwave until heated through before serving.
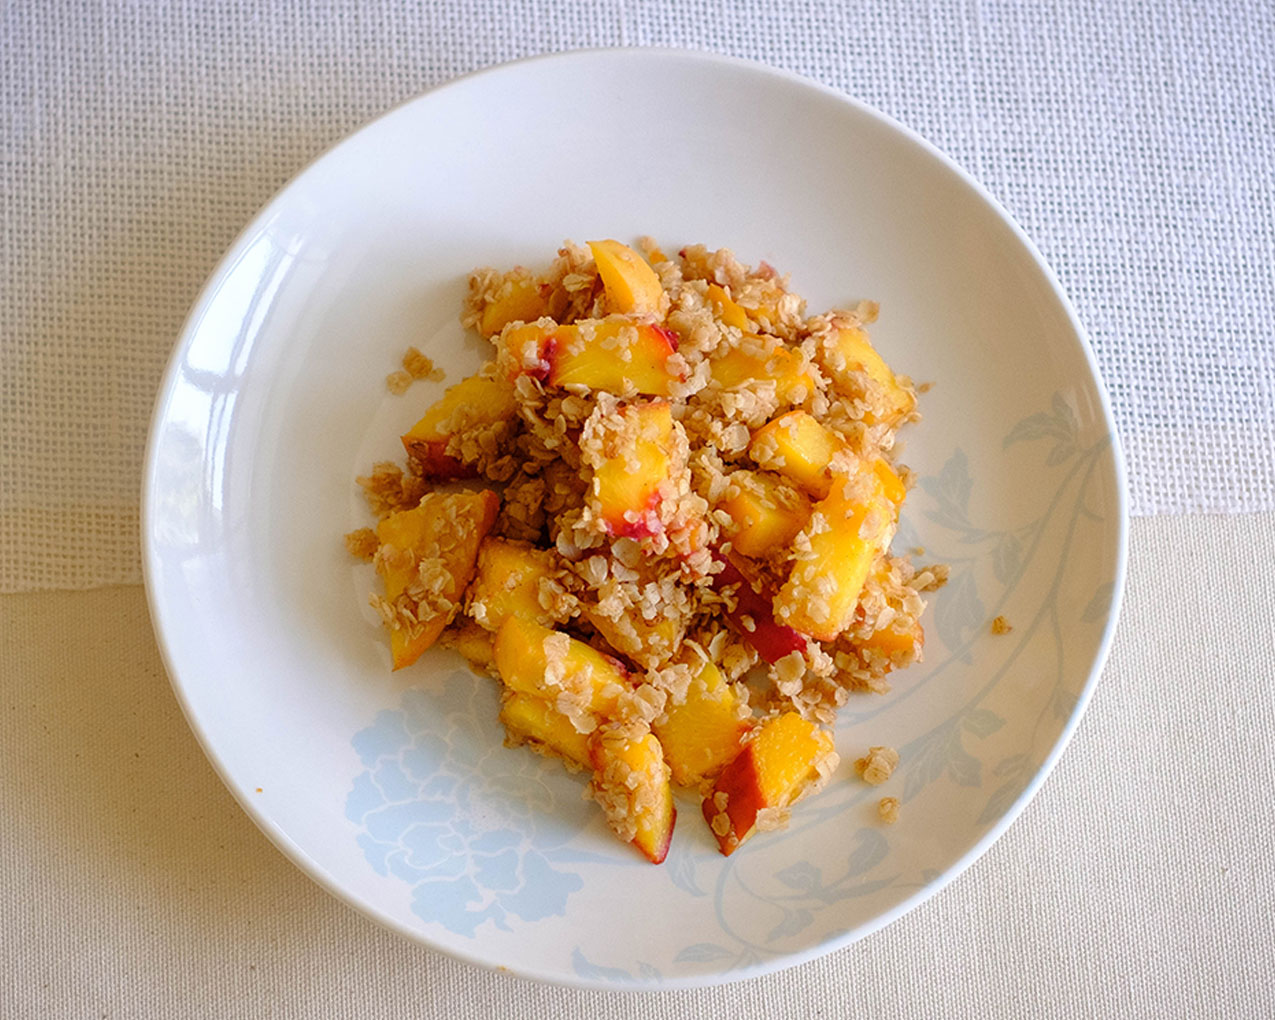
- Now, what if you find yourself with some leftover spaghetti squash? Fear not, my friends, because the possibilities are endless! You can use it as a base for another stir fry, toss it into salads for added texture, or even transform it into a delightful, guilt-free pasta substitute by pairing it with your favorite sauce and toppings.


Frequently Asked Questions
Can I use pre-cooked shrimp for this recipe?
Yes, you can use pre-cooked shrimp if that’s more convenient for you. Simply add the pre-cooked shrimp to the stir fry towards the end, just to warm them through.
Is there a vegetarian or vegan version of this recipe?
Yes! If you prefer a vegetarian or vegan option, you can omit the shrimp and replace it with tofu or your choice of plant-based protein. Additionally, use a vegan-friendly soy sauce and replace the fish sauce, if used, with a vegan alternative or omit it altogether.
What can I do with leftover spaghetti squash?
Leftover spaghetti squash can be used in various ways. You can mix it with marinara sauce and grated cheese for a low-carb spaghetti squash bake, add it to soups or stews for added texture, or toss it with pesto and roasted vegetables for a flavorful side dish.


Stir-Fry Shrimp with Spaghetti Squash
Equipment
Ingredients
Spaghetti Squash Bake
Stir Fry
Instructions
Spaghetti Squash Bake
Stir Fry