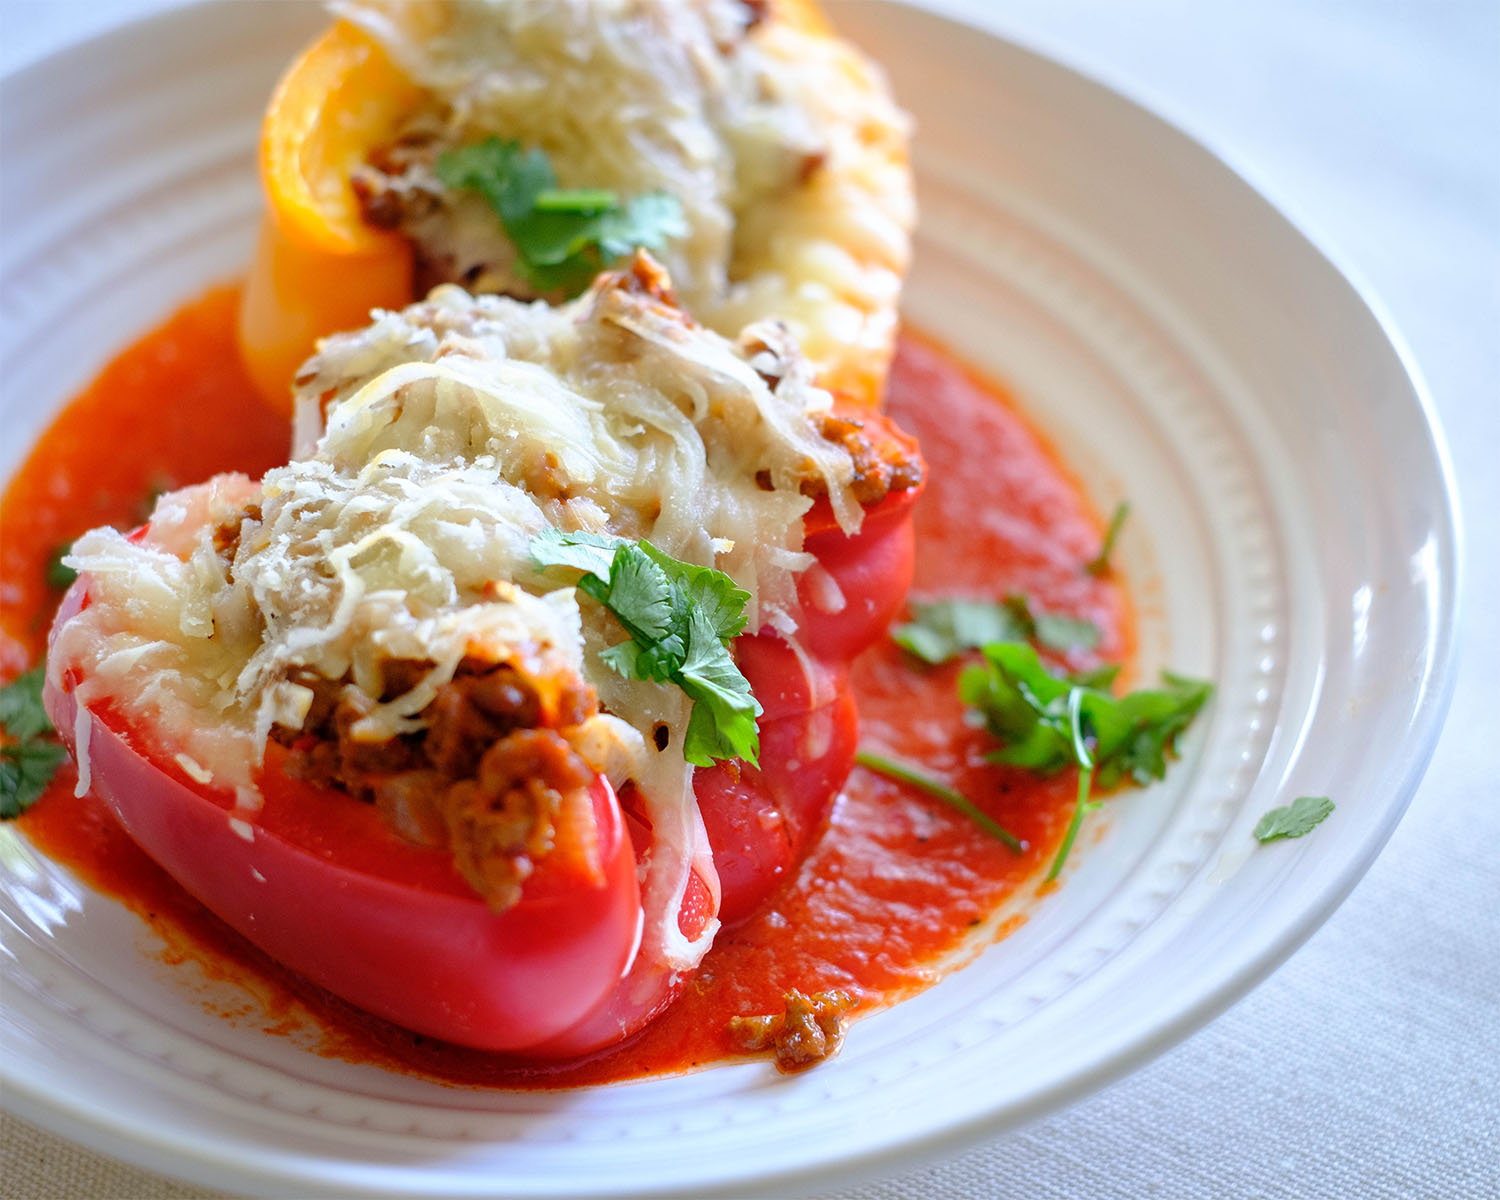
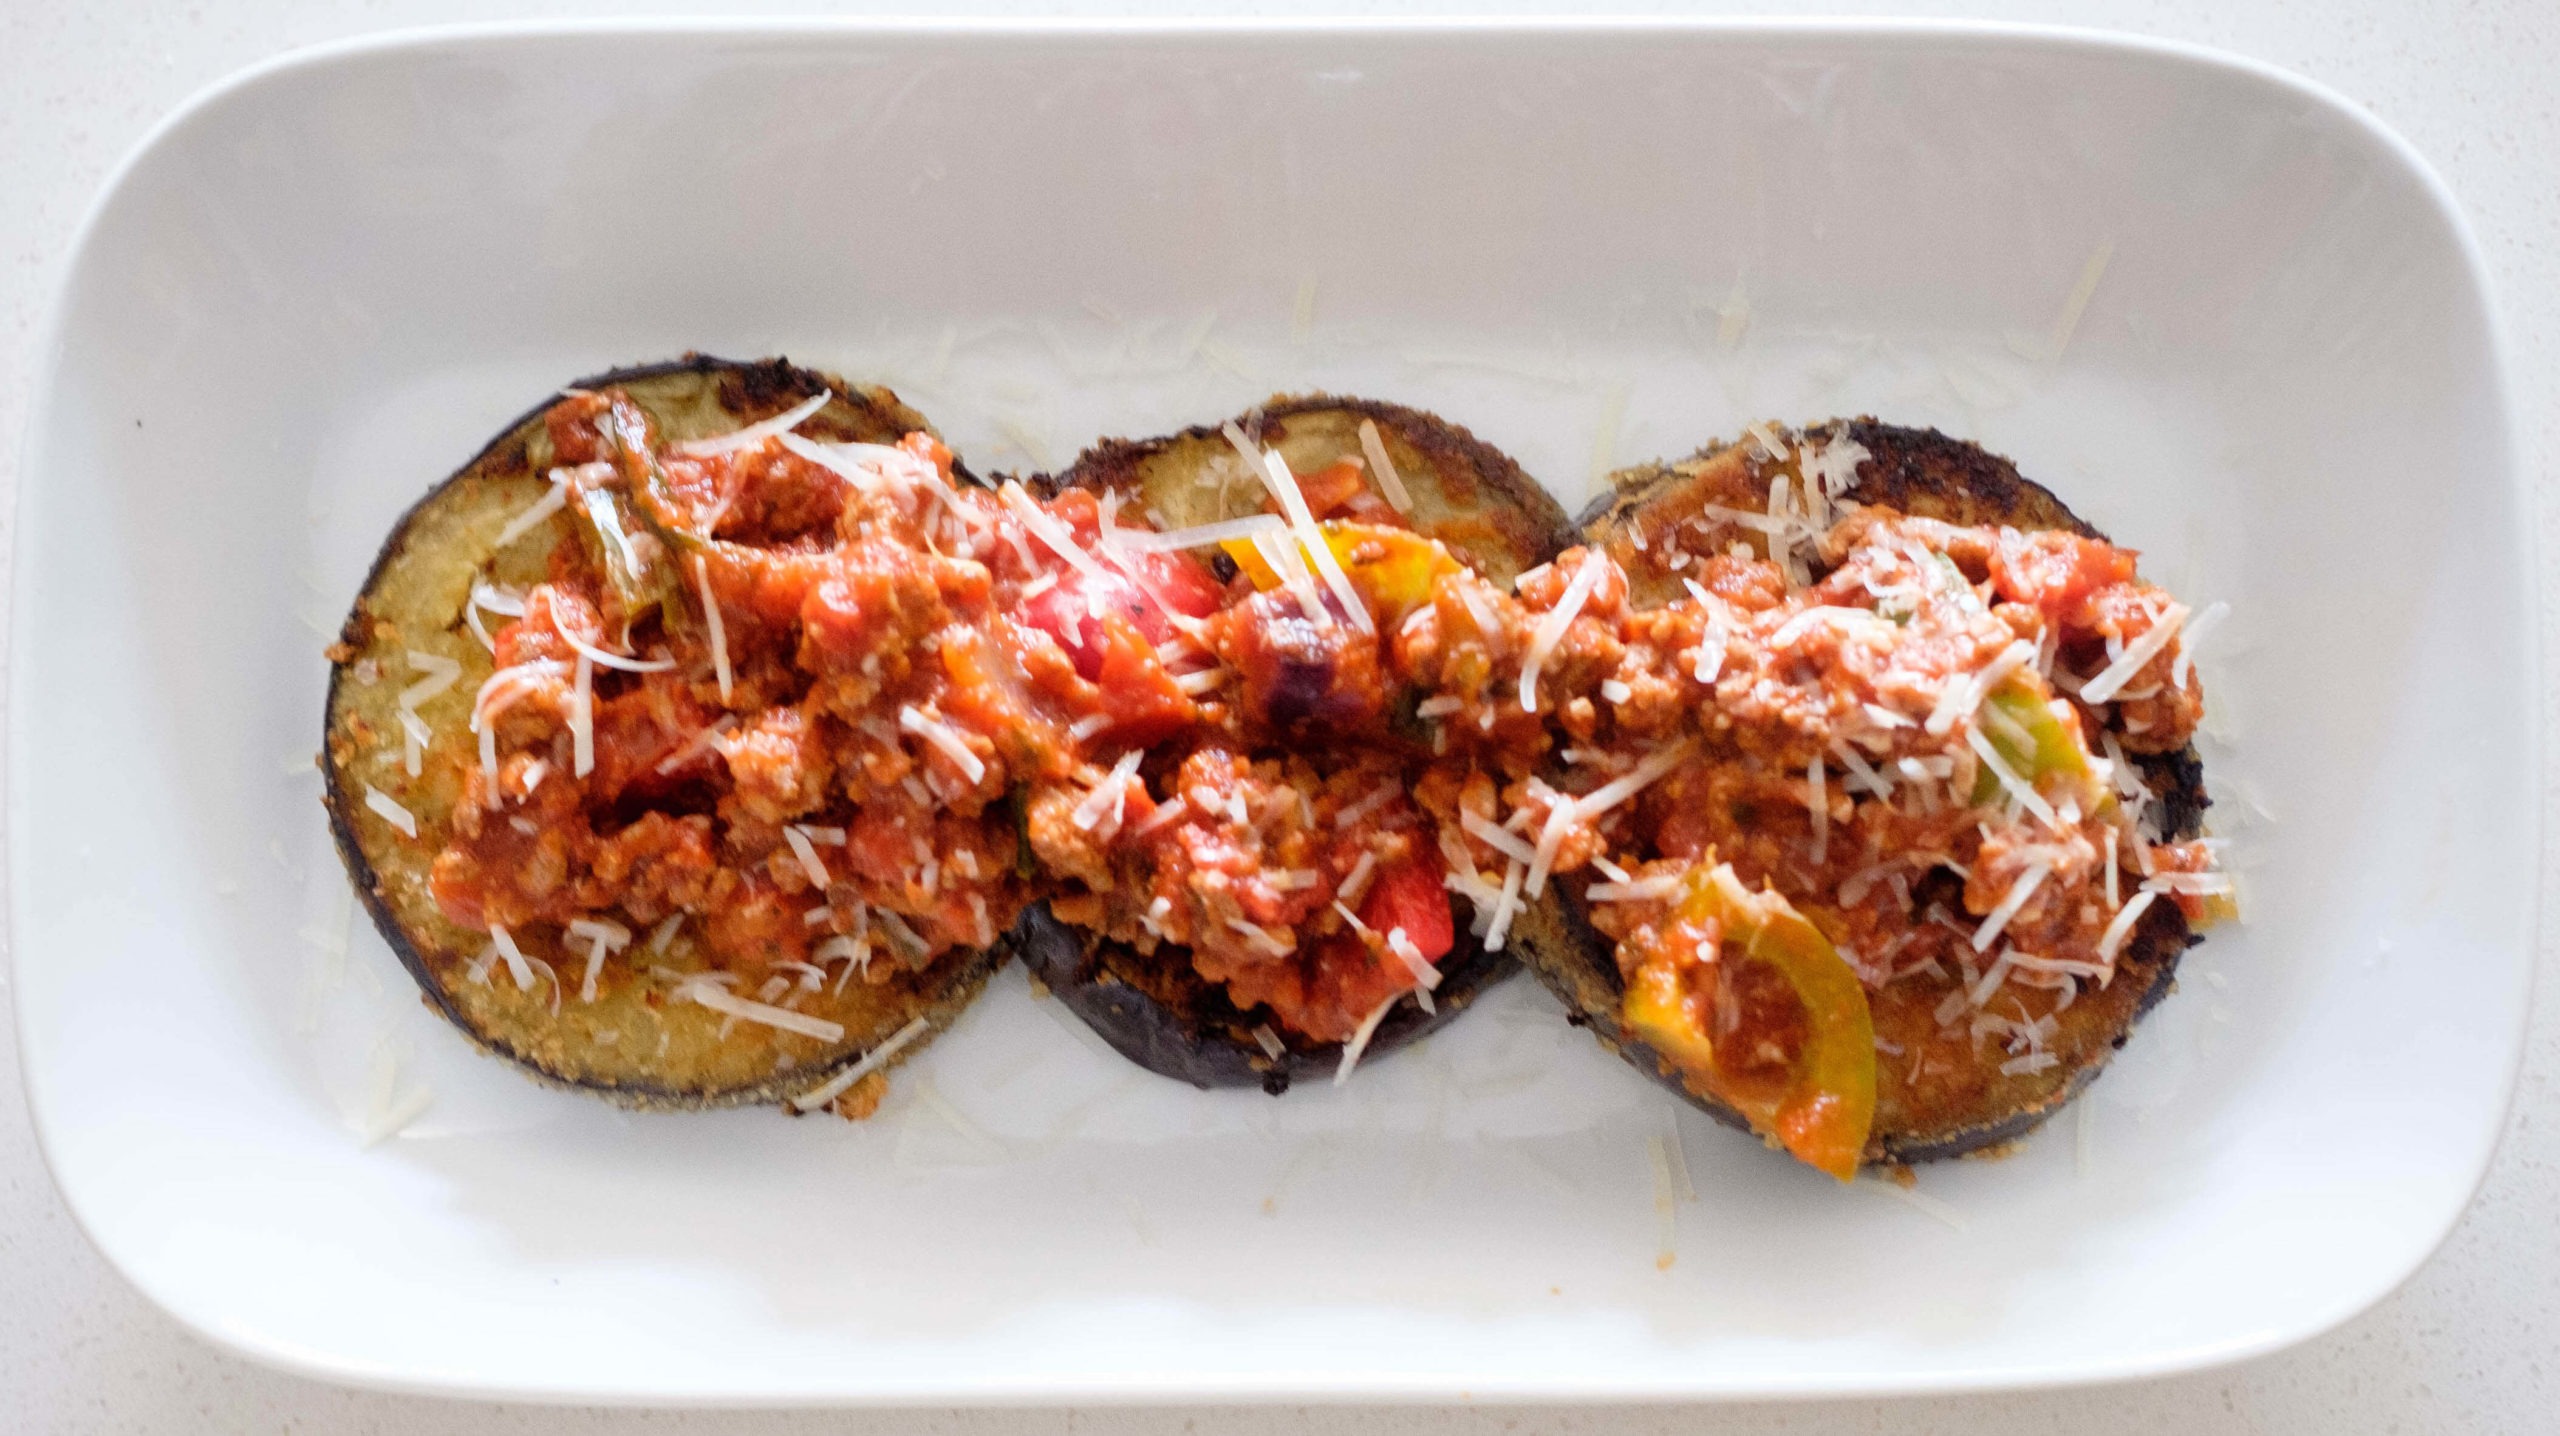
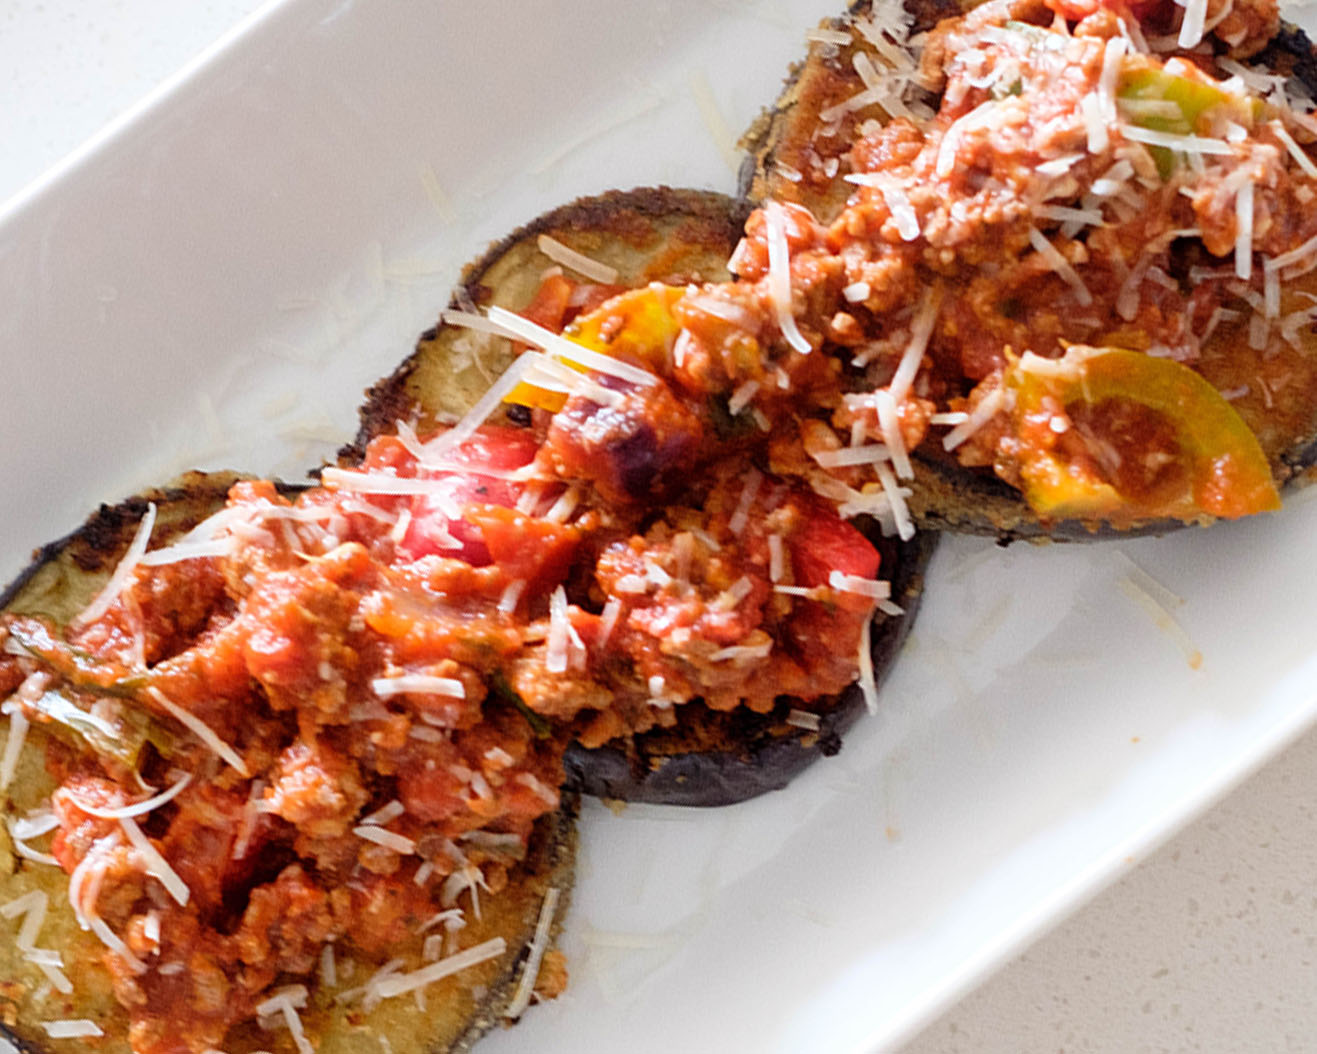
Here’s a low-carb, gluten-free version of lasagna that has all the hearty flavors of the classic lasagna dish. Best of all, the tasty ingredients are all packed in sweet and vibrant bell pepper cups.
This post may contain affiliate links. Please see our privacy policy for details.

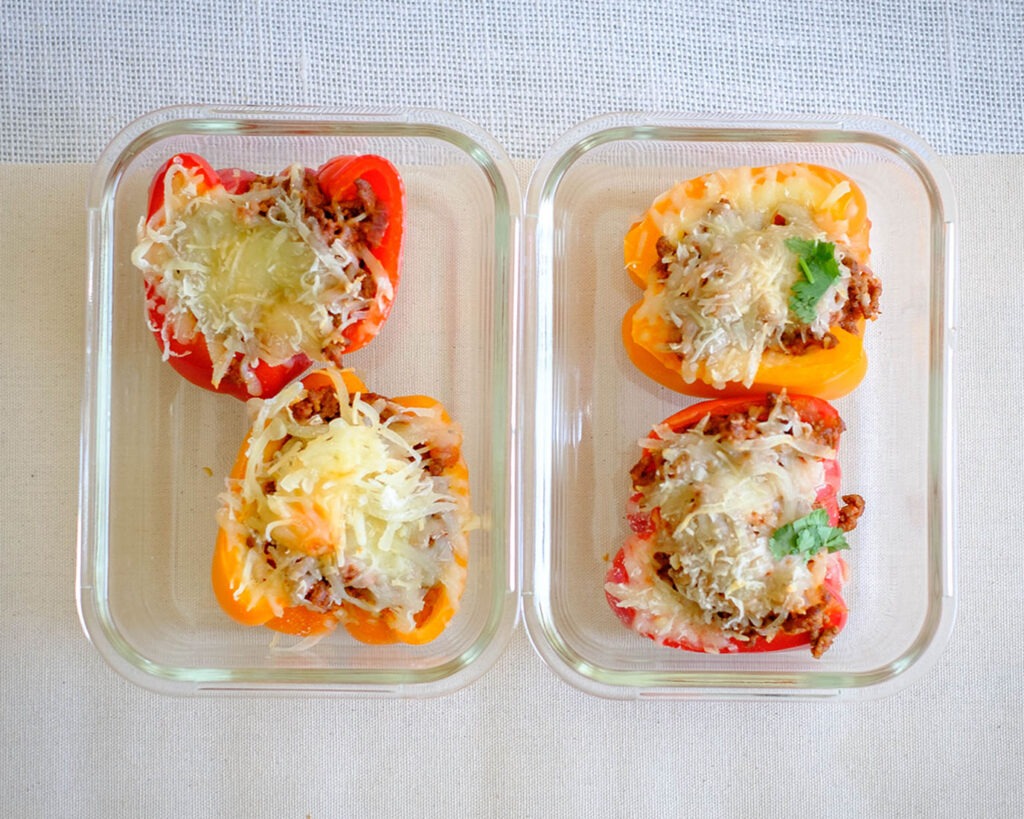
Now, we know that lasagna can sometimes be tedious to make, but here’s an easy meal prep version that you can make in advance for your next weeknight meal.

Why is this lasagna pepper recipe great for meal prep?
- Fewer prep steps than your traditional lasagna recipe, but has all the same flavors found in the classic dish
- You can still add tons of flavor even without the extra pasta, and it’s a great way to incorporate more vegetables into the dish
- You can keep it simple by using pre-made marinara sauce

Super Simple Ingredients You’ll Need for Stuffed Lasagna Peppers
- Ground Beef: We used lean ground beef, but you can also use ground turkey, ground chicken, and ground Italian pork sausage
- Marinara Sauce: We used the store-bought sauce. Be sure to read the nutrition label and pick the one with less sugar in the ingredients
- Bell Peppers: You can use any color, but we opted for red bell peppers because they are sweeter and enhance the flavors of the marinara sauce
- Cheese: We used shredded mozzarella cheese, but you can use whatever you have on hand

How to Make Stuffed Lasagna Peppers
- Start with the meat sauce: Saute your onions until they soften, then add the ground beef, and seasonings, and cook until golden brown.
- Mix in the marinara sauce: After your beef has cooked, pour in the sauce.
- Assemble the peppers: After you cut the peppers in half, remove the seeds, and use a scoop to fill in each half with the meat sauce.
- Bake the peppers: Bake them until they are tender. In the last 5 minutes, top it off with shredded cheese and continue to bake until the cheese melts.
Reference the recipe card below for detailed instructions.
Meal Prep Variations
- If you’re not a fan of bell peppers, you can also use portobello mushrooms or zucchini boats as your vegetable base for the meat sauce.
- If you want to add more vegetables to the dish, add chopped spinach, or sliced mushrooms to the meat sauce.
- If you’re a cheese lover, you can also layer ricotta cheese or cottage cheese in between the meat sauce when stuffing your pepper


Frequently Asked Questions
How long to bake the bell peppers?
For this recipe, we baked it for 20 minutes because we like our peppers to still have a crunch. And if you are making this in advance for your weekly meal prep, the bell peppers will continue to get tender when you reheat them in the microwave. However, if you really like tender roasted peppers, you can pre-bake them for 20 minutes before you fill them with meat sauce.
Are these Stuffed Lasagna Peppers Keto Friendly?
Yes, just be sure the marinara sauce you get is lower in sugar.
Can you freeze lasagna stuffed peppers?
Yes, they are freezer friendly. Just wrap them individually and store them in a freezer bag for up to 3 months for the best quality.


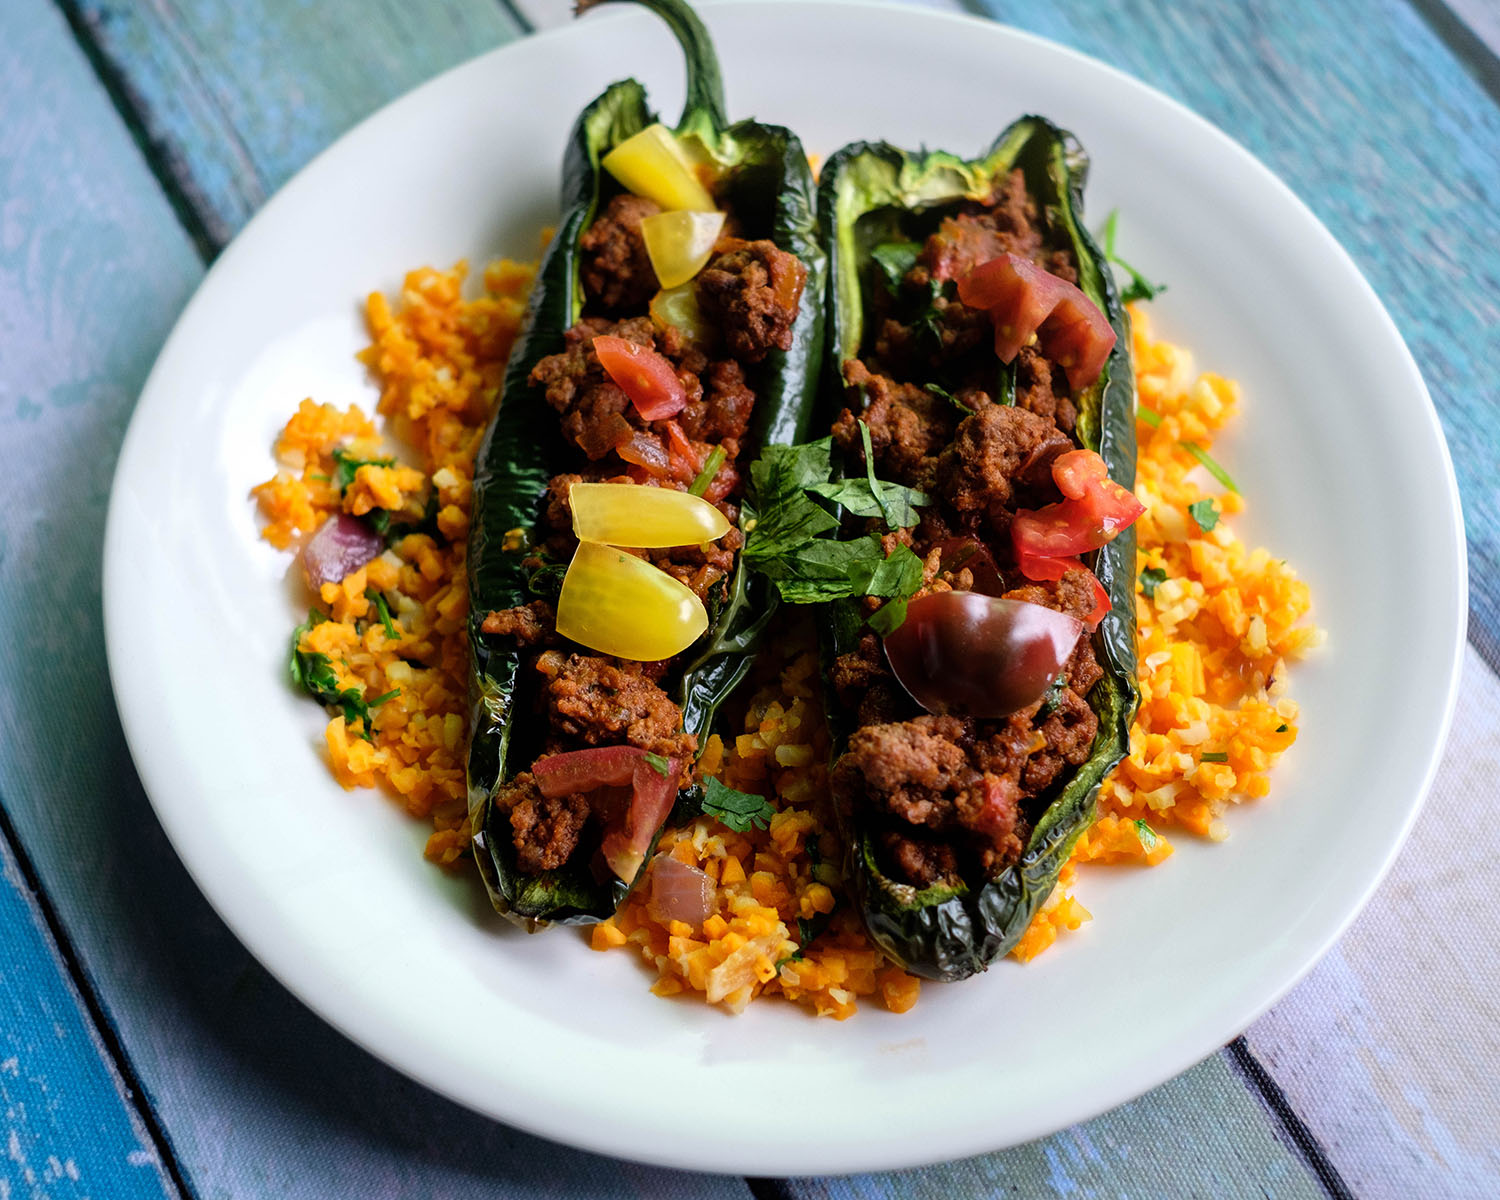
Stuffed Lasagna Peppers
Equipment
Ingredients
Instructions