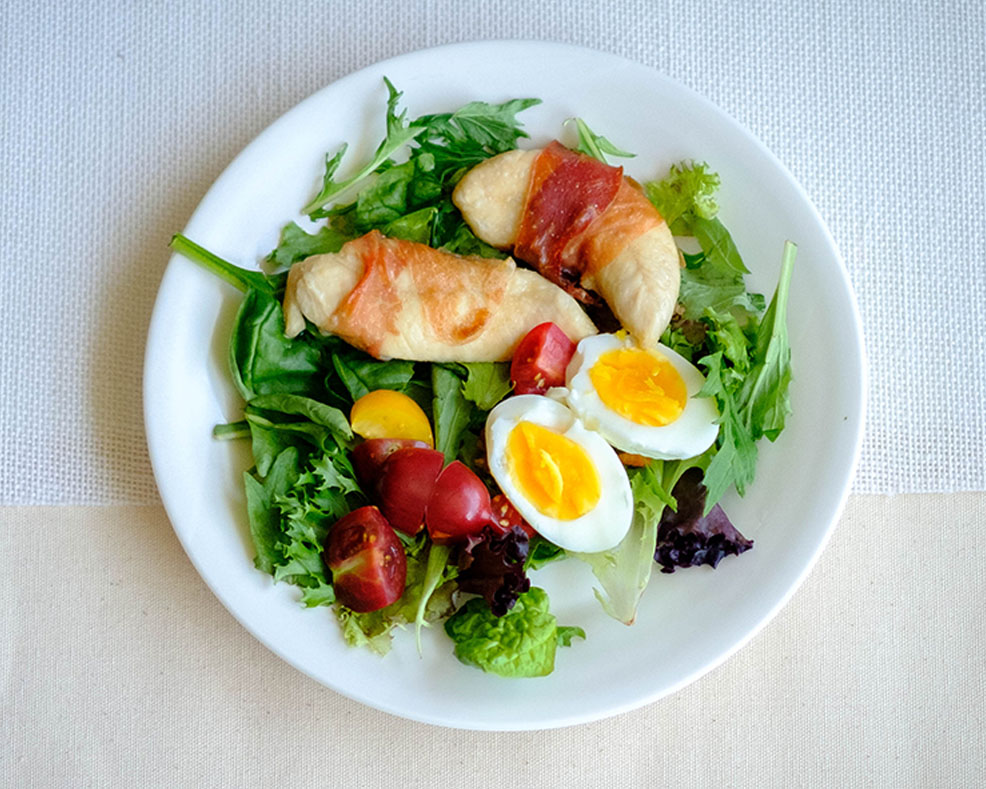
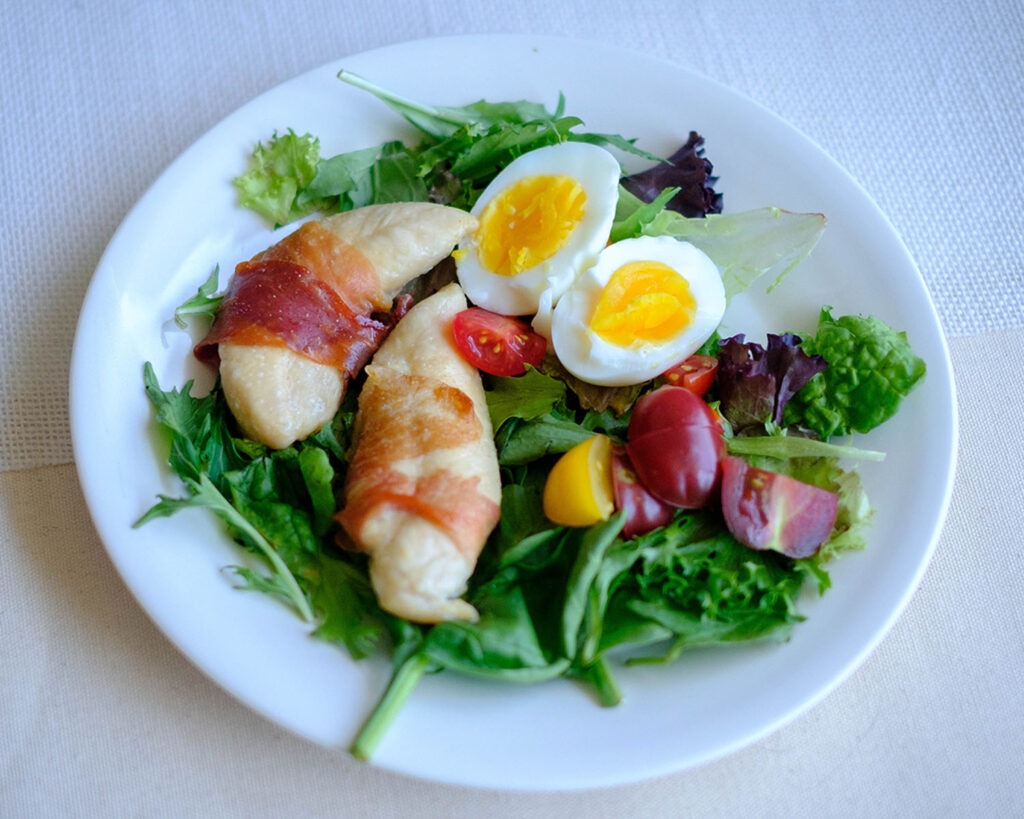
In the hustle and bustle of daily life, finding time to prepare a wholesome yet quick lunch can be a challenge. That’s where our Prosciutto Wrapped Chicken Salad swoops in to save the day. Imagine tender, succulent chicken enveloped in the salty embrace of prosciutto, paired with creamy boiled eggs, juicy cherry tomatoes, and a bed of vibrant spring mix greens. This recipe is a testament to the idea that healthy eating doesn’t have to be complicated. With minimal effort and maximum taste, you’ll be savoring a satisfying meal that’s perfect for both your taste buds and your busy schedule. So, let’s dive into this culinary adventure and create a meal prep masterpiece that’s sure to become a lunchtime favorite!
This post may contain affiliate links. Please see our privacy policy for details.
Why Prosciutto Wrapped Chicken Salad is Perfect for Your Busy Lifestyle:
- With just a few simple steps, you can have this delicious meal ready in no time, making it ideal for those hectic days when you’re juggling work and life.
- This recipe is loaded with lean protein from chicken tenderloins, and it’s brimming with nutrients from fresh ingredients like spring mix and cherry tomatoes. Plus, it’s lower in calories and fat than other lunch options, helping you stay on your weight management journey.
- Wrapping chicken tenderloins in prosciutto adds a burst of savory flavor without the need for elaborate seasoning. It’s a simple yet elegant touch that elevates your meal.
- You can easily customize this low carb chicken salad to suit your taste. Add your favorite veggies, nuts, or cheese for an extra layer of flavor and texture.

What You Need to Make This Low Carb Chicken Salad
- Chicken Tenderloins: Lean and packed with protein, this will help you stay full until dinner time
- Prosciutto: Adds a delightful salty flavor and a crispy texture to the chicken.
- Boiled Eggs: Protein-packed and creamy, boiled eggs provide a rich contrast to the salad.
- Cherry Tomatoes: Bursting with freshness and color, they add a juicy pop to every bite.
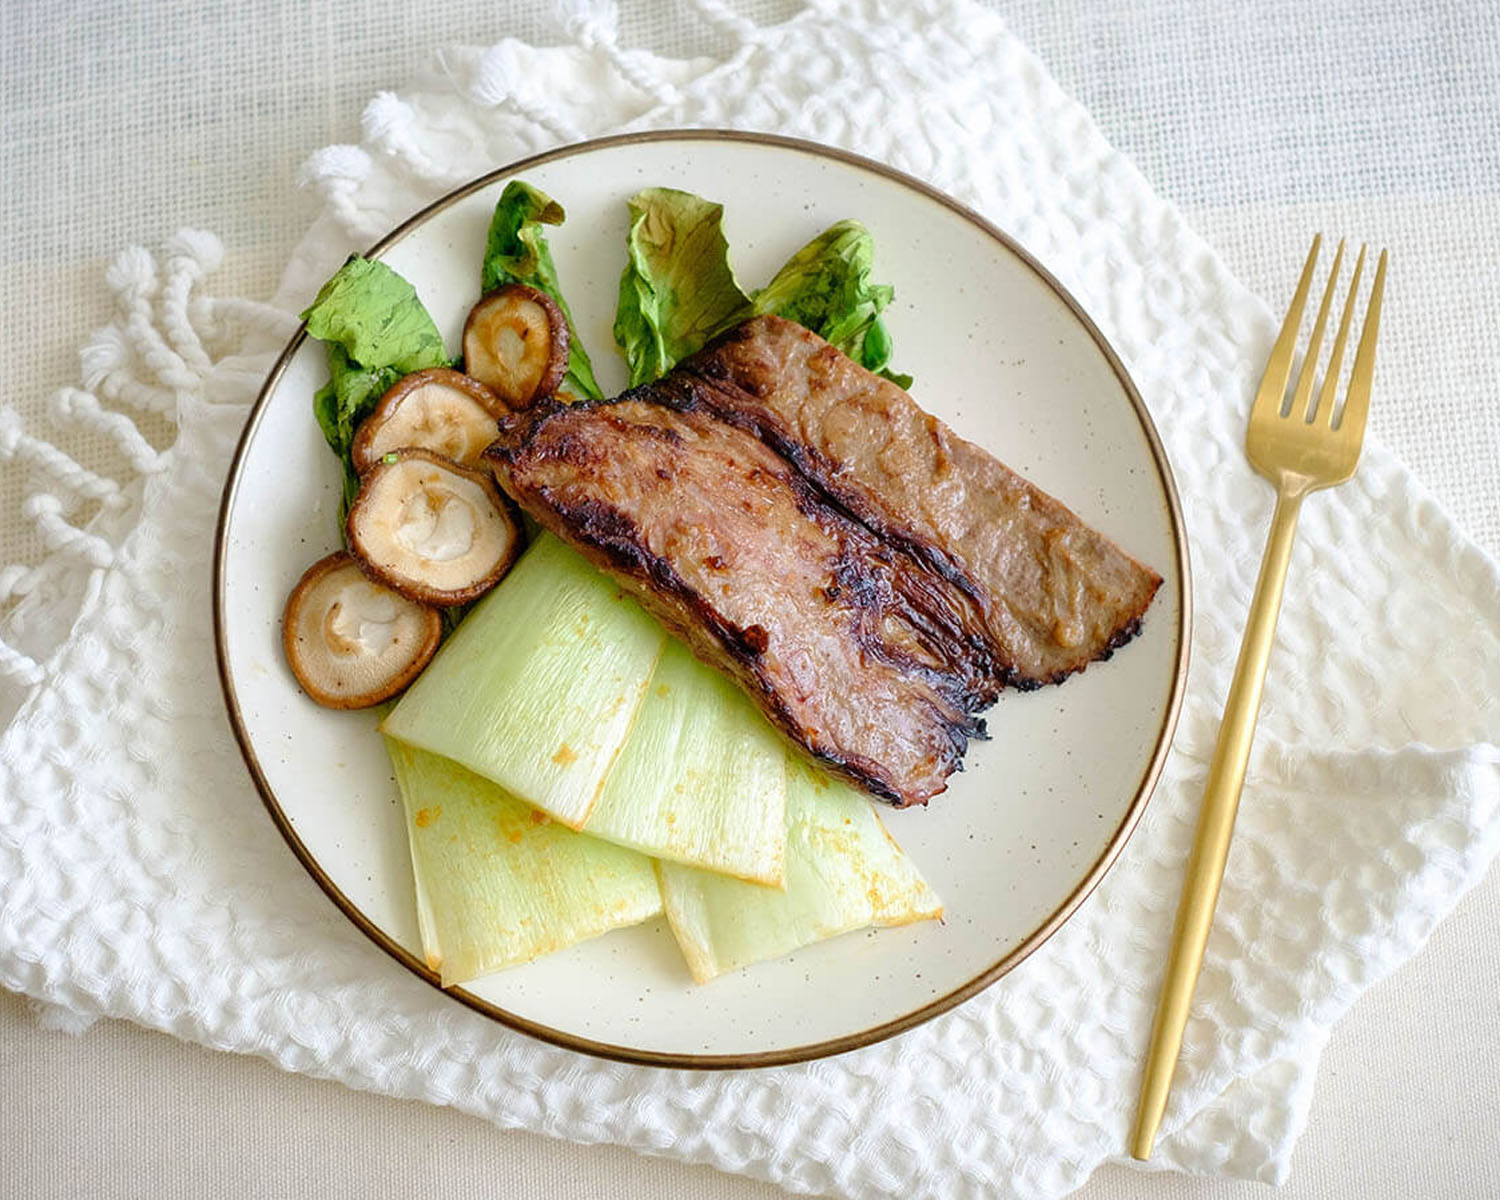
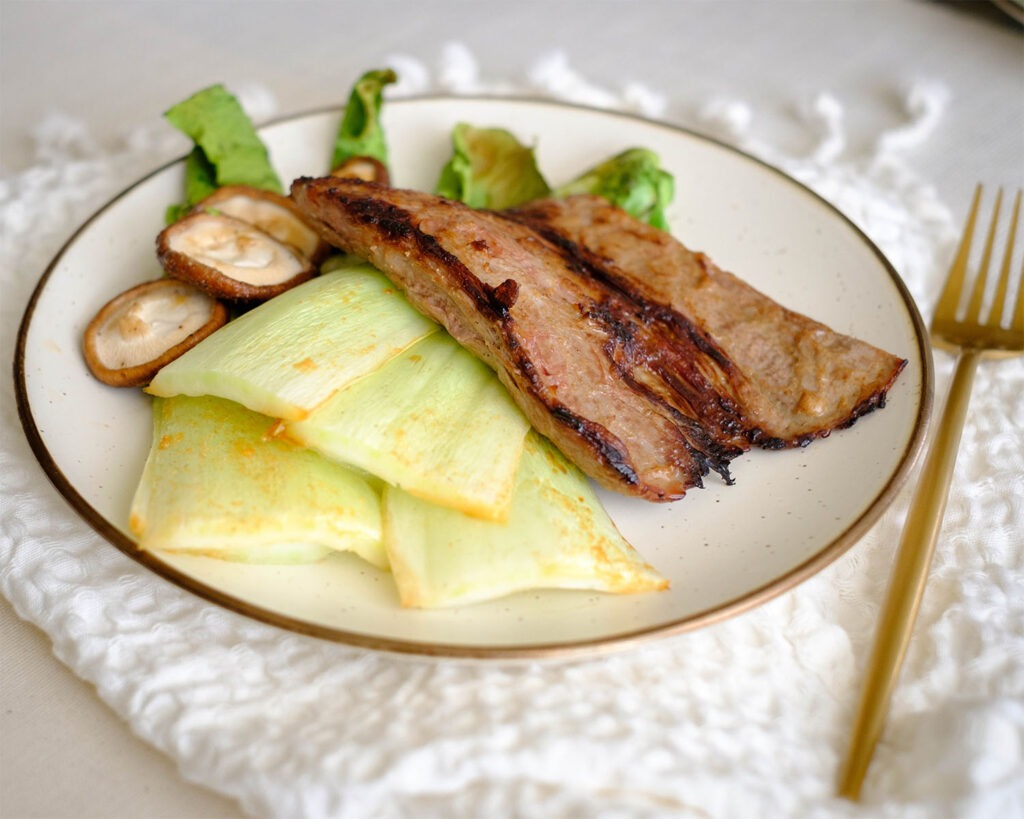
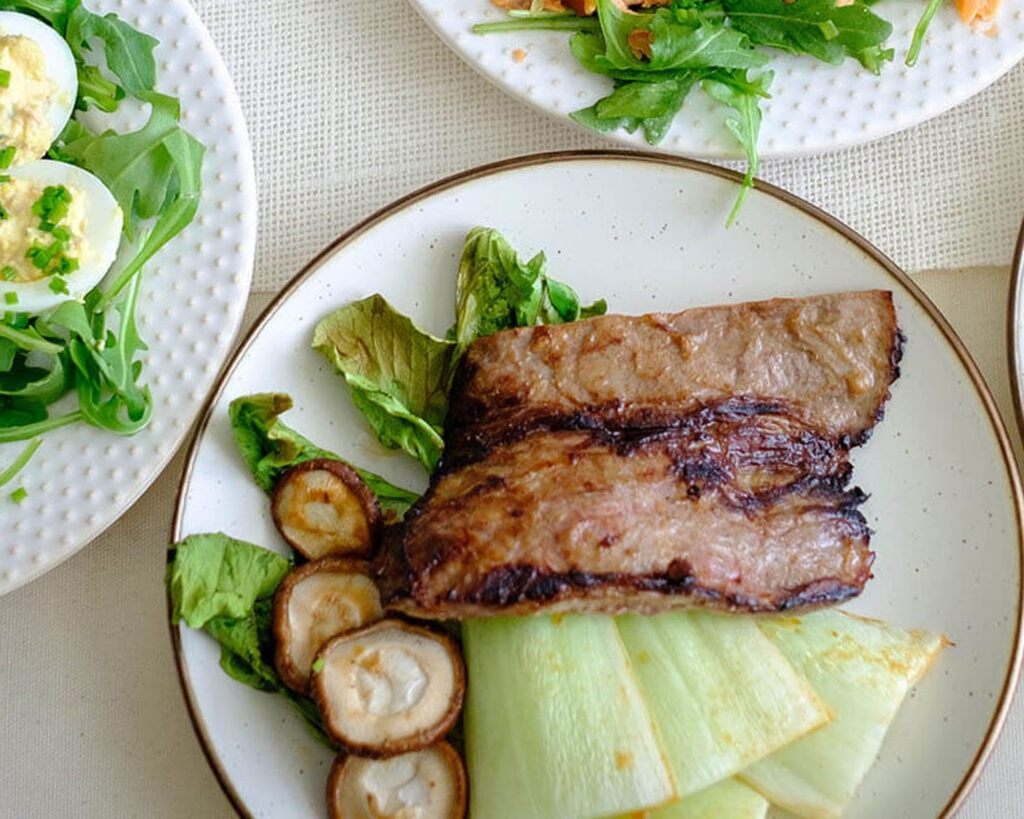
- Spring Mix: A vibrant blend of baby lettuces and greens that serve as the perfect salad base.
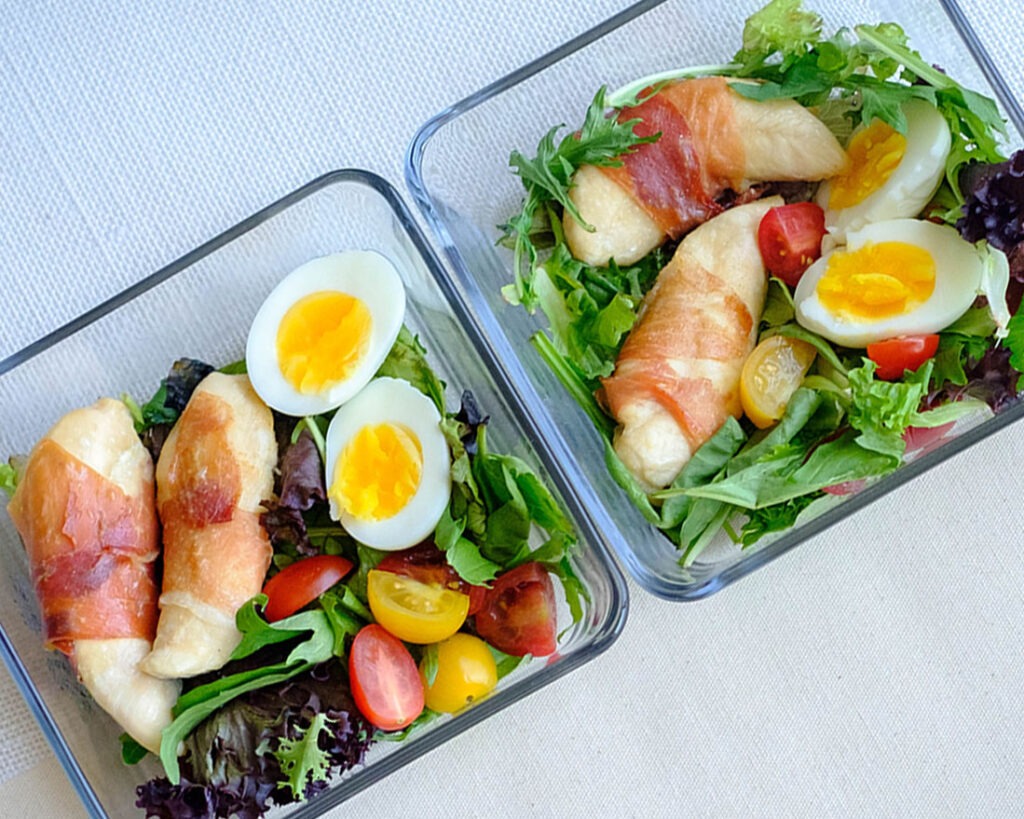
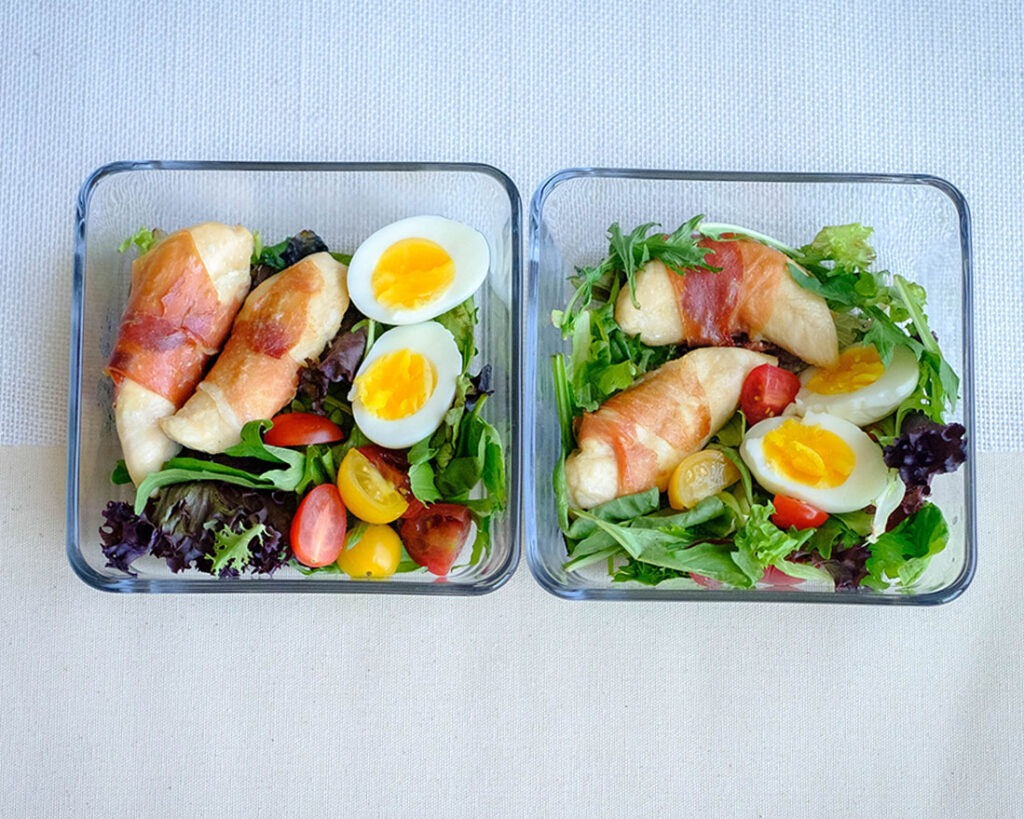
Simple Basic Steps to Meal Prep this Prosciutto Chicken Salad
- Boil the eggs in a pot for about 8 to 10 minutes. Once cooked, let them cool before peeling and slicing them in half.
- Preheat your oven to 400°F (200°C). Season the chicken with paprika, garlic powder, and salt. Coat with olive oil and place on a sheet pan. Wrap each chicken tenderloin with slices of prosciutto.
- Bake in the oven for about 15-20 minutes until the chicken is fully cooked and reaches an internal temperature of 165°F (74°C).
- Meanwhile, In a small bowl, mix together the juice of the lemons with the olive oil, Dijon mustard, honey, and your favorite seasonings. Whisk until blended well.
- Serve the chicken and boiled eggs on top of the spring mix.
- Drizzle the salad with the homemade dressing and top it off with those fresh, juicy cherry tomatoes.
Reference the recipe card below for detailed instructions.
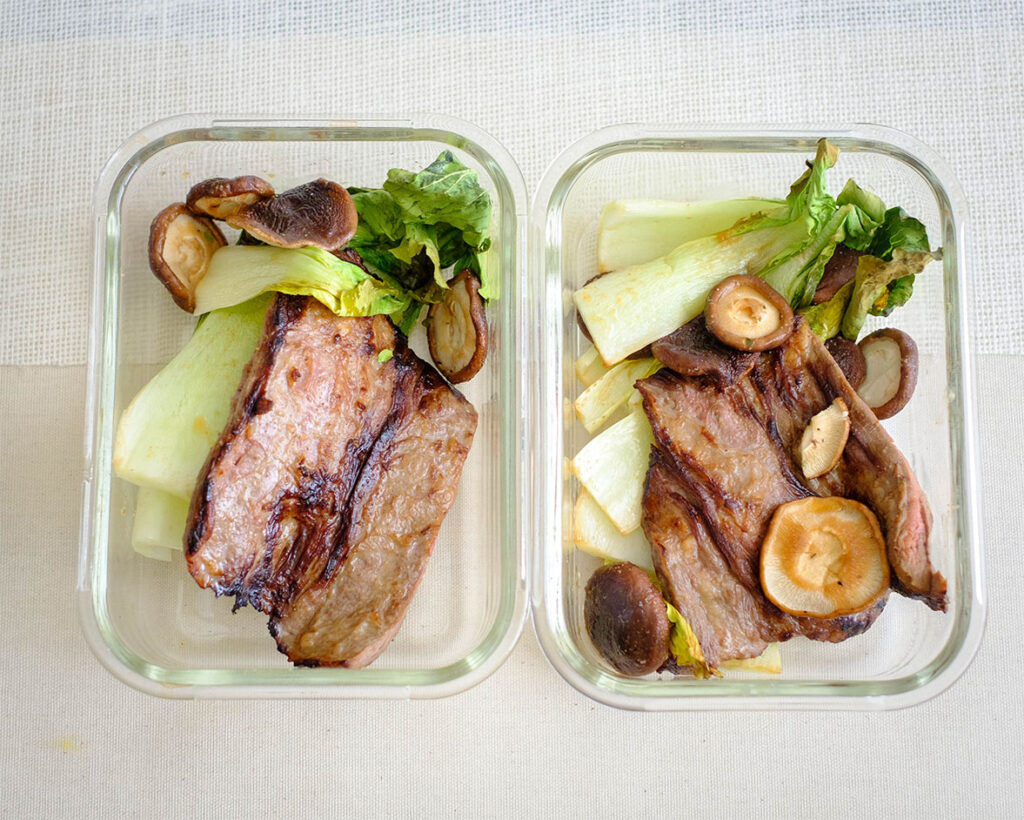
Meal Prep Tips for Low Carb Prosciutto Chicken Salad
- Storage Tips: Store your Prosciutto Wrapped Chicken Salad in an airtight container in the refrigerator. This dish can stay fresh for up to four days. Keep the salad dressing in a separate, small container or drizzle it over the salad just before serving to prevent the greens from wilting prematurely.
- Reheating Tips: To reheat the chicken, place it in the microwave for about 1-2 minutes or until it’s warmed through. You can also use an oven or toaster oven at a low temperature (around 300°F or 150°C) to maintain its crispy prosciutto wrap.
- Ingredient Swaps and Tips: Swap chicken for turkey tenderloins or even tofu for a vegetarian twist. Experiment with different greens like arugula or spinach. Add a handful of nuts or seeds for extra crunch.


Frequently Asked Questions
Can I use chicken breast instead of tenderloins?
Absolutely! Chicken breast can be used as a substitute. Just be sure to adjust the cooking time accordingly to ensure it’s fully cooked.
Is this salad suitable for weight management and healthy eating?
Absolutely! This salad is packed with lean protein, fresh greens, and wholesome ingredients, making it a great choice for those looking to manage their weight while enjoying a delicious meal.
Can I use store-bought salad dressing?
While homemade dressing helps you control the ingredients you put in, you can use your favorite store-bought dressing for convenience if you prefer.


Prosciutto Wrapped Chicken Salad
Equipment
Ingredients
Salad Dressing
Instructions
Eggs
Chicken & Prosciutto
Salad Dressing