Hello, my fellow food enthusiasts, let’s spice up our lunchtime routine with this incredible Roast Beef Deli Cheesesteak Sandwich. With its wholesome ingredients, fantastic flavors, and easy preparation, it’s a game-changer for your meal prep game. Get ready to savor every bite and enjoy a lunch that’s packed with love and flavor. Happy cooking!
This post may contain affiliate links. Please see our privacy policy for details.
This Roast Beef Deli Cheesesteak Sandwich isn’t just a taste sensation, but it’s also a budget-friendly option that will leave you wondering if you stepped into a gourmet sandwich shop. Let me break it down for you:
Affordable Ingredients: One of the best things about this sandwich is that its main ingredients are readily available and won’t break the bank. Whole wheat bread, roast beef deli meat, sliced cheddar cheese, fajita bell peppers, onions, and tomatoes are all wallet-friendly options that can be easily found at your local grocery store.
Flavorful DIY: By making this sandwich at home, you have full control over the ingredients and their quality. You can ensure that your roast beef is top-notch, your veggies are fresh and vibrant, and your cheese is the perfect match for your taste buds. Plus, adding those cooked fajita bell peppers and onions brings a gourmet touch to the sandwich without the gourmet price tag.
Gourmet Touch on a Budget: The combination of high-quality ingredients, like the roast beef and cheddar cheese, elevates the flavors and creates a gourmet experience without the hefty price of a fancy sandwich shop. The mix of textures and flavors, along with the fajita-style veggies, adds a gourmet twist that will make you feel like a master chef.

Deli Cheeseteak Sandwich Ingredients
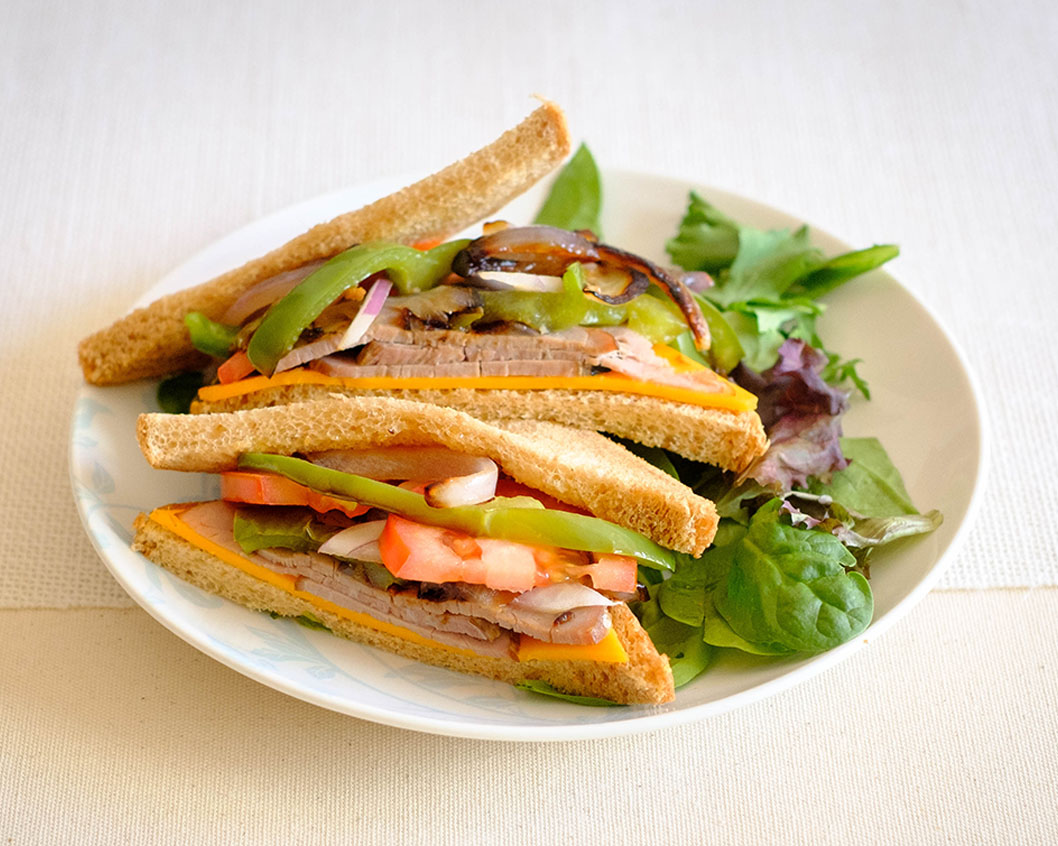
- Let’s dive into the ingredients that make this sandwich a lunchtime superstar. First up, we have whole wheat bread. Not only does it provide a wholesome base for our sandwich, but it also adds a nutty flavor and a delightful chewiness. Whole wheat bread is a great choice for those seeking a healthier alternative without compromising on taste.
- Next, we have the star of the show: roast beef deli meat. Picture thinly sliced, succulent roast beef that melts in your mouth, delivering a rich, savory taste. It’s like a flavor explosion in every bite! The roast beef brings a hearty element to our sandwich, making it a filling and satisfying option.
- But wait, we’re not done yet! To take this deli sandwich to the next level, we’re adding sliced cheddar cheese. Imagine the creamy, gooey texture of the cheese mingling with the warm roast beef—it’s pure bliss! The cheddar cheese adds a delightful sharpness and richness, perfectly complementing the other ingredients.
- Now, here’s where we really turn up the flavor dial: fajita bell peppers and onions. By incorporating these cooked veggies into our sandwich, we’re introducing a burst of color and a delightful tang. The combination of sweet bell peppers and savory onions adds a tantalizing twist that will have your taste buds singing!
- And let’s not forget about the tomato! Slices of ripe, juicy tomato bring a refreshing element to the sandwich, balancing out the richness of the roast beef and cheese. Plus, it adds a lovely pop of color and juiciness that takes this sandwich to a whole new level of deliciousness.

How to Make a Roast Beef Deli Cheesesteak Sandwich
Now, let me share a little secret with you: this Roast Beef Deli Cheesesteak Sandwich is not only mouthwatering, but it’s also incredibly easy to make. The only thing you really need to cook is the fajita peppers.
To make the fajita bell peppers and onions, start by heating a pan over medium heat with a drizzle of oil. Add sliced bell peppers and onions, and sauté until they become tender and slightly caramelized. You can also season them with fajita seasoning or a blend of spices like cumin, paprika, and chili powder for an extra kick of flavor.
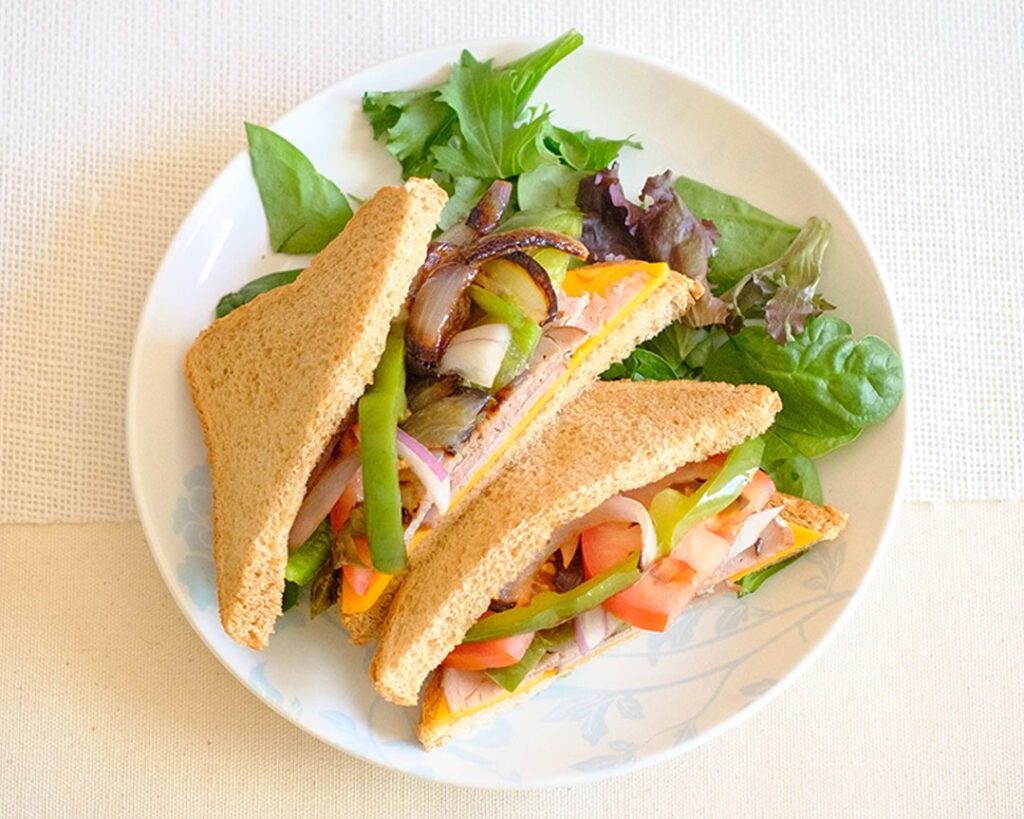
Then, simply layer the roast beef, cheddar cheese, fajita bell peppers and onions, and tomato slices between two slices of whole wheat bread. Press it together gently, and voila! You’ve got yourself a flavor-packed lunch that will make your colleagues drool with envy.
Reference the recipe card below for detailed instructions.
Meal Prep Tips
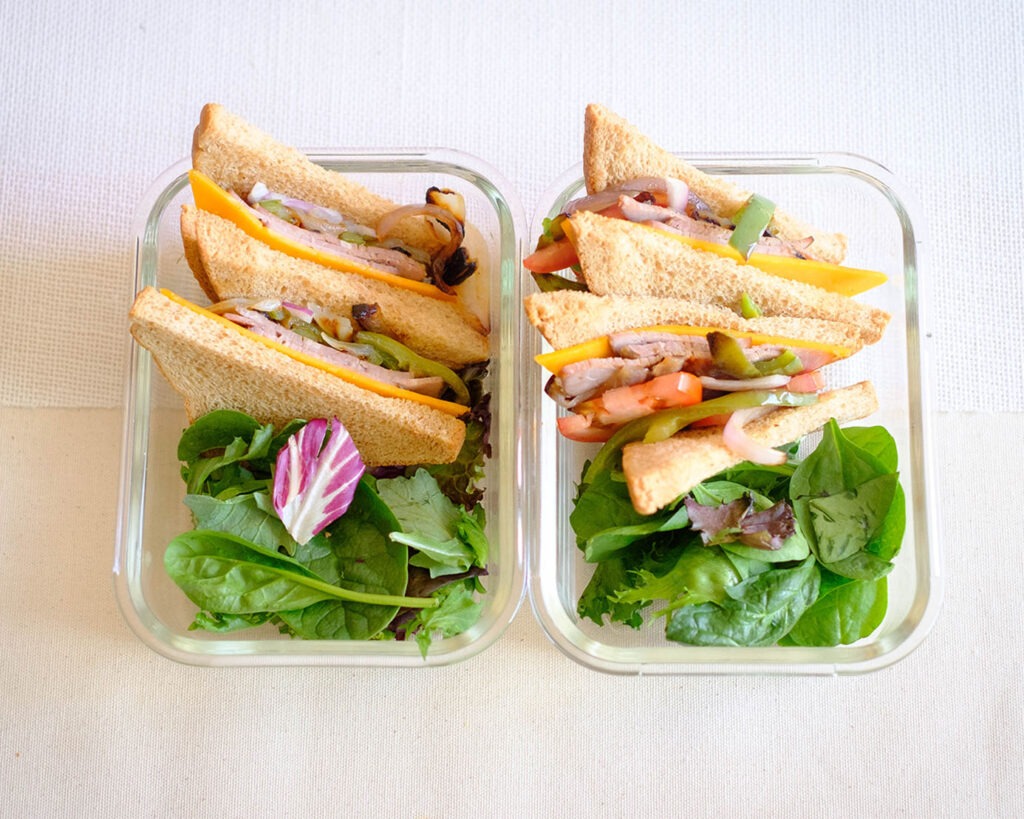
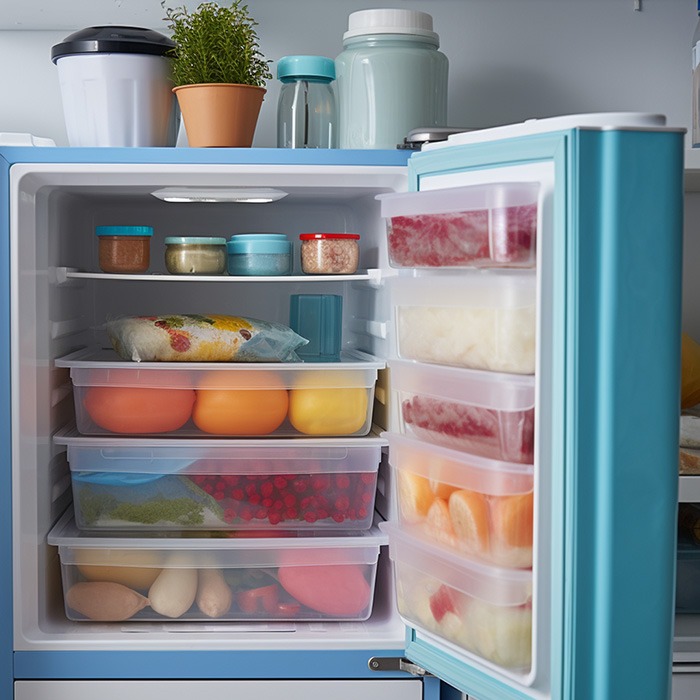
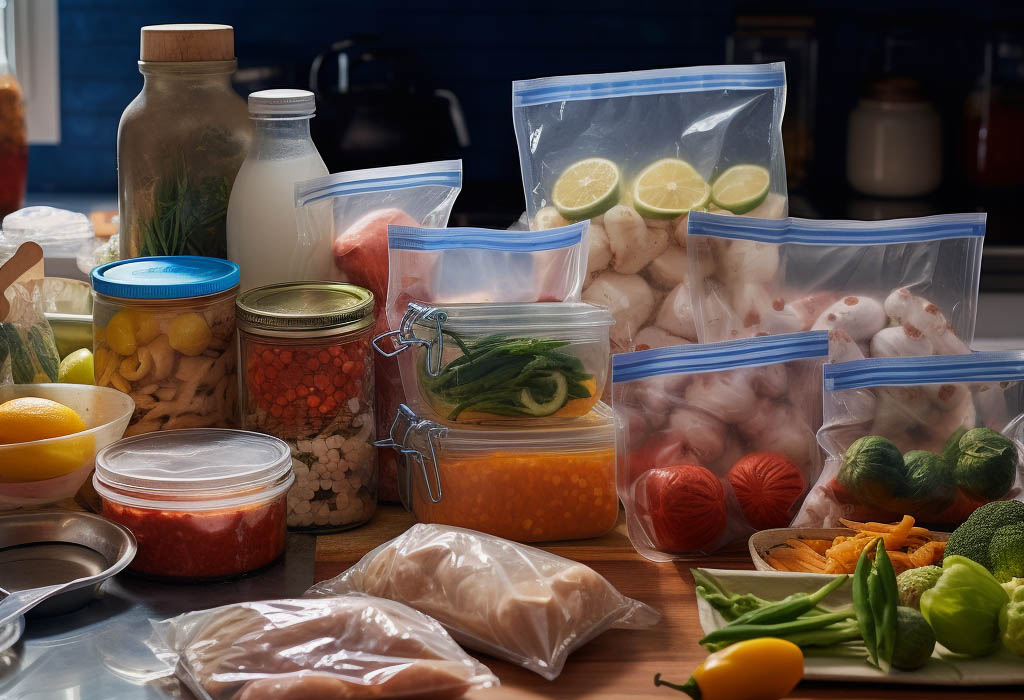
- When it comes to meal prep, it’s essential to store your sandwiches properly to keep them fresh. Wrap each sandwich tightly in plastic wrap or place them in airtight containers. Pop them in the refrigerator, and they’ll stay fresh for up to three days. Now you can say goodbye to boring lunches and hello to a delightful homemade sandwich that will make you the envy of the office!
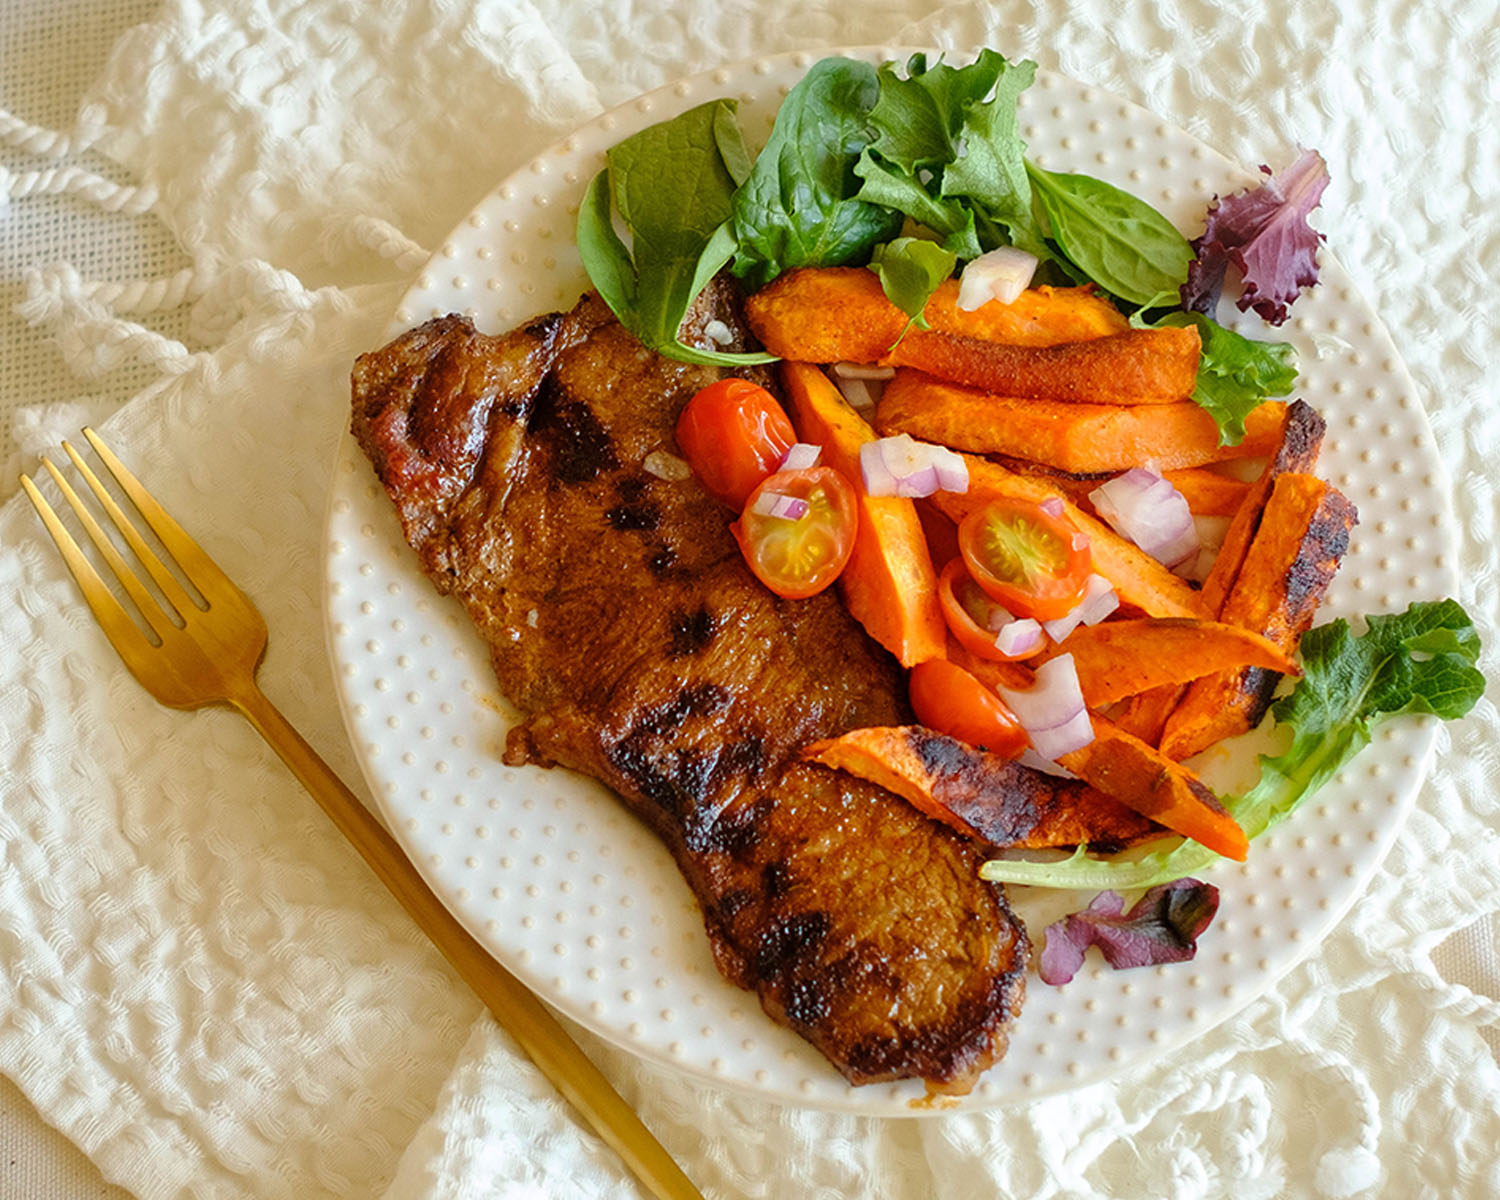
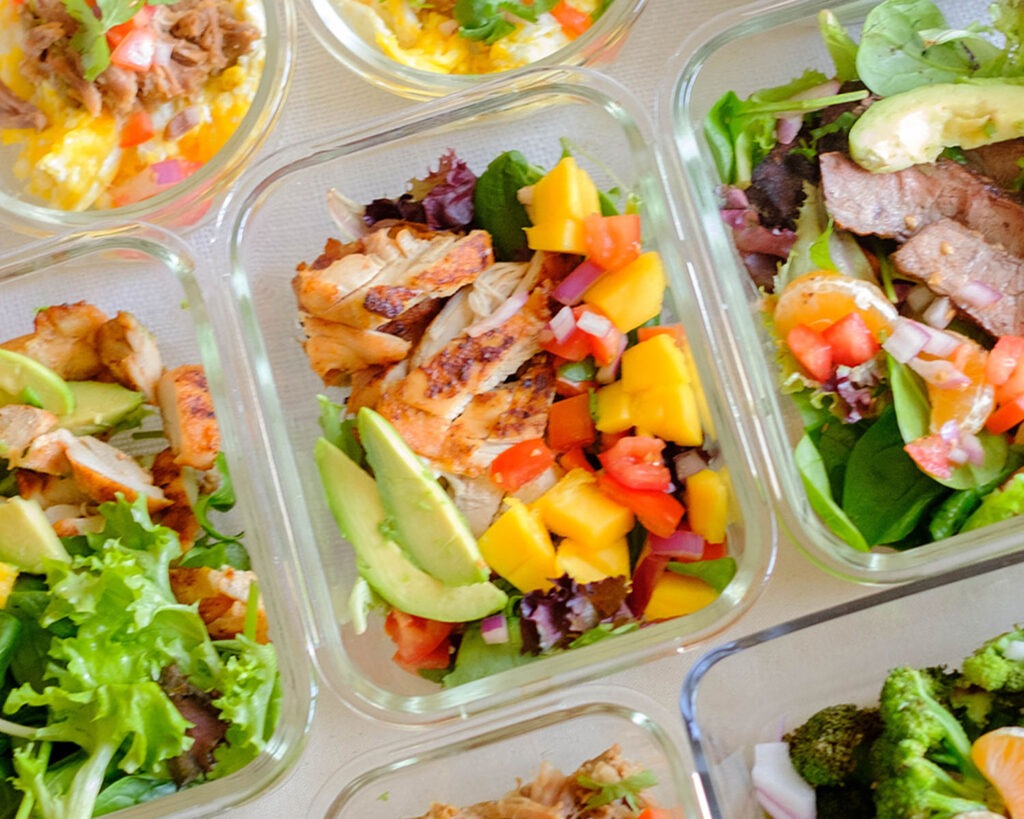
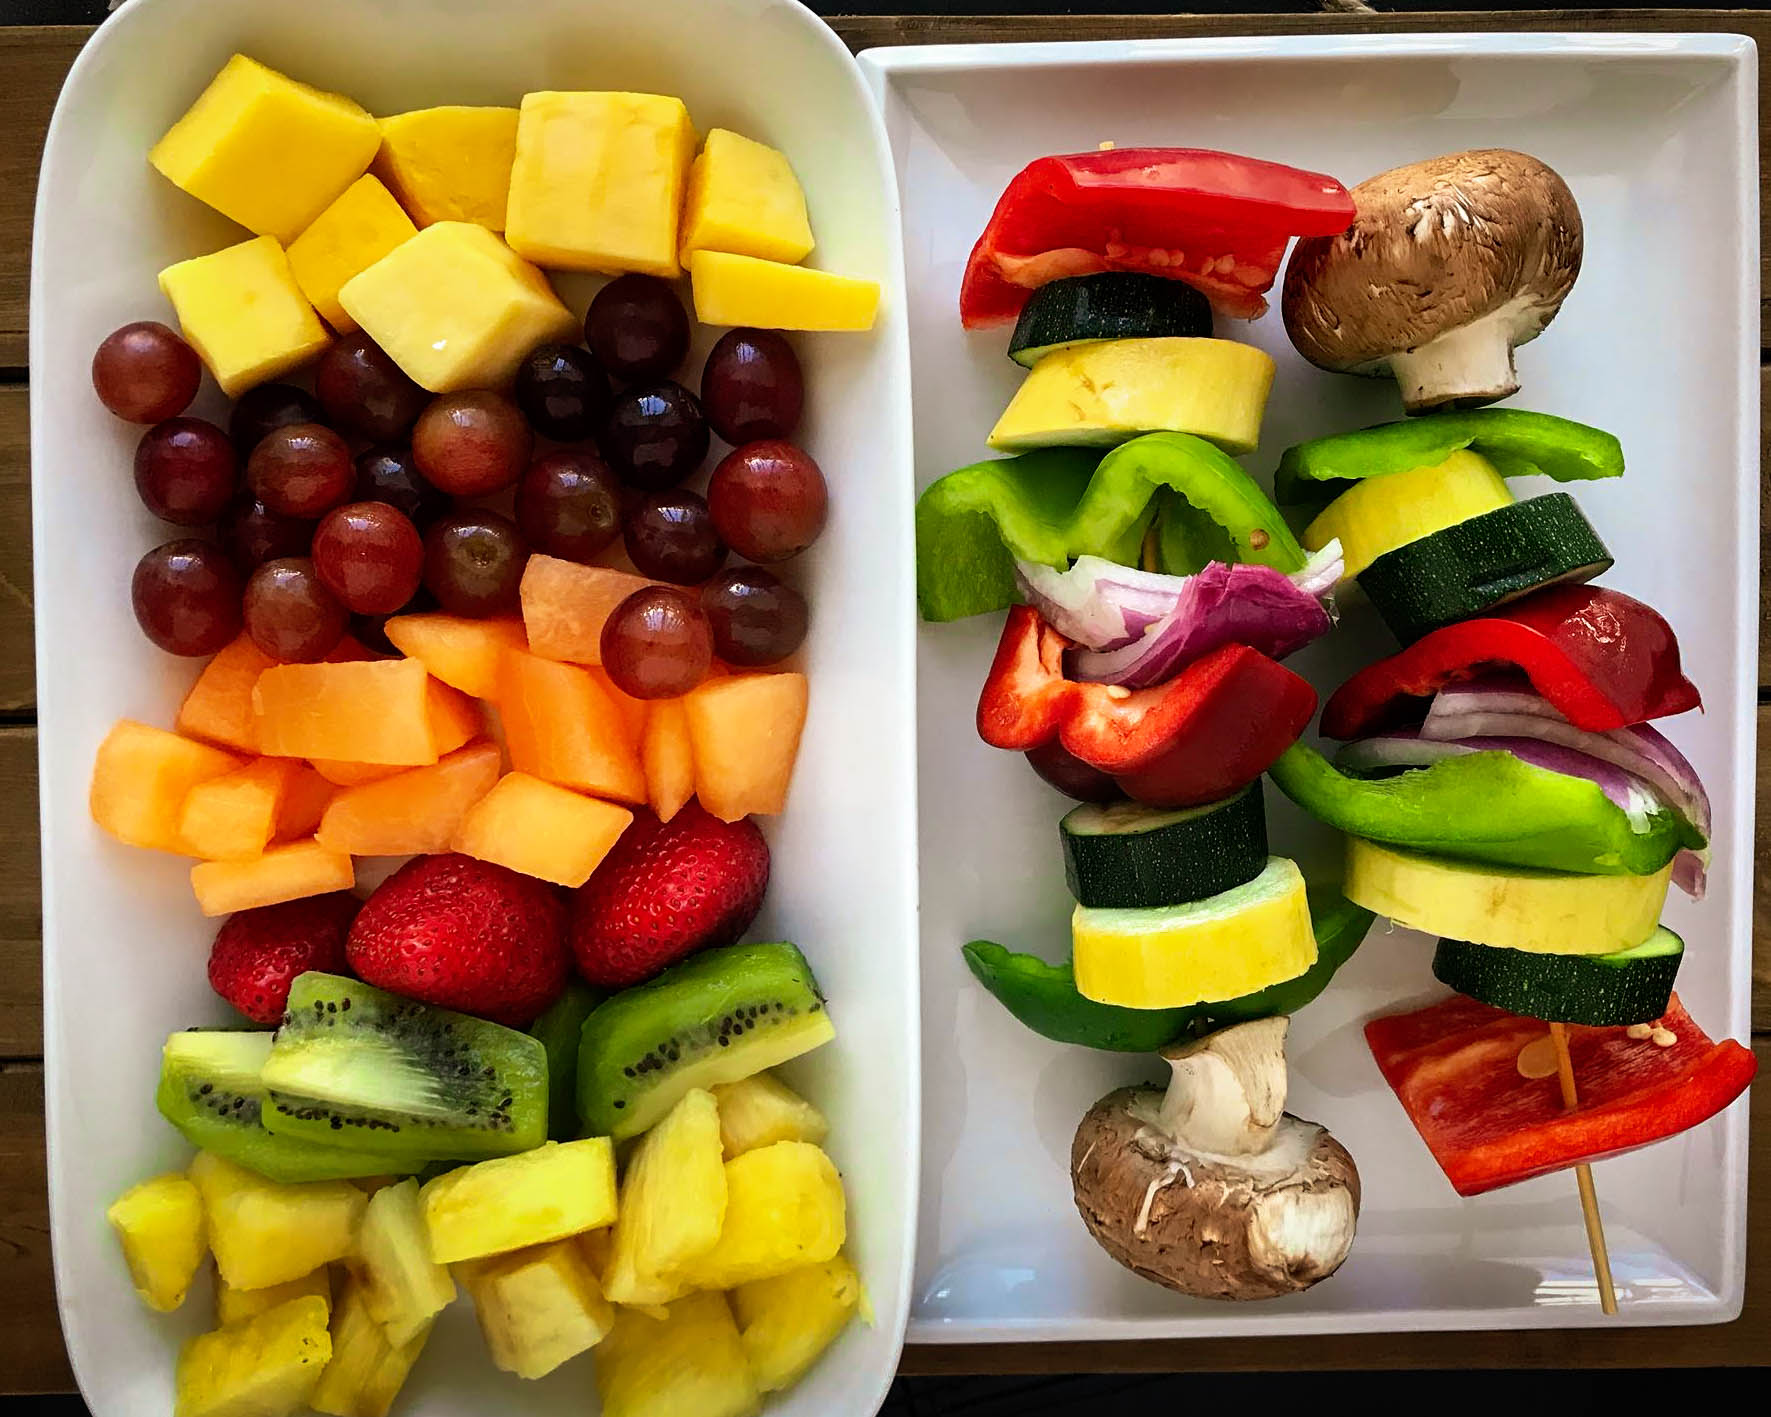
- But why stop there? You can pair this Roast Beef Deli Cheesesteak Sandwich with a variety of delicious sides to make it a well-rounded meal. How about some crispy sweet potato fries, a refreshing green salad, or even a cup of hot soup on the side?


Frequently Asked Questions
Can I substitute the roast beef deli meat with another type of meat?
Of course! While roast beef deli meat adds a rich and savory flavor, you can experiment with other deli meats like turkey, ham, or even chicken. Just make sure to choose thinly sliced meats to ensure easy biting.
Can I serve this sandwich warm?
Absolutely! If you prefer a warm sandwich, you can heat it in a panini press, toaster oven, or even on a stovetop griddle. Make sure to heat it until the cheese melts and the bread turns golden brown for a delightful warm and toasty experience.
Can I add additional toppings to the sandwich?
Definitely! Feel free to get creative and add your favorite toppings to customize your sandwich. Some popular options include sliced avocado, pickles, lettuce, or even a dollop of mayonnaise or spicy mustard.


Deli Style Cheesesteak Sandwich
Equipment
Ingredients
Sandwich Ingredients
Salad Ingredients
Instructions