
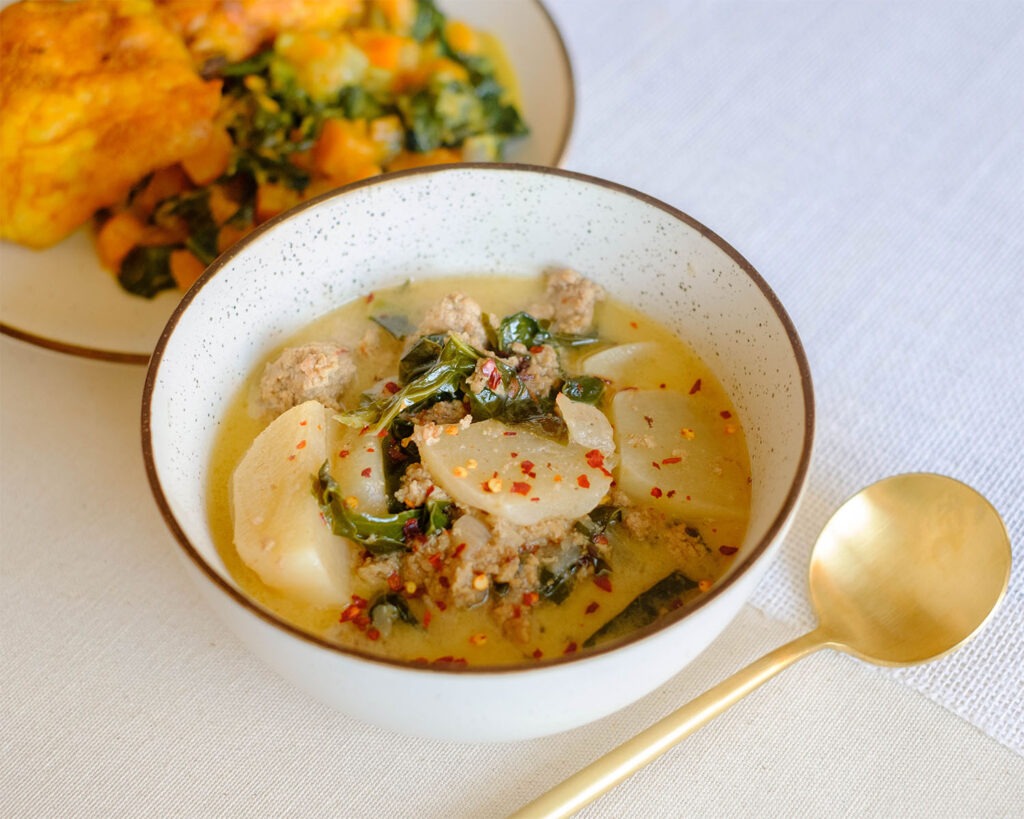
Here’s a healthy spin on a restaurant classic. This One Pot Turkey Toscana Soup recipe is lightened up with healthy ingredients that you can make in less than 30 minutes.
This post may contain affiliate links. Please see our privacy policy for details.
Why You’ll Enjoy this Version of Turkey Toscana Soup
Zuppa Toscana soup is one of our favorite soups that we enjoy at Olive Garden. It’s typically made with Italian sausage, leafy greens, bacon, and potatoes. For our weekly meal prep, we are making this restaurant recipe with lighter ingredients at home.
- In our recipe, we use high-protein ground turkey seasoned with Italian flavors
- It’s satisfying and filling from the combination of tender potatoes and healthy collard greens
- You can make everything in one pot and have minimal dishes for clean up

Ingredients You’ll Need
This easy Turkey Toscana soup is a perfect one-pot meal loaded with flavors and nutrients. All you need is:
- Ground Turkey: You can also use ground chicken or ground Italian pork sausage
- Onions and Garlic: These aromatics provide a lot of flavors and give it the savory flavors for the soup
- Collard Greens: Other dark leafy greens you can use are baby spinach or kale
- Yukon Potatoes: Any kind of potatoes will work, but if you want to keep it low carb, you can use cauliflower florets
- Chicken Stock: You can also use vegetable stock or broth
- Coconut Milk: We used coconut milk to keep it dairy free, however, you can also use heavy cream if you are good with a little bit of dairy
- Seasonings: We used a pre-made Italian seasoning with garlic powder and red pepper chili flakes for a little bit of heat

Basic Steps to Make Turkey Soup
- Add oil to a soup pot on medium-high heat.
- Saute the onions and ground turkey until the turkey is cooked.
- Next, add the garlic and stir it around for a few seconds.
- Then, pour in the chicken broth and bring the liquid to a boil.
- Add the chopped collard greens, potatoes, and seasonings.
- Lower the heat to low-medium and let the soup simmer until the potatoes are fork tender.
- In the end, pour in the coconut milk and stir it all together.
Reference the recipe card below for detailed instructions.

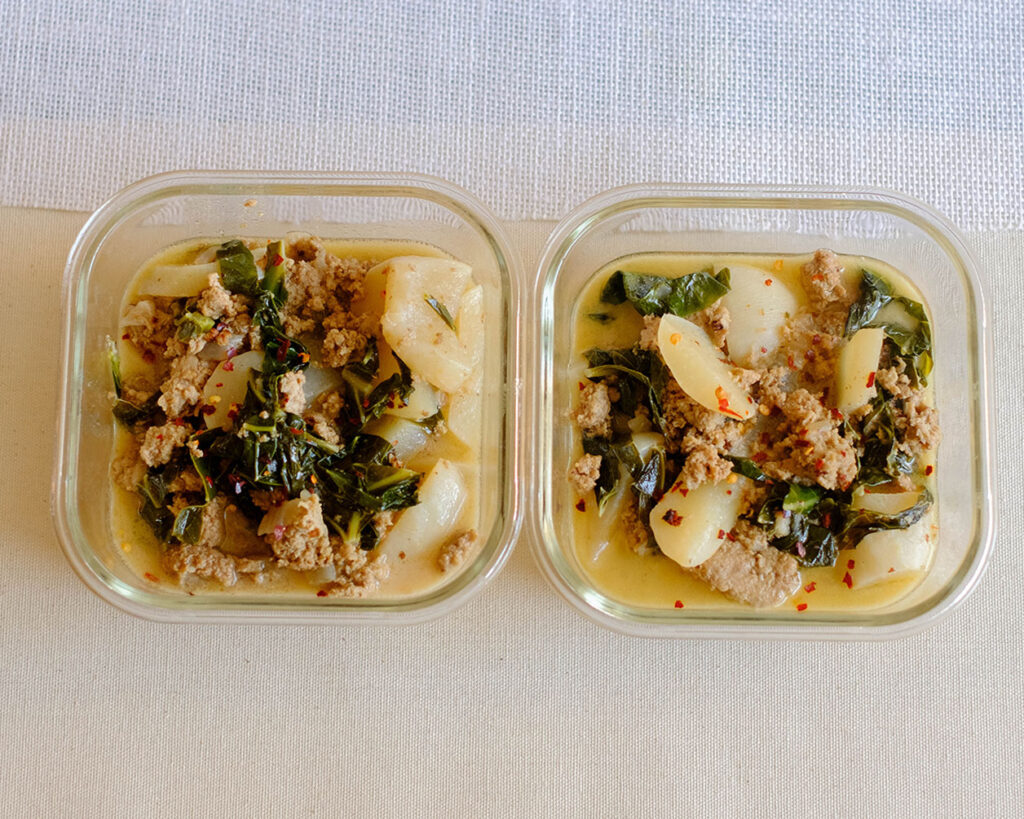
Meal Prep Tips for Turkey Toscana Soup
- Adding vegetables: If you decide to swap in the cauliflower or spinach, you can add them towards the last 5 minutes of simmering the soup since these ingredients cook fast.
- To reheat: Reheat it in the microwave until it is warm (about 2 minutes depending on your microwave settings).
- Storage: Store in an airtight container in the refrigerator for up to 3 to 4 days for the best quality.
- To freeze: If you want to freeze this meal, you can store it in freezer bags in the freezer for up to 3 months for the best quality. Just be sure to thaw it out in the refrigerator before reheating it.


Frequently Asked Questions
Can I use frozen vegetables?
Yes, most frozen vegetables are already pre-cooked, so the cooking time may be reduced. We love using broccoli florets instead of collard greens for this recipe and also add frozen cauliflower rice to thicken the soup.
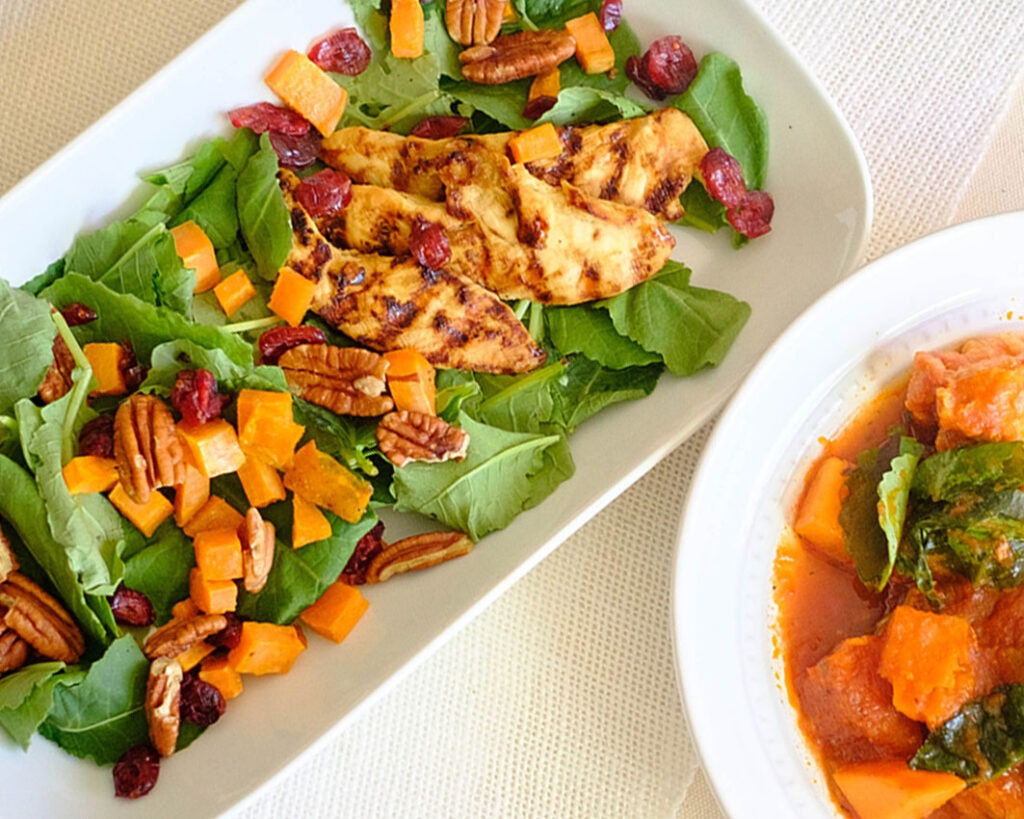
What can I serve with this soup?
This recipe can be served with a side salad or toasted sourdough bread. We also like getting breadsticks from the local bakery.
What else can I add to this soup?
You can also add legumes such as navy beans. They are mild flavored, dense, and smooth, and are an excellent source of dietary fiber and protein.


One Pot Turkey Toscana Soup
Equipment
Ingredients
Instructions